

Add a touch of elegance to your wardrobe with this Crochet Ruffle One Shoulder Top pattern, featuring delicate texture and modern style.
A few weeks ago, I started crocheting a unique top that quickly became a wardrobe favorite. This one-shoulder piece with a ruffled edge is both fun and fashionable. By following a free crochet ruffle one shoulder top pattern, I was able to create a flattering garment that’s perfect for warm weather. With just minor tweaks, you could easily transform this design into a sleeveless top, a summer dress, or add different ruffle sizes to completely change the vibe.
Free Crochet Ruffle One Shoulder Top Pattern
What makes this top stand out is its charming ruffle detail that frames the one-shoulder neckline, giving it a playful yet elegant look. The fabric feels light and airy due to the open stitch pattern, making it super comfortable to wear on hot days. The fit hugs your upper body without being too tight, and the asymmetrical design adds a modern touch that can work for casual hangouts or special occasions.

This project mainly uses simple crochet stitches like double crochet combined with chain spaces, worked from the bottom up. You shape the piece gradually, and the ruffle is added last to complete the look. Ideal for beginners to intermediate crocheters, it’s a great way to practice shaping garments and adding decorative elements without feeling overwhelmed.
Beyond being a stylish addition to your own closet, this free crochet ruffle one shoulder top pattern makes a lovely handmade gift. It’s practical, pretty, and perfect for anyone who loves unique, comfortable clothing. If you want a project that’s fun, easy, and rewarding, this pattern just might be what you’re looking for.
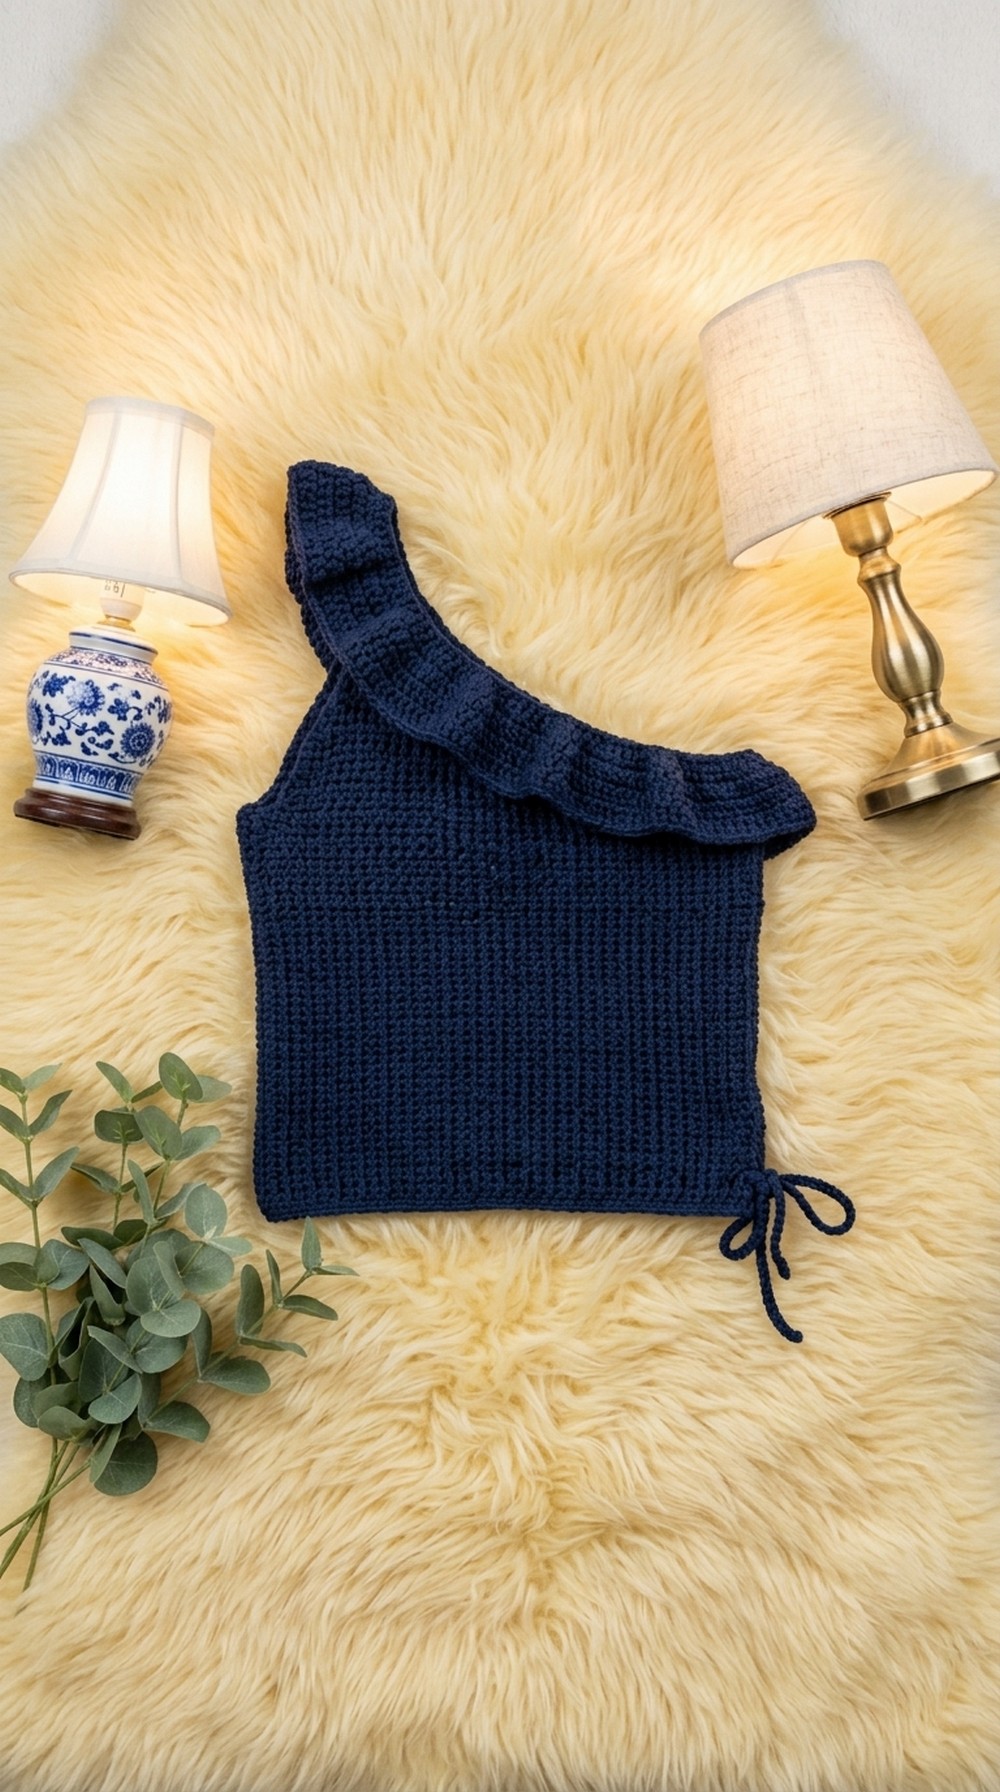
One Shoulder Crop Top with Ruffles – Step-by-Step Pattern
This modern one-shoulder crop top features a beautiful textured stitch, dramatic shoulder ruffles, and lacing side straps for a perfect, customized fit. Designed with confident beginners in mind, it includes a clear stitch pattern with simple shaping. Make it in your favorite color for a vibrant summer statement!
Skill Level & Terminology
- Skill Level: Confident Beginner / Easy
- Terminology: US Crochet Terms
You should be comfortable with foundation chains, single and double crochet, and simple post stitches (front post double crochet).
Materials & Tools
- Yarn: Medium weight (Worsted, #4) acrylic or cotton; sample uses approximately 150–200g for a size S.
- Hook: 3.5 mm crochet hook (or size for gauge).
- Notions: Scissors, tape measure, yarn needle.
Gauge
- 4” (10 cm) square: 15 stitches x 9 rows in double crochet, worked flat with 3.5mm hook.
- Adjust hook size until your swatch matches for best fit.
Abbreviations List
| Abbreviation | Meaning |
|---|---|
| ch | chain |
| sc | single crochet |
| dc | double crochet |
| fpdc | front post double crochet |
| sl st | slip stitch |
| st(s) | stitch(es) |
Special Stitch Instructions
Front Post Double Crochet (fpdc):
- Yarn over, insert hook from front to back around the post of the stitch indicated; yarn over, pull up a loop, yarn over and pull through 2, yarn over and pull through remaining 2.
Increase (in ruffle section):
- Work 2 double crochets in the same stitch.
Finished Size
- Bust (unstretched): 25–26 inches (sample: fits bust 30–32 inches due to stretch and side straps)
- Length: 10.5 inches
- Side Straps: ~300 chains (customizable for fit)
- Shoulder Strap: ~40 chains
How to Start & Stitches Used
Begin with a foundation chain less than your bust measurement to allow for stretch and the lacing of the side straps. This top uses:
- Single crochet (sc): For foundation and edge rows.
- Double crochet (dc): For main fabric and ruffle.
- Front post double crochet (fpdc): Gives texture to the ‘right side’ rows.
- Slip stitch (sl st): For joining and finishing touches.
The Pattern
Body Panel
Foundation Chain
- Ch 121. (if making a size S and ~25–26” unstretched; add or remove chains for size but keep an odd number)
- Ch 1 more (will not count as a stitch).
Row 1 (sc row):
- Sk 1 ch, sc in 2nd ch from hook and across. (120 sc)
- At the end of the row, you should have an odd number of sc (for pattern balance).
The foundation row sets up the width of your top. The fabric will stretch and the side ties add width, so do not start with your exact bust measurement.
Row 2 (dc row):
- Ch 2 (counts as dc), turn.
- Dc in 2nd st and in each st across.
- This forms a solid dc base that will alternate with textured rows.
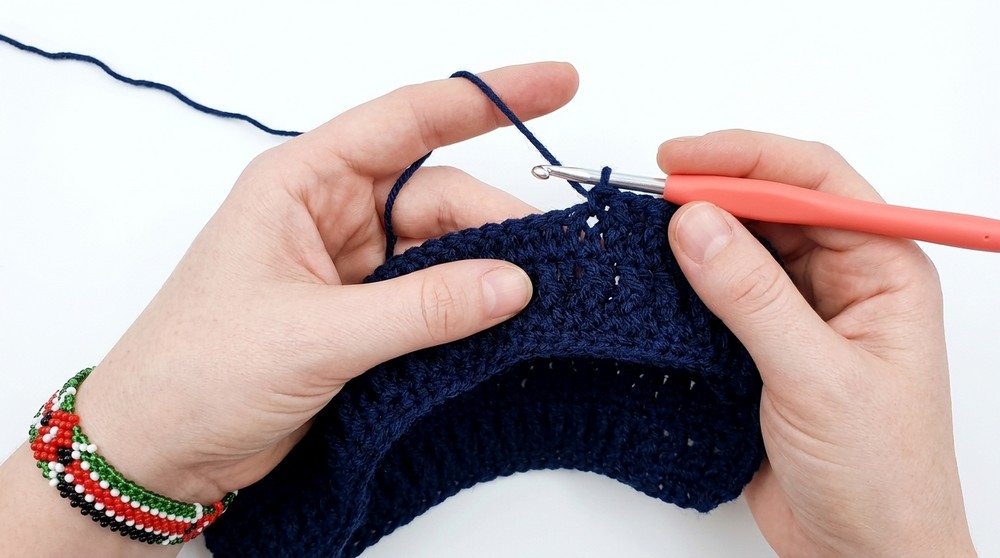
Row 3 (right side texture row):
- Ch 2, turn (counts as dc).
- Fpdc in 2nd st.
- Alternate [dc in next st, fpdc in next st] across, ending on a dc in top of turning ch.
- You are now establishing your staggered front post double crochet pattern.
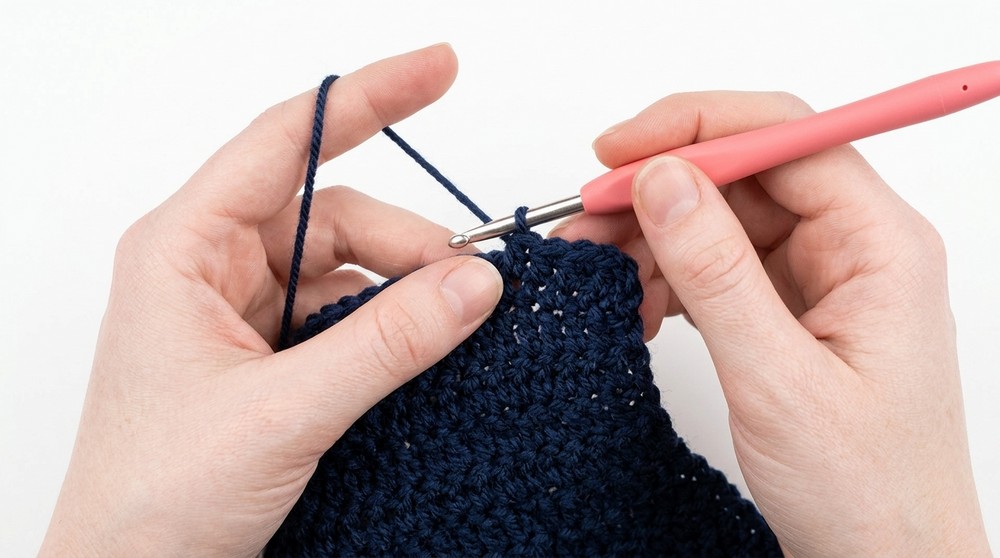
Row 4 (wrong side solid dc):
- Ch 2, turn.
- Dc in each st across.
- Every wrong side row is simply double crochet into each stitch—this gives a smooth wrong side and lets your post stitches pop!
Row 5+ (continue pattern):
- Repeat Rows 3 and 4, always alternating a textured (fpdc) row with a solid (dc) row.
- On each right side row, alternate starting with 1 or 2 dc at the beginning, as established; follow visible post stitches.
- Continue until panel measures ~10.5” in length, ending with a dc row.
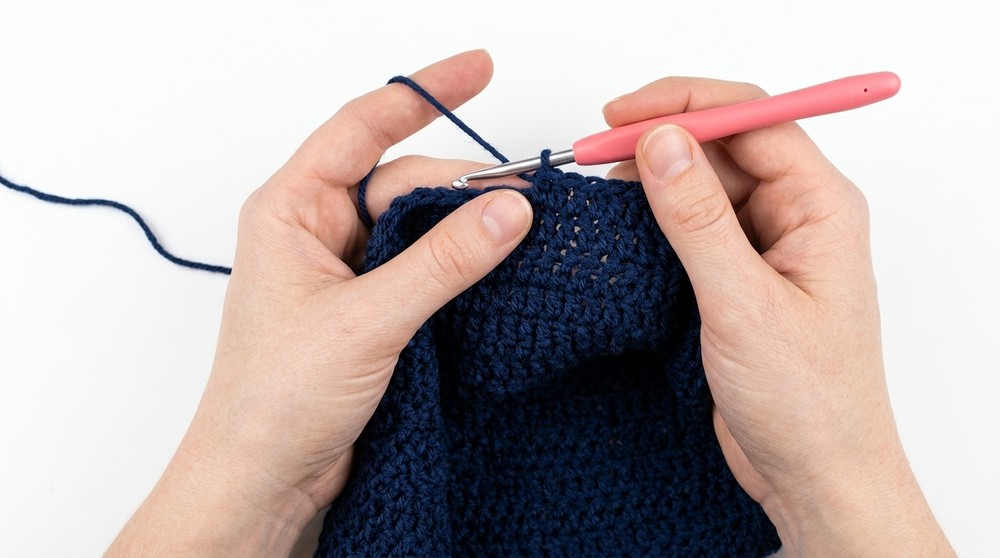
If you do not closely read patterns: alternate a solid dc row, then a row with post stitches, until your piece is the length you want (generally just above your waist).
Side Strap Edge
Edge Set-Up (both sides):
- With RS facing, attach yarn at top edge of side.
- Work 3 rows sc (single crochet) evenly from top to bottom, turning each row.
This stabilizes the side, ready for strap holes.
Eyelet Row for Side Lacing:
- Ch 2, turn.
- *Sk 2 sts, sc in next, sc in next 2 sts, ch 2, sk 2, sc in next 3 sts; repeat from * across to end.
- You’re creating small chain spaces for straps to lace through.
Edge Finish Row:
- Ch 1, turn.
- Sc in each sc, and work 2 sc in each ch-2 sp across entire edge.
Now your side is finished and ready for lacing! Repeat this full edge section on the other side.
Side Lacing Strap
- Ch 300. (or as needed for length)
- Weave chain through side eyelets from bottom to top.
- Repeat for other side.
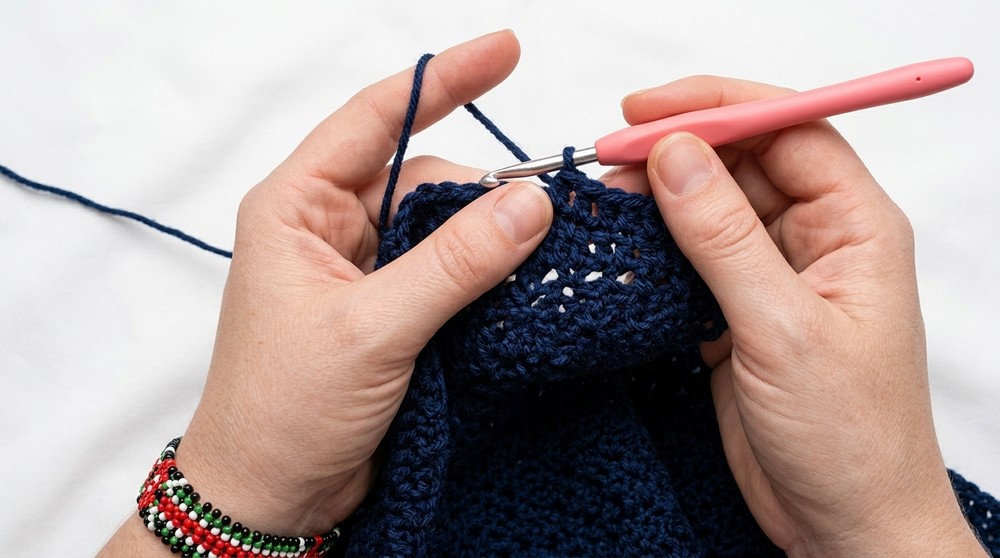
The long lacing ensures your top fits your body perfectly!
Shoulder Strap
- Ch 40.
- Attach with sl st to opposite top front and back (the strap crosses one shoulder only).
- Fasten and weave in ends.
This classic one-shoulder strap adds flair and anchors your ruffle section.
Ruffle Section (One Shoulder)
- With RS facing, attach yarn to back at arm edge and work across front and shoulder ch.
- Row 1: Ch 2, 2 dc in each st and 2 loops/ch across entire edge and shoulder strap; turn.
- Row 2-4: Ch 2, dc in each st across. (Add more rows for larger ruffle.)
- **Fasten off, weave in ends. Block lightly if desired._
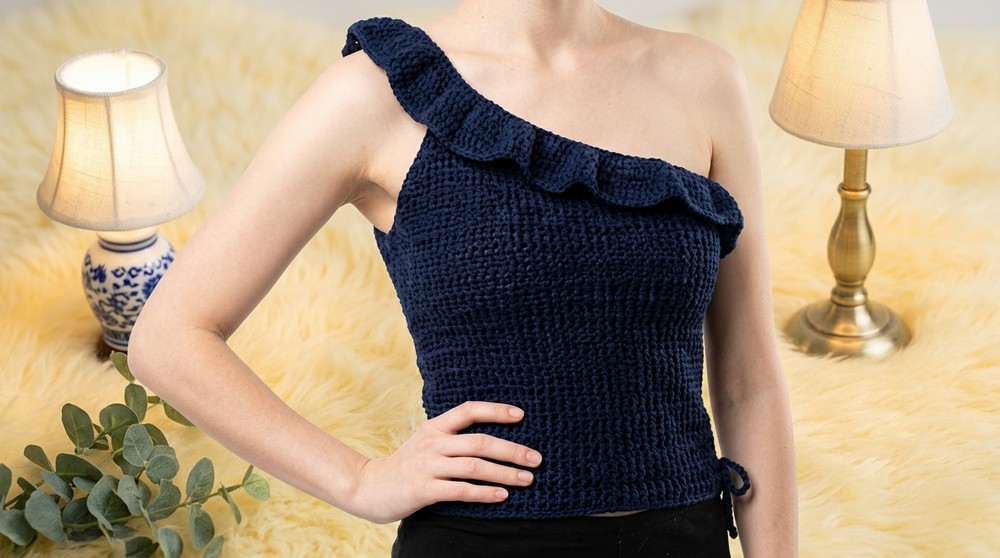
The ruffle adds playful drama. Work 2 dc in each stitch for the first row to create a full, flared ruffle. Then, work 3 or 4 rows of dc; add more for a bolder finish.
Assembly & Finishing
- Weave in all ends with a yarn needle.
- Lace up sides with chains, adjust for fit, and tie in bows.
- Try on top, check fit, adjust ties if necessary for snug yet comfortable wear.
- Block gently to shape ruffle if desired.
About This Pattern (Process & Stitch Guide)
You begin this top by working a long single crochet foundation for width. The body is made in textured rows alternating double crochet and front post double crochet on the right side and solid double crochet on the wrong side. Side edges are finished with stable sc rows and small chain eyelets for lacing. Add the dramatic one-shoulder ruffle by working increases along the top, then smooth strap rows connect across one shoulder. Complete with long lacing chains to personalize fit.
What Stitches Are Used in This Pattern?
- Single Crochet (sc): Panel edges and base.
- Double Crochet (dc): Main fabric and ruffles.
- Front Post Double Crochet (fpdc): For the rib-like, textured pattern.
- Slip Stitch (sl st): For joining and assembly.

Leave a Reply