

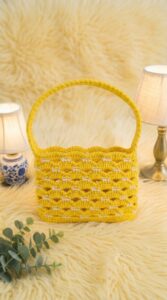
Crochet a stylish shoulder net bag for girls with this easy-to-follow pattern, perfect for everyday use and lightweight carrying needs.
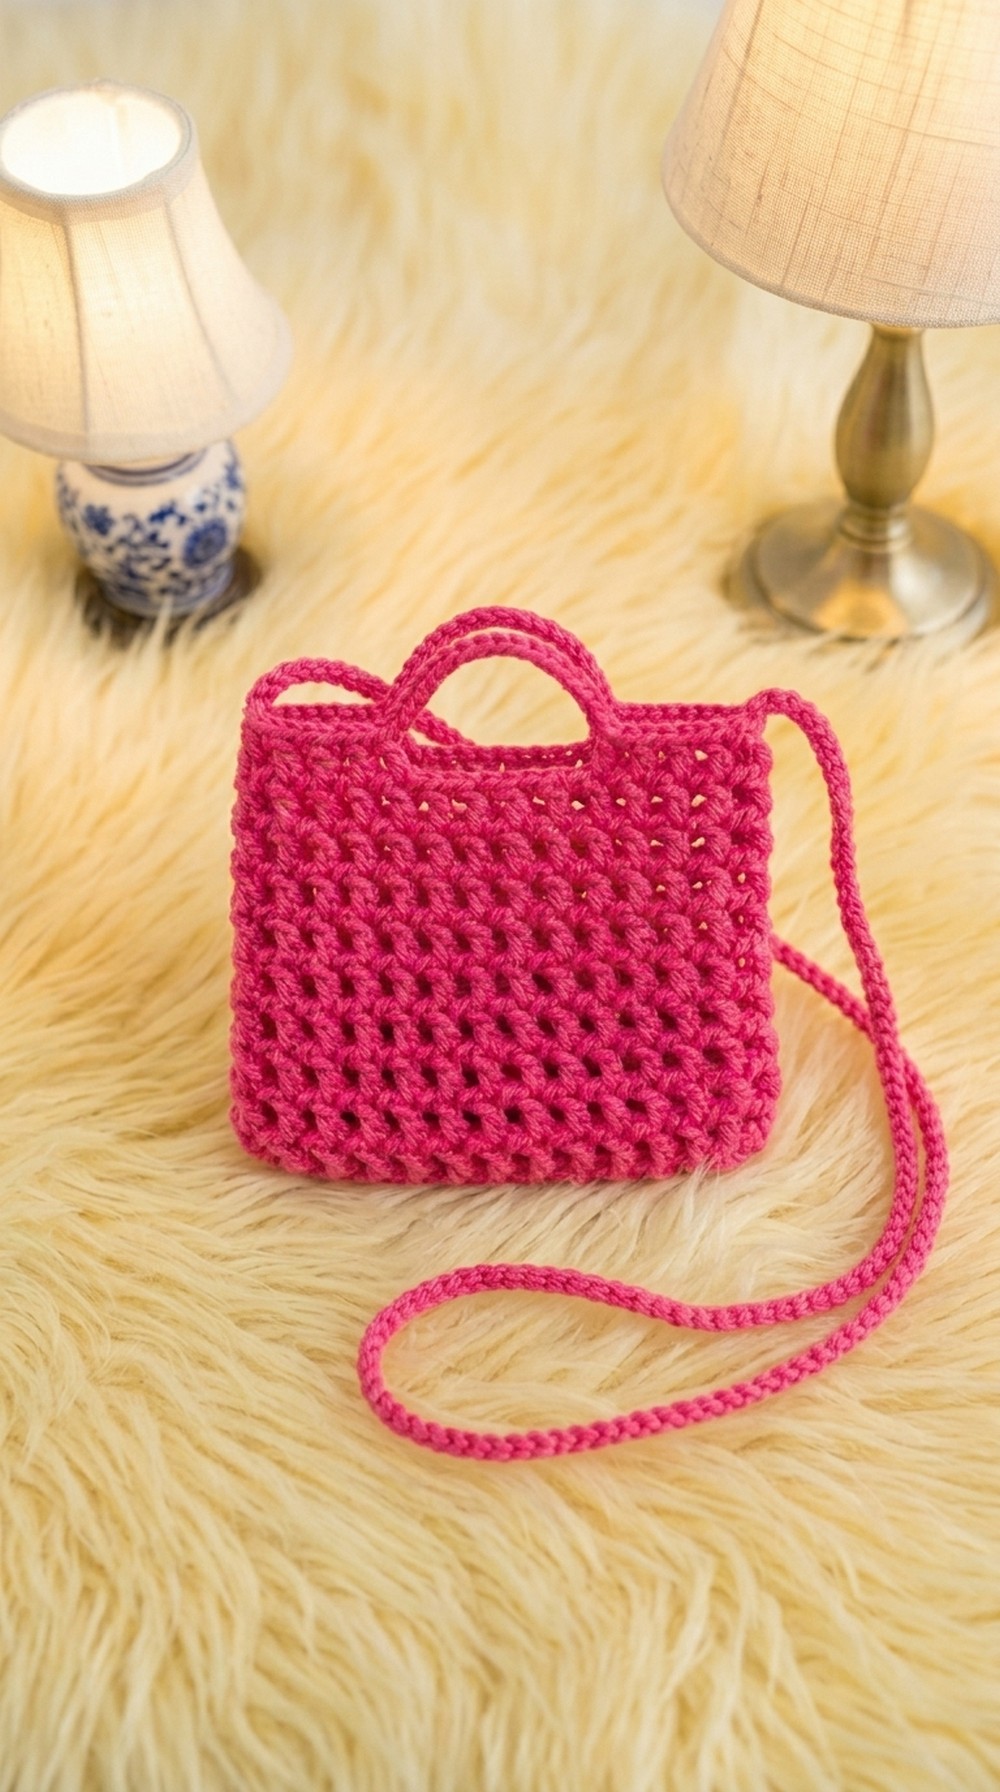
There’s something special about finishing a handmade bag that’s both useful and stylish. Right at the center of this process is a free crochet shoulder net bag pattern, offering a fresh, modern take on everyday carryalls. The open meshwork feels light and airy, with a see-through look that pops no matter what yarn color you choose.
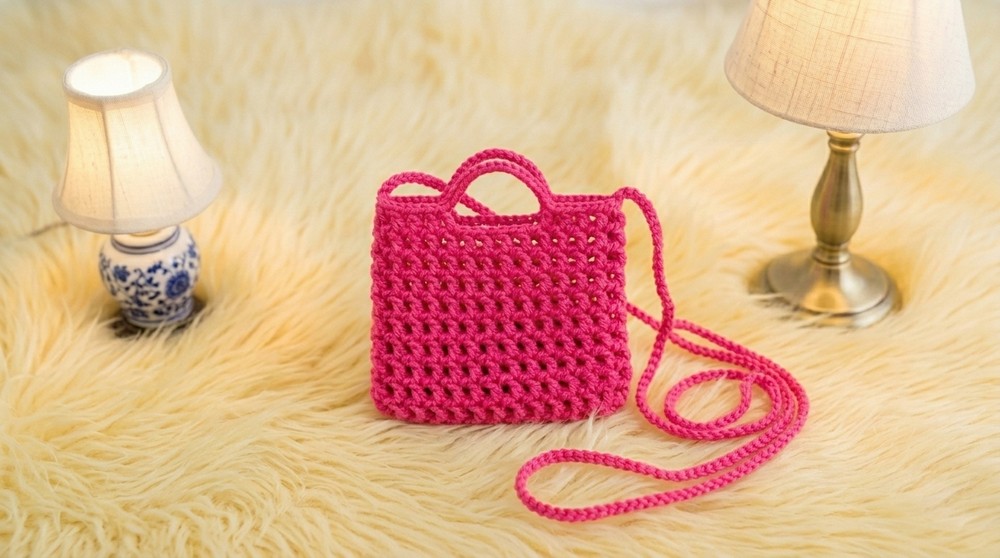
The bag's shape stands out with its roomy body and wide, comfortable straps that sit easily on your shoulder. The net design gives a lovely texture, soft to the touch, but strong enough to hold groceries, towels, or books. Even with heavy items, it stretches without losing its shape, and has a bit of bounce that feels satisfying.
Elegant Crochet Shoulder Net Bag Pattern for Everyday Use
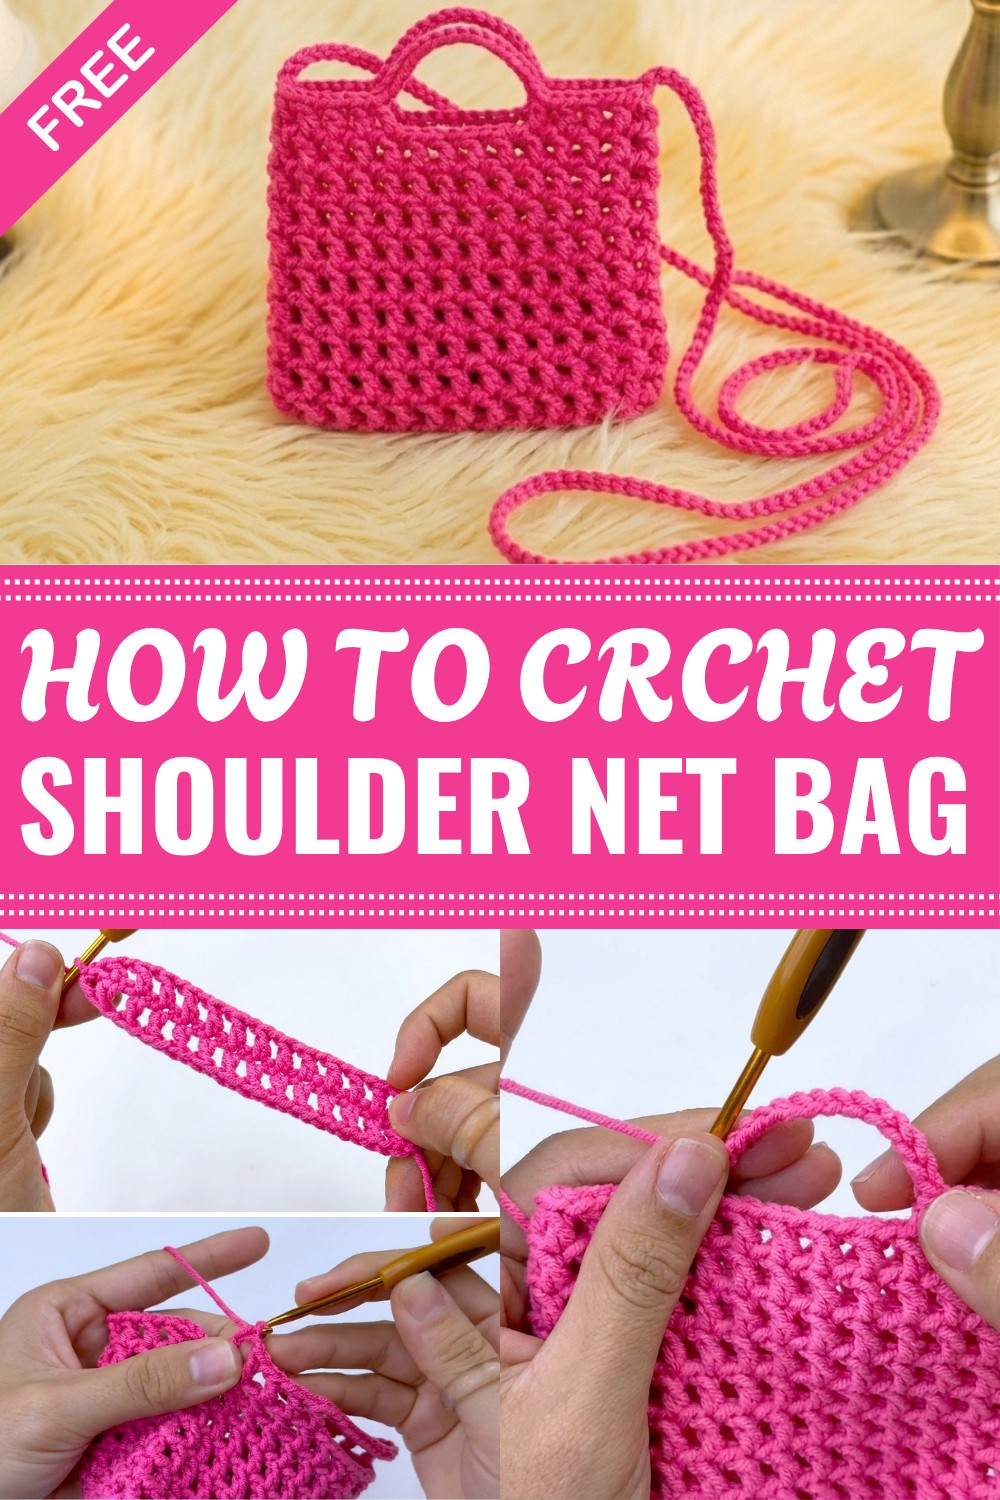
One detail I always admire is how compact this bag folds down. Slip it into a purse or glove compartment, and it’s always handy for a last-minute errand. The airy texture also means contents stay fresh, great for market shopping or the beach.
What truly makes this bag appealing is its mix of beauty and function. The pretty meshwork draws the eye, but it’s also built for repeated use. After a few washes, mine has only gotten softer while keeping its lovely shape. Whenever I carry it, friends always stop to ask where I got such a charming and practical bag. For me, it’s a staple, offering cheerful color and everyday convenience, all in one gorgeous piece.
How I Made the Crochet Pattern
- Chose a soft, sturdy 5 ply milk cotton yarn and a 3.5 mm hook
- Started with a chain foundation of 29
- Worked double crochets separated by chain spaces to form the net
- Added rounds without joining, for a seamless finish
- Marked the start of rounds with a stitch marker
- Increased at each end for a rounded shape
- Finished with single crochet edging and optional handles
What You Can Make by Using These Stitches
- Net bags of any size—produce bags, pouch bags, totes
- Market shopping bags
- Soap saver pouches
- Water bottle holders
- Reusable gift bags
- Mesh toppers for jars and storage
Before You Start
- Read the Whole Pattern Carefylly And understand it the, go to next!
- All stitches are based on standard US crochet terms
- You can make your bag larger or smaller by adjusting the starting chain or number of rounds
- Practice basic stitches like chain, double crochet, single crochet, and slip stitch
- Gather your materials before starting to avoid interruptions
- Place your stitch marker to help track round ends
- Work at your own pace—there’s no rush!
Pattern Notes
- This pattern is ideal for beginners and can be followed easily
- Uses only simple stitches, with repeating rounds
- Suitable for soft and sturdy yarn like milk cotton 5 ply
- Finished product is versatile and can be used for many purposes
- Handles or a drawstring can be added easily
- The net pattern is stretchy and holds more than it appears
- Quick to make; great for practice or gift ideas
Skill Level
Beginner: Only basic crochet skills required.
Finished Size
Approx. 13 x 13 cm base; height about 15 cm (can vary based on rounds and yarn).
Materials
- Milk cotton yarn, 125g, 5 ply Colour: Bright Pink
- 3.5 mm crochet hook (6/0)
- Scissors
- Darning needle
- Stitch marker (helpful)
Measurements / Sizing (Optional Schematic)
- Foundation chain measures ~18 cm
- Bag expands naturally with use
- Repeat mesh rounds for more height as desired
Gauge (and Stitch Pattern if Applicable)
- Gauge: not critical, but 7 mesh repeats wide ≈ 10 cm
- Stitch pattern: mesh with alternating dc, ch 1, sk 1
Stitch Abbreviations
- ch – chain
- sc – single crochet
- dc – double crochet
- sl st – slip stitch
- st – stitch
- sk – skip
Special Stitches
- Working a mesh pattern: dc, ch 1, sk 1
- Rounding ends for an oval base (adding multiple dc into one ch)
The Pattern!
1. Begin
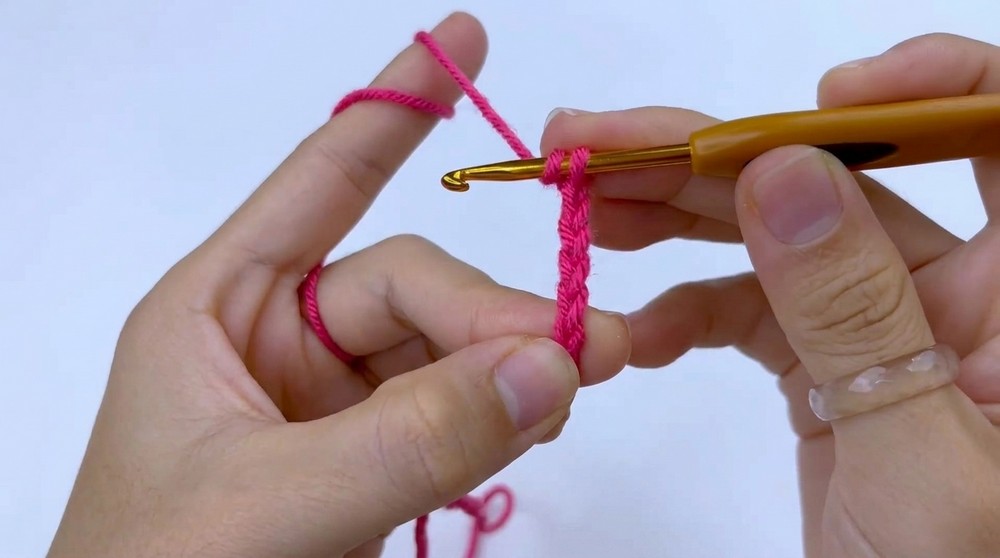
- Make a slip knot.
- Ch 29.
You start with a slip knot and a long foundation chain. This determines your bag’s width. If you want a wider or narrower bag, adjust the number of chains.
2. Round 1 (Base and First Mesh Row)
- Sk 4 ch from hook (these count as your first dc and one ch 1 space).
- In the 5th ch, dc 1.
- Ch 1, sk 1 ch, dc 1 in next chain.
- Repeat (ch 1, sk 1 ch, dc 1 in next ch) until the last chain.
- In the last chain, ch 1, dc 3 in the same chain.
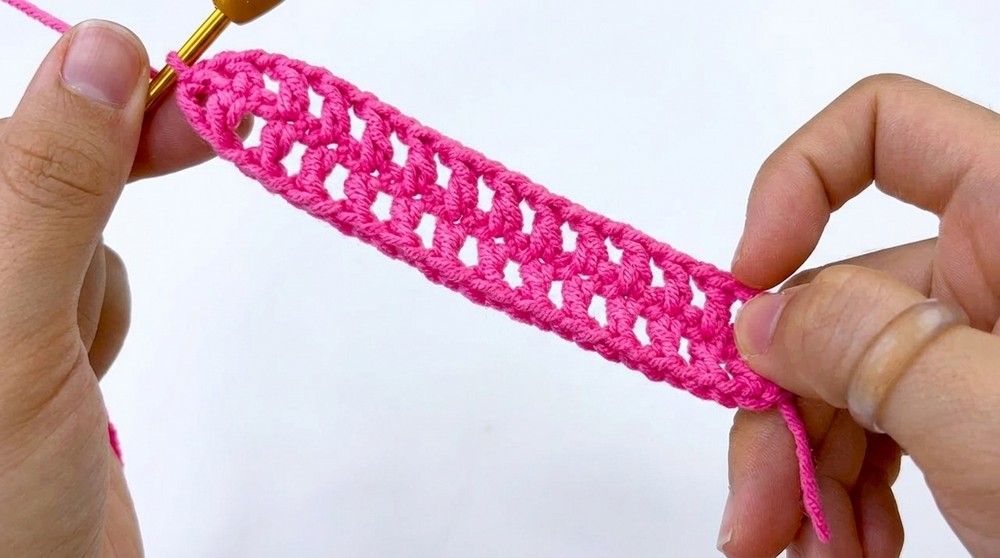
The first row is worked in mesh, and at the end, you put three double crochets in a single chain to help “turn” and work along the other side, creating a curve.
3. Work Along Opposite Side
- On the bottom of the starting chain, ch 1, sk 1, dc 1 in each base chain.
- Repeat to the end. In the base of the first chain, ch 1, dc 2 in the same space (for a rounded edge).
Continuing around the chain makes an oval base for your bag, setting up for seamless rounds. Adding extra double crochets at both ends keeps your base flat.
4. Mark the Start of the Round
- Place a stitch marker in the top of the 2nd dc (where the round began).
A stitch marker helps you see where each new round starts, so your mesh stays even and you won’t lose your place. It’s especially useful in continuous rounds.
5. Round 2 and Continuing
- Keep working in the round without joining.
- Ch 1, sk 1, dc 1 in every dc and every ch 1 space around.
- In each group of three dc at rounded ends, ensure there’s one dc into each.
- Repeat this (mesh) round until your bag is the height you want—usually 12–18 rounds.
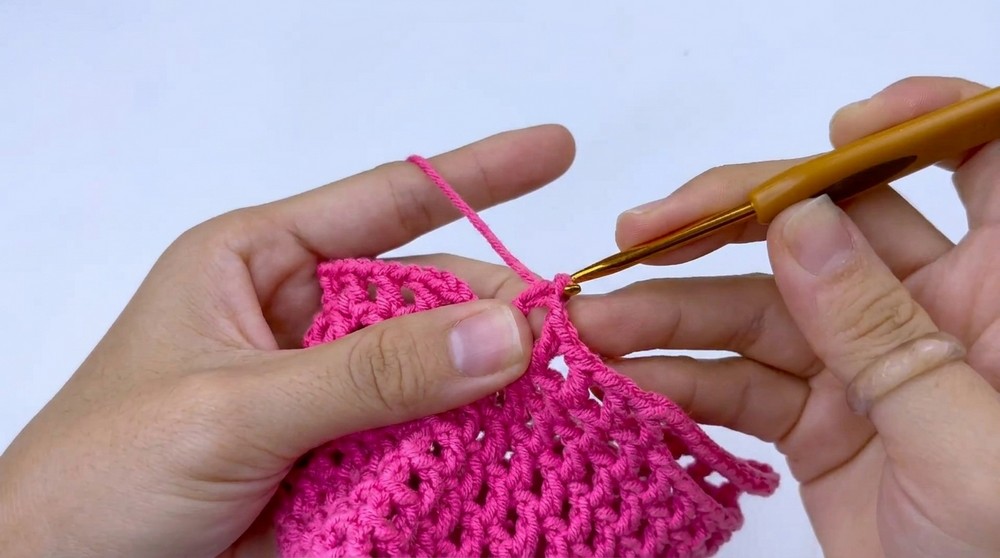
You just keep repeating “chain one, skip one, double crochet in the next spot,” which builds the net. The bag will get taller with each round. If you want a deeper bag, just do more rounds.
6. Edging and Handles (Optional)
- To finish, sc 1 in each dc and ch 1 space around the bag’s top edge, then sl st to join.
- For handles, ch 20 (for a short handle), skip across to the opposite side and attach with sl st. Repeat for the second handle and sc around to reinforce.
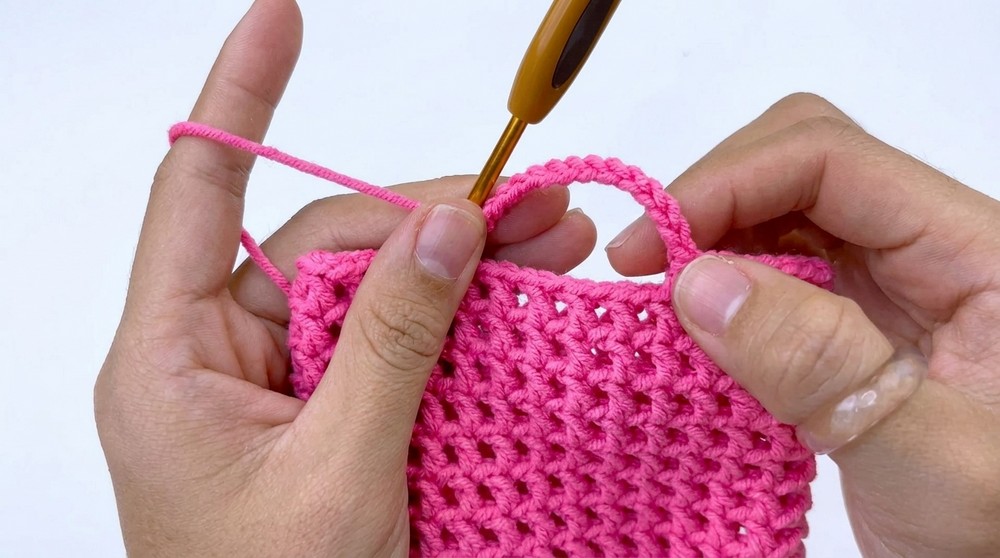
When you’re at your desired height, single crochet around the entire top to strengthen the opening. If you want, you can add handles simply by making long chains and attaching them at both sides, then crocheting single crochets over the chains to make them sturdier.
Solutions of Problems
Follow these soloutions if you get problems.
1: Problem: Bag twists or leans sideways
Solution: Count your stitches regularly, especially at the ends and after every round, to ensure symmetry.
2: Problem: Bag mesh is too loose
Solution: Use a smaller hook or tighter tension to create a denser, more secure net.
3: Problem: Bag edges are too floppy
Solution: Add one or two extra rounds of single crochet at the top for strength.
4: Problem: Handles seem weak or stretch too much
Solution: Crochet two rounds of single crochet on each handle, or use tighter chains.
Assembly & Finishing
- After the last round, cut yarn and pull through
- Use a darning needle to weave in all ends securely
- Check handles and opening—add extra stitches if you want more strength
- Gently block the bag if you want it to dry into a flat shape
- Your bag is ready to use or gift!
Quick Summary about pattern:
If you’re unsure with patterns, just remember: you start with a chain, work mesh stitches back and forth with double crochets separated by chain spaces, curve the ends with extra stitches, and keep crocheting more mesh rows upwards, in a spiral. Add a tidy single crochet border and make handles with chains if desired. Weave in your yarn tails, and your net bag is done—it will stretch to fit plenty of things despite its size!
Leave a Reply