

Stay Stylish by creating this free Crochet Drawstring Bag Pattern, featuring a trendy design for a unique storage accessory.
One of the best things about this pattern is how practical it is in everyday life. I’ve found so many uses for mine, whether I’m heading to the market, packing a few essentials for a walk, or looking for a handy way to store my crochet hooks and yarn. This free crochet drawstring bag makes it really easy to open and close, but it also feels secure enough that nothing falls out, even if the bag gets tossed around in a bigger purse or tote.
Crochet Drawstring Bag Pattern for Girls
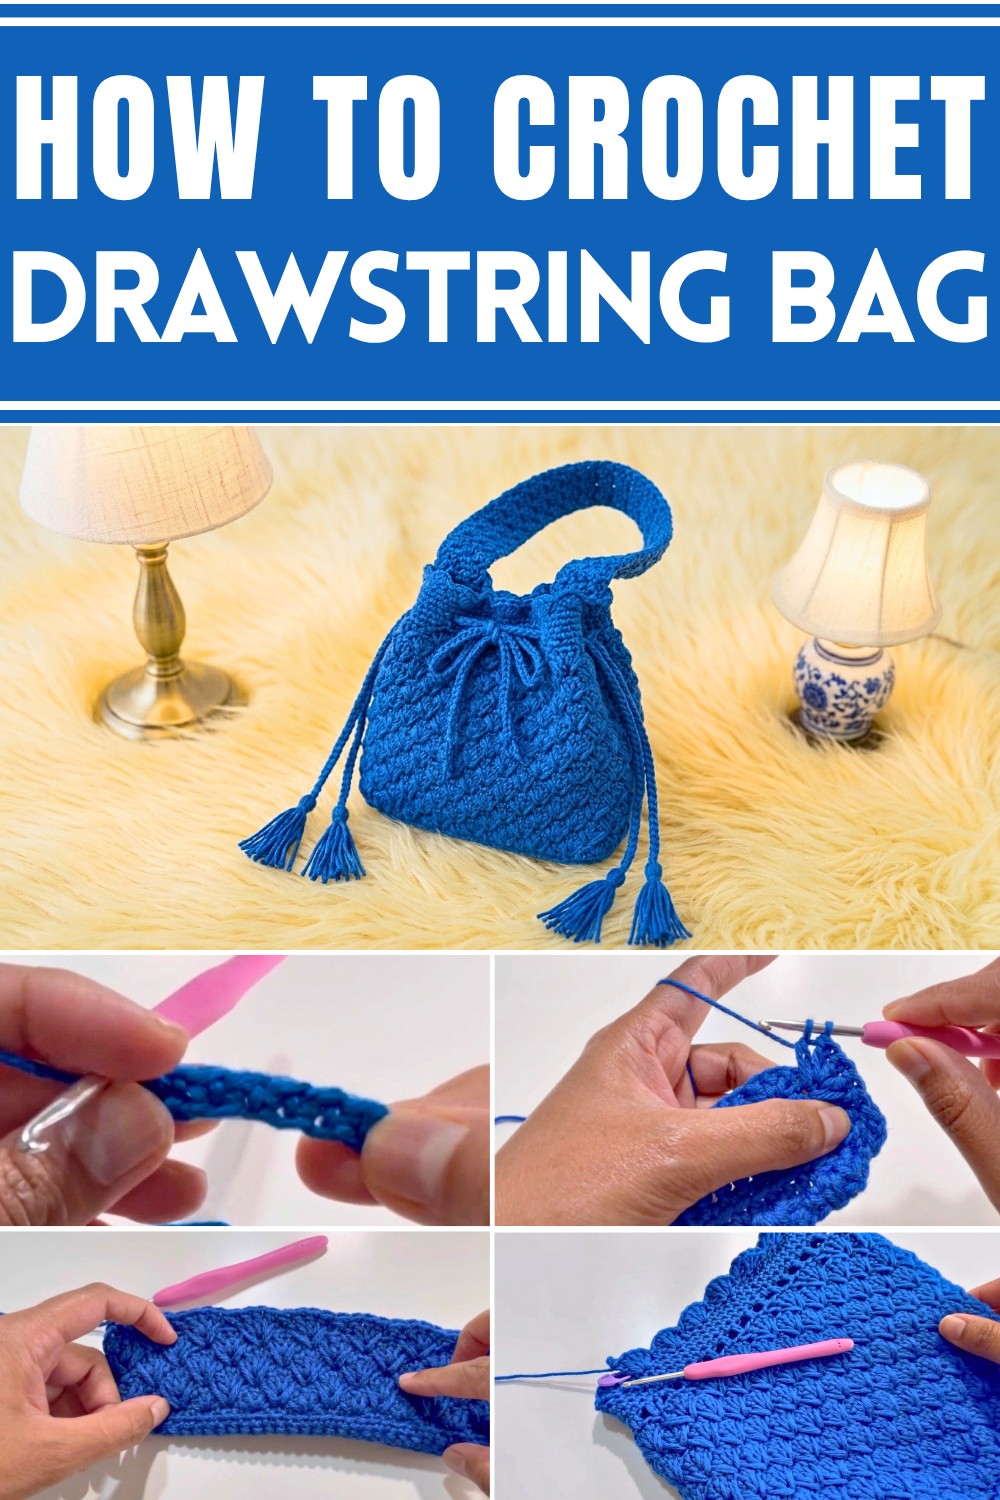
What makes these bags even more appealing is their lovely texture and shape. The crochet stitches create a soft yet sturdy fabric, and you can really make each bag your own by picking different colors or even adding stripes or decorative accents. Most patterns feature a rounded or slightly tapered shape, giving the bag a cute pouch look that's both attractive and functional.
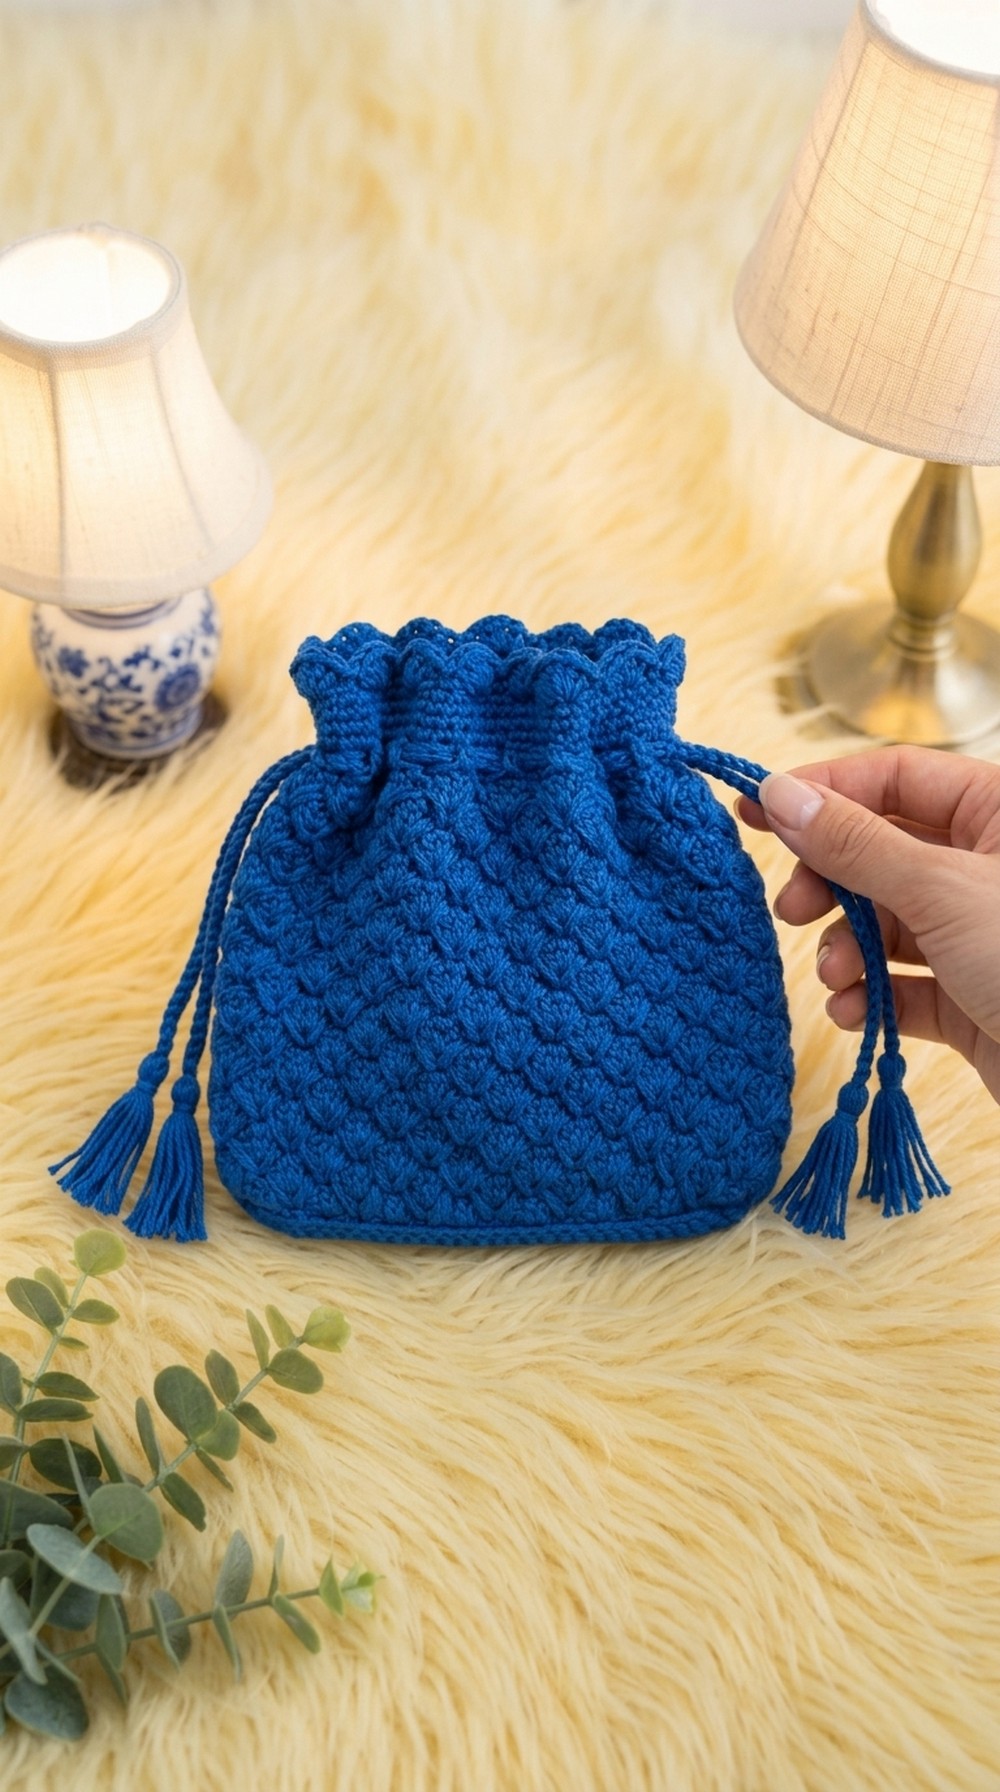
The real beauty is in the details, like the way the drawstring weaves neatly through little holes near the top, letting you cinch the bag up tightly. You can use a matching yarn cord, a pretty ribbon, or even wooden beads on the ends for something special. The finished bag always has that inviting, handmade appeal that stands out from anything store-bought.
Whether you use it for gift-giving, storage, or just to keep things organized around the house, a crochet drawstring bag is always a useful project. I love making them not just for myself, but for friends and family, since they're quick to finish and always appreciated. Once you try one, you’ll see how easy it is to find new ways to use it every day.
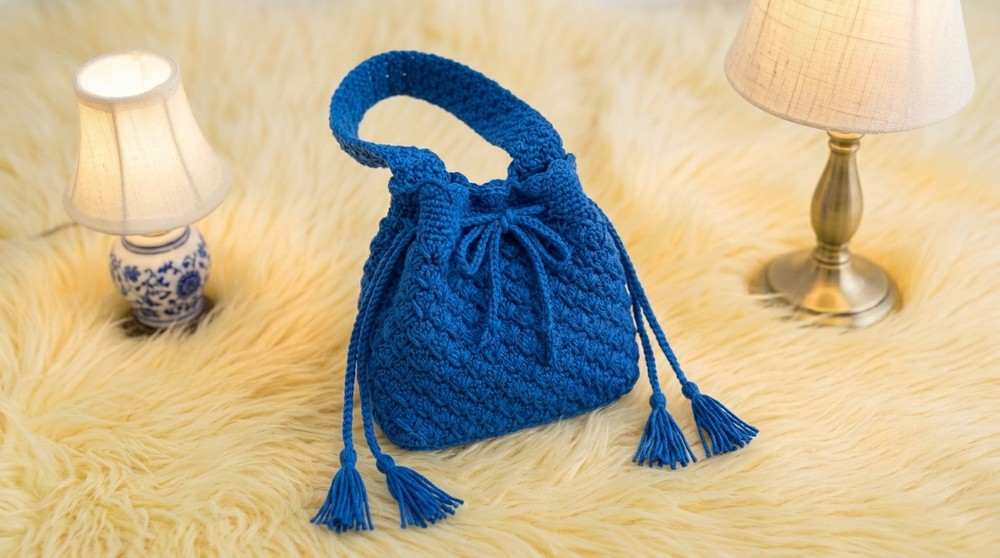
Suzette Stitch Drawstring Bag
Pattern Notes
This pattern provides a modern, sturdy drawstring bag using classic stitches and a textured strap. You’ll start with a simple rectangle base worked flat, pick up stitches around to work the body in-the-round with a beautiful shell and elongated dc pattern, finish off with an eyelet band for your drawstring, then add a comfy Suzette stitch strap. The design is attractive, strong, and perfect for everyday use.
Skill Level
Beginner to Advanced Beginner
(Rudimentary understanding of rounds and skipping stitches is helpful.)
Finished Size
- Body: 8 inches (21 cm) wide x 8 inches (20.5 cm) tall
- Strap: 16 inches (41 cm) before sewing
- Full bag (with strap): 15 inches (38 cm) tall
(Measurements exclude drawstring length.)
Materials
- 100% DK cotton yarn, approx. 100g
- 3.5 mm crochet hook
- Yarn needle
- Scissors
- Stitch marker (optional)
- Measuring tape
Measurements / Sizing
- Main base: 31 ch foundation, 5-row rectangle
- Body circumference: 68 sts per round
- Eyelet round: 34 hdc, 34 ch-1 sps
- Drawstrings: 2 x 100 ch, each
- Strap: 7 sts wide, 55 rows or to length
Gauge & Stitch Pattern
Not crucial; rectangle base should measure 8 x 1.25" after 5 sc rows.
Bag uses single crochet (sc), double crochet (dc), half double crochet (hdc), slip stitch (sl st), and back loop only (BLO).
Stitch Abbreviations
ch – chain
sc – single crochet
dc – double crochet
hdc – half double crochet
sl st – slip stitch
BLO – back loop only
st(s) – stitch(es)
Special Stitches
Suzette Stitch (for handle): In same st: 1 sc, 1 dc. Skip next st. Repeat.
BLO: Work only into the back loop of the stitch.
Elongated dc: dc that’s worked down into previous rounds.
The Pattern!
1. The Flat Base
- Make a slip knot.
- Ch 31.
- Sc in 2nd ch from hook and in each ch across. (30)
- Ch 1, turn. Sc in each st across for 5 rows.
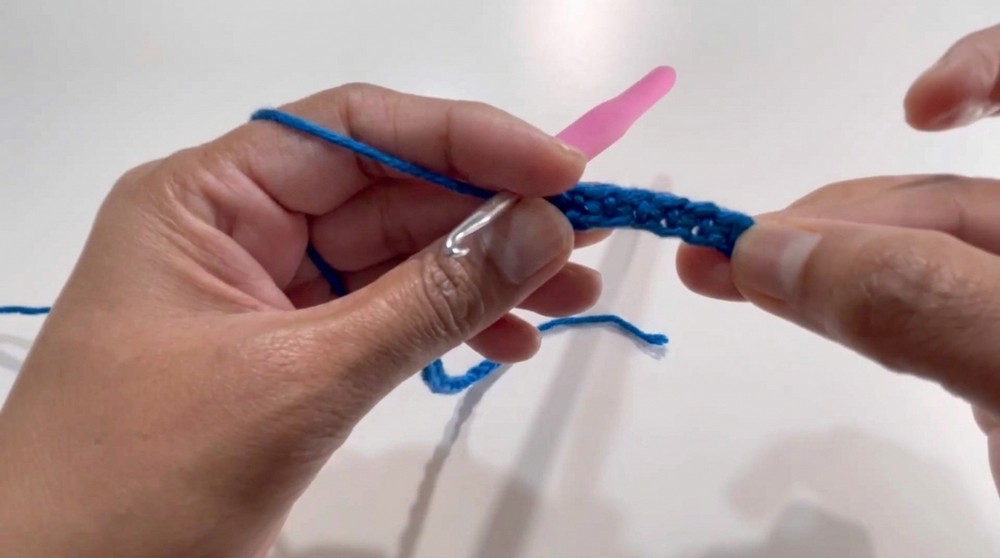
Begin your bag with a flat rectangle made of single crochet stitches. Make 31 chains, then work one single crochet into each chain, turning the work at the end of each row for five rows. This forms the bag's sturdy bottom.
2. Pick Up Sides & Work in the Round
- Ch 1. Rotate to short side, sc 4 sts evenly along edge.
- Rotate, sc BLO in each of 30 sts along long edge.
- Rotate, sc 4 sts along next short edge.
- Rotate, sc BLO in each of 30 sts along final long edge (total 68 sts).
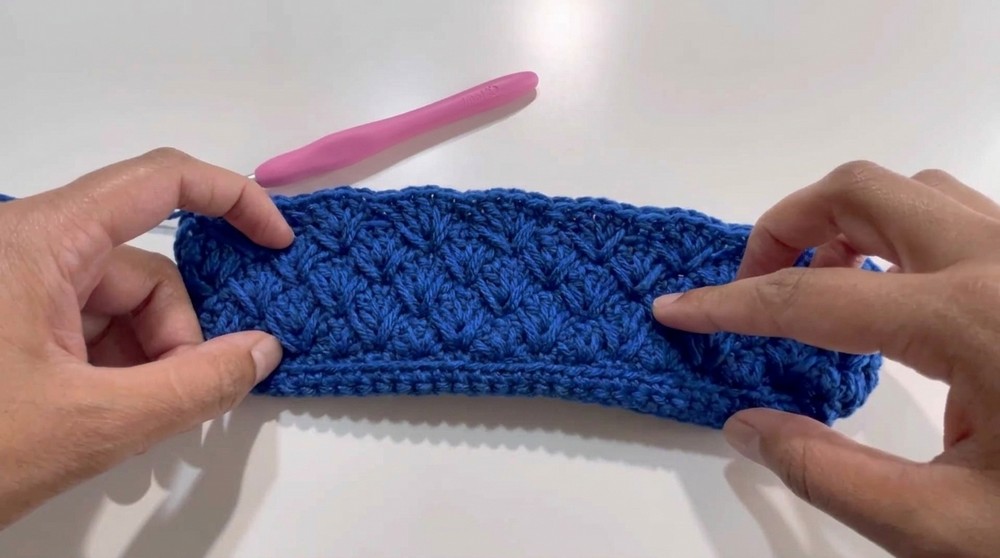
Pick up stitches evenly all the way around the perimeter of the rectangle: 4 at each short end, and 30 (BLO) along each long side. You’ll now have a round ready for the bag sides.
3. Close the Base Round
- Sl st to first sc to join.
- Ch 1. Sc in same st (pm if you wish).
Slip stitch to join the round, then start the first sc. You may wish to use a stitch marker here to keep track of rounds.
4. Establish Bag Pattern (Shell Rows)
- [skip next st, in next: 3 dc; skip next st, in next: 1 sc] repeat around. End with 3 dc, sl st to first sc to join.
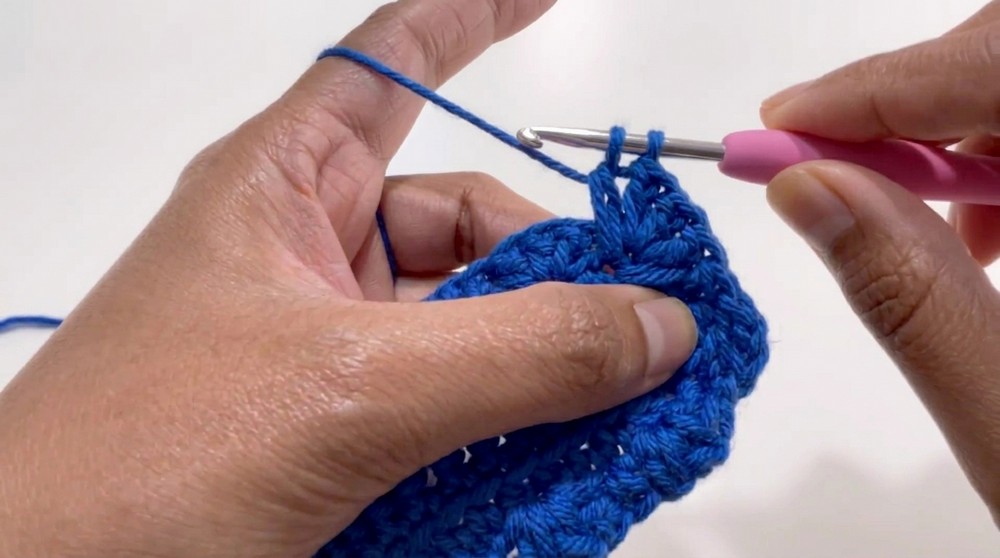
Work in the shell lace pattern: keep skipping a stitch, work three double crochet in the next, skip one, work a single crochet. Repeat this sequence for the whole round, which forms a nice openwork look.
5. Alternating Shell & Drop Double Crochet Rounds
- For odd-numbered rounds:
- Ch 3 (counts as dc), dc in same st,
- Work elongated dc (yarn over, insert in sc 2 rounds below, draw up long loop, complete dc) across shell sequences,
- After drop dc into sc, into next available st, work 3 dc.
- Continue this pattern, join with sl st to top of starting ch.
- For even-numbered rounds:
- Ch 1.
- Elongated dc (BLO, into middle st of shell below, two rounds down)
- Skip next section as established, work 3 dc into elongated dc from previous round.
- Continue sequence, join with sl st to first st.
Alternate these two rounds to build up the body. Odd rows will use the elongated dc into the single crochets, even rows use the elongated dc into the shell center. This forms a flowing, lacy pattern. Work to round 18.
6. Eyelet Round for Drawstring
- Ch 1. [hdc, ch 1, skip 1] around (34 hdc, 34 ch-1 sps).
- Sl st to first st to join.
Now you make holes for your drawstring by skipping a stitch, chaining one, and doing a half double crochet in the next.
7. Top Band
- Ch 1. Sc in every hdc and every ch-1 space (68).
- Sl st to join.
- Repeat sc in each st for 3 more rounds.
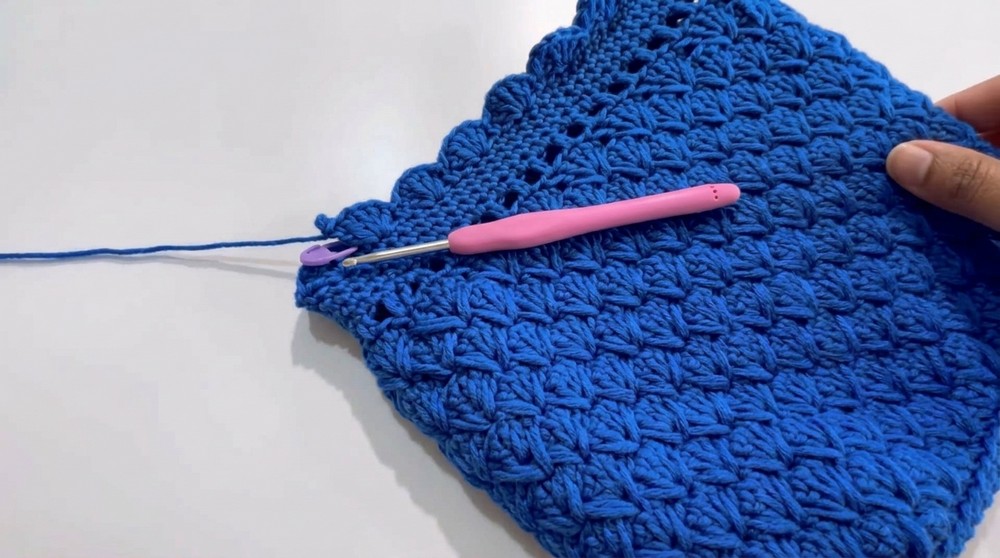
Build a sturdy top band by making one single crochet in each stitch and space. Work a total of 4 rounds for a neat, substantial finish.
8. Invisible Join; Fasten Off
- Cut yarn and use a needle to sew seamless join.
- Weave in all ends.
For a flawless edge, use a yarn or tapestry needle to mimic the appearance of a finished round, then hide your ends.
9. Strap (Suzette Stitch)
- With long tail, make a slip knot.
- Ch 8.
- Sc in 2nd ch, sc across (7).
- Ch 1, turn. [Sc, dc] in first st, skip 1, repeat to last st, sc in final st.
- Repeat previous row (Suzette stitch) to approx. 16 inches (41 cm), or 55 rows.
- For the last row: Sc in each st across. Cut yarn, leave a tail.
You’ll make a strap with the Suzette stitch: a sequence of a single crochet and double crochet in the same stitch followed by a skipped stitch, repeated. This creates a soft, dense and stretchy handle.
10. Attach Strap
- Place bag inside out. Attach strap at base edge with whipstitch using yarn needle and tail. Sew down both ends of strap securely.
Turn your bag inside out. Sew both ends of the strap neatly across the base edge, spreading your stitches and hiding them for durability but minimal visibility from the outside.
11. Drawstrings
- Ch 100, twice.
- Use yarn needle to weave one chain in/out of every eyelet around from one side, second chain from the other side (so the drawstrings pull against each other).
- Even up and trim ends.
Create two long chains, each with 100 chains. With a yarn needle, thread one drawstring through half the holes, starting from one side, and the other drawstring from the opposite side. When you pull both, the bag cinches closed smoothly.
Assembly & Finishing
- Turn bag right-side out.
- Block if needed for crisp edges.
- Tighten and trim your drawstrings, knotting ends if desired.
- Check all seams are strong and weave in any last ends.
Carefully turn your bag right-side out and block or steam if a crisper shape is desired. Trim and knot your drawstrings for a neat, stylish finish, and your bag is ready to use or gift.
Leave a Reply