

Enjoy a unique Crochet Teddy Bear Coaster that brings charm and warmth to your home through an easy fun and beginner-friendly handmade project.
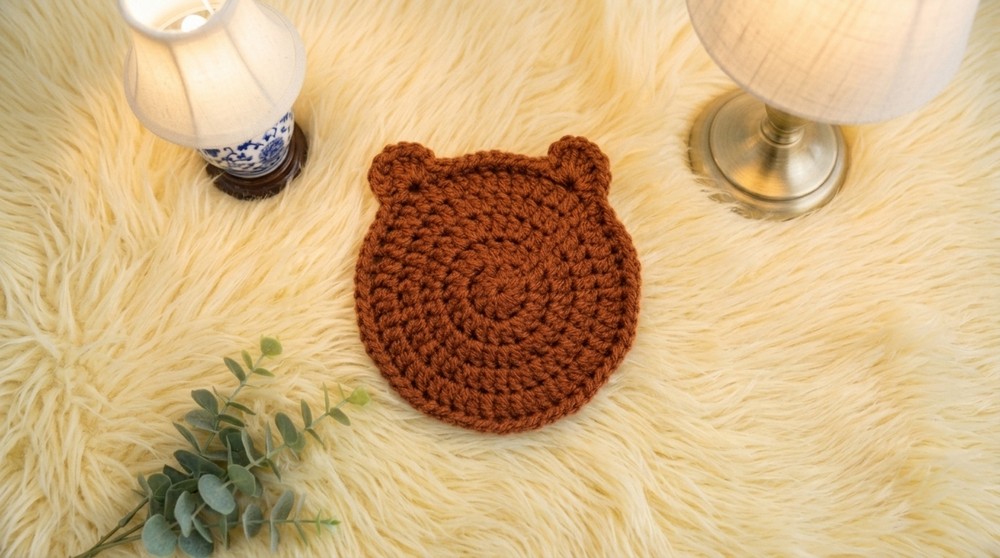
Looking to add a cute and cozy touch to your home? This is a fun project to try. The Crochet Teddy Bear Coaster Pattern shows you how to make a small, soft coaster shaped like a teddy bear’s face, complete with little ears. It’s just the right size for most mugs, but you can change the yarn or hook size to make it bigger or smaller as you like.
Lovely Free Crochet Teddy Bear Coaster Pattern For Desks Decor
This coaster is made using simple crochet stitches, mostly single and double crochet, worked in the round. By adding some increases and slip stitches, the coaster stays flat and gets its smooth, rounded shape. Using a soft cotton yarn works really well because it feels nice under your cup and it’s easy to wash.
Besides protecting your furniture from water rings and heat marks, these teddy bear coasters also work great as cute decorations on a desk or shelf. They can even be used as small mats for candles or plant pots, adding a playful touch wherever they’re placed.
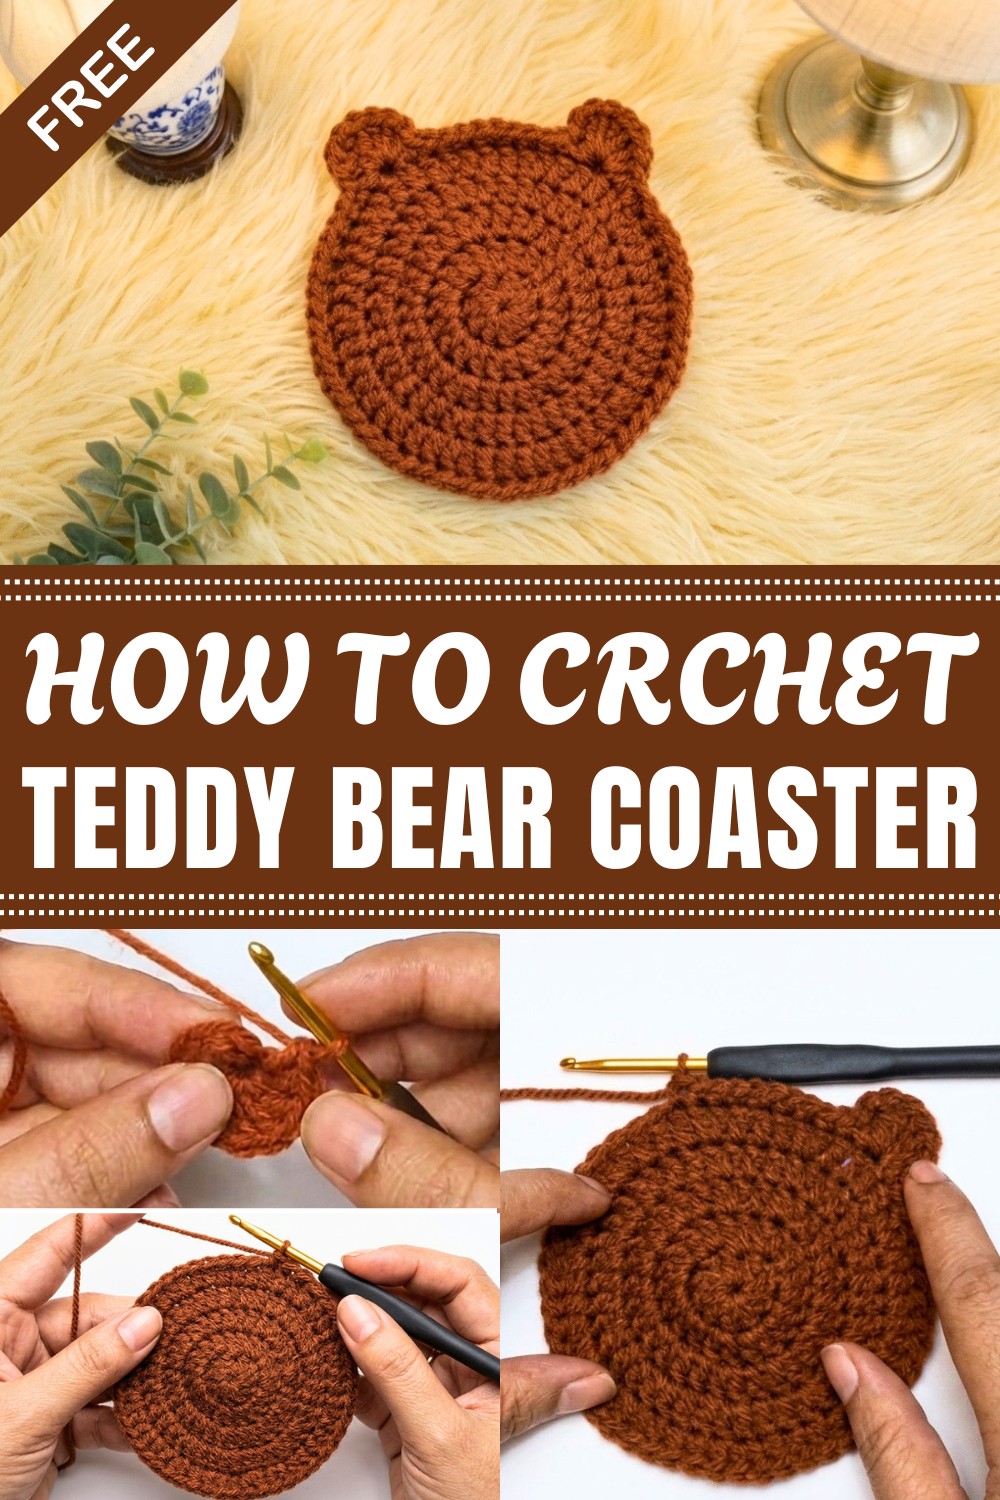
Inspired by the classic teddy bear, this design makes a sweet gift for baby showers, birthdays, or holidays. Keeping stitches even helps prevent edges from curling, and you can pick any colors you like. Adding small details, like embroidered eyes or a nose, gives each teddy bear more personality. This coaster is a simple, useful project that brings a bit of fun and warmth to everyday moments.
Crochet Colorful Round Coaster Pattern
Let’s learn how to make a cute, colorful round coaster using simple crochet stitches. This coaster is beginner-friendly, quick to make, and perfect for protecting your table surfaces while adding a handmade touch. The pattern uses easy-to-follow steps from creating a magic ring to working multiple rounds with increases to keep the shape flat and neat. Using a 3mm crochet hook and your favorite yarn colors, you can make a set of coasters that brighten your home or make lovely gifts.
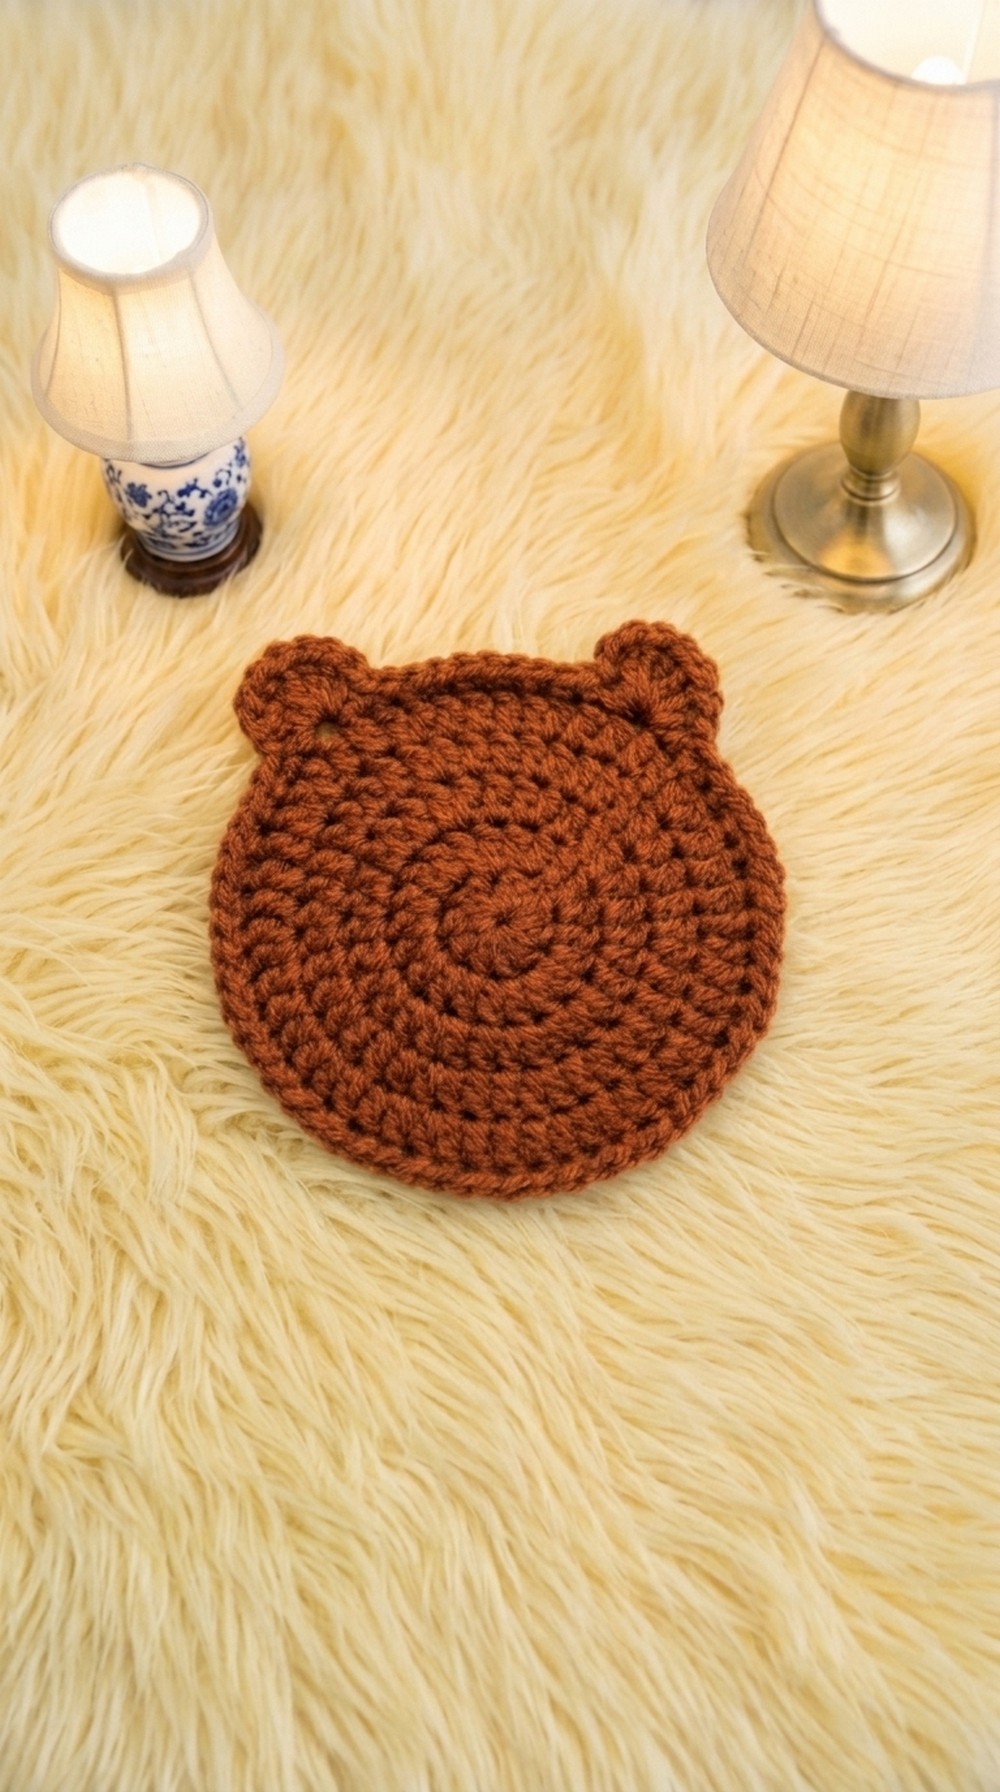
Quick Overview of Pattern
- Starts with a magic ring
- Work in rounds with single crochet and double crochet stitches
- Uses increases evenly for a flat circle shape
- Finishes with a neat edge and secure ends
- Suitable for multiple color options to customize
- Requires simple finishing techniques including slip stitches and weaving in ends
Notes
- Use a 3mm crochet hook for a fine, dense fabric that feels sturdy.
- Keep tension consistent to maintain the circle flat, avoiding curling edges.
- The magic ring closure lets you pull the center tight for a professional look.
- Slip stitches are used to join rounds without bumps.
- Apply a little glue at the end for extra security (optional).
- This pattern is ideal for beginners but also enjoyable for intermediate crocheters.
Skill Level
Beginner to Intermediate
Materials
- Yarn: 100% acrylic or cotton yarn in your choice of colors
- Crochet hook: 3mm (US size D/3)
- Scissors
- Yarn needle for weaving in ends
- Optional: Fabric glue for securing loose ends
Measurements / Sizing
- Finished coaster diameter: approximately 4.5 inches (11.5 cm)
- Thickness depends on yarn weight and hook size but should be firm enough to protect surfaces
Gauge
- Gauge is not critical for coasters but roughly 16 double crochets and 10 rounds equal 4 inches in diameter.
- Maintain consistent tension for even, flat rounds.
Stitch Abbreviations
- ch: chain
- sc: single crochet
- dc: double crochet
- sl st: slip stitch
- MR: magic ring
Special Stitches
- Magic Ring (MR): an adjustable ring used to start the coaster with no hole in the center. Instructions below.
The Crochet Pattern!
Starting the Magic Ring
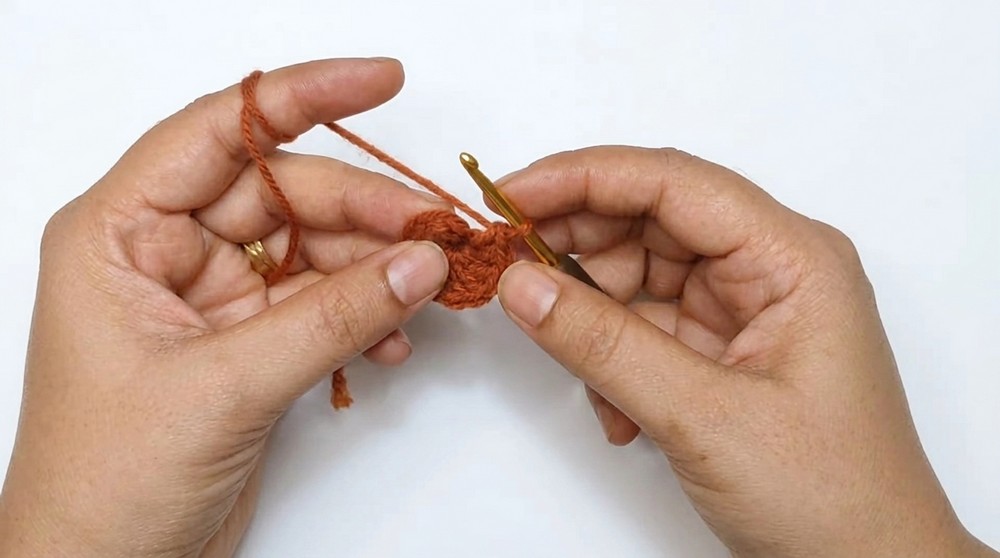
- Make a magic ring (MR):
- Wrap the yarn around your fingers to form a loop.
- Insert hook into the loop, yarn over, pull through.
- Chain 1 to secure.
- Single crochet 10 times into the magic ring.
- Pull the tail end of the yarn to close the ring tightly, forming the coaster center.
- Slip stitch (sl st) into the first single crochet to close the round.
Round 1: Build Foundation
- Chain 2 (counts as first double crochet).
- Make 10 double crochets (dc) into the magic ring evenly.
- Slip stitch (sl st) into the top of the initial chain 2 to close the round.
(You now have 10 double crochets.)
Round 2: Increase Round
- Chain 2.
- Make 2 double crochets (dc) into each stitch around (increase in every stitch).
- Slip stitch (sl st) to join the round.
(You now have 20 double crochets.)
Round 3: Alternate Increase
- Chain 2.
- Make 2 double crochets (dc) in the first stitch, 1 double crochet (dc) in the next stitch, repeat around.
- Slip stitch (sl st) to join.
(You now have 30 double crochets.)
Round 4: Continuing Increases
- Chain 2.
- Make 2 double crochets (dc) in the first stitch, then 1 double crochet (dc) in each of the next two stitches. Repeat around.
- Slip stitch (sl st) to join.
(You now have 40 double crochets.)
Round 5: Increase Pattern
- Chain 2.
- Make 2 double crochets (dc) in the first stitch, then 1 double crochet (dc) in each of the next three stitches. Repeat around.
- Slip stitch (sl st) to join.
(You now have 50 double crochets.)
Edge Finishing Round
- Chain 1.
- Single crochet (sc) in each stitch around for one full round for a neat edge.
- Slip stitch (sl st) to join and finish the round.
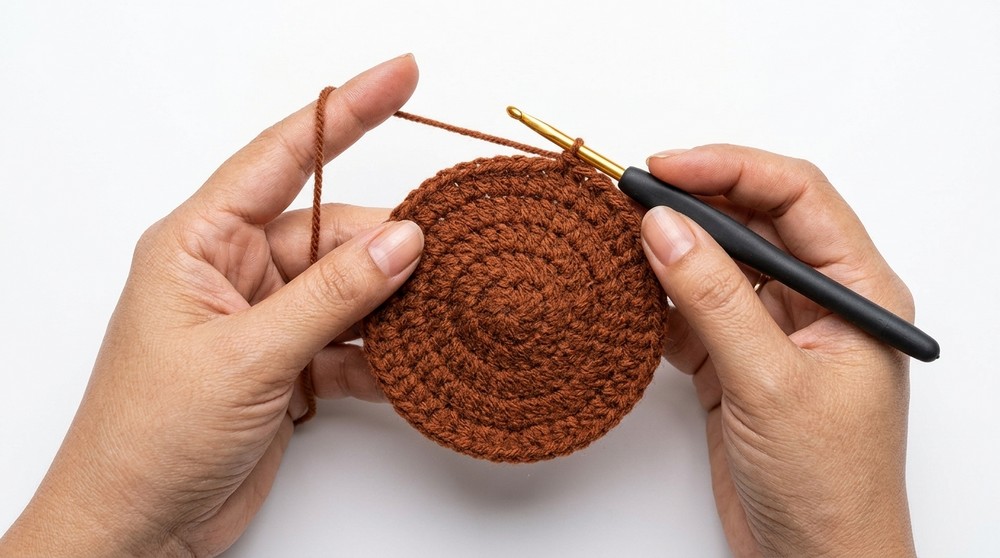
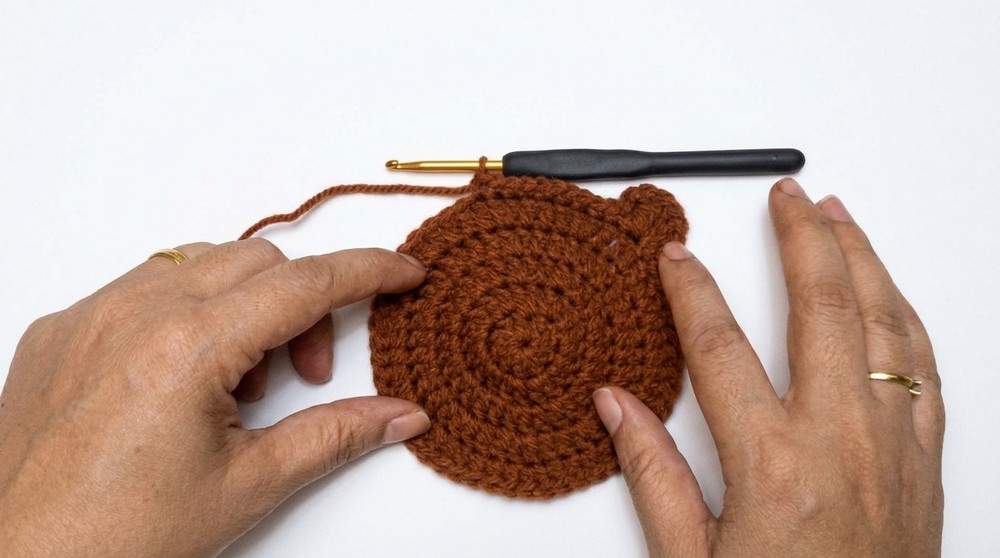
Creating the "Ears" or Raised Edge (Optional)
- Chain 7.
- Double crochet (dc) into the 2nd chain from hook and each of the remaining chains (6 double crochets total).
- Slip stitch (sl st) into the next stitch of the coaster base.
- Single crochet (sc) over next 5 stitches on coaster for stability.
- Repeat to make multiple “ears” or decorative bumps spaced evenly around the coaster edge if desired for texture.
Assembly & Finishing
- Cut yarn leaving a longer tail.
- Pull the yarn through to secure the end and weave in by threading it through the back loops inside the coaster for a hidden finish.
- Pull tight 3-4 times to lock securely.
- Trim excess yarn close to the fabric.
- Optionally, apply a small amount of fabric glue on the yarn tail ends inside the coaster to prevent unraveling.
- Let dry completely before use.
Finished Size
The finished coaster measures approximately 4.5 inches (11.5 cm) in diameter and is firm enough to protect your table from cups, mugs, or small pots. The coaster holds its round shape well thanks to the even increases and finishing edge.
Conclusion
This colorful round coaster is easy and fun to make, perfect for beginners learning to crochet in the round and work increases. Using a magic ring ensures a neat center, and the step-by-step increases keep your coaster flat and professional looking. Customize it with your favorite yarn colors or sizes, and you have a useful, handmade accessory for your home or gifts. Practice and patience will help you master these foundational crochet techniques, opening the door to many more projects!
Leave a Reply