

Brighten your home with this Crochet Tulip Flower pattern, featuring simple instructions to add cheerful charm to handmade bouquets or decor.
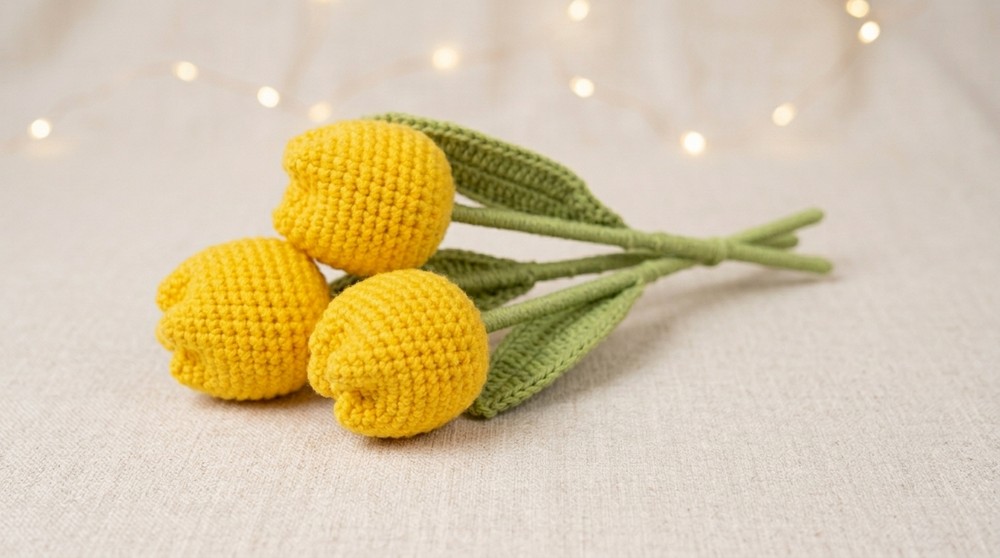
A bright tulip can add a fresh and cheerful touch to any room, and a crocheted version of this lovely flower is a wonderful way to enjoy its beauty all year round. The Crochet Tulip Flower Free Pattern shows a soft, colorful bloom with smooth petals that curve naturally, making it look both charming and realistic. This flower is small enough to fit on a shelf, a table, or even as a decoration on clothing or bags, adding a sweet splash of spring wherever it goes.
Simple Crochet Tulip Flower Free Pattern For Handmade Floral Decor
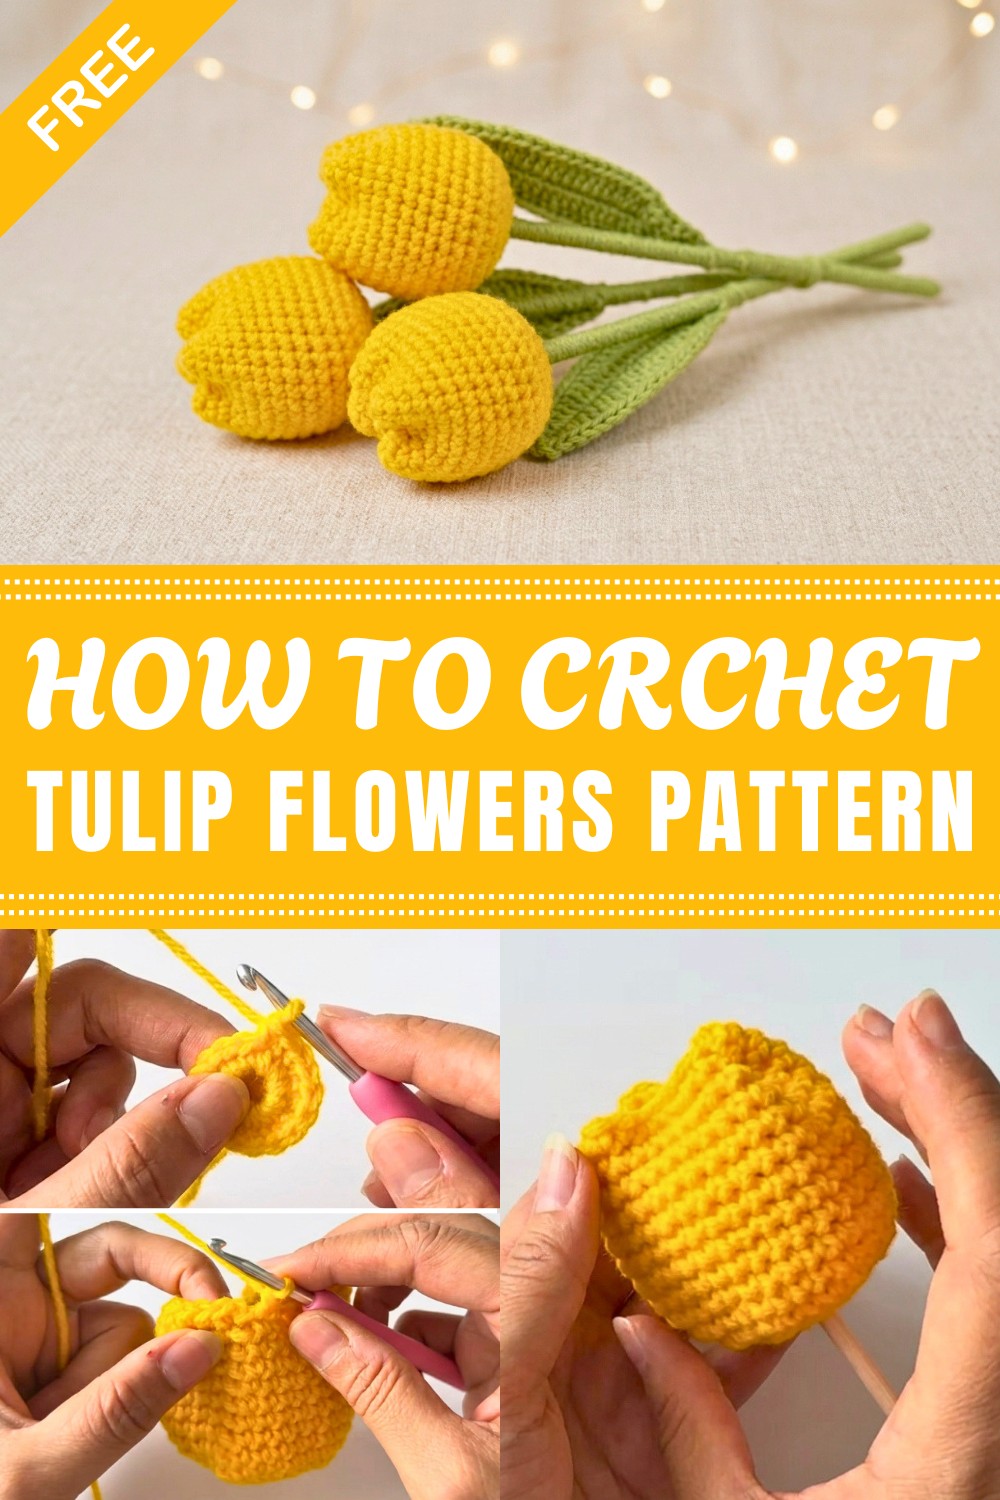
This crocheted tulip holds its shape well and feels soft to the touch. Its simple design captures the natural look of tulip petals, with a clear form and bright colors that brighten the space around it. Whether grouped into a bouquet or placed on its own, this flower brings warmth and life to any setting. Using it as a gift topper or a small house accent can lift spirits and add a cozy feeling.
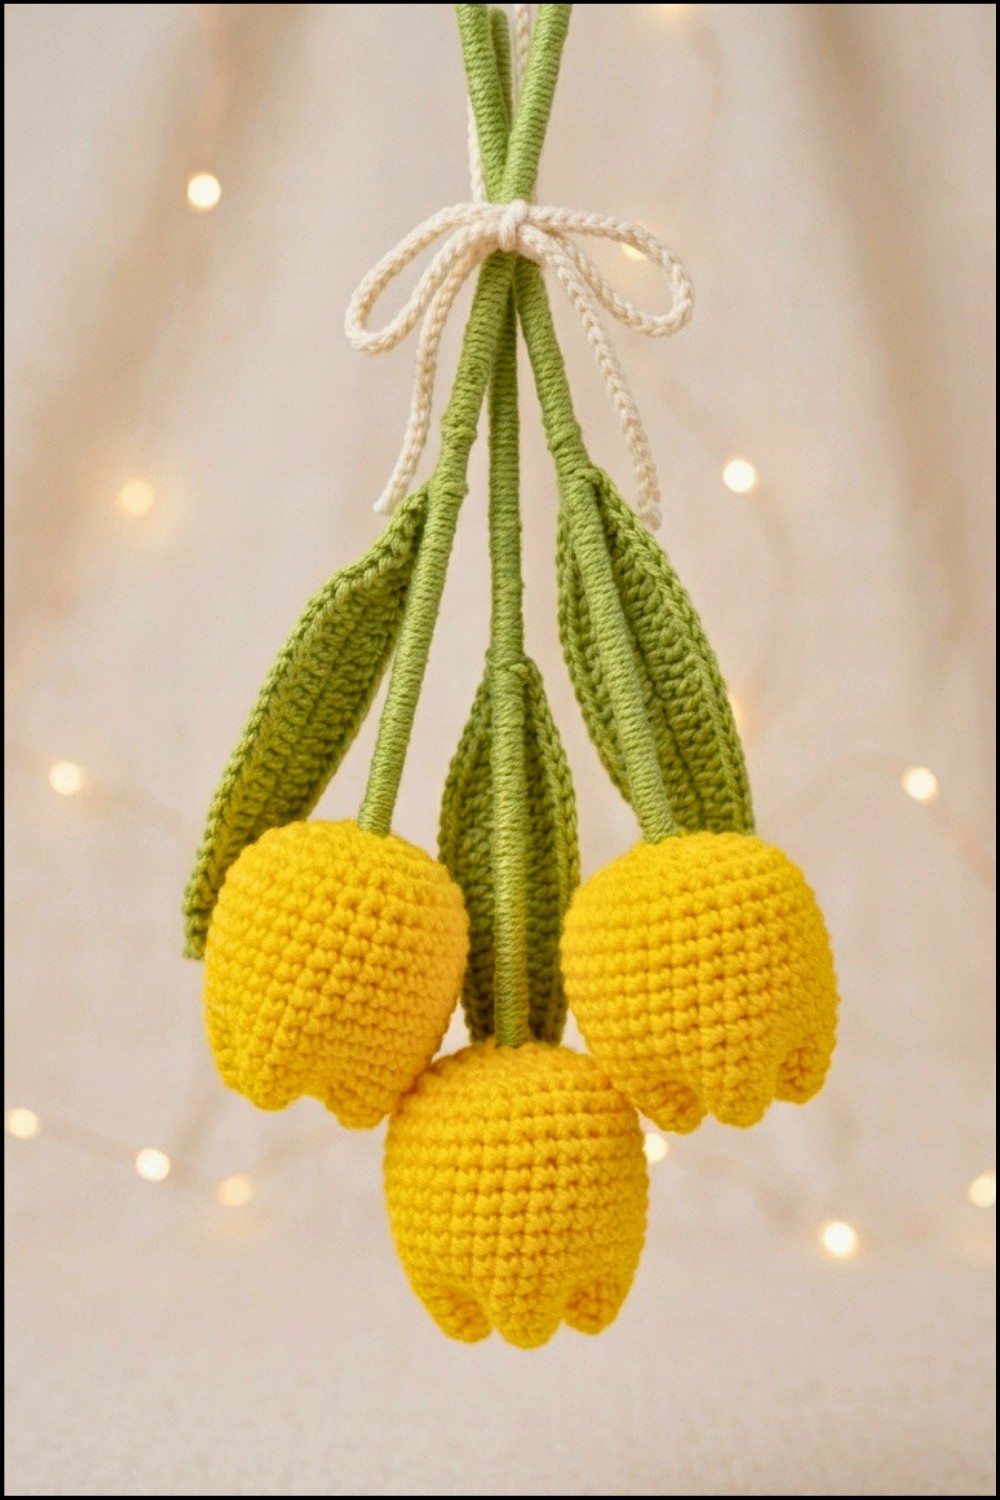
The pattern offers easy-to-follow steps that make the process enjoyable and accessible for beginners and those with some experience. It breaks down the work into simple parts, so you can focus on each petal and leaf without feeling overwhelmed. The result is a neat, lovely tulip that holds together firmly and looks beautiful up close. This crochet pattern is a wonderful way to have colorful flowers anytime without worrying about wilting. If you want a flower that stays fresh and brings happiness all year, this pattern is worth checking out. Give it a try and enjoy the bright, cheerful touch it adds to your home or gifts.
Crochet Tulip Flower – Complete Step-by-Step Pattern
This pattern provides thorough guidance for working up a graceful crochet tulip, closely following each step as demonstrated in the referenced video. Each aspect, from constructing the bud and shaping the leaves to assembling the finished stem, is addressed in detail. Transition points are highlighted for clarity, ensuring an easy and enjoyable experience for all crocheters—whether dedicated hobbyists or those just starting to expand their skill set. Read through each section carefully to ensure your final tulip has a neat, lifelike appearance, ready to brighten any space or serve as a creative handmade gift.
Quick Overview of Pattern
- Tulip bud: Crocheted in the round with single crochets, beginning with a magic ring, and shaped through gradual increases.
- Stem and assembly: Structural support is provided by a stick or floral wire, secured with hot glue and hidden by wrapping with green yarn.
- Fiberfill stuffing: Inserted around the stem to shape the bud and give a natural, rounded look.
- Shaping: The bud is closed and sculpted by weaving the yarn through the top using a yarn needle.
- Leaf construction: Built with single, half double, and double crochet stitches, while incorporating floral wire for stiffness and shape.
- Final touch: The leaf is attached to the stem while wrapping for a seamless, finished look without visible glue or knots.
Notes
- Consistency matters: Use a hook size that produces tight, even stitches for a professional appearance and structural integrity.
- Versatility: The described method allows color customization for varied bouquets.
- Safety: Floral wire can have sharp ends—handle with care and secure tips if gifting to children.
- Assembly tip: Assembly steps rely on accurate alignment and neat wrapping for durability and aesthetically pleasing results.
- Finishing: All yarn and thread ends should be woven in carefully to prevent unraveling and provide a polished finish.
- Preparation: Have all necessary supplies at hand before starting, including glue, stuffing, and nippers for wire.
Skill Level
- Beginner to Intermediate: The pattern primarily utilizes single crochet, half-double crochet, and double crochet, with increases. Some familiarity with magic rings, crocheting in the round, and working over wire is helpful. No advanced techniques are required, making this suitable for those wanting to practice three-dimensional shapes.
Materials
- Yarn: Cotton or acrylic; one color for the bud (e.g., yellow) and one for stem/leaf (e.g., green)
- Crochet Hook: Size appropriate for your yarn (usually 2.5 mm to 3.5 mm for amigurumi)
- Scissors
- Tapestry/Yarn Needle
- Fiberfill stuffing
- Floral wire or firm crafting wire (for leaf and stem support)
- Green craft stick or durable green stem (for main support)
- Hot glue gun (optional, as needed for extra stability)
Measurements / Sizing
- Final tulip height: Approximately 20–25 cm (8–10 inches), depending on stem length and yarn type
- Tulip bud: Roughly 4–5 cm (1.5–2 inches) wide and tall
- Leaf: About 12–15 cm (5–6 inches) in length, 2–3 cm (1 inch) wide
Gauge
- Gauge is not critical for this pattern; a tight, even stitch is preferred to avoid visible stuffing or wire.
Stitch Abbreviations
| Abbreviation | Stitch |
|---|---|
| MR | Magic Ring |
| ch | Chain |
| sc | Single Crochet |
| hdc | Half Double Crochet |
| dc | Double Crochet |
| sl st | Slip Stitch |
Special Stitches
- Magic Ring (MR): Begin with a loop, crochet stitches into the ring, then pull the tail to close firmly.
- Crocheting over wire: As you work the leaf, position the wire against the starting chain and crochet stitches around both the chain and wire to embed support directly in the leaf.
The Crochet Pattern
Step 1: Crocheting the Tulip Bud
All rounds are worked in the round. Start with bud color.
- MR: Form a magic ring; ch 1.
- Round 1: Work 7 sc into the ring. Pull to tighten. Join with a sl st to the first sc. (7 stitches)
- Round 2: Ch 1. Work 2 sc in each stitch around. Join with a sl st. (14)
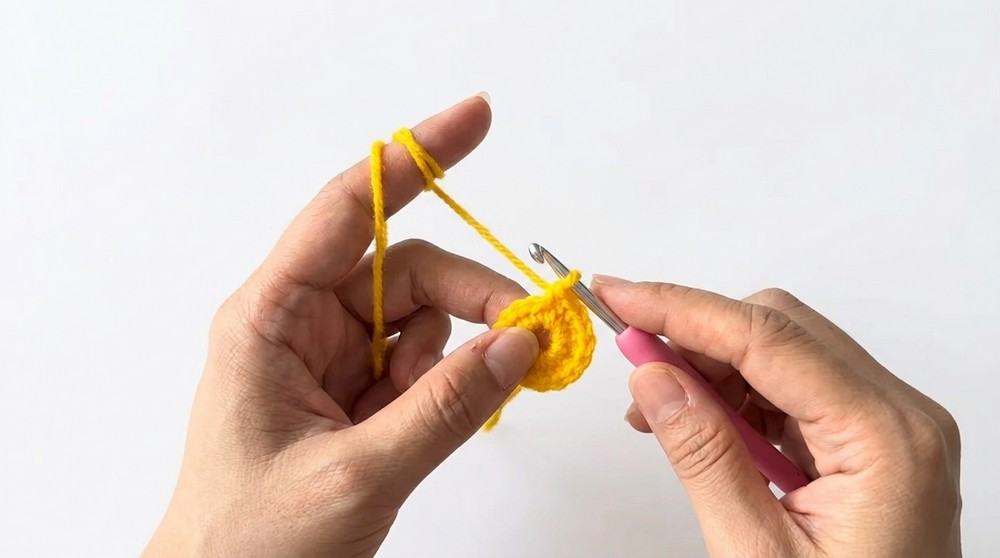
- Round 3: Ch 1. Work 1 sc in the next stitch, 2 sc in the following stitch, repeat around. Join. (21)
- Round 4: Ch 1. Work 1 sc, 2 sc in next, 1 sc, repeat around. Join. (28)
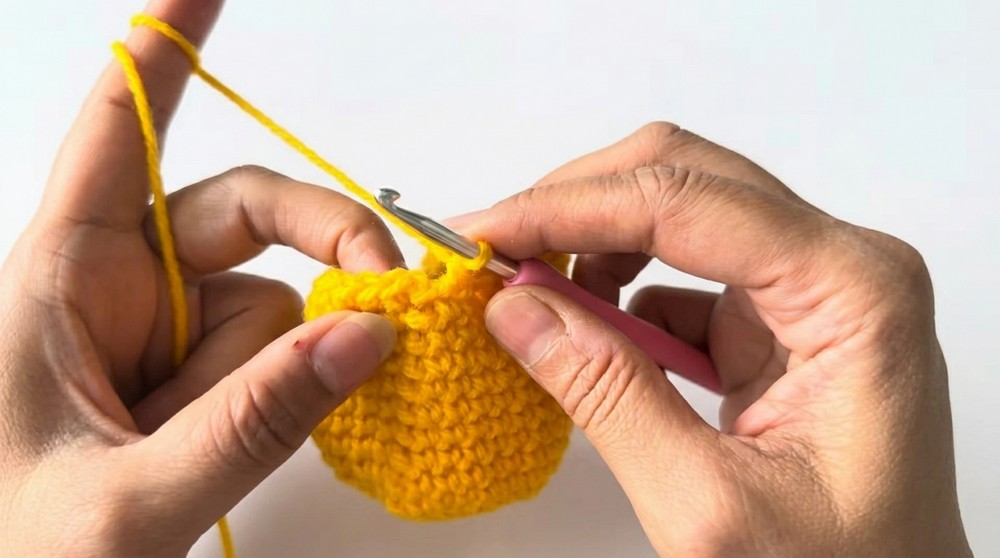
- Rounds 5–15: For each round, ch 1, work 1 sc in each stitch around. Join at the end of each round. (28)
-
- Repeat this sequence for a total of 11 rounds, finishing at round 15.
Step 2: Stem Assembly and Stuffing
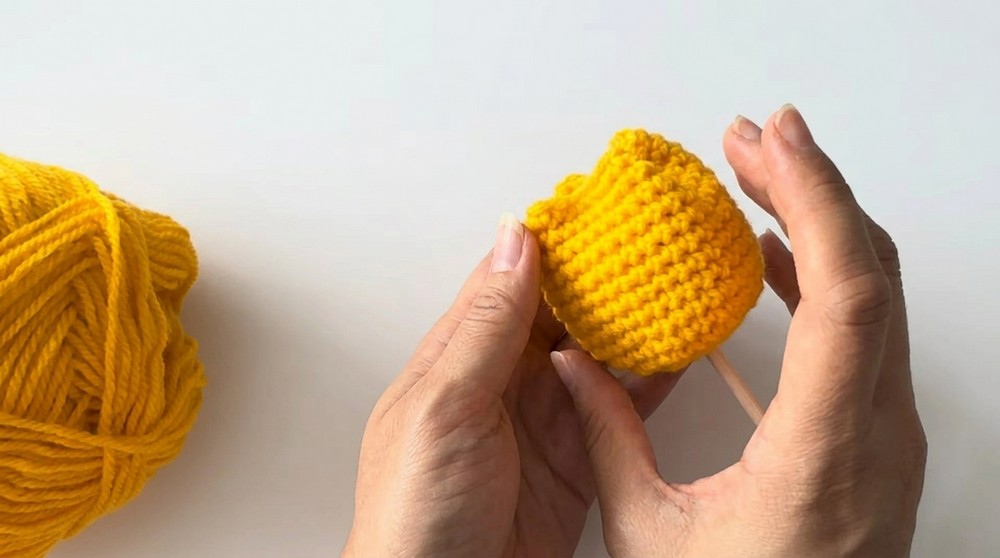
- Insert Stem: Push the green craft stick or pre-cut floral stem securely into the very center of the bud’s base, so about 1–2 cm is embedded in the crochet.
- Hot Glue (optional): Apply a small amount of glue at the insertion point and hold bud and stem together for approximately 30 seconds, allowing glue to set and ensure stability.
- Stuffing: Evenly feed fiberfill stuffing into the bud, distributing it around the stem for a rounded, natural tulip shape. Take care not to overstuff as this could stretch stitches.
- Shaping and Closing: With yarn needle threaded, weave through the last round of sc at the opening, cinch gently to close, and make the bud’s tip slightly pointed—emulating a real tulip. Fasten with tight knots and weave in the yarn’s end securely into the bud.
Step 3: Crocheting the Leaf
Switch to green yarn.
- Foundation: Create a slip knot and ch 31.
- Wire Placement: Lay the floral wire (slightly longer than your chain) on the chain and crochet over it throughout the next section.
- Row 1:
- Begin in the 2nd chain from the hook:
- 3 sc in consecutive chains
- 3 hdc in next 3 chains
- 18 dc in next 18 chains
- 3 hdc in next 3 chains
- 2 sc in next 2 chains
- In the final chain, 3 sc (to round the tip)
- Begin in the 2nd chain from the hook:
- Row 2 (Work on the other side of foundation chain):
- Moving back down the opposite side:
- 2 sc
- 3 hdc
- 18 dc
- 3 hdc
- 3 sc
- Sl st to the first sc to neatly close the round.
- Moving back down the opposite side:
Step 4: Final Assembly and Finishing
- Wrapping the Stem:
- At the base of the bud where the stem meets the crochet, begin wrapping green yarn firmly around the stem and exposed wire.
- Keep wraps close together for a tidy look and continue down the entire stem, hiding wire and stick completely.
- Attaching the Leaf:
- Position the leaf so the stem wire aligns with the crocheted-covered stem.
- Continue wrapping the green yarn securely over the base of the leaf, fastening it neatly to the main stem.
- Wrap several times at the top and bottom of the leaf to ensure it sits flush and doesn’t twist or slide out of place.
- Continue wrapping down to the bottom end of the stem.
- Finishing:
- Once wrapping reaches the end, use your fingers to tuck and secure the yarn under itself at the very end; no glue is required for this step, though a tiny amount could be used for extra hold.
- Trim excess yarn with scissors.
Assembly & Finished Size
- The tulip bud, once shaped and stuffed, should sit securely on the stem without wobbling.
- The leaf holds its shape due to the internal wire and can be bent gently for a natural, realistic effect.
- The assembled tulip measures 20–25 cm (8–10 inches) tall, leaf extending gracefully beside or slightly behind the bud, depending on your placement during assembly.
- Weave in all yarn ends and confirm no sharp wire protrusions remain.
- Arrange several tulips in a vase or wrap as a bouquet for a stunning display.
Conclusion and Ending Words
This crochet tulip not only serves as a charming decorative accent but also offers an excellent practice of circular and three-dimensional crochet forms. Each segment of the pattern—from shaping the magic ring bud and incorporating structural wire to wrapping the stem and leaf—contributes to a sturdy, attractive, and lasting finish. Select different yarn shades for a vibrant collection or follow the outlined colors for a classic look. With careful attention to detail, a neat, seamless construction is achievable. Share your crocheted tulip with friends or display it proudly alongside other handmade projects to highlight your evolving crochet artistry.


Leave a Reply