

Design beautiful holiday decorations with a free crochet Christmas tree pattern that is simple to follow and enhances your festive spirit effortlessly.
Adding a handmade touch to your holiday decorations is easier than ever with a free crochet Christmas tree pattern that brings festive cheer in a compact and charming form. This project creates a small, conical tree with lush layers that resemble natural pine needles. Made with soft yet sturdy yarn, it offers a cozy texture that’s pleasant to hold. The tree’s standout features include its tiered branches and the option to decorate with tiny ornaments or a star on top, making it a lovely addition to any holiday setting.
Easy Free Crochet Christmas Tree Pattern for Festive Decor
This design suits crocheters of all skill levels, especially those looking for a quick and rewarding seasonal project. You can adjust the size by using different yarn weights or hook sizes, this way, you could make a tiny tree for your desk or a larger one for your mantelpiece. The construction involves working in rounds and rows to build up the layered effect, using stitches that create a textured look similar to pine needles. Maintaining even tension helps the tree keep its shape and makes adding decorations easier.

Based on the classic Christmas tree tradition, this project captures the warmth and joy of the holiday season. Cotton or acrylic yarn works well since both highlight stitch details clearly and add durability. These crochet trees make thoughtful gifts and charming handmade ornaments. Don’t hesitate to personalize yours with different colors or decorations—adding your own touches makes the project even more special.
Amigurumi Christmas Tree Crochet Pattern
Pattern Notes
- The tree is worked in continuous rounds with increases and single crochet rounds alternating to shape the cone form.
- Some rows are worked into back loops only to create texture and definition.
- Stitch markers are recommended for tracking the beginning of rounds.
- Safety eyes are optional but add delightful character to the tree.
- A thinner yarn and hook are used for the star to create a smaller, delicate decoration.
- Assembly instructions include sewing the base and star in place, stuffing, and optional ornament additions.
Skill Level
Intermediate — knowledge of magic ring, single crochet (sc), double crochet (dc), half double crochet (hdc), slip stitch (sl st), working in back loops, increases, and basic amigurumi assembly techniques.
Materials
- Medium worsted weight yarn (spring green or shade of your choice for tree)
- Smaller weight yarn (sport or lighter) for star in yellow or gold tone
- Black yarn for smile detail
- Crochet hooks: 3.5 mm (tree) and smaller hook for star
- Pair of safety eyes
- Stitch marker
- Yarn needle
- Scissors
- Stuffing (polyfill or pillow stuffing)

Measurements / Sizing (Optional)
- Tree height (without star): Approximately 15 cm
- Diameter at base: Approximately 8-9 cm
- Star size: Approximately 3-4 cm across points
Gauge
Not critical for this decorative project; maintain consistent tension for even stitches and neat shaping.
Stitch Abbreviations
- ch: chain
- sc: single crochet
- hdc: half double crochet
- dc: double crochet
- sl st: slip stitch
- inc: increase (2 sc in same stitch)
- dec: decrease (single crochet two stitches together)
- BLO: Back loops only
- FLO: Front loops only (used mostly for texture)
Special Stitches
- Magic ring (MR) for starting rounds
- Working in back loops only (BLO) for textured rows
- Making scalloped edging with 3 hdc clusters and slip stitches
The Crochet Pattern
Tree Body
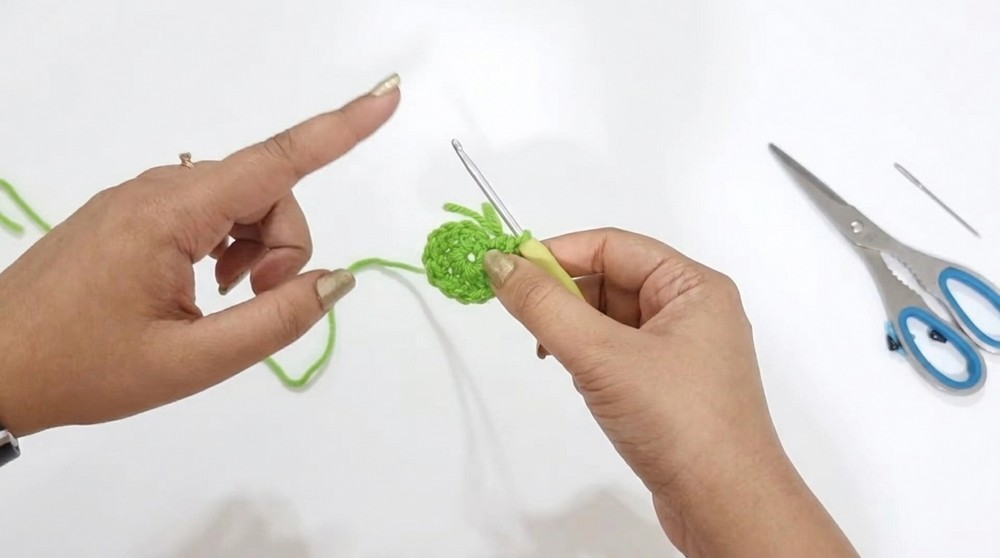
Start with magic ring.
Round 1:
Into MR, make 6 sc. Pull tight to close. (6 sc)
Round 2:
Increase in every stitch (2 sc in each stitch) around: 12 sc.
Round 3:
Sc in every stitch: 12 sc.
Round 4:
1 sc, inc around — repeat 6 times: 18 sc.
Round 5:
Sc in every stitch: 18 sc.
Round 6:
Sc in next 2 stitches, inc repeat 6 times: 24 sc.
Round 7:
Sc in every stitch: 24 sc.
Round 8:
Sc in next 3 stitches, inc repeat 6 times: 30 sc.
Round 9:
Sc in every stitch: 30 sc.
Round 10:
Sc in next 4 stitches, inc repeat 6 times: 36 sc.
Round 11:
Sc in every stitch: 36 sc.
Round 12:
Sc in next 5 stitches, inc repeat 6 times: 42 sc.

Work this round in back loops only (BLO).
Round 13:
Sc in every stitch: 42 sc. (Both loops)
Round 14:
Sc in next 6 stitches, inc repeat 6 times: 48 sc.
Round 15:
Sc in every stitch: 48 sc.
Round 16:
Sc in next 7 stitches, inc repeat 6 times: 54 sc. (BLO)
Round 17:
Sc in every stitch: 54 sc. (Both loops)
Round 18:
Sc in next 8 stitches, inc repeat 6 times: 60 sc.
Round 19:
Sc in every stitch: 60 sc.
Round 20:
Sc in next 9 stitches, inc repeat 6 times: 66 sc.
Round 21:
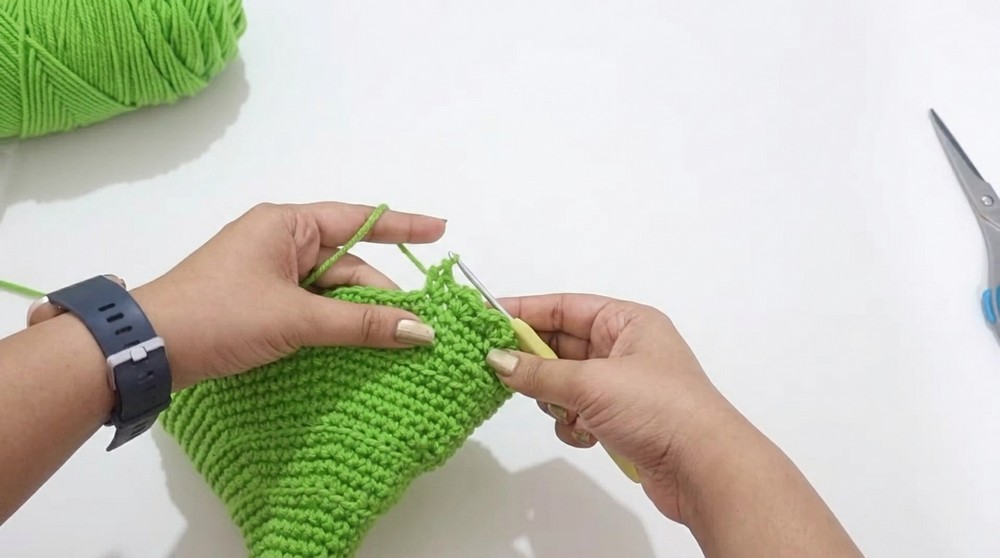
Sc in every stitch: 66 sc.
Round 22:
Sc in next 10 stitches, inc repeat 6 times: 72 sc. (BLO)
Round 23:
Sc in every stitch: 72 sc. (Both loops)
Round 24:
Sc in next 11 stitches, inc repeat 6 times: 78 sc.
Round 25:
Sc in every stitch: 78 sc.
Scalloped Edge (Last Row)
Round 26:
[Sl st in next stitch, 3 hdc in next stitch] repeat all around.
- This creates a pretty scalloped edge at the bottom of the tree.
- Sl st to join at end, leave yarn tail for finishing.
Scallop Decoration on Texture Rows
- For each of the BLO rounds you worked (Rounds 12, 16, 22), return to those rows and work scalloped edges as follows for added detail:
- Insert your hook into the back loop of the stitch.
- Ch 1.
- Work 3 hdc into that same stitch.
- Sl st in next stitch.
- Repeat 3 hdc, sl st all the way around the row to mimic the scalloped effect.
- This adds dimension and texture to the tree body.
Base (Pre-made and Attached)
- The base is worked similarly to early rounds. If making yourself:Start:
Magic ring with 6 sc.
2nd Round:
Inc in every stitch around (12 sc).
Shape to fit bottom of tree. - Stuff base lightly and sew it onto the bottom of the tree with yarn or crochet hook slip stitch method.
Adding Safety Eyes and Smile (Optional)
Insert safety eyes between rounds 16 and 20 approximately 7 stitches apart to give the tree a cute face.
- Use black yarn threaded onto a yarn needle for a simple stitch smile between the eyes.
- Secure all ends inside before stuffing.
Stuffing and Closing
- Stuff the tree firmly with polyfill, pillow stuffing, or suitable fiberfill.
- Attach base circle securely with slip stitches or whip stitch around, aligning edges carefully.
- Fill as you sew to maintain shape.
Star Topper
Use lighter/sport weight yarn and smaller hook for delicate star.
Star Pattern:
- Magic ring.
- 1 sc into ring.
- 1 dc, ch 2, 1 dc into ring.
- Repeat from step 2 five times (5 points).
- Pull yarn tail tight to close center.
- Sl st into center ring, cut yarn and fasten off.
Attach star to the top:
- Place star with face forward.
- Sew through center front and back with yarn needle or hook.
- Hide yarn tails securely.

Optional Decorations
- Make small ornaments by starting a magic ring with 4 sc inside, then slip stitch around for edging.
- Attach as you like around the tree as “baubles.”
- Add small chains or tinsel yarn wrapped around waist for a garland effect.
Assembly & Finished Size
- Sew base firmly to tree bottom.
- Add stuffing to shape and fullness.
- Attach safety eyes and embroider smile if desired.
- Sew star securely to tree top.
- Add optional decorative ornaments or garlands.
- Finished tree height (with star): approx. 15-18 cm.
- Base diameter: approx. 8-9 cm.
- Star width: approx. 3-4 cm.
Summary
This amigurumi Christmas tree is a fun and customizable crochet project perfect for holiday décor or gifting. You’ll create a sturdy tree base, add detailed scalloped edges, attach safety eyes for personality, and top it with a charming star. The pattern is complete with assembly tips and ideas for personalizing decorations.




Leave a Reply