

Keep your summer look light with Crochet Mesh Hat Free Pattern and enjoy a breezy accessory for sunny days and outdoor outings.
There’s something special about a hat that feels like a breath of fresh air—light, airy, and just right for warm weather. That’s exactly what you get with a crochet mesh hat pattern. This project creates a beautifully open and breathable hat that’s as practical as it is stylish. Thanks to FTK Crochet’s clear and friendly video tutorial, makers of all levels can dive in and create a stunning accessory that effortlessly blends function and fashion.
Charming Crochet Mesh Hat Free Pattern With A Lightweight Feel
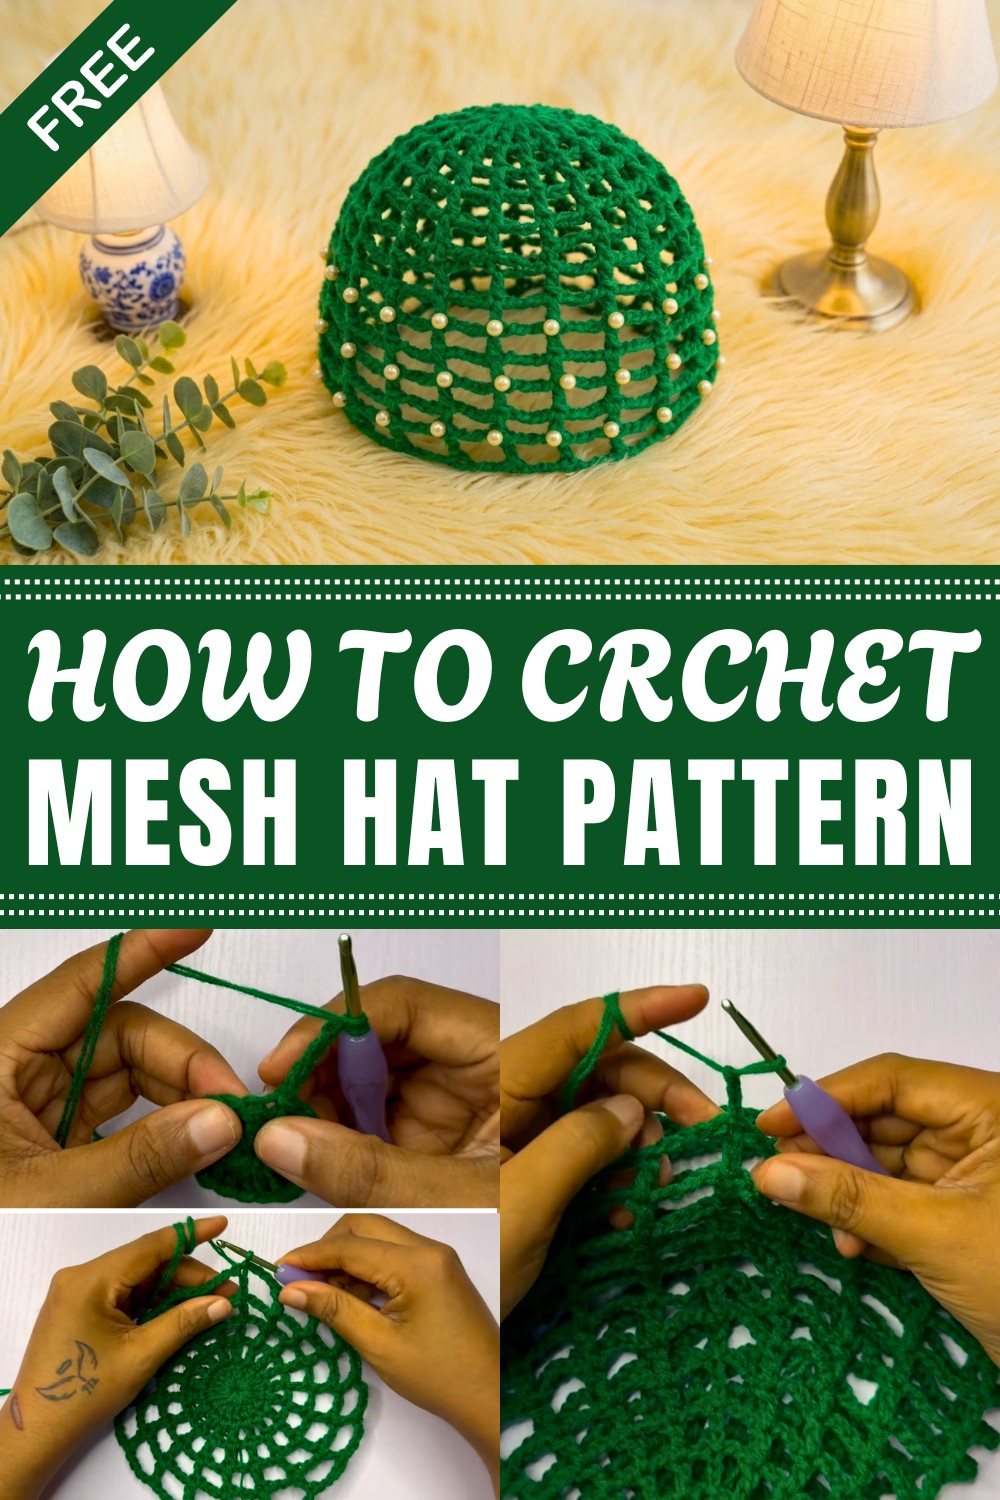
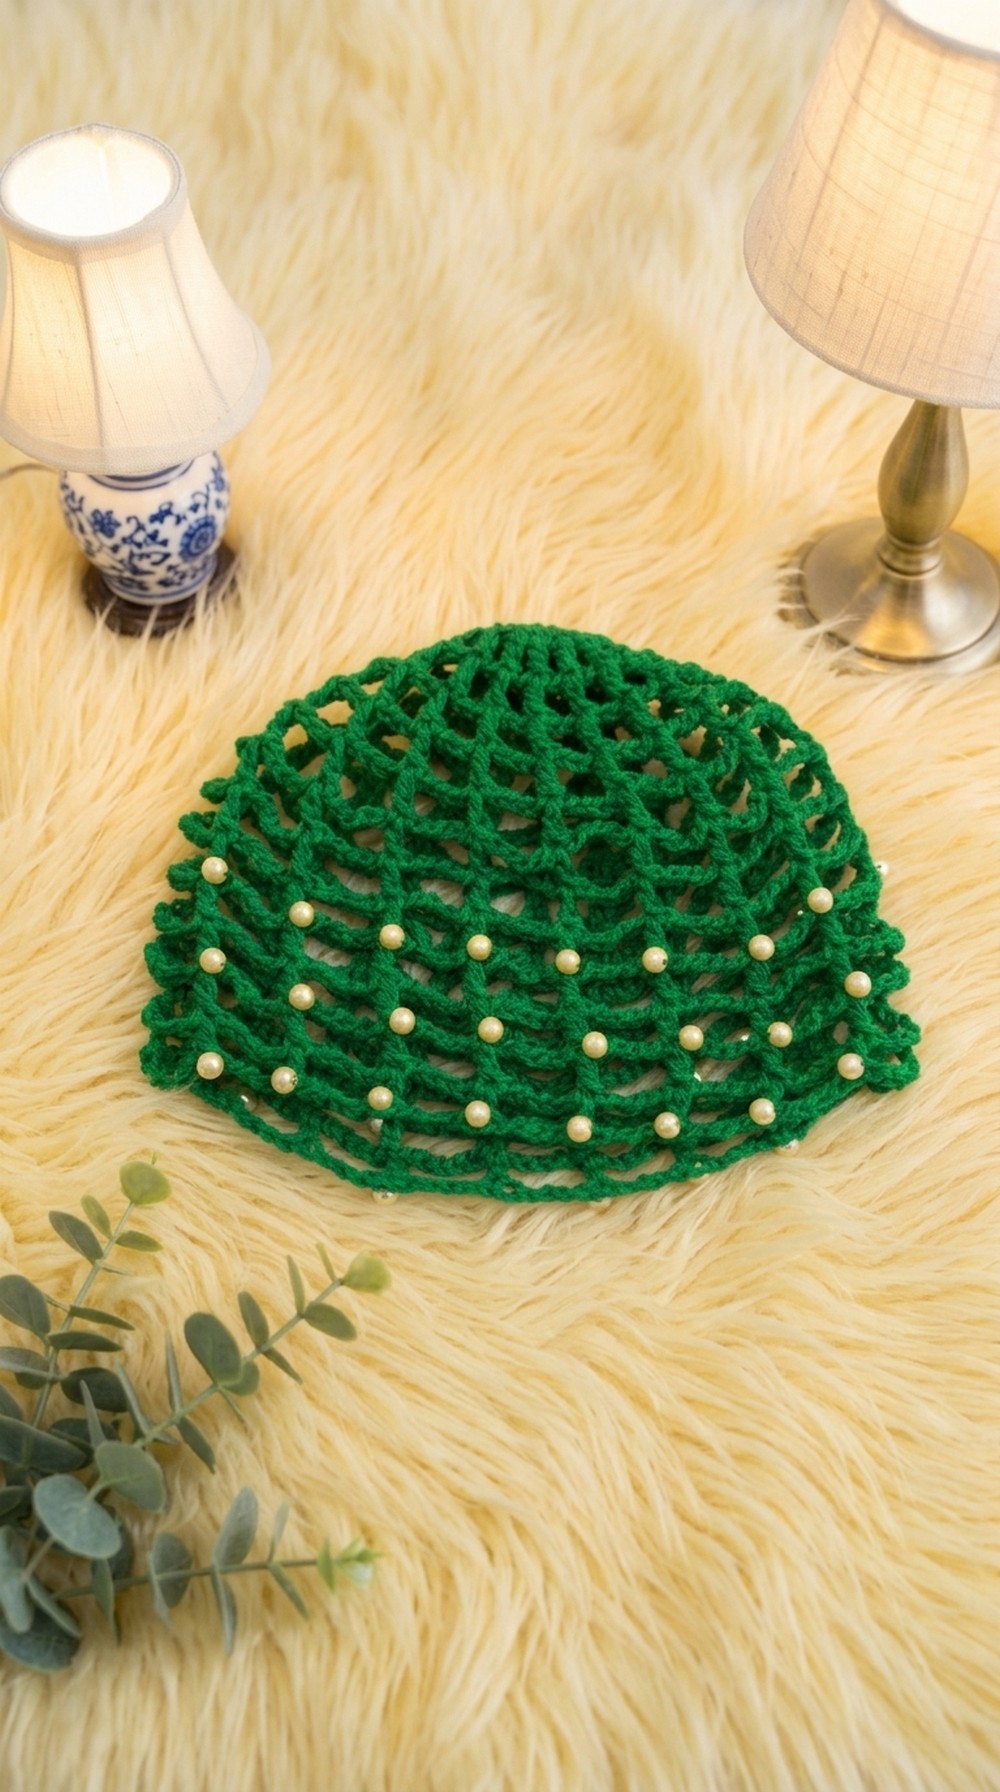
The finished crochet mesh hat has a wonderful open, lacy texture that allows just enough breeze to keep you cool while offering subtle sun protection. Its shape gently hugs the head, striking the perfect balance between fitted and relaxed. The mesh design makes it an eye-catching accessory on its own, but also incredibly easy to pair with other mesh wardrobe pieces for a coordinated, breezy look.
One of the best parts of this project is how adaptable it is. You can adjust the size by adding or reducing rows to fit different head circumferences, and the bead embellishments are totally optional — so feel free to get creative or keep it minimalist. The mesh stitch pattern creates a lightweight fabric, making this hat functional for warmer climates or as a stylish layering piece for transitional weather.
This project is wonderfully beginner-friendly, giving new stitchers a chance to practice using chain spaces and double crochets while building something striking and wearable. Even if you’re fairly new to yarn projects, you’ll gain confidence working in rounds, managing tension, and shaping a comfortable fit. Plus, it’s a quick make—taking about 30 minutes to an hour depending on your pace—so it’s super rewarding to see your progress in no time.
If you’re ready to add a fresh, breezy piece to your accessory collection, check out the free crochet mesh hat pattern from FTK Crochet. It’s a fun and easy way to stretch your skills while making a hat you’ll reach for again and again.
Easy Crochet Mesh Hat Free Pattern
Find the charm and versatility of handmade accessories with this mesh hat crochet pattern. Designed for crafters who appreciate both style and comfort, this airy hat is an ideal project for transitioning between seasons or adding flair to everyday outfits. The openwork mesh design offers breathability, making it suitable for warm weather, while the customizable fit ensures it sits comfortably on any head size. With simple stitches and clear rounds, the pattern is approachable for beginners yet satisfying for seasoned crocheters. Express your creativity by integrating beads or experimenting with color combinations for a truly personalized accessory.
Quick Overview Of Pattern
- Begin with a Magic Ring and increasing mesh rounds.
- Work Double Crochet stitches spaced by Chains to build a mesh crown.
- Mesh body is built by repeating mesh rounds.
- Finish with a brim by using shorter chain intervals for a snug fit.
- Optionally embellish mesh with Beads.
- Use straightforward tools and materials.
- Sizing is easily adjustable by adding or reducing rounds.
Notes
- Pattern uses US Crochet Terms.
- Unless otherwise noted, chains at the start of each round count as a stitch.
- For precise sizing, periodically check the diameter after mesh crown rounds.
- Bead embellishments are optional and can be placed anywhere in the mesh grid.
- Adjusting yarn and hook size will affect final size.
Skill Level
Beginner – Intermediate:
If you know how to work basic Double Crochet, Chains, and Slip Stitch, you can complete this pattern.
Materials
- Yarn: 30g 4-ply acrylic yarn (or two strands of 2-ply acrylic)
- Crochet Hook: 4 mm (or 3.5 mm to tighten mesh)
- Measurement Tape
- Scissors
- Tapestry Needle
- Stitch Markers
- Beads (optional)
- Small Needle (for attaching beads, optional)
Measurements / Sizing
- Crown Diameter: ~7 inches (about 18 cm) when using 6 rounds for adult size.
- Add/reduce rounds to change height or width.
Gauge (and Stitch Pattern)
- Gauge: Flexible, choose hook for a mesh that is not too loose.
- Stitch Pattern: Alternating Double Crochet (dc) and Chains (ch).
Stitch Abbreviations
| Abbreviation | Meaning |
|---|---|
| ch | chain |
| dc | double crochet |
| sl st | slip stitch |
| MR | magic ring |
Special Stitches
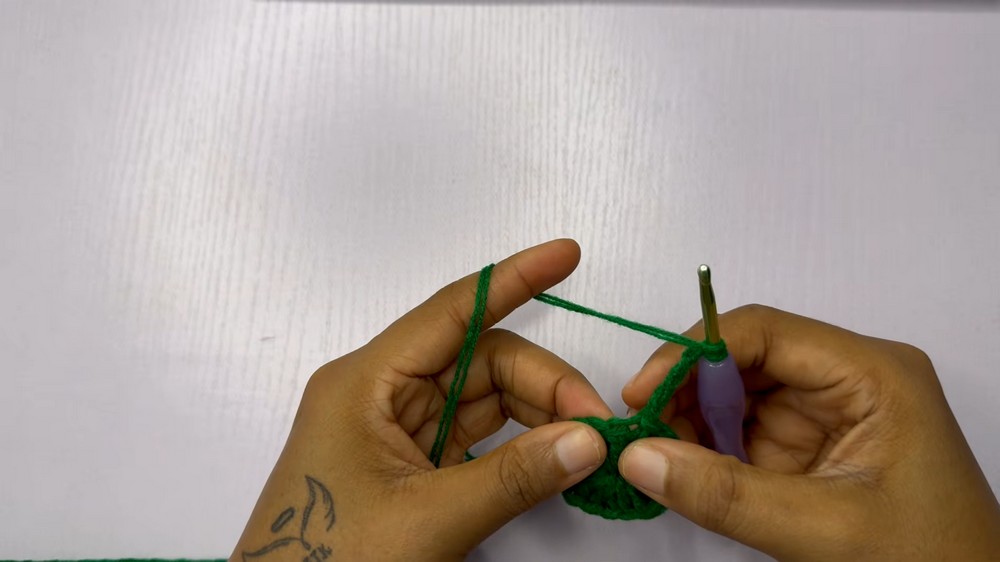
- Magic Ring (MR): Form a loop, insert hook, pull up a loop, work stitches in circle, pull tail to close.
- Bead Embellishment: Attach bead by threading onto yarn or with separate needle/thread; secure at any mesh space.
The Crochet Pattern
Crown (Increasing Rounds)
- Round 1:
- Make a Magic Ring (MR).
- Ch 3 (counts as first dc).
- 17 dc into ring (18 dc total).
- Pull tail to close the ring.
- Sl st into top of the starting ch-3 to join.
- Round 2:
- Ch 4 (counts as 1 dc + ch 1).
-
- Dc in next dc.
- Ch 1, dc in the next dc.
- Repeat from * to * around.
- Ch 1, sl st into the 3rd chain of starting ch-4 to join.
- Round 3:
- Ch 5 (counts as 1 dc + ch 2).
- Dc into the next dc.
- Ch 2, dc into the next dc.
- Repeat from * to * around.
- Ch 2, sl st into 3rd chain of starting ch-5 to join.
- Round 4:
- Ch 6 (counts as 1 dc + ch 3).
- Dc into the next dc.
- Ch 3, dc into the next dc.
- Repeat from * to * all around.
- Ch 3, sl st into 3rd chain of starting ch-6 to join.
- Round 5:
- Ch 7 (counts as 1 dc + ch 4).
- Dc into the next dc.
- Ch 4, dc into the next dc.
- Repeat from * to * all around.
- Ch 4, sl st into 3rd chain of starting ch-7 to join.
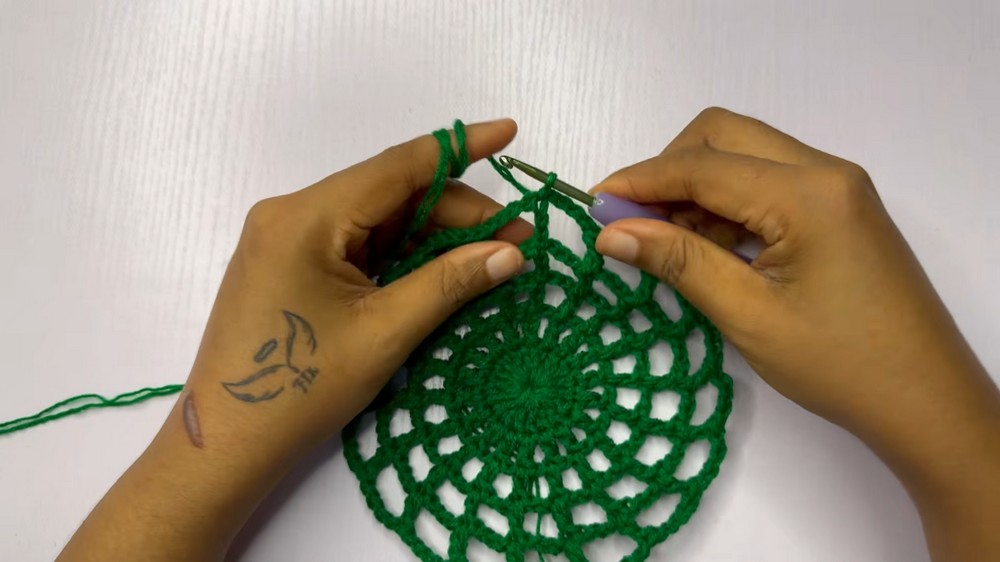
- Round 6 (optional for Medium/Large size):
- Ch 8 (counts as 1 dc + ch 5).
- Dc into the next dc.
- Ch 5, dc into the next dc.
- Repeat from * to * all around.
- Sl st into 3rd chain of starting ch-8 to join.
- At this stage, the crown should measure about 7 inches in diameter.
Body (Straight Mesh Rounds)
- Rounds 7–12:
- For each round:
- Ch 8 (counts as 1 dc + ch 5).
- Dc into next dc stitch.
- Ch 5, dc into the next dc.
- Repeat from * to * all around.
- Sl st into the 3rd chain of the starting ch-8 to join.
- Repeat for a total of 6 straight mesh rounds (adjust to make hat longer or shorter).
- For each round:
Brim & Finishing
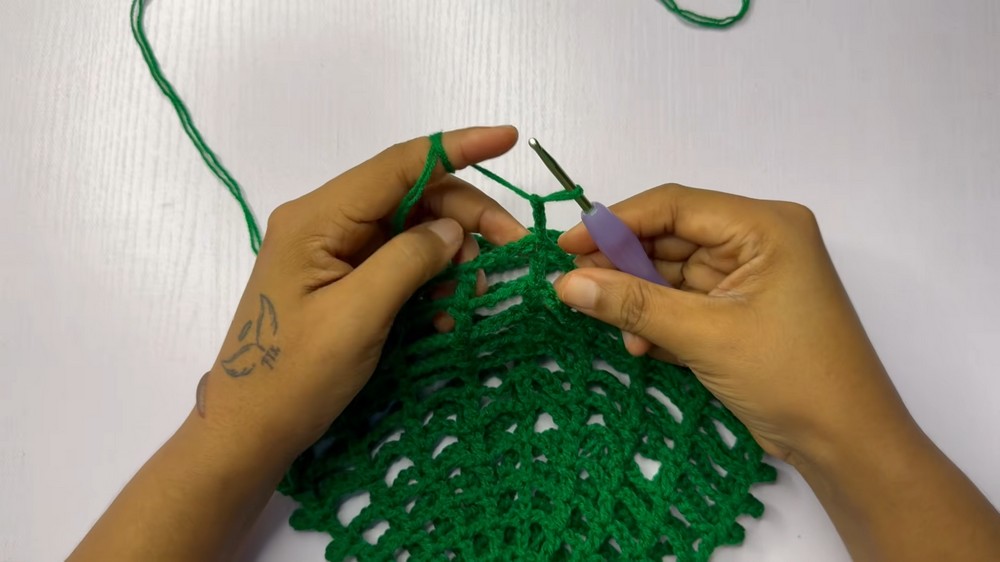
- Round 13 (Tapering Round):
- Ch 7 (counts as 1 dc + ch 4).
-
- Dc into the next dc.
- Ch 4, dc into the next dc.
- Repeat from * to * all around, tightening the hat opening for a snug fit.
- Sl st into the 3rd chain of the starting ch-7 to join.
- Fasten off and weave in ends with a tapestry needle.
Bead Embellishment (Optional):
- Thread a small needle with matching yarn or sewing thread.
- Secure thread at hat edge or desired mesh space.
- Attach beads to selected mesh openings as desired for your preferred look.
- Refer to the video for specific bead placement suggestions.
Assembly & Finished Size
- Weave in all yarn ends with a tapestry needle.
- Lay hat flat and measure: Finished crown diameter should be ~7 inches.
- Add or remove mesh body rounds to fit head circumference or preferred height.
- Optionally, block hat to shape if needed.
- For beadwork, repeat across mesh spaces for sparkle and detail.
Conclusion and Ending Words
This mesh hat pattern provides both a fashionable look and a flexible method for customization. The use of clear, repeated Double Crochet and Chain sequences ensures the pattern is accessible to all levels while also giving a visually dramatic mesh effect. You are encouraged to modify the number of rounds or bead placement to suit your style. With a comfortable fit, a light mesh texture, and easy finishing, this hat will be a favorite accessory or gift. By carefully following each bolded stitch instruction, your final result will be consistent, neat, and stylish. Happy crocheting, and may your new hat bring warmth and compliments wherever you wear it!



Leave a Reply