

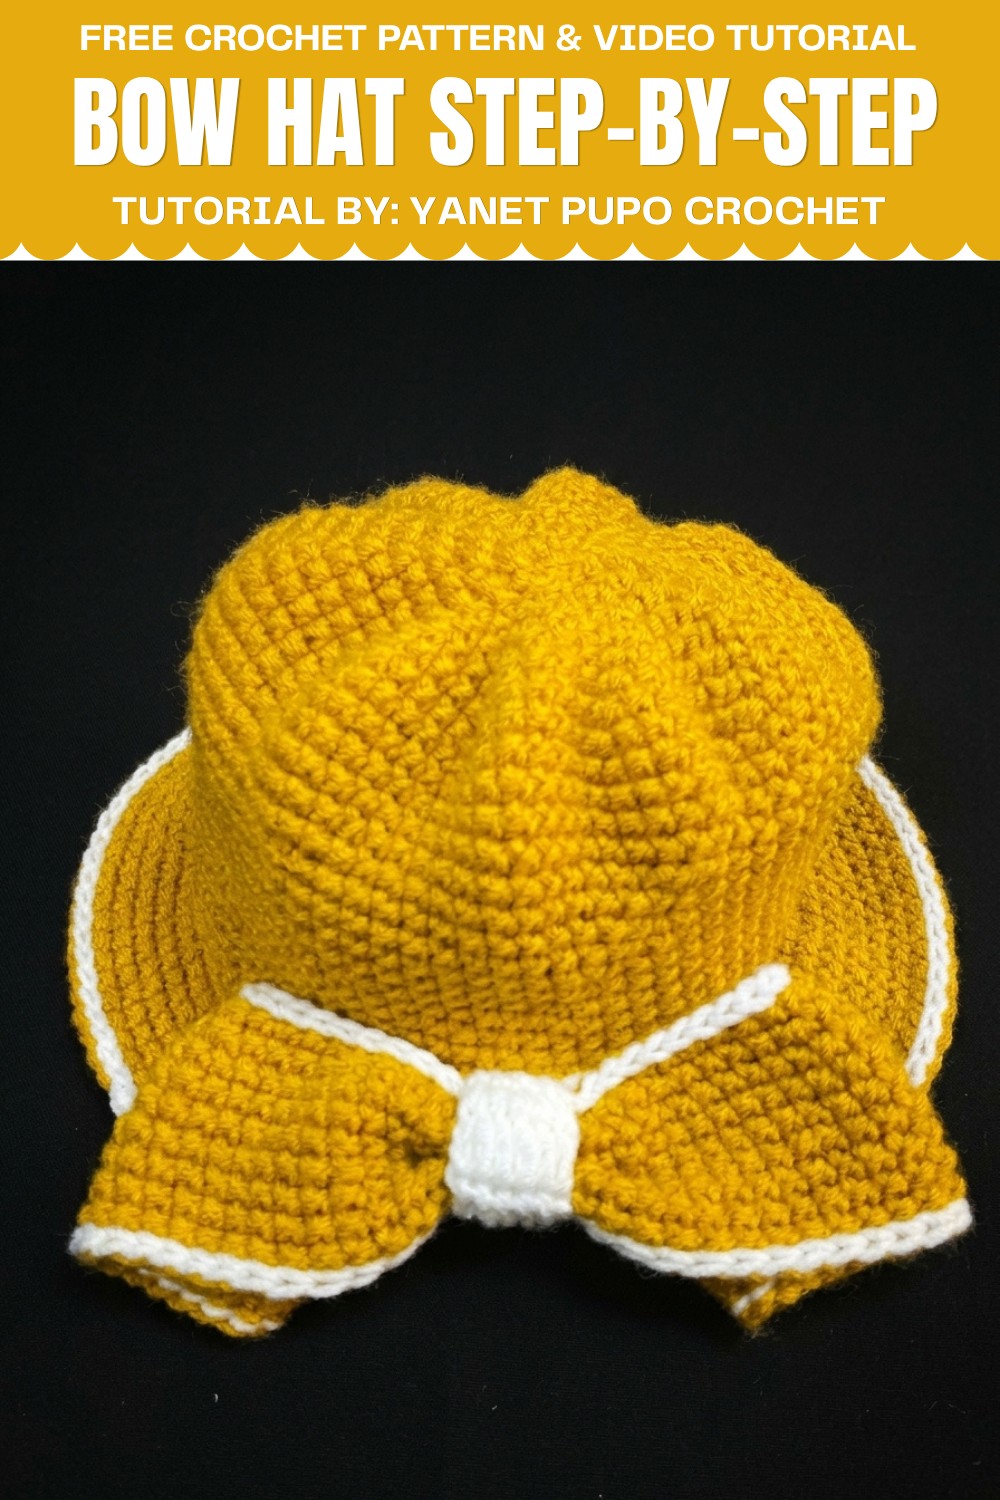
Style your favorite outfits with this Crochet Bow Hat Free Pattern and wear a pretty bow detail with jackets, jeans, or cozy casual layers.
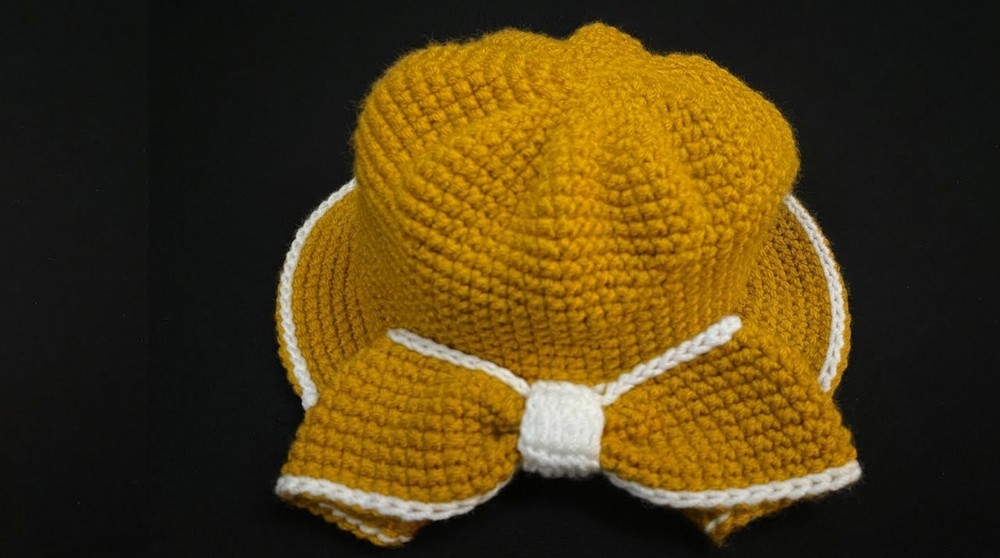
A big shoutout to the talented Yanet Pupo Crochet, whose creative spark brought us the delightful Crochet Bow Hat tutorial—a true gem for crochet lovers everywhere. The Crochet Bow Hat is a warm, cozy hat featuring a charming bow that adds a playful yet elegant twist to a classic winter staple. Designed to fit most adult head sizes comfortably, it combines practicality with style. The soft texture of the hat pairs perfectly with the eye-catching bow, making it a standout accessory for chilly days.
Free Crochet Bow Hat Pattern That Looks Sweet
Perfect for beginners and intermediate crocheters, this project guides you through simple stitches like single and double crochet along with shaping and assembly steps. You’ll start by crocheting the main body of the hat in rounds, then create the bow separately before sewing it on—an easy and rewarding process that builds your skills as you go.
Why take on this project? Because it offers a wonderful blend of creativity and function, resulting in a cozy hat that’s as unique as you are. The bow’s size and color can be customized, making each hat a personal statement piece perfect for casual outings or as a thoughtful handmade gift.
Wrap yourself in warmth and charm—jump into this free pattern and stitch your own signature Crochet Bow Hat today!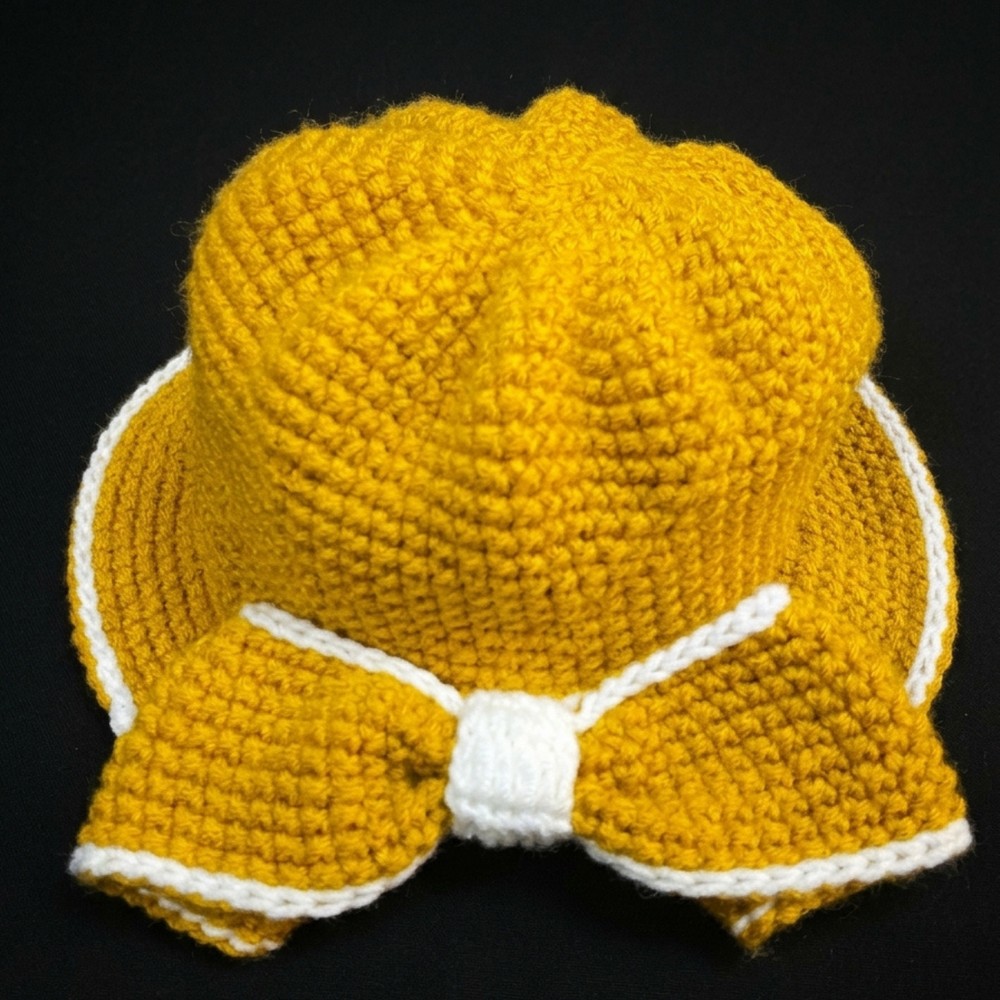
Pattern Overview
This crochet hat pattern creates a soft, warm accessory with a rounded crown, a simple body, and an added brim for a classic finish. The project uses thick yarn for quick results and strong texture, worked mainly with single crochet and slip stitches. The brim and final borders can be made with a second color for stylish contrast. The method involves working in the round, gradually shaping the hat, and using some classic finishing and joining techniques for a professional last touch.
Quick Details
- Construction: Worked in the round from the top down
- Stitches Used: Magic ring, single crochet, increase, slip stitch, optional double crochet for decoration
- Crown, body, and brim stages
- Decorative colored edging for personalization
Important Tips
- Always close each round with a slip stitch for a neat join.
- Pull the start tail tight after the crown to close the magic ring securely.
- Adjust increases to keep the crown flat—watch for curling or ruffling and adjust tension or size as needed.
- When adding colored edges, work loosely for an even finish.
Skill Level
Beginner to Advanced Beginner
Basic crochet techniques are required: working in the round, making increases, and changing colors for the border. Some attention is needed for even joining and stitch consistency.
Materials
- Thick wool yarn, approximately 4 mm in thickness (180 grams)
- Aluminum crochet hook, 3.5 mm or up to 4 mm
- Scissors
- Wool/tapestry needle or regular sewing needle for finishing
- Optional: Secondary color yarn for border and decorative elements
Measurements
- Crown reaches approximately 16–17 cm in diameter before straight rounds
- Total body length before brim: about 14 cm or as desired to cover ears
- Brim: add about 6 cm or as preferred for your style
- Chain for arch: 40 chains (for arch under the hat)
Gauge
Gauge is not specifically provided, but maintaining an even and firm fabric is important. Adjust hook size if your stitches seem too loose or too tight.
Abbreviations
- ch: chain
- sc: single crochet
- sl st: slip stitch
- inc: increase (2 sc in one stitch)
- dc: double crochet
- st(s): stitch(es)
Special Stitches
- Magic ring: Wrap yarn around finger, insert hook through the ring, pull up a loop, and work stitches into the loop, then pull tight.
- Increase (inc): 2 single crochets in the same stitch.
- Slip stitch (sl st): Insert hook, yarn over, pull through stitch and loop on hook, closing the round.
- Double crochet (dc): Yarn over, insert hook, pull through, yarn over, pull through 2 loops, yarn over, pull through final 2 loops (for decoration).
Step-by-Step Instructions
Crown
Round 1:
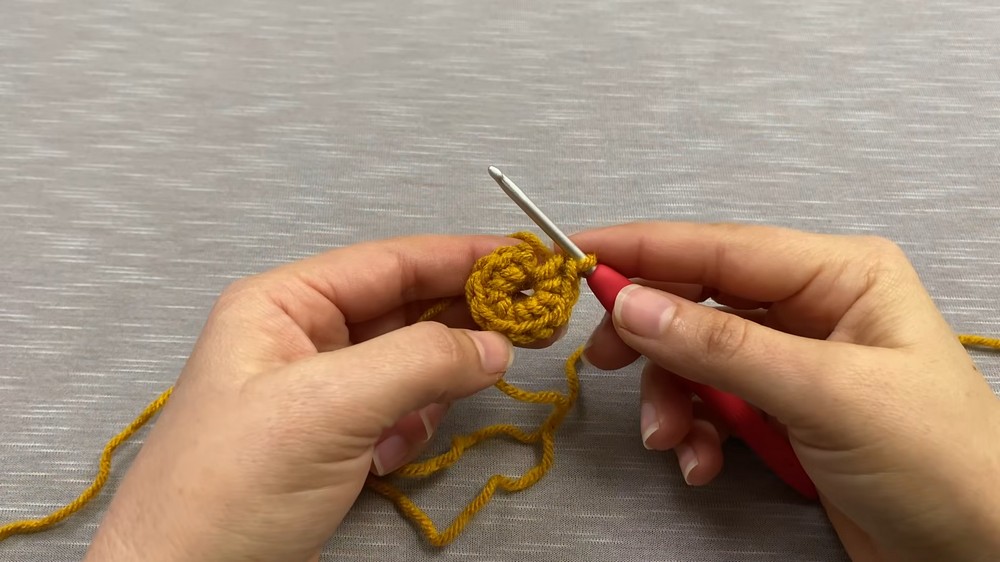
- Create a magic ring.
- Chain 1 (for height, does not count as a stitch).
- Into the ring, work 10 single crochet (sc).
- Close the round by joining to the first chain with a slip stitch.
- Pull the loose end of the magic ring to close the center.
Round 2:
- Chain 1 (does not count as a stitch).
- In the same place, work 1 sc, and then another sc in the same stitch (increase).
- Repeat an increase (2 sc in same stitch) in every stitch around.
- Join the round using a turn-join method for a less visible seam:
- Turn work, insert hook through the first chain, pull yarn through, and turn back to the front.
Round 3:
- In the joining spot, make 1 sc, then another sc in the same stitch (increase).
- Next stitch: 1 sc.
- Next stitch: 2 sc in same stitch (increase).
- Continue: alternate single crochet, increase around (1 sc, 2 sc in next, repeat).
- Finish round, join as before (remove hook, turn to back, locate front point, insert, stretch a little, turn forward, insert in same spot, make sc).
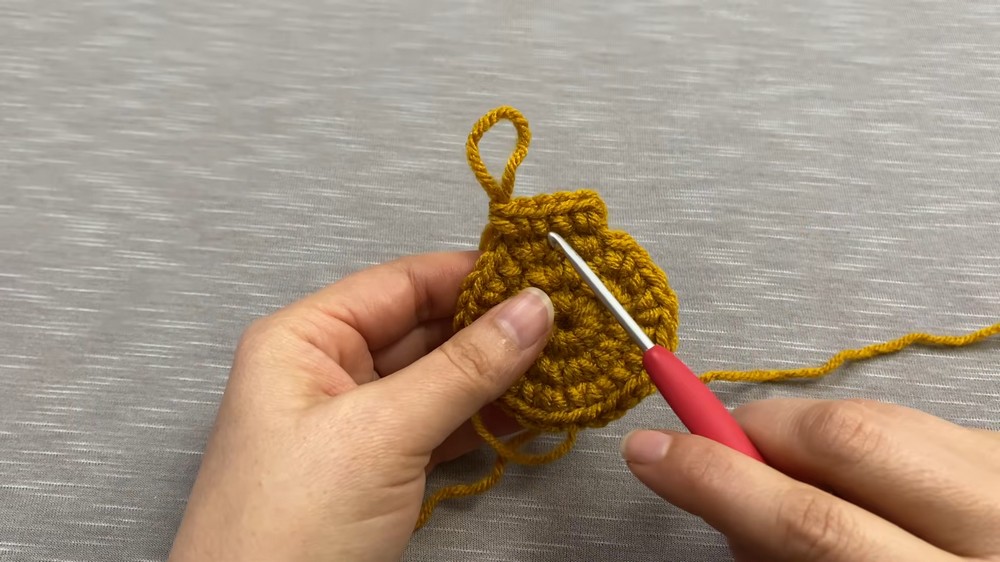
Round 4:
- Now work: 1 sc in each of next 2 stitches, then increase (2 sc in same stitch).
- Repeat: 2 sc, increase, around.
- Join.
Following Rounds:
- Continue in this sequence, adding 1 more single crochet between each increase in each round.
- (Next: 3 sc, inc; then 4 sc, inc; etc.)
- Use this pattern until the crown reaches approximately 16–17 cm in diameter (for a fitted or looser hat as desired; in the sample, up to 6 sc between increases).
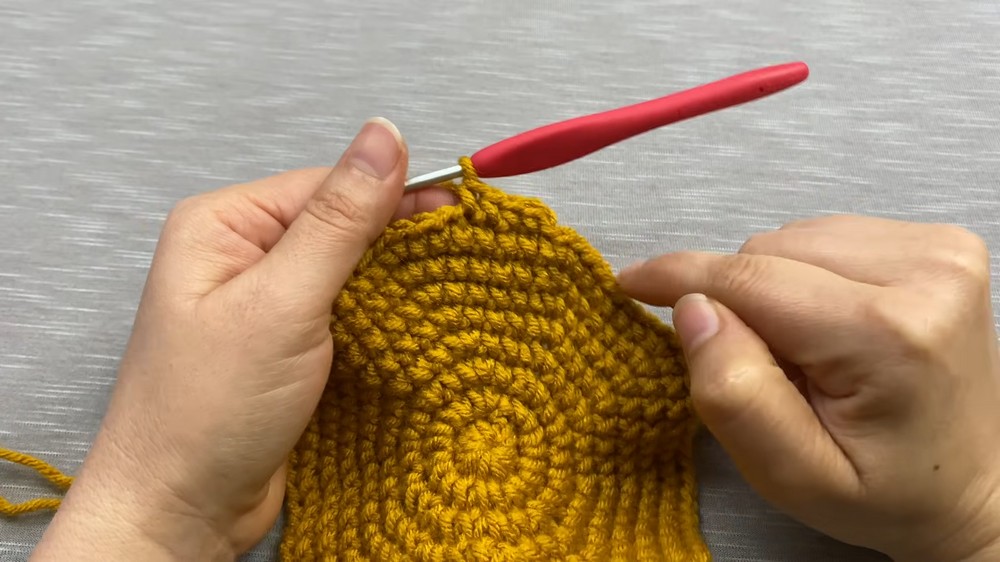
Note:
- You may continue with 7 sc, inc if a looser fit is preferred.
- A slight curl is fine; fabric will settle during the next stage.
Body (Hat Length)
Rounds:
- Continue rounds in single crochet (sc), working evenly—one sc in each stitch with no increases or decreases.
- Join each round with a slip stitch.
- Repeat rounds (point by point) until hat measures around 14 cm or covers ears (in transcript: 14 rounds following increases).
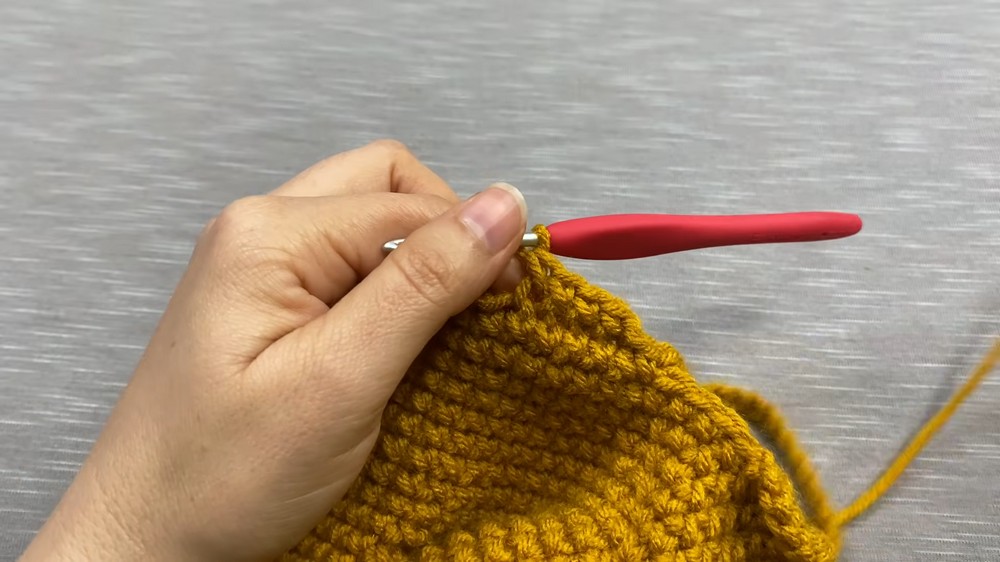
Creating the Under-the-Hat Arch
- Before completing round 14, with 3 stitches left in the round, chain 40.
- Attach the end of your chain to one stitch before the round end, forming a loop/arch.
- Join with a slip stitch at the front.
Brim (Visor)
Setup:
- Begin next round at the brim arch.
- Chain 1 to start.
- On the arch (40 chains), work in the outer loop only.
Brim Rounds:
- Work: 4 single crochets (sc), then increase (2 sc in next stitch).
- Repeat: 4 sc, inc, 4 sc, inc, to end of the arch.
- When arch is complete, continue to the regular side, but here, work 1 sc in each chain (no increases on this side, 40 sc total).
- Join with a slip stitch.
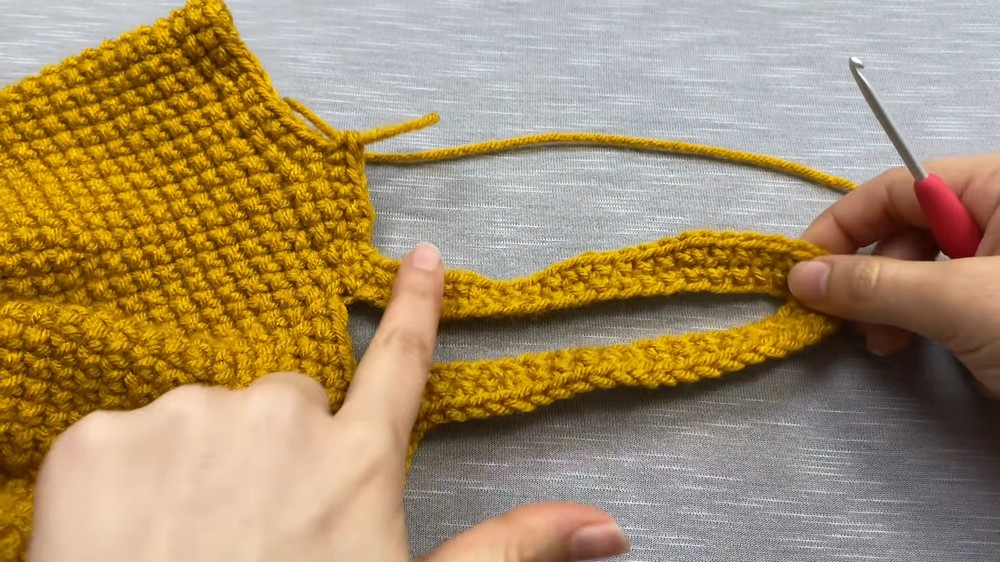
Next Brim Rounds:
- Continue: 1 sc in each stitch across.
- On brim arch at hat bottom, continue the increase pattern: 4 sc, inc only on this section as needed (first time only).
- The next rounds are worked evenly (1 sc in each stitch) unless more width is needed for your brim.
- Work approximately 9 rounds for 6 cm brim, or more/less as desired.
- Do not over-extend brim—too large and it will flop.
Finishing Edge – Color Change
- Cut yarn, knot to secure.
- With new (contrast) yarn, join at any point on brim edge.
- For single crochet edge: insert hook, pull up new color, chain 1, work sc in each stitch around.
- For slip stitch edge (as shown): insert hook, pull up new color, chain 1 for looseness, insert into next stitch, yarn over, pull through both loops (slip stitch). Continue in every stitch around.
- Join with slip stitch at end; cut and weave in end.
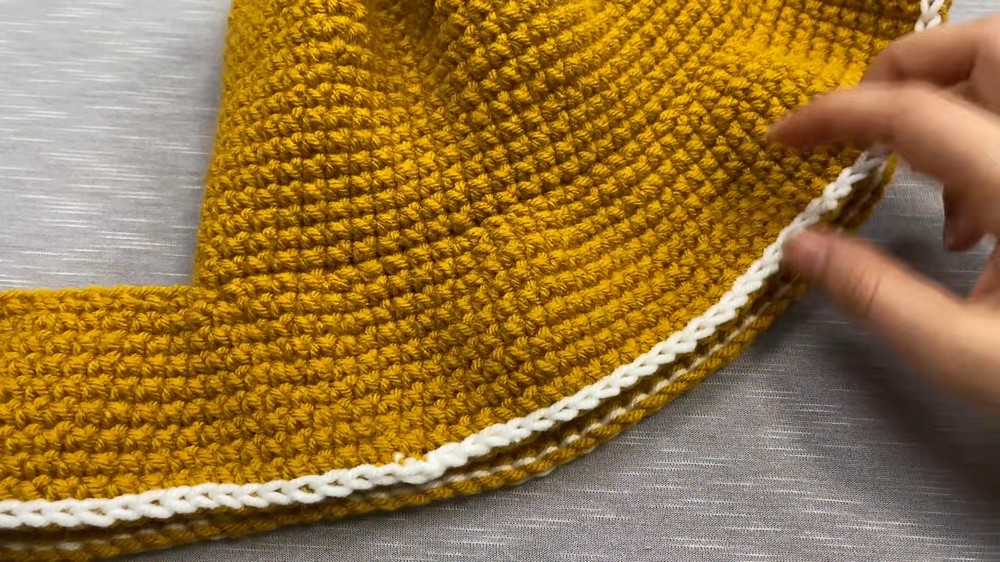
Finishing Back Edge
- Repeat the same edge treatment (single crochet or slip stitch) for the opening at the back of the hat, joining the new color at any point.
- Chain 1 to secure, then slip stitch in each stitch around.
- Seal the center with a slip stitch round as well, joining at the end and cutting yarn.
Optional Decorative Band or Bow
- Attach new yarn (color of choice) at the back.
- Chain 1, make a loop, work double crochet (dc) into the stitch below.
- Continue, increasing as needed to a total of 6 half high points (dc).
- Chain 2, turn, work dc in each stitch across (6 per row), repeating for a total of 5 rows.
- Cut yarn, leaving a long tail.
- Fold in half, sew the ends together for a loop.
- Use thread to fold and gather the band in the center for a bow effect, then sew to the hat as desired.
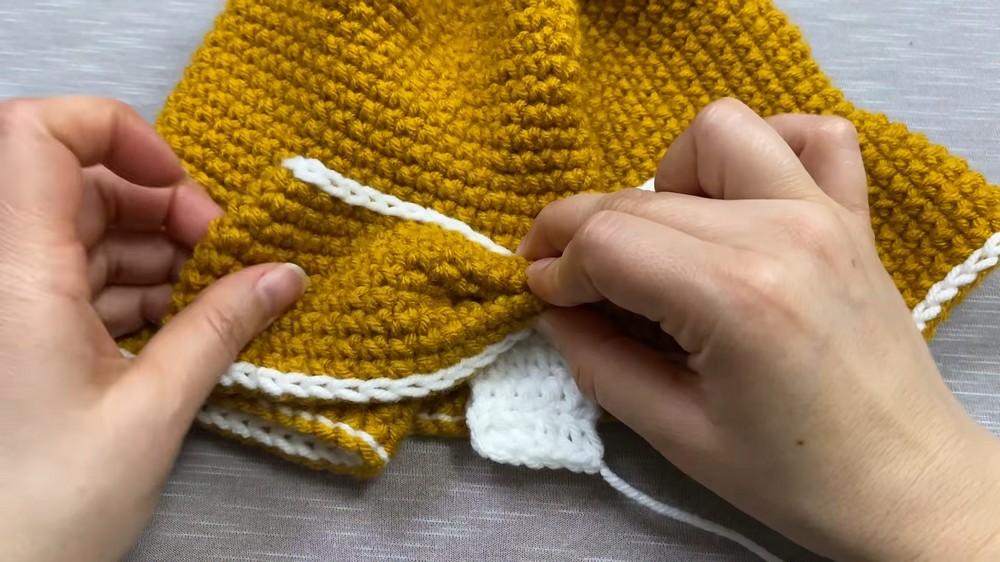
Assembly
- After finishing all rounds and edging, weave in all loose yarn ends with a needle or hook.
- Shape the hat gently by hand, smoothing the curves and making sure the brim edge lies flat.
- If a band/bow is made, attach securely at the back with stitches from the long yarn tail.
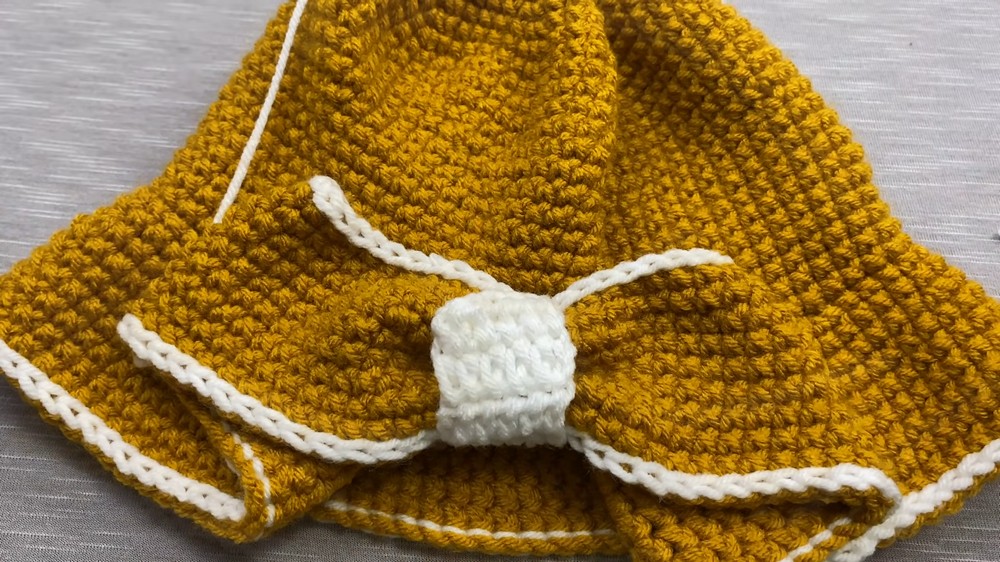
Final Notes
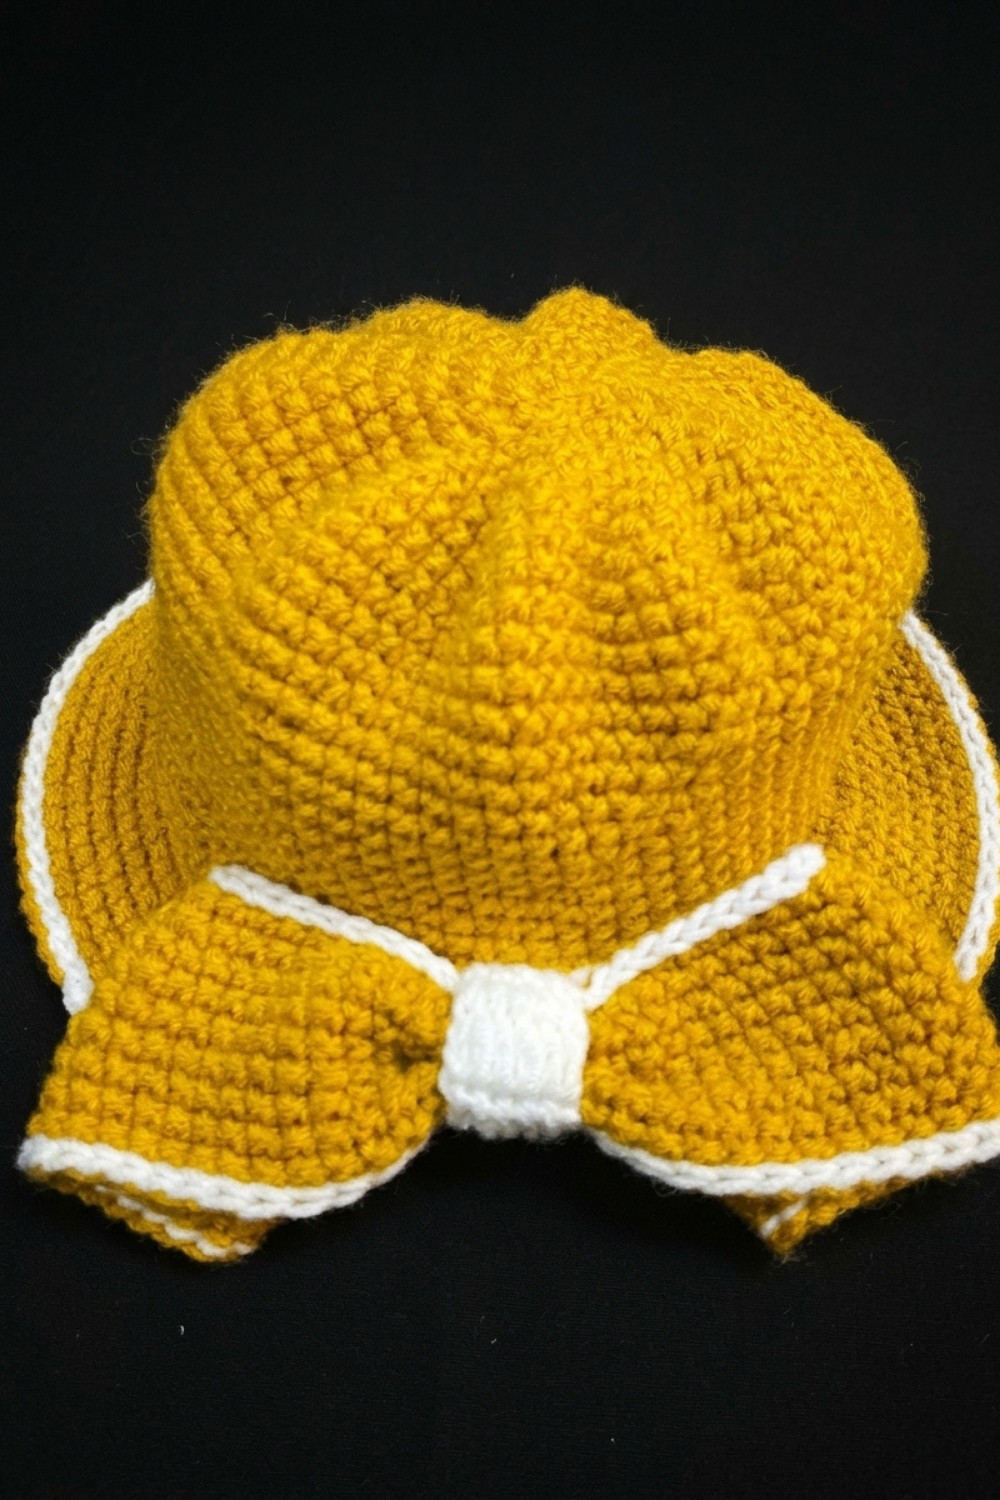
The hat is now finished and ready to wear. This project results in a classic, warm, and slightly stretchy hat with a contrasting brim and edge for extra interest. Adjust the color, fit, and decorations as desired for different looks. The structure and patterns used will provide a comfortable, long-lasting hat that can be enjoyed in cool weather or given as a handmade gift.


Leave a Reply