

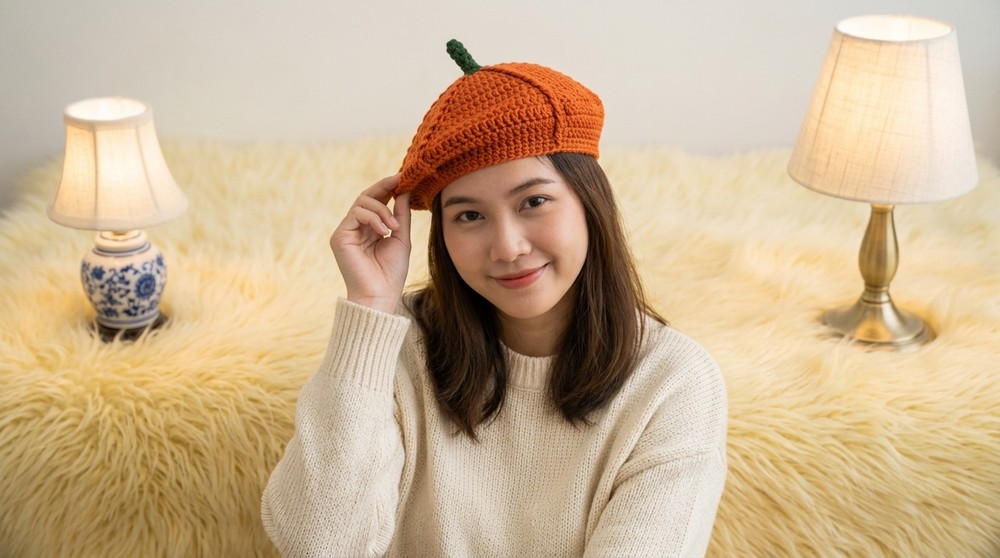
Add a cozy fall touch to your outfit with this Crochet Pumpkin Beret Hat Pattern, featuring a playful pumpkin shape and a warm handmade style.
There’s something utterly charming about a cozy, whimsical hat that effortlessly blends seasonal vibes with style—this crochet pumpkin beret hat pattern does just that. Perfect for autumn strolls or festive gatherings, it adds a playful pop of pumpkin-inspired warmth to any outfit. Thanks to Jess And Her Crafts for the original pattern, which guides you through creating this delightful accessory that’s as much fun to wear as it is to make.
Fun Crochet Pumpkin Beret Hat Free Pattern That Add Charm
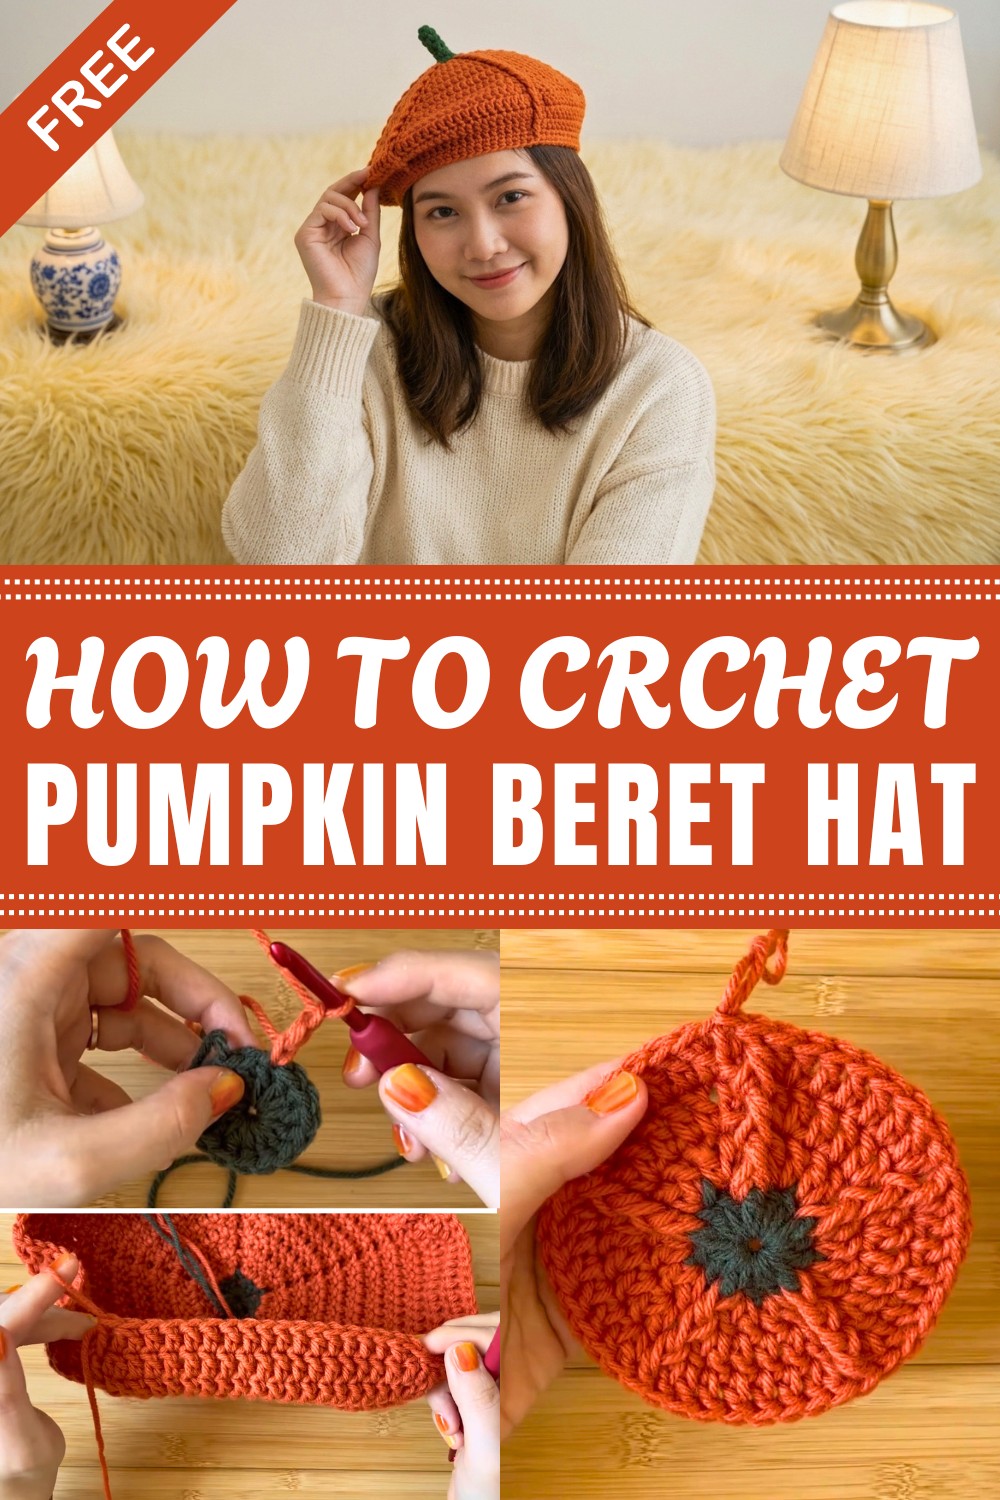
The finished pumpkin beret stands out with its soft, inviting texture and iconic shape. Its rounded silhouette gracefully frames the face, while subtle ridges mimic the natural grooves of a pumpkin, giving it a three-dimensional appeal. The crowning touch is a contrasting green “stem” atop the hat, which adds a charming, lifelike detail. Beyond aesthetics, this beret is surprisingly functional—its snug yet stretchy fit keeps you warm during crisp fall days without feeling bulky or stiff.
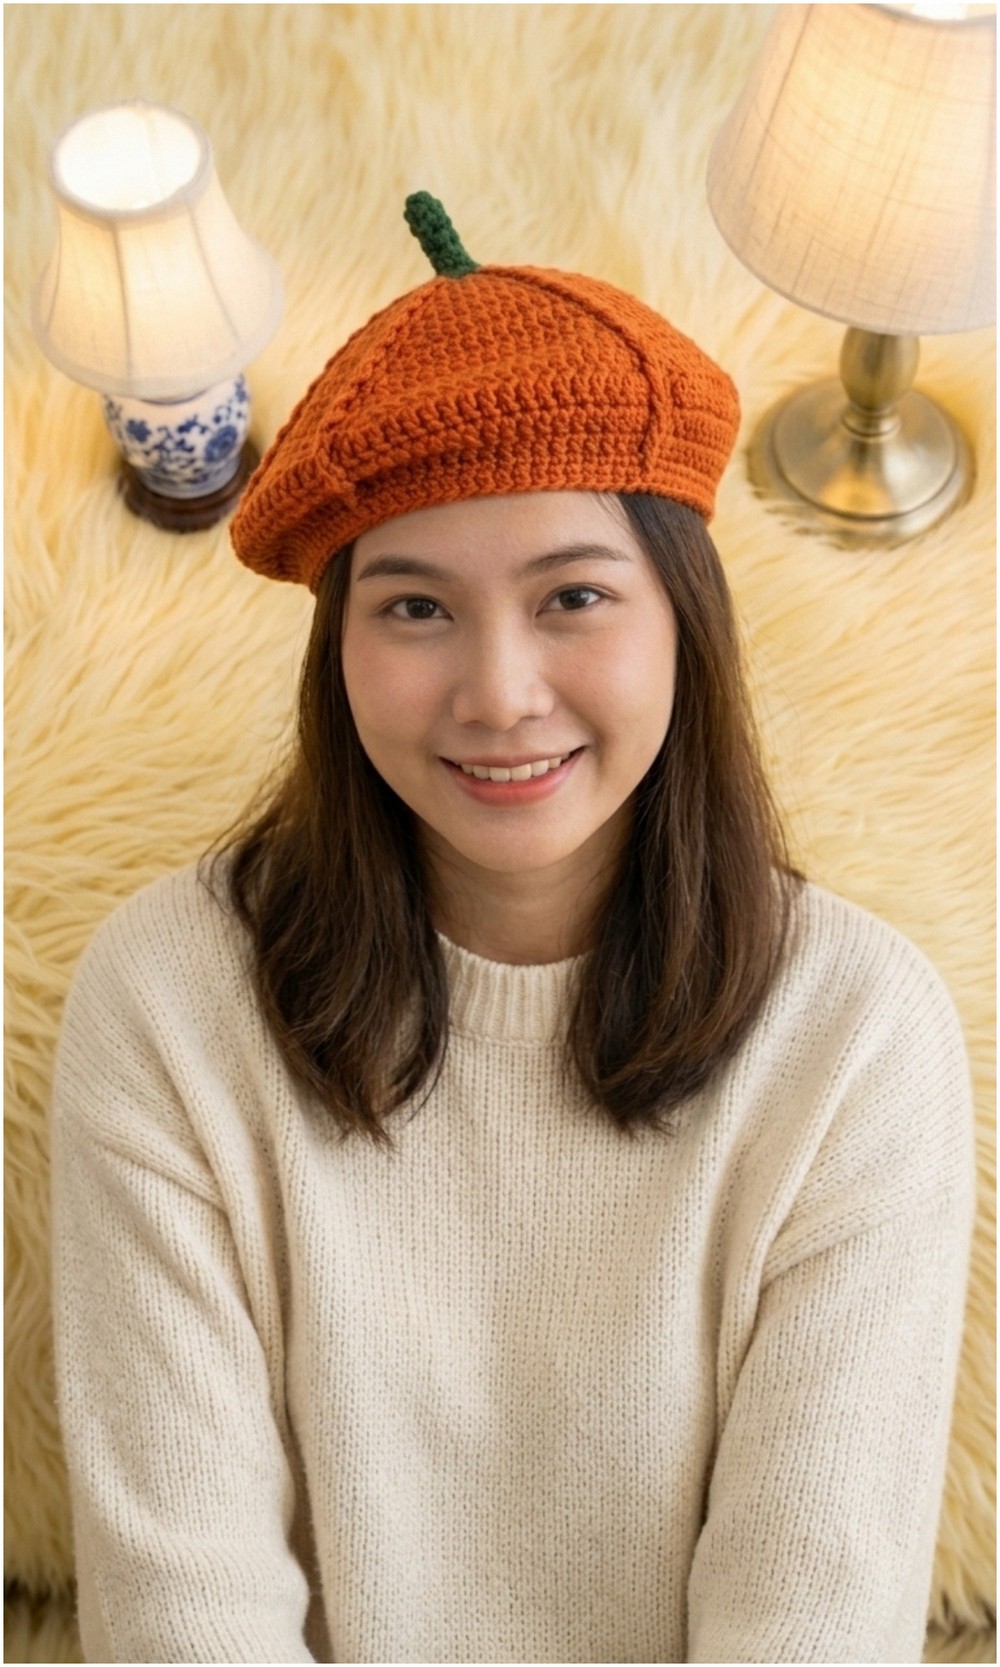
What’s especially enjoyable about this project is the combination of familiar stitches and clever shaping techniques, such as front post double crochets that create textured ridges, and thoughtful increases and decreases that give the hat its signature pumpkin look. Intermediate makers will appreciate these techniques that gently push their skills further, while adventurous beginners willing to learn new stitches will find guidance along the way.
There’s room to make it your own, too. Swap yarn colors to match your personal style, or adjust sizing to fit kids or adults. Once mastered, the stitch patterns and shaping tricks you pick up here can be carried into other projects that call for texture and form. If you’re looking to craft a cozy, festive statement piece this season, this pumpkin beret is a delightful way to do it. Curious to try your hand at this adorable accessory? Check out the full free pattern and start stitching your own autumn keepsake.
Crochet Pumpkin Beret Hat Free Pattern
Fill your fall wardrobe with charm by crocheting a pumpkin beret hat, a delightful one-day project perfect for autumn celebrations or cozying up at home. This whimsical accessory takes shape quickly using worsted weight yarn and straightforward stitches, resulting in a wearable piece that is both fun and practical. The beret features gentle shaping, a distinctive pumpkin body, and a playful raised stem at the crown. Through step-by-step, clearly segmented rounds, the shaping unfolds in a satisfying sequence—ideal for crocheters seeking a rewarding, seasonal project that displays both whimsical character and practical warmth.
Quick Overview Of Pattern
- Pumpkin base and beret body are worked seamlessly in the round, starting at the center.
- Unique shaping is created using increases, decreases, and front post double crochet stitches.
- Body is finished with a snug, single crochet brim for structure.
- The stem is constructed separately in continuous rounds and attached to the crocheted hat’s crown.
- Minimal sewing is required for assembly, and the project uses basic, easily mastered crochet techniques.
Notes
- Work in rounds; join with slip stitch at the end of each round unless otherwise stated.
- Maintain an even tension for smooth shaping—especially during increase and decrease sections.
- Use the front post double crochet (fpdc) to define “sections” in the beret, giving a segmented, pumpkin-like look.
- Keep yarn tails woven securely inside the hat for a polished appearance.
- A stitch marker helps mark the start of each round, particularly for the stem section, which is worked in a continuous spiral.
Skill Level
Confident Beginner to Intermediate:
This project requires knowledge of working in the round, increasing, decreasing, front post double crochet, and basic seaming.
Materials
- Yarn: #4 Worsted Weight Yarn
- Orange: Pumpkin body
- Green: Stem and base center
- Crochet Hook: 5.0 mm (US H-8)
- Accessories: 1 stitch marker, 1 tapestry needle, scissors
Measurements / Sizing
- Finished Size: Adult beret; approximately 10–11 inches diameter (brim unstretched) and 3.5–4 inches in height.
- Stem: About 1.5 inches high, sits upright at beret’s center.
- Adjust size by changing yarn weight or hook size, or by modifying number of rounds.
Gauge
Gauge is flexible but should yield a solid, but not stiff, fabric. For reference:
- 14 double crochets x 8 rows = 4" (10 cm) in double crochet, after blocking.
Stitch Abbreviations
- MR: Magic Ring
- ch: chain
- sl st: slip stitch
- sc: single crochet
- dc: double crochet
- fpdc: front post double crochet
- BLO: back loops only
- dc2tog: double crochet two together (decrease)
Special Stitches
- Front Post Double Crochet (fpdc): Yarn over, insert hook from front to back and then to front again around the post of the indicated stitch; yarn over and complete double crochet as usual. This creates a raised effect.
- dc2tog: Yarn over, insert hook in stitch, yarn over, pull up a loop (3 loops on hook). Yarn over, pull through 2 loops (2 loops remain). Yarn over, insert hook in next stitch, yarn over, pull up a loop (4 loops on hook). Yarn over, pull through 2 (3 loops remain). Yarn over, pull through all 3 loops.
The Crochet Pattern
Base Center & Pumpkin Body
Round 1 (Green Yarn: Center)
- Make a magic ring.
- Ch 3 (counts as first dc).
- Work 14 dc into the ring (15 dc total including starting ch-3).
- Tighten ring and sl st to top of first ch-3 to join.
- Fasten off green yarn.
Round 2 (Join Orange Yarn)
- Join orange yarn in top loops of any dc.
- Ch 3 (counts as dc), 1 dc in same st.
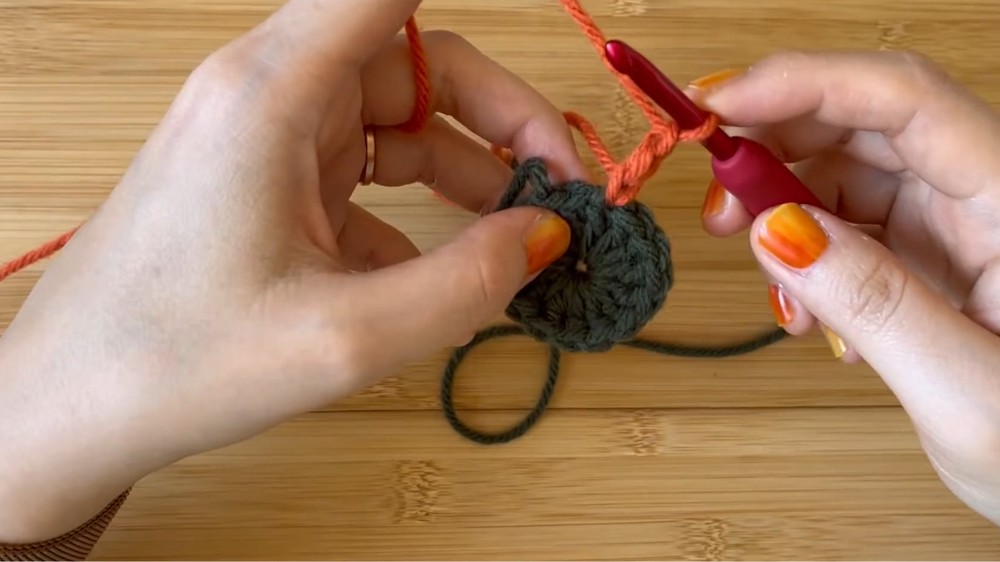
- 2 dc in next st.
- 1 fpdc in next st.
- Repeat across round: [2 dc in next st, 2 dc in next st, 1 fpdc in next st] until end.
- Sl st to top of starting ch-3 to join.
Round 3
- Ch 3, 1 dc in same st.
- 1 dc in each of next 2 sts.
- 2 dc in next st.
- 1 fpdc around previous fpdc.
- Repeat sequence: [2 dc in first st, 1 dc in next 2 sts, 2 dc in next st, 1 fpdc] all around.
- Sl st to top of starting ch-3.
Rounds 4–10 (Increasing Rounds)
- For each round:
- Ch 3, 1 dc in same st (increase at start of each wedge section).
- 1 dc in each stitch across the wedge’s middle section.
- 2 dc in the last st of the wedge section, just before the fpdc.
- 1 fpdc around the previous fpdc to separate wedges.
- Repeat the wedge sequence of increases and fpdc sections across all 5 wedges.
- Sl st to join at end of round.
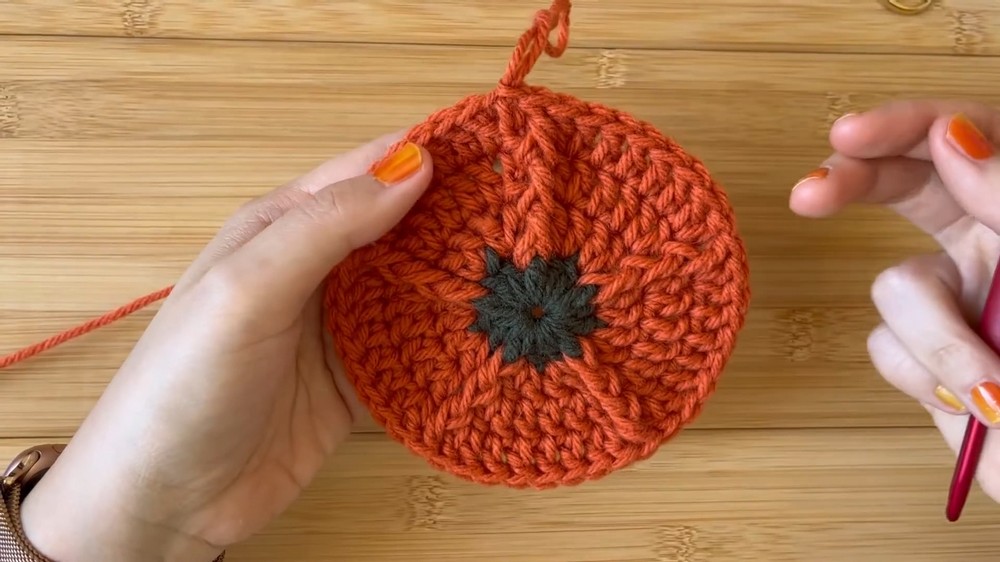
- Continue this increasing pattern through Round 10.
- Each round increases the width and deepens the “wedge” structure for a pumpkin effect.
Round 11 (Straight Body Round)
- Ch 3.
- 1 dc in each st around (no increases).
- Fpdc in the usual marked spots.
- Sl st to join at end of round.
Decreasing & Brim Section
Round 12 (First Decrease Round)
- Ch 2, dc in next st (counts as dc2tog).
- 1 dc in each st across sectional wedge.
- Dc2tog over last 2 stitches of wedge section.
- 1 fpdc around current fpdc.
- Repeat for each wedge section.
- Sl st directly into the top of the first real double crochet (not the ch-2).
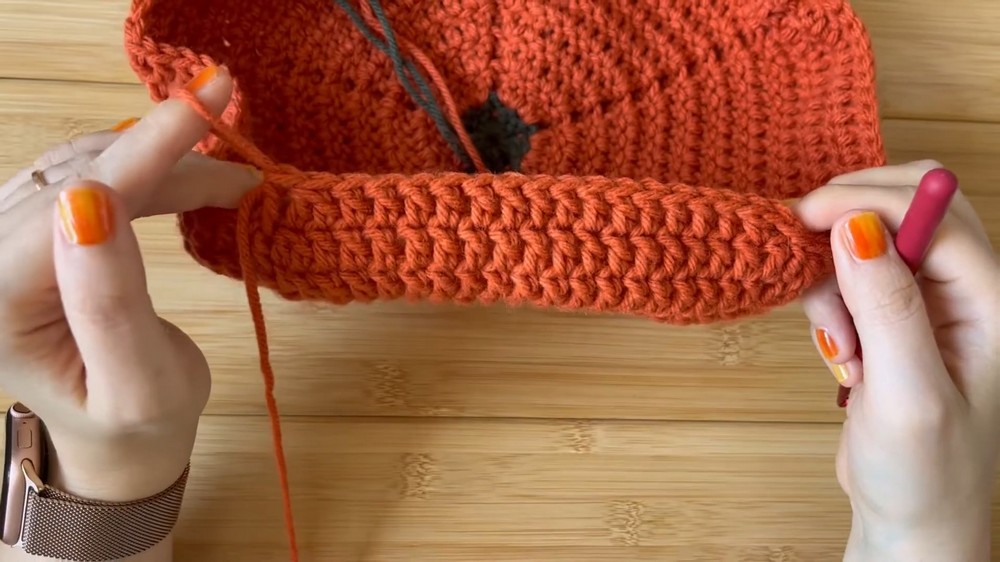
Rounds 13–15 (Remaining Decrease Rounds)
- Ch 2, dc in next st (dc2tog).
- 1 dc in each st in wedge section.
- Dc2tog over last 2 stitches before fpdc.
- 1 fpdc around fpdc.
- Repeat for each wedge; join with sl st at end.
- Continue this sequence through Round 15.
- You now have a gently sloped beret shape with distinct pumpkin wedges.
Rounds 16–18 (Hat Edge / Brim: Single Crochet in BLO)
- Ch 1.
- 1 sc in back loop only (BLO) of every stitch around (including stitches that were fpdc).
- Sl st to first sc of round.
- Repeat the BLO sc round for a total of 3 rounds for a structured brim.
- Fasten off orange yarn.
Stem & Assembly
Stem Construction (Green Yarn)
- Ch 2.
- Work 5 sc into 2nd ch from hook.
- Place a stitch marker in the first sc.
- Rounds 1–5: Work in a continuous spiral, 1 sc in each st around (5 sc per round). Move stitch marker up each new round.
- At end of Round 5, sl st to first sc and leave a long tail for sewing.
Assembly
- Thread green tail onto tapestry needle.
- Position stem at the top center of hat (over green base circle).
- Sew base of stem to crown of hat, stitching firmly all along the edge for strength.
- Weave all yarn ends securely inside hat.
- Fold brim edge inward for classic beret look; shape stem upright.
Finished Size
- Hat measures approximately 10–11 inches across and 3.5–4 inches deep (excluding stem).
- Stem stands about 1.5 inches at hat's center.
Conclusion and Ending Words
As the final stitch is woven and the stem is attached, a playful pumpkin beret emerges, boasting seasonal color and whimsical charm. This approachable pattern leads to a hat that is as delightful to craft as it is to wear, blending structured shaping with creative flair. Each carefully formed wedge enhances the pumpkin effect, while the stem offers a cheerful finishing touch. Display your new accessory at autumn gatherings, or present it as a thoughtful handmade gift. Through clear instructions and enjoyable stitches, this beret is sure to become a cherished seasonal favorite in your collection.


Leave a Reply