

Make this cute little crochet bird with our free pattern with easy steps, simple materials, and perfect for beginners who love fun amigurumi projects.
Creating a charming and delightful little bird with crochet hooks becomes a rewarding experience through this Free Crochet Bird Amigurumi Pattern. Inspired by working with soft, colorful yarns, this amigurumi bird is a beautiful handmade toy that adds a touch of warmth and joy to any crochet collection. Whether seeking a cute decorative item, a heartfelt gift, or simply a satisfying project to practice amigurumi techniques, this pattern offers an engaging and fun way to explore the art of crochet.
Free Crochet Bird Amigurumi Pattern Soft Toy for Kids
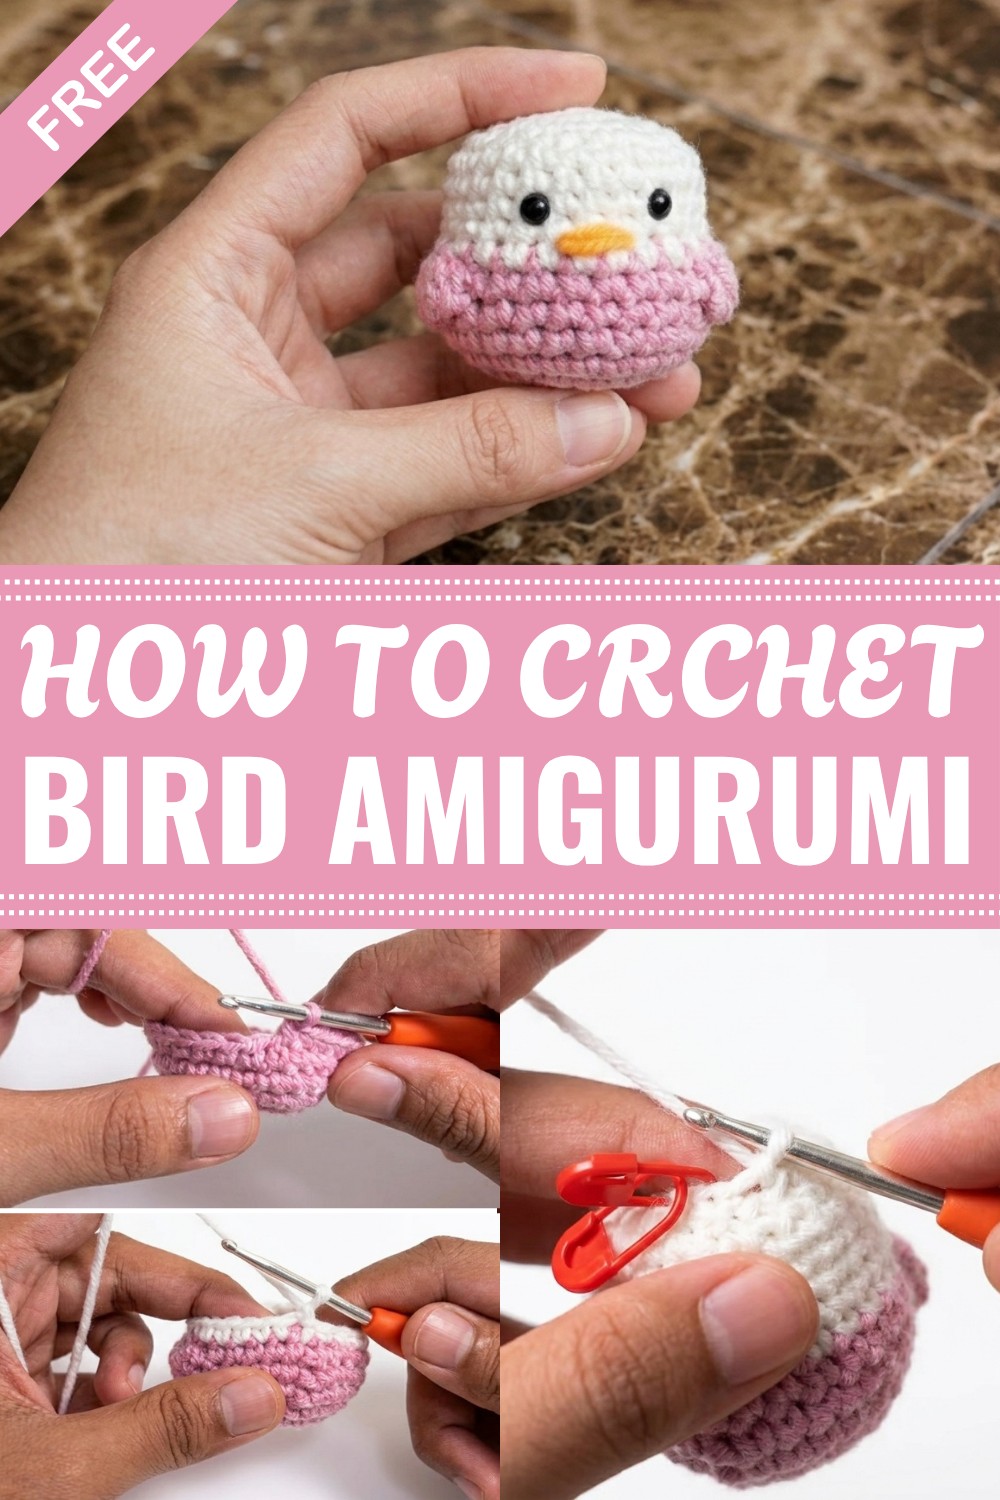
This adorable bird features a soft texture, smooth rounded shape, and is constructed primarily with single crochet stitches that produce a dense and plush fabric. The body is worked in continuous rounds, starting with a magic ring, followed by strategic increases and decreases to shape the bird's well-proportioned form.
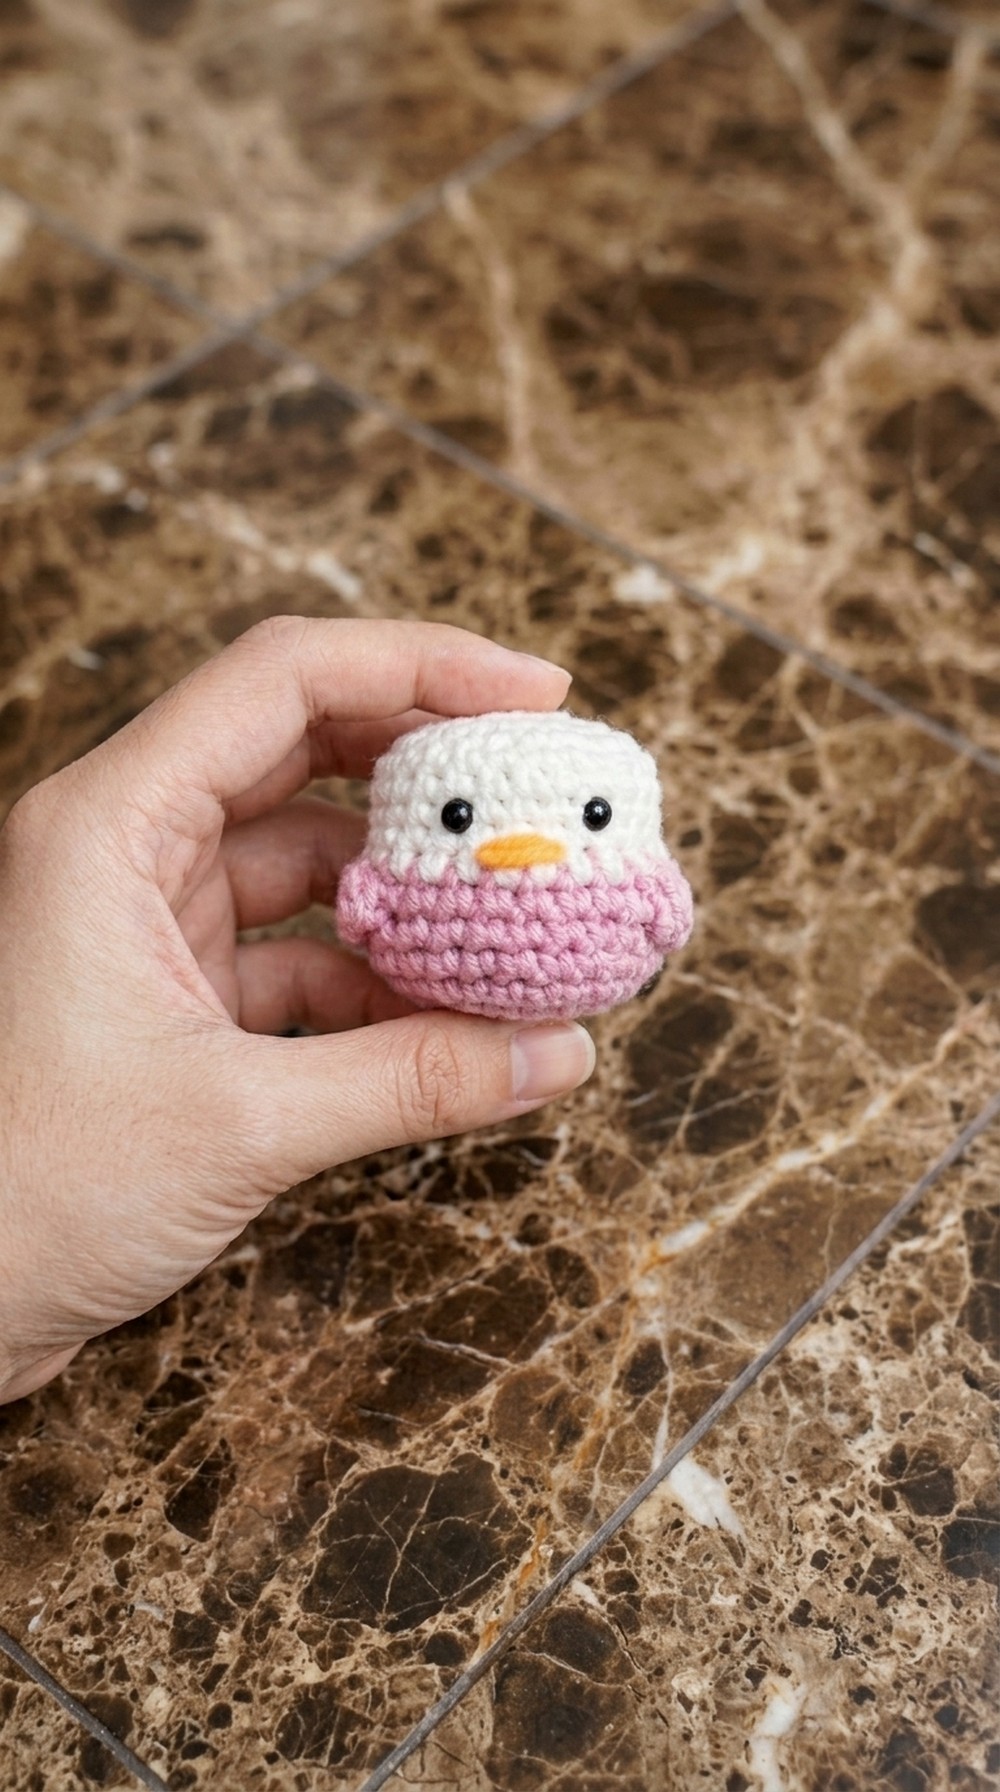
Unique design touches include a cluster of double crochet stitches forming the wings, and carefully embroidered facial details using contrasting yarn colors like pink, white, black, and yellow that bring the bird’s personality to life. This project highlights several essential crochet techniques such as magic rings, single crochet, slip stitches, increases, decreases, and the cluster stitch, making it suitable for intermediate crocheters familiar with amigurumi basics and stitch markers.
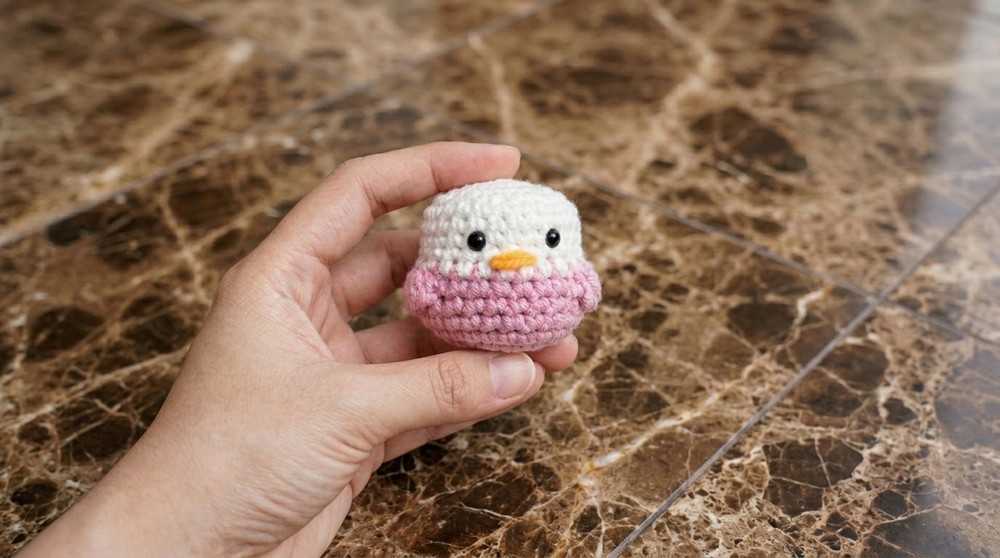
This versatile amigurumi bird serves as a delightful home décor piece, a unique handmade gift, or a collectible keepsake for crochet lovers. Its compact size allows it to be used as an accessory or charm with minimal customization. For anyone who enjoys working with cozy textures, detailed craftsmanship, and playful designs, this free crochet bird amigurumi pattern presents a perfect project—welcoming both creativity and skill-building in a fun and approachable way.
Amigurumi Little Birdie Crochet Pattern
Before You Start
- Read all instructions fully before beginning your project.
- This project is worked in continuous rounds (unless stated otherwise).
- Use a stitch marker to identify the beginning of each round.
- All stitches are made in US crochet terms.
- Keep tension consistent throughout for a neat finish.
- Use stuffing moderately to maintain the shape.
- Securely weave in all ends for safety, especially for toys.
Pattern Notes
- All rounds are joined with a slip stitch unless otherwise noted.
- Each increase means 2 single crochet in same stitch.
- Invisible decrease method is advised for a seamless look.
- For color changes, always change color at the last pull-through of the previous stitch.
- Carry yarn tails while crocheting to minimize weaving in later.
- Embroidery is used for facial features.
- Adjust amount of stuffing to avoid overstuffing and misshaping.
- Cluster stitches create the wings.
How I Made the Crochet Pattern?
- Started body and head from a magic ring, working in continuous rounds.
- Incorporated increases at the base, with consistent rounds for height.
- Designed simple clusters for stylized wings.
- Worked the face and finishing parts using embroidery for fine detail.
- Aimed for minimal sewing; most parts are worked as one piece.
Skill Level
Beginner to Confident Beginner
This pattern uses basic stitches and simple shaping; a great first amigurumi!
Finished Size
Approx. 7 cm (2.75 inches) tall when using recommended yarn and hook.
Materials
- Fine cotton yarn (#2 or similar)
- Pink (main body)
- White (head and belly)
- Yellow (beak)
- Black (eyes) optional
- 3.0 mm crochet hook
- Stitch marker
- Darning (tapestry) needle
- Polyester fiberfill stuffing
- Scissors
Measurements / Sizing
- Circumference at widest (body): approx. 14 cm
- Height (base to top of head): approx. 7 cm
Gauge
Not crucial for this project.
If using similar yarn, your birdie will be close to stated size.
Optional Gauge:
16 sc x 18 rows = 2 x 2”/5 x 5 cm in single crochet
Stitch Abbreviations
- ch: chain
- sc: single crochet
- inc: increase (2 sc in one stitch)
- dec: single crochet decrease (see Special Stitches)
- sl st: slip stitch
- dc: double crochet
- st(s): stitch(es)
- MR: magic ring
Special Stitches
- Single Crochet Decrease (sc dec / invisible dec):
Insert hook in front loop of next st, insert hook in front loop of following st (2 loops on hook), yarn over, pull through both front loops, yarn over and pull through remaining 2 loops. - Double Crochet Cluster (used for wings):
(Yarn over, insert hook in stitch, yarn over, pull through 2 loops) 5 times in the same st, then yarn over and pull through all 6 loops on hook.
The Pattern
Body (worked in pink)
Round 1:
- MR, ch 1, 8 sc in ring. Join with sl st to first sc. (8 sts)
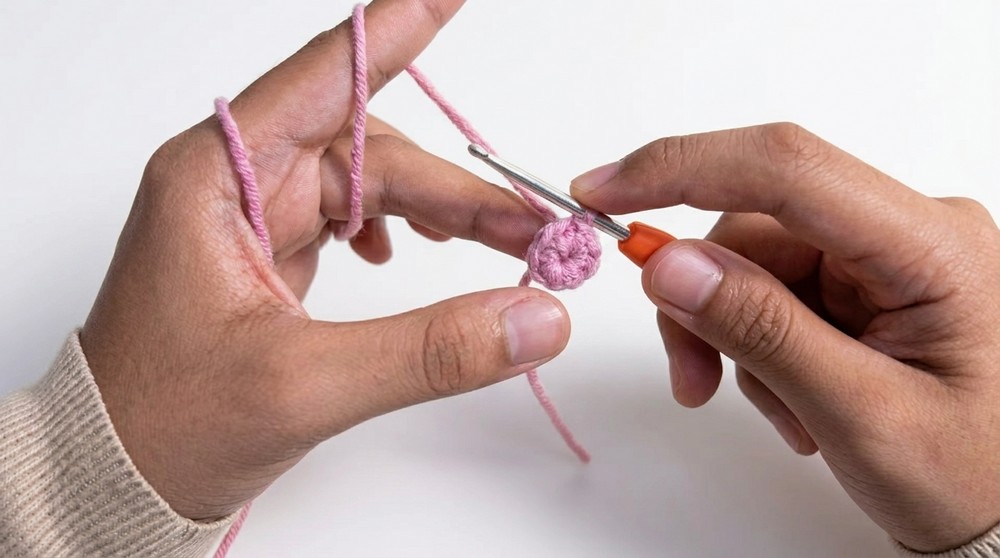
Round 2:
- Ch 1, 2 sc in each st around. Join. (16 sts)
Round 3:
- Ch 1, *(sc in next st, inc in next st); repeat from * around. Join. (24 sts)
Rounds 4-6 (3 rounds):
- Ch 1, sc in each st around. Join. (24 sts)
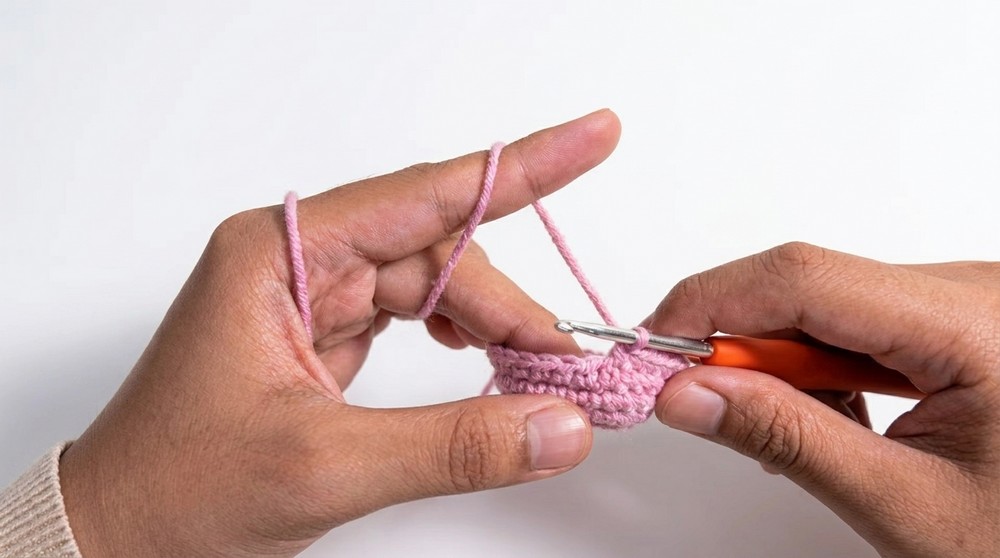
A quick summary:
You are working a flat circle that begins to build the bottom of your birdie. Rounds 4-6 help shape the belly.
Wings (worked as part of body)
Round 7:
- Ch 1, sc in next 6 sts. Make double crochet cluster in next st (see Special Stitches).
- Sc in next st.
- Sc in next 8 sts.
- Make double crochet cluster in next st.
- Sc in remaining sts to end of round. Join.
(Finish with 2 clusters as wings at two sides.)
Cut yarn and fasten off.
After completing the wings, you should see two distinct lumps at the side – these will become your bird’s wings.
Head (worked in white)
Join white yarn to next st after fasten-off:
- Ch 2.
- Rounds 8-13 (6 rounds): Sc in each st around. Join. (24 sts)
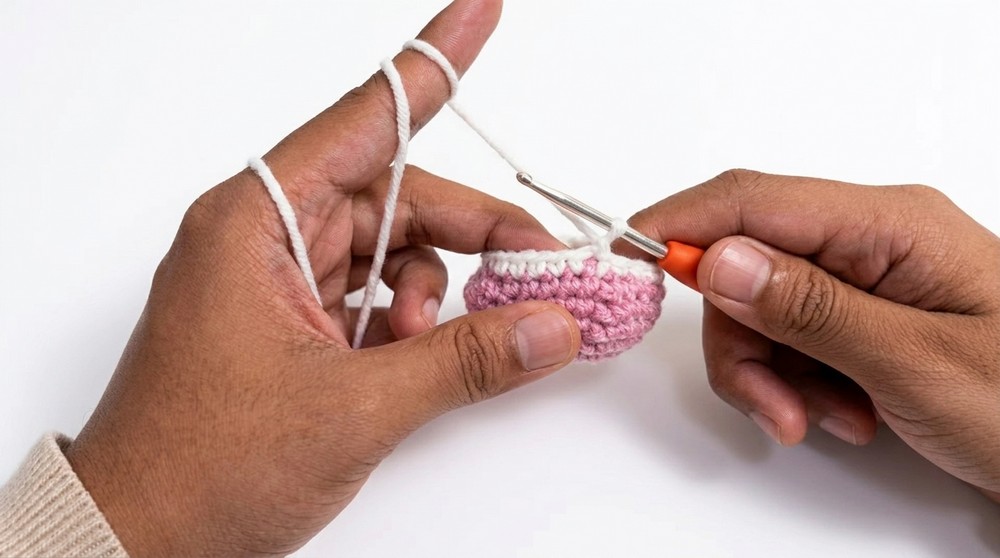
This section will start to form the top and face of your birdie. Make sure to work evenly and carry your yarn tails inside for a neat finish.
Shaping the Head (Decreases)
Round 14:
- Ch 1, *(sc in next st, dec); repeat from * around. Join. (16 sts)
- Stuff the body and head firmly.
Round 15:
- Ch 1, *(dec in next st); repeat around. Join. (8 sts)
- Cut yarn, leaving a tail for sewing. Thread tail through remaining sts and pull tight to close. Weave in securely.
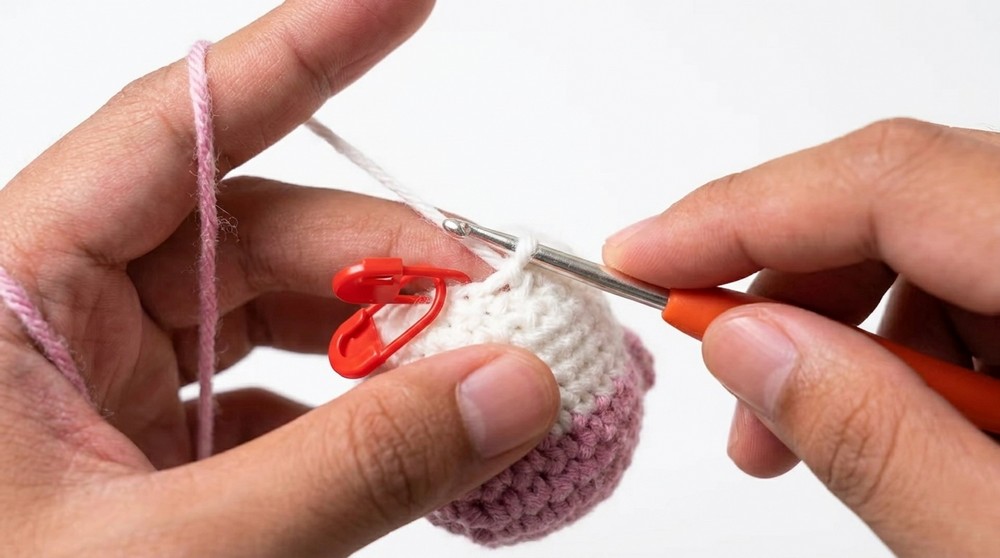
After closing the head, your basic bird shape is finished. Be sure to stuff well before closing for best results.
Face Embroidery
Beak (yellow yarn):
- With tapestry needle, insert yarn from back to front, about 3 stitches wide and 3-4 rows up from the “wing” row, centered.
- Stitch over the spot 3-4 times for firmness and color.
- Tie off and weave in ends securely.
Eyes (black yarn):
- Place eyes one row above beak and evenly spaced on either side.
- Embroider small horizontal lines or use French knots.
- Hide all ends inside.
For those who struggle with pattern instructions, embroider the face just above the body, keeping it symmetrical. The nose is a yellow dash, and each eye is a black short line or dot. Refer to pictures or video for placing.
Assembly & Finishing
- Stuff the body and head firmly, but do not overstuff.
- Weave in all visible yarn ends.
- Pinch and shape the wings outward for effect.
- Stretch and pinch head and body to desired roundness.
- Gently pull facial embroidery taut for smoothness.
- Use the blunt end of needle to tuck in yarn tails.
- Trim excess threads.
- Adjust stuffing by gently massaging the finished birdie.
Solution of Problem
Common issue: Hole remains after closing.
Solution: When weaving the final stitches, insert through front loops only and gently pull yarn to draw the center closed. Make several passes for security and weave in the tail well.
What You Can Make by Using These Stitches
- Basic amigurumi shapes (all in this project)
- Other animals (bunnies, cats, bears)
- Crochet balls and eggs
- Mini plush keychains
- Baby toys and rattles
Leave a Reply