

Brighten your session with this adorable crochet teddy bear pattern, offering step-by-step guidance for charming and cute results.
Soft, cuddly, and full of character, teddy bears have a special way of bringing comfort and joy. Making your own version is a rewarding experience that blends creativity with a touch of nostalgia. The Crochet Teddy Bear Free Pattern helps you create an adorable companion that is as charming as it is huggable, perfect for gifting or adding warmth to any space.
Charming Crochet Teddy Bear Free Pattern That Brings A Cute Gift
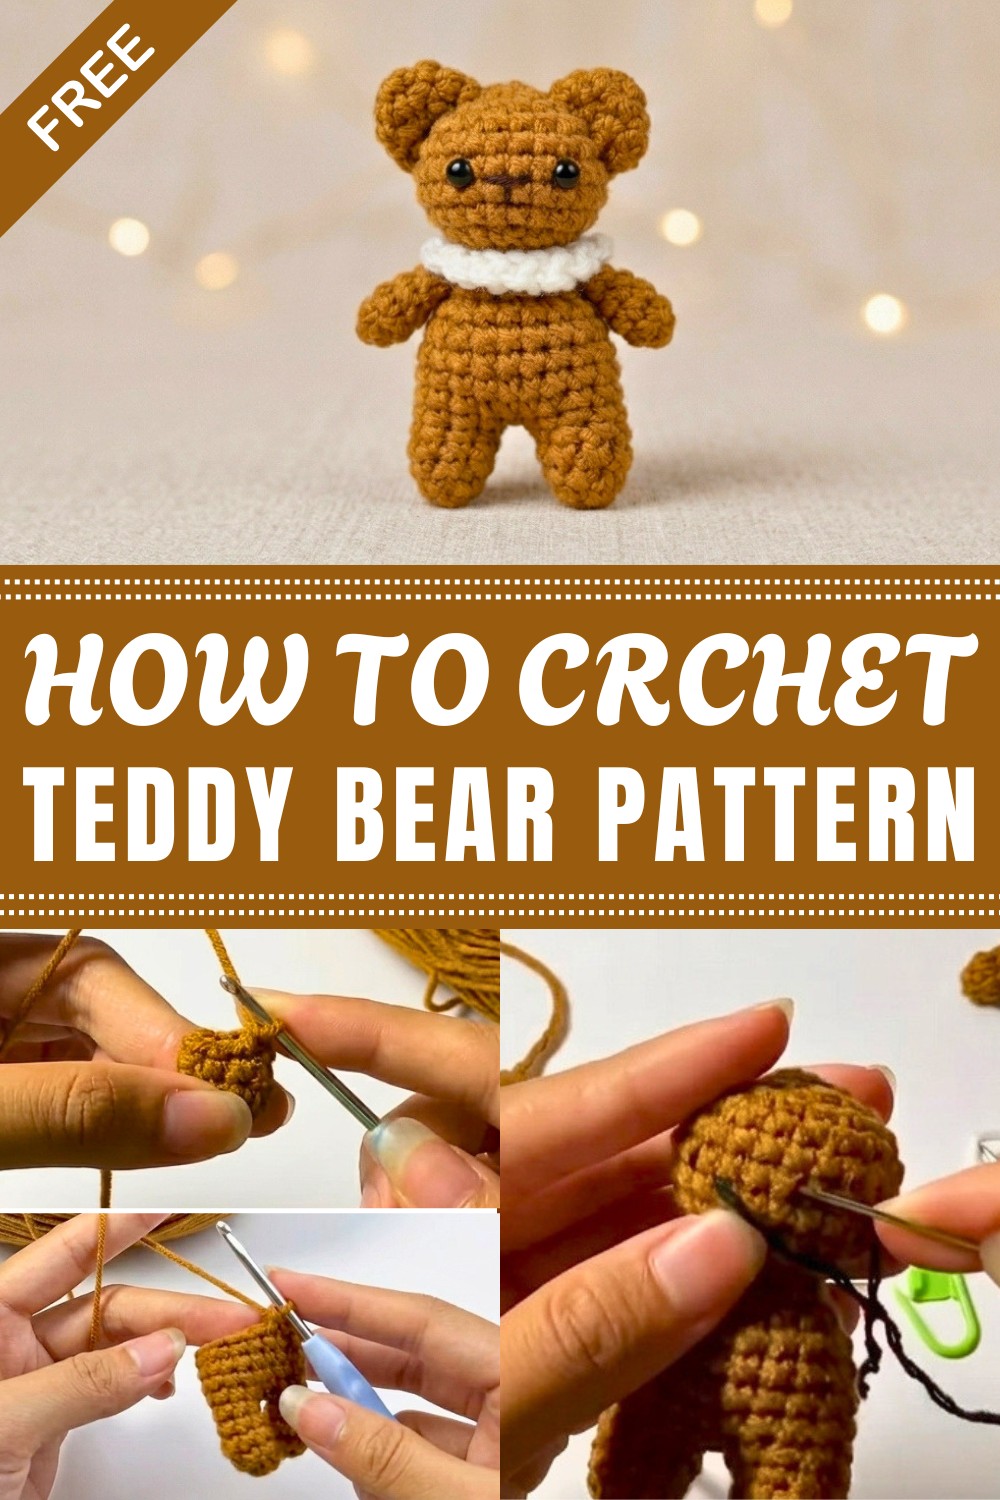
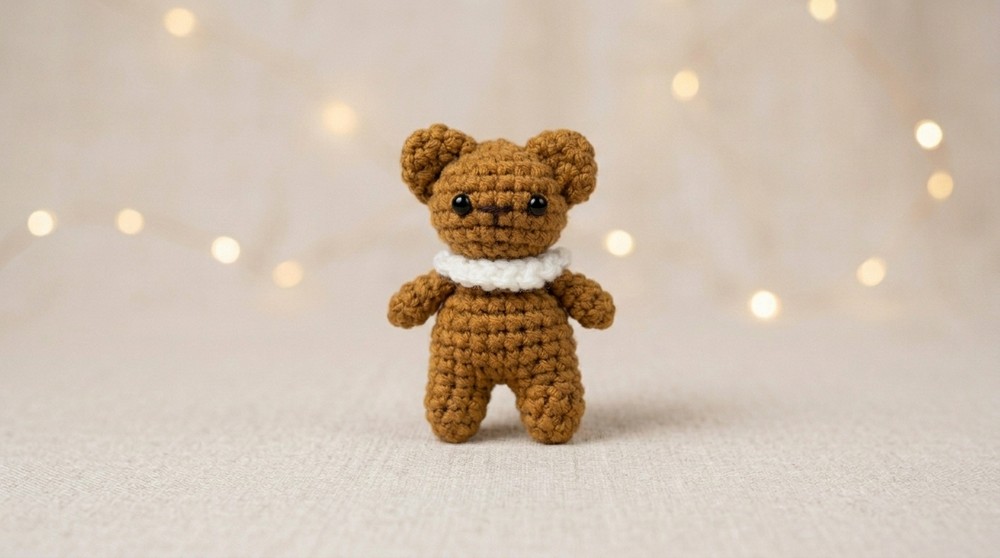
This teddy bear features a plush, rounded shape that feels just right to hug. Its texture is soft yet sturdy enough to hold its shape for years to come. With gentle curves and sweet little ears, the bear exudes a playful personality that’s hard to resist. Because of its size and design, it functions beautifully as a child’s toy, a nursery accessory, or even a cozy desk buddy.
One of the best parts about this project is how adaptable it can be. You can experiment with different yarn colors to give your bear a unique look, classic brown, soft pastels, or even bright, cheerful hues. Adding accessories like tiny scarves or bow ties can also make each bear uniquely yours. The pattern’s straightforward construction makes it approachable for those newer to yarn work, yet still satisfying enough to keep the interest of more practiced hands.
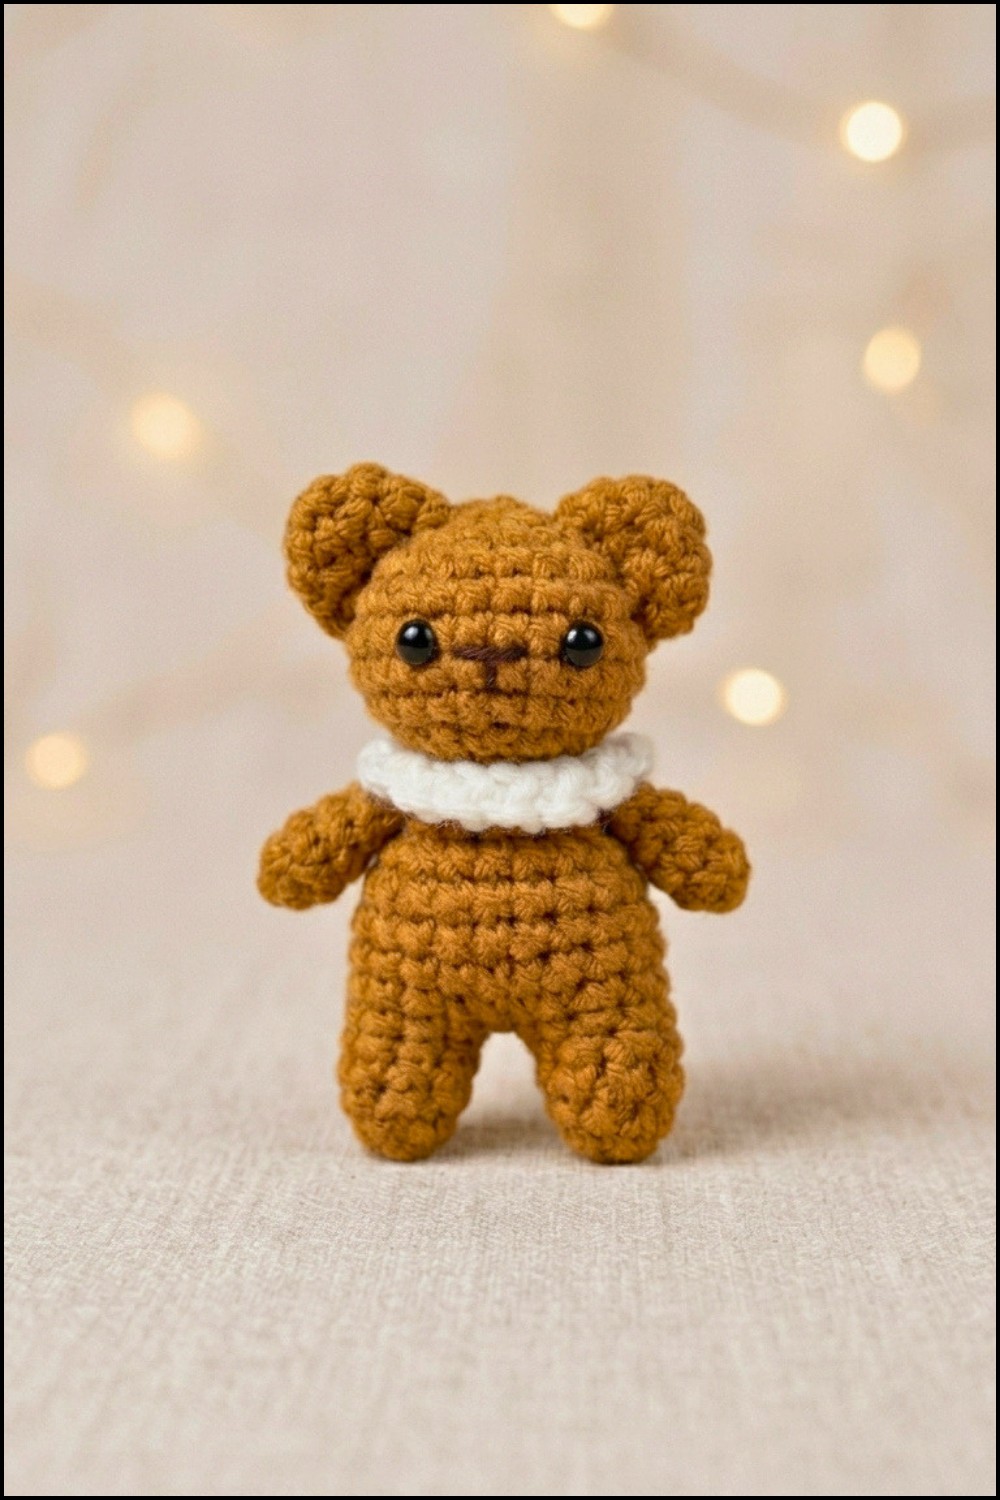
Working through this bear also presents a chance to refine your shaping skills and practice creating smooth, rounded forms with stitches. It’s a fun way to deepen your familiarity with basic techniques while ending up with a charming figure that you made yourself. If a sweet, squishy companion sounds like just the project you want, be sure to check out the Crochet Teddy Bear Free Pattern and bring one of these lovable bears to life.
Mini Crochet Teddy Bear Free Pattern - Full Guide
Inspired by the adorable amigurumi tutorials, this bear keychain features simple, clear construction. Each step is carefully guided, resulting in an irresistibly cute and sturdy mascot suitable for beginners and practiced crocheters alike. The following pattern has been meticulously compiled using the step-by-step transcription, ensuring all aspects of the process are documented for a seamless, enjoyable experience.
Quick Overview Of Pattern
- Begin by crocheting two separate legs and joining them to form the body.
- Continue shaping the body seamlessly, leading into the head without sewing.
- Attach small arms and ears for added character.
- Crochet a quick decorative scarf to personalize your bear.
- Finish by embroidering facial features and (optionally) adding a keychain or glue backing.
- Assembly is minimal, focusing on ease and clean appearance.
Notes
- Always crochet in continuous rounds unless otherwise specified—using a stitch marker helps keep track of your beginning round.
- Stuff as you go for a firm, tidy shape, particularly taking time around the neck and head for symmetry.
- Secure your yarn tails carefully to ensure the safety of small parts.
- Adjust hook size and tightness if the stuffing shows through.
- For a professional finish, always turn your work and shape gently by hand after stuffing.
Skill Level
Beginner to Intermediate: The project uses basic stitches, seamless joining, and simple assembly, making it approachable for almost any crocheter.
Materials
- Brown yarn (light or dark, depending on your style preference)
- Crochet hook (size appropriate for your yarn, usually 2.5mm–3mm for amigurumi)
- Fiberfill / Stuffing
- Black embroidery thread (for eyes and nose)
- Yarn needle (for sewing pieces and embroidering details)
- Keychain ring or strong glue (optional for keychain conversion)
Measurements / Sizing
- Finished bear stands approximately 7–10 cm tall, depending on tension and yarn thickness.
- Scarf length can be adjusted to preference but is approximately 6–7 cm.
Gauge (and Stitch Pattern)
Gauge is not critical, but stitches should be tight enough to prevent stuffing from showing.
Standard Amigurumi Stitch Pattern:
- All rounds are worked in the round, using single crochet unless otherwise stated.
Stitch Abbreviations (US Terms)
- MR: Magic Ring
- SC: Single Crochet
- Inc: Increase (2 SC in 1 stitch)
- Dec: Decrease (single crochet 2 together)
- Ch: Chain
- Slst: Slip Stitch
- St/Sts: Stitch / Stitches
Special Stitches
- Magic Ring (MR): Create an adjustable loop for your starting round to ensure a neat, closed start.
- Invisible Decrease: Insert hook into front loop of next two stitches, yarn over, pull through, yarn over, pull through both loops on hook. This creates a less visible decrease compared to traditional decrease.
The Crochet Pattern
Legs (Make 2)
Leg 1:
- Round 1: 8 SC in MR (8)
- Rounds 2–4: SC in each st around (8)
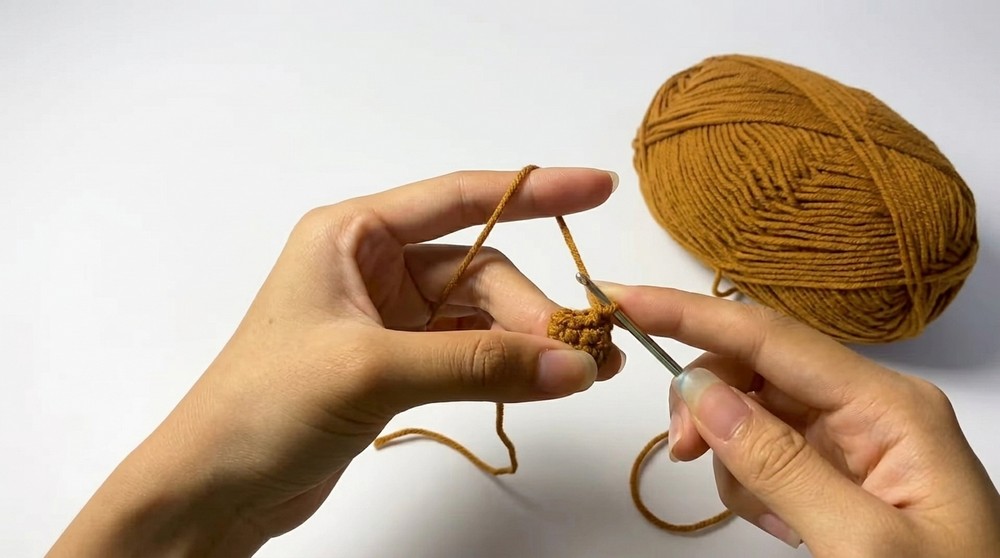
- At the end of Round 4: Slst to finish and fasten off.
Leg 2:
- Round 1: 8 SC in MR (8)
- Rounds 2–4: SC in each st around (8)
- At the end of Round 4: Do not cut yarn; continue to body.
Body
- Round 5: Ch 1 from second leg. Work 8 SC around first leg (start at the slst join), 1 Inc on side of chain, 8 SC around second leg, 1 Inc on other side of chain (20)
- Rounds 6–8: SC in each st around (20)
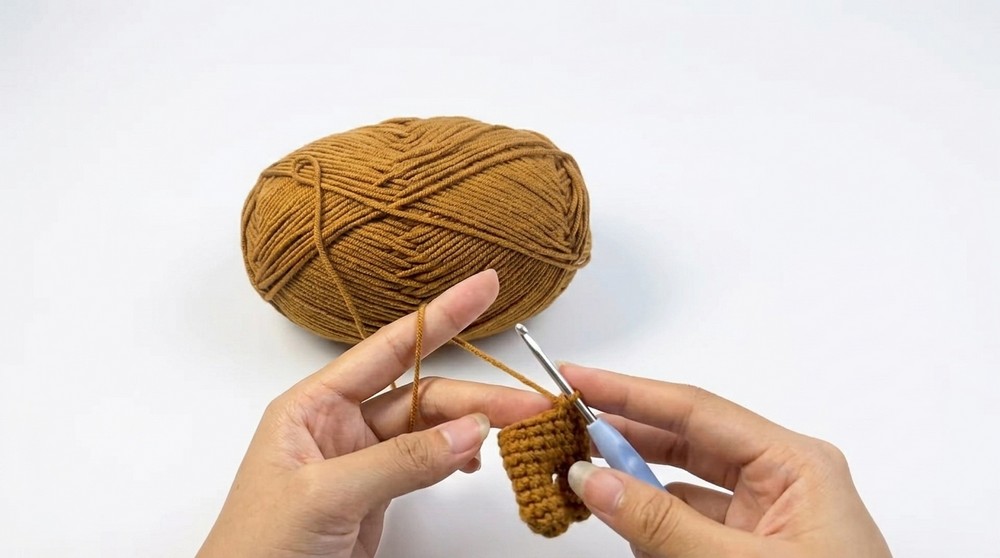
- Round 9: 3 SC, 1 Dec, 8 SC, 1 Dec, 5 SC (18)
- Round 10: SC in each st around (18)
- Round 11: (1 SC, 1 Dec) x 6 (12)
- Begin stuffing here and continue stuffing as you progress.
- Round 12: (2 SC, 1 Dec) x 3 (9)
Head
- Round 13: (2 SC, 1 Inc) x 3 (12)
- Round 14: Inc in each st (12 Inc = 24)
- Rounds 15–18: SC in each st around (24)
- Round 19: (2 SC, 1 Dec) x 6 (18)
- Round 20: (1 SC, 1 Dec) x 6 (12)
- Round 21: 6 Dec (6)
- Fasten off, use yarn needle to weave through final 6 stitches, pull tight to close, and secure end.
Arms (Make 2)
- Round 1: 6 SC in MR (6)
- Rounds 2–5: SC in each st around (6)
- Slst in first stitch, fasten off, and leave a long tail for sewing.
Ears (Make 2)
- Round 1: 5 SC in MR (5)
- Round 2: Inc in each st (5 Inc = 10)
- Round 3: SC in each st around (10)
- Fasten off and leave a long tail for sewing.
Scarf
- Row 1: Ch 17. Starting in the second chain from hook, work (Slst, Ch 2) repeatedly to the end of the row.
- Fasten off and leave a tail for sewing/tying.
Assembly & Finished Size
1. Embroider the Eyes & Nose:
- With black embroidery thread, stitch small oval or “V” eyes and a tiny triangle nose on the head, centering features for a friendly appearance.
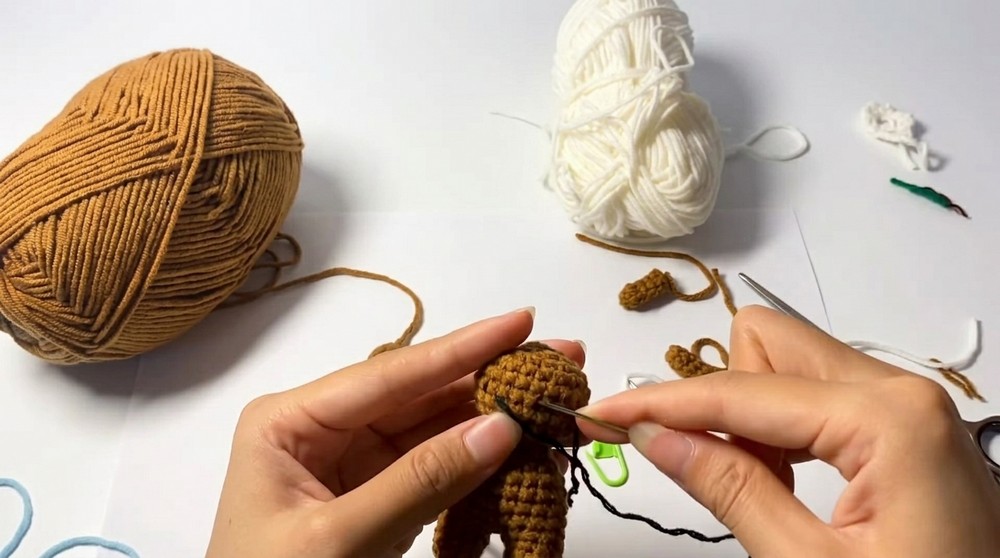
2. Sew on Ears:
- Attach the ears symmetrically on the top sides of the head, stitching through both the ear base and a few head stitches for security.
3. Sew on Arms:
- Position each arm slightly below the head join on either side of the body, stitching firmly.
4. Attach Scarf:
- Wrap the scarf around the neck and secure with a knot, or stitch ends if preferred.
5. Finish as Keychain (Optional):
- Attach your keychain ring directly to the top of the head, or add a small loop. Alternatively, glue the finished bear to accessories as desired.
Finished size: 7–10 cm tall, ideal for backpacks, school bags, or as a gift charm.
Conclusion and Ending Words
Through this carefully structured pattern, you are guided every step of the way to crochet a delightful bear keychain. The seamless construction from legs through to the head avoids unnecessary sewing and provides a smooth, professional look. Attaching the ears, arms, and scarf infuses your creation with personality and charm. Whether for personal use or sharing with loved ones, this miniature bear stands as a testament to thoughtful handiwork and creative joy. Happy crocheting—may your finished bear brighten every day.
Leave a Reply