

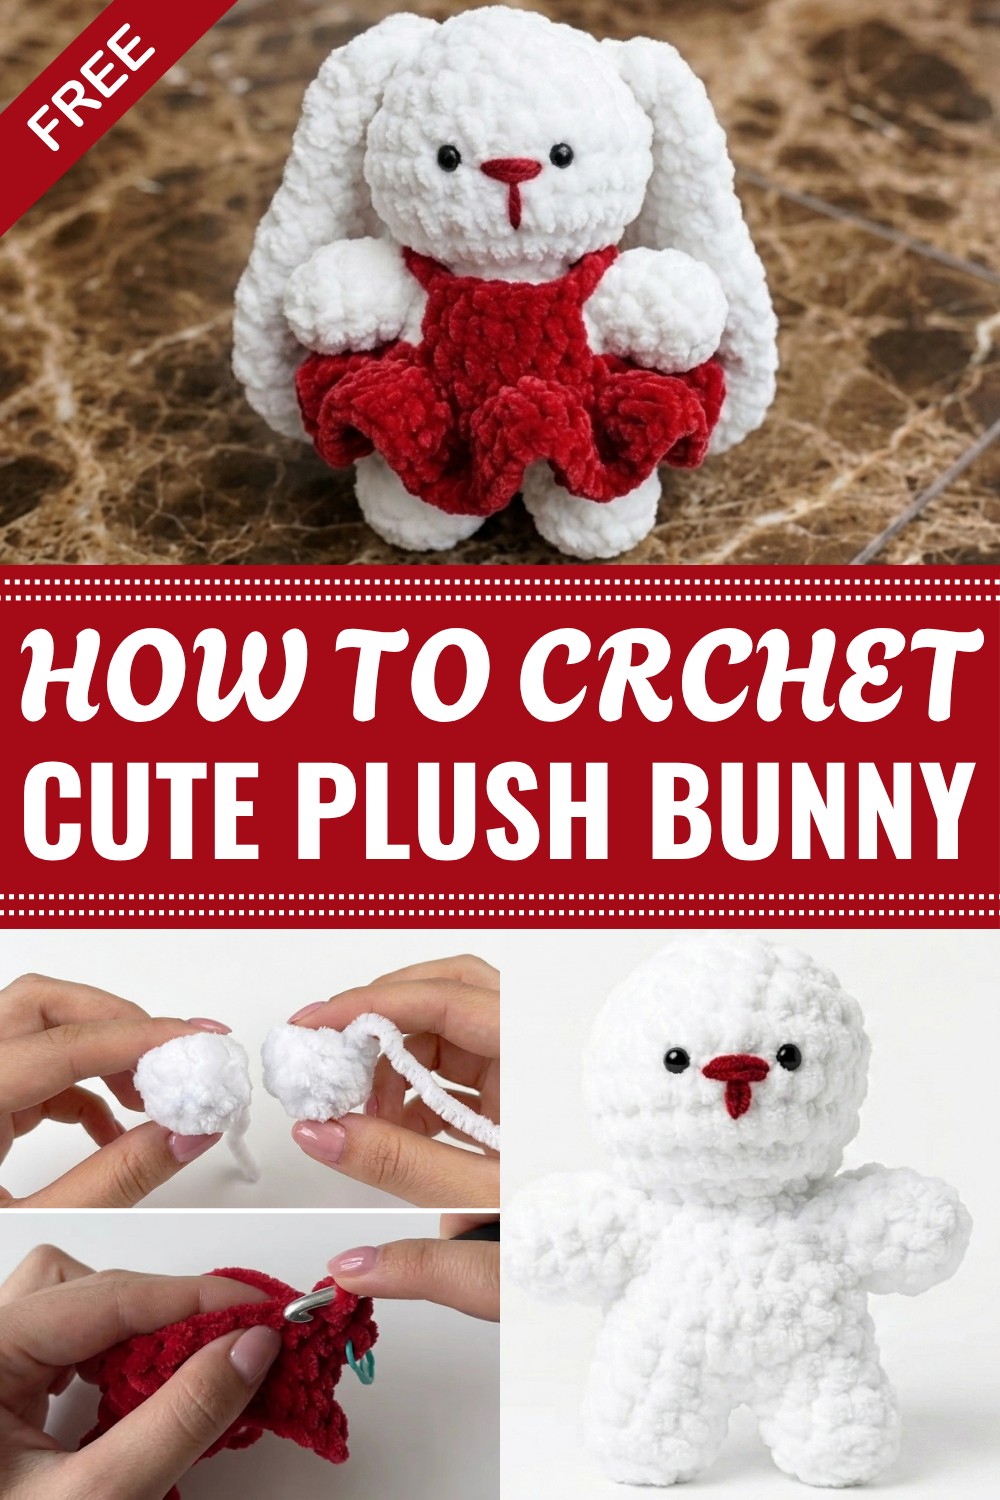
Step into the joy of crochet with this Free Bunny Pattern perfect for creating a fluffy friend that’s sure to bring smiles and a touch of whimsy to your day.
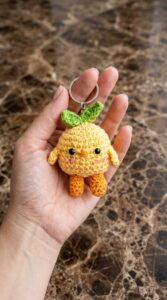
I’ve always enjoyed small crochet projects that bring a bit of charm and fun into everyday life. One delightful example is the free crochet bunny pattern. This little project is a cute stuffed toy, but with a few small changes, you can also turn it into a keychain, a bag charm, or even a cozy little grab toy for children. I can make it for my little baby because it’s simple, quick, and uses basic materials that many people already have at home, just yarn, a hook, and some stuffing. This makes it perfect for creating safe, soft, and personalized toys for little ones.
Cute Crochet Bunny Free Pattern For Fun
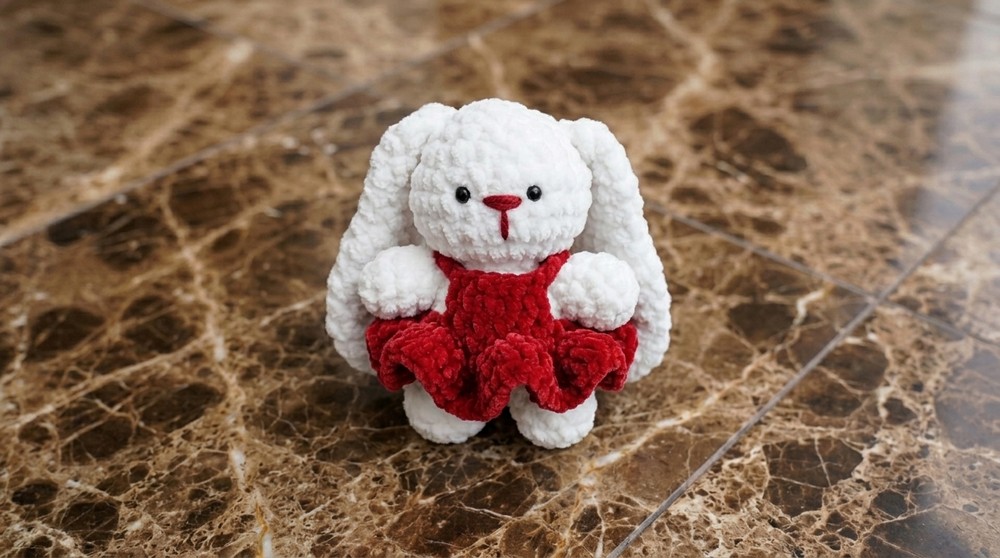
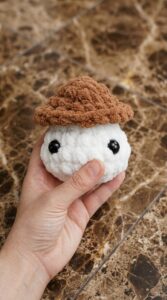
The bunny created from this pattern is simply adorable. It has soft, rounded shapes for the body and ears, giving it a cuddly and friendly look. The texture is smooth thanks to the simple crochet stitches used, making it pleasant to hold and easy to cuddle. Its standout design includes long floppy ears and a tiny nose that really bring the bunny to life. The style is charming but not overly detailed, making it a sweet and approachable project for anyone who likes cute handmade items.
This project is ideal for beginners who know basic crochet stitches or anyone looking to practice their skills in a fun way. The main stitch used is often the single crochet stitch, which is easy to learn and creates a tight and durable fabric perfect for stuffed toys. Working in rounds helps shape the bunny’s body nicely, and simple increases and decreases create the curves and form needed.
Making this crochet bunny is not just a fun crocheting experience, it also makes a wonderful gift or decoration. It’s perfect for baby showers, Easter presents, or a cute addition to any room. Whether you want a lovable toy, a thoughtful gift, or a little collectible, this project fits the bill. If you enjoy hands-on creative work and want a sweet little project that’s easy to complete, this free crochet bunny pattern could be just right for you.
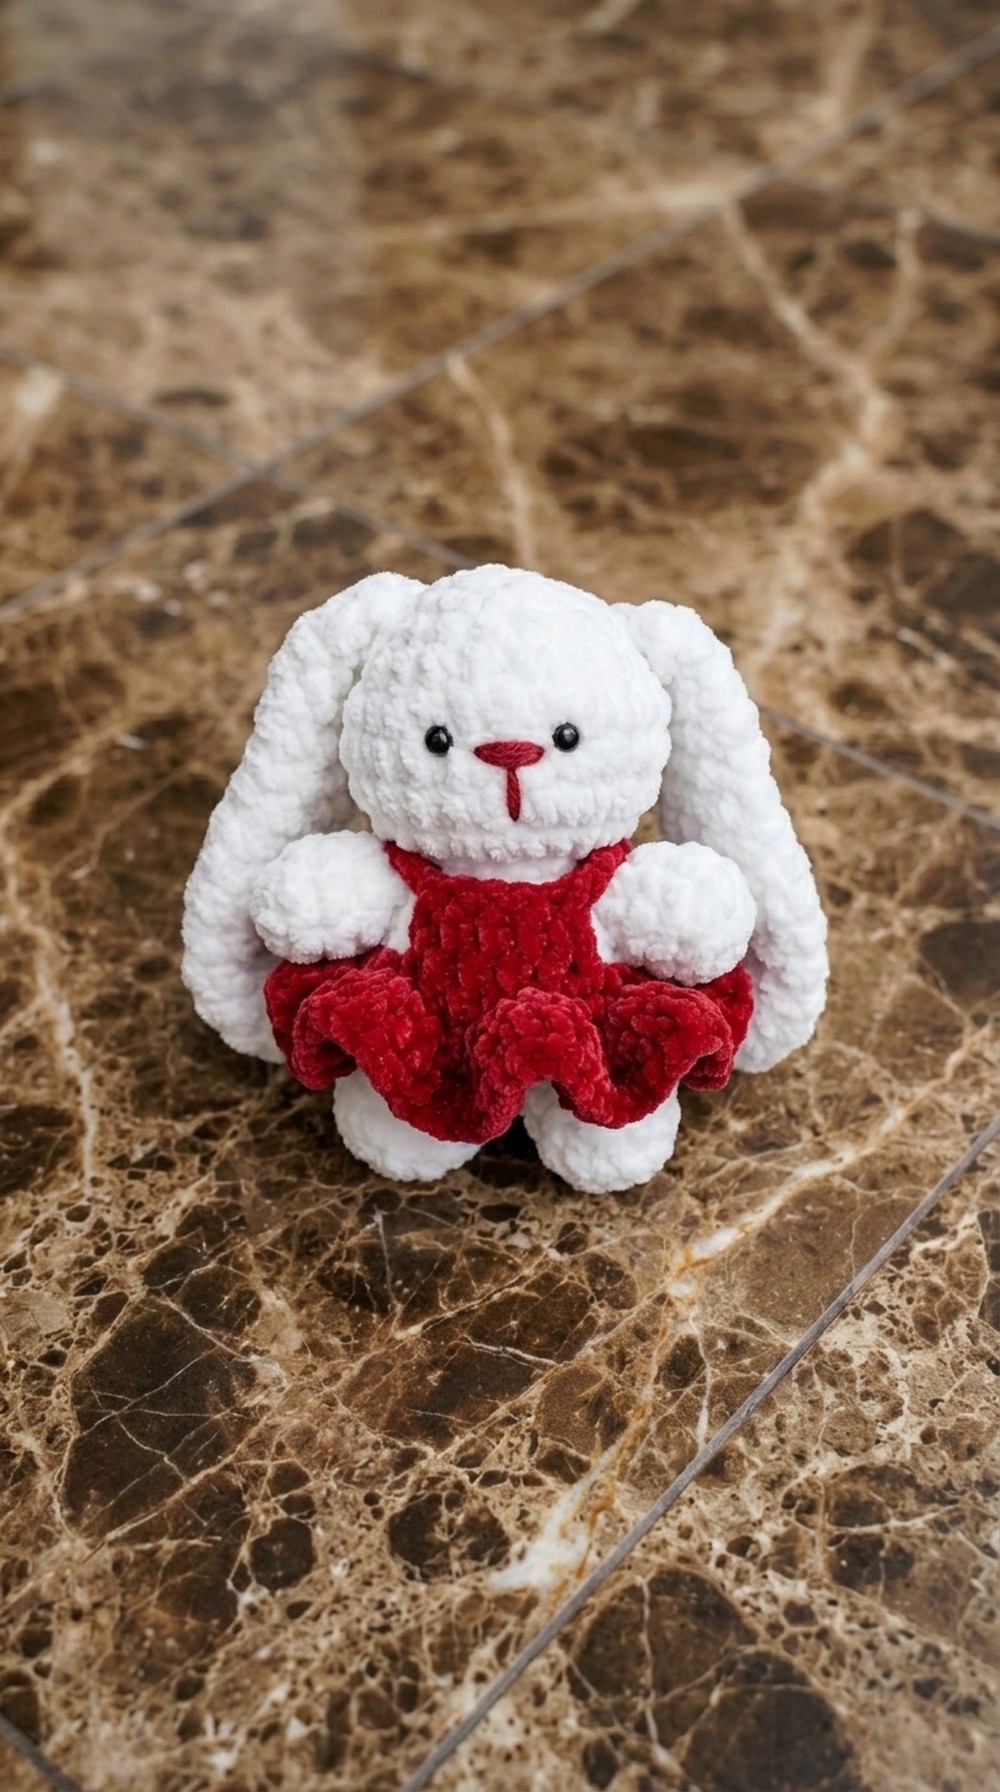
Crochet Plush Bunny with Dress
Before You Start
- Review the entire pattern before beginning.
- Prepare your materials and workspace.
- Make sure you are comfortable with magic rings, rounds, increases, decreases, and joining pieces.
- Use a stitch marker to keep track of your rounds.
- Read Pattern Notes and Special Stitches sections for important tips.
Pattern Notes
- Amigurumi bunny is crocheted in joined rounds, using a magic ring to begin each part.
- The arms, legs, and body are worked separately and joined.
- The dress is made in flat panels and then connected in the round; a fluffy skirt is added in the final row.
- Safety eyes are optional; embroidery details (nose/mouth) are added after stuffing.
- Use a tight stitch to prevent stuffing escaping.
- Ears are sewn on after all parts are complete.
How I Made the Crochet Pattern (Summary)
- Created arms and legs separately, starting with magic rings.
- Joined the legs, then added the arms as body was crocheted.
- Made decreases for shaping the bunny and increases for the head.
- Dress is made in two panels, joined with chains and fluffy skirt added with half double crochet.
- Ears crocheted flat, decreased for shaping, folded, and sewn.
- Embroidery and finishing done at the end.
Skill Level
- Beginner/Intermediate
This project is suitable for confident beginners who have experience with basic amigurumi construction and stitches.
Finished Size
- Approximately 12–14 cm (5–5.5") tall
- Size may vary with yarn, hook, and tension.
Materials
- Worsted weight plush/velvet yarn (white or pastel for bunny; red for dress)
- 4.0 mm (G) hook (or size recommended for yarn)
- Stitch markers
- Safety eyes (5–6 mm, optional)
- Pink embroidery thread or yarn for nose/mouth
- Fiberfill or stuffing
- Yarn needle for sewing and weaving in ends
- Scissors
Measurements / Sizing
- Bunny body diameter: approx. 4–5 cm
- Bunny head diameter: approx. 5–6 cm
- Ear length: approx. 6 cm
- Dress width: fits body (see schematic)
- Skirt length: approx. 3 cm
Gauge (and Stitch Pattern if applicable)
- Gauge is not critical, but stitches should be tight so stuffing does not show.
- Stitch pattern: Single Crochet (sc) in rounds and rows; Half Double Crochet (hdc) for fluffy skirt.
Stitch Abbreviations
- MR – Magic Ring
- ch – Chain
- sc – Single crochet
- hdc – Half double crochet
- sl st – Slip stitch
- inc – Increase (2 sc in same stitch)
- dec – Decrease (see Special Stitches)
- st – Stitch(es)
Special Stitches
- Amigurumi Decrease: Insert hook through front loop only of next 2 stitches, yarn over, pull up a loop, yarn over and pull through both loops.
- Magic Ring (MR): Loop yarn, crochet directly into it to begin rounds.
- Half Double Crochet (hdc): Yarn over, insert into stitch, yarn over, pull through stitch (3 loops), yarn over, pull through all 3 loops.
The Pattern!
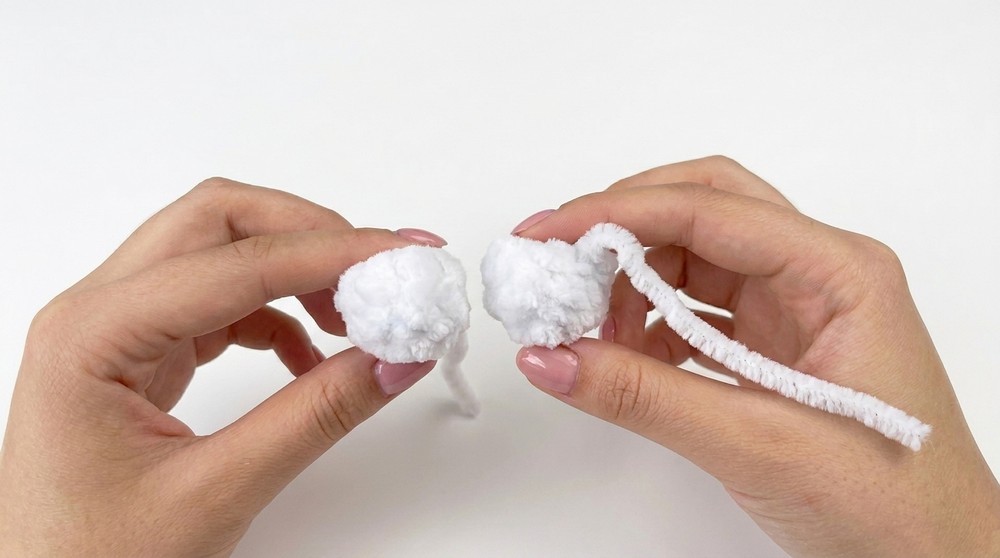
Arms (Make 2)
- Round 1: MR, ch 1, 7 sc into ring. Pull tight, join with sl st to first sc. (7 sts)
- Rounds 2–3: sc in same st as sl st (mark this st), sc in each st around (7), join with sl st at end. (7 sts)
- Finish:
Ch 1, cut yarn leaving a short tail. Pull and hide magic ring tail inside arm.
Make the second arm identically.
For the arms, make two tubes of single crochet using magic ring start. Simple and quick for plush amigurumi.
Legs (Make 2)
- Round 1: MR, 4 sc into ring. Pull tight, join with sl st to first sc. (4 sts)
- Round 2: (sc, inc) in each st around. (8 sts)
- Rounds 3–4: sc in each st around (8), join with sl st at end. (8 sts)
- Finish:
Ch 1, cut yarn, hide tails inside leg.
Make the second leg, but do NOT cut yarn after Round 4. Legs are joined next.
Legs are shaped by increasing after magic ring. Both are identical; join them using a chain after the first panel is done.
Joining Legs & Body
- Ch 1, sc in any st of first leg (place marker, this is Round 5, st 1).
- Round 5: sc around first leg (8), sc in chain between legs (1), sc around second leg (8), sc in chain between legs (1), join with sl st. (18 sts)
- Round 6: sc in each st around (18), join with sl st.
Both legs are attached together by crocheting around them and including chain stitches between. This forms the base of the bunny's body.
Attaching Arms
- Round 7: sc 4, attach first arm by inserting hook through arm and body st, sc; sc 8 across body; attach second arm; sc 4 to end, join with sl st. (Includes arm attachment)
- Round 8: sc around both arms (7 sc per arm) and around body (18 sc). (32 sts)
As you crochet this round, attach arms directly so they are firmly secured.
Body Shaping & Head
- Round 9: Dec in each st (front loops only), join with sl st. (16 sts)
- Round 10: Dec in each st (front loops only), join with sl st. (8 sts)
- Round 11: Inc in each st around. (16 sts)
- Round 12: (sc, inc) around. (24 sts)
- Rounds 13–15: sc in each st around. (24 sts)
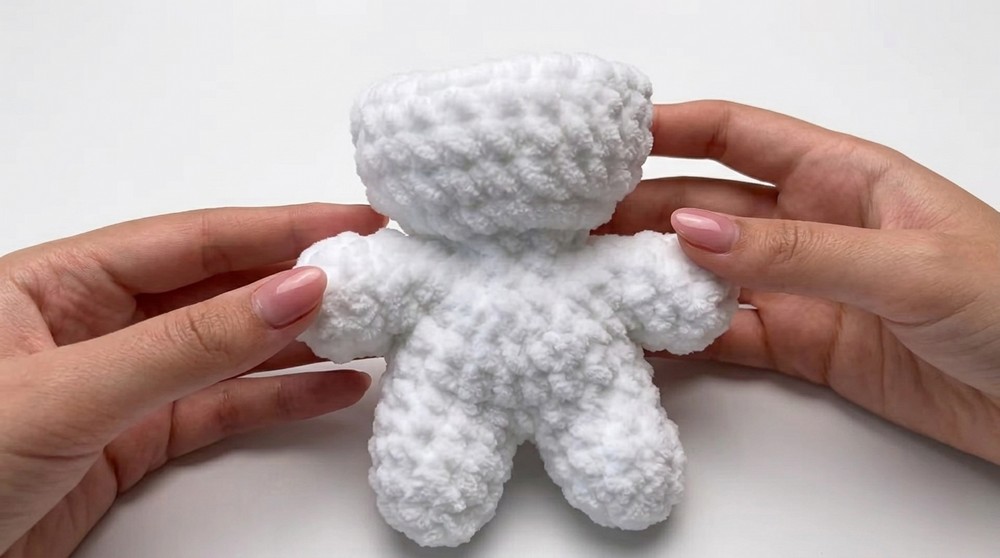
Work decreases to shape the neck, then increases to form the head. Stuff the bunny's body after Round 15.
Face Shaping & Closure
- Add safety eyes: between rounds 14 and 15, 3 sts apart.
- Round 16: (sc 4, dec) around. (20 sts)
- Round 17: (sc 3, dec) around. (16 sts)
- Round 18: (sc 2, dec) around. (12 sts)
Stuff head firmly. - Round 19: Dec in each st around. (6 sts)
- Finish:
After sl st, ch 1, cut yarn, leave a long tail. Use needle to weave through all 6 sts, pull tight, knot, hide end inside bunny.

Once you've shaped the head and closed the top, your bunny body is ready. Stuff firmly as you close.
Embroidering Nose & Mouth
- Use pink yarn and needle.
- Insert needle from side, bring out to nose center, go right, then under nose, loop under yarn, pull through to back, adjust, cut and hide end.
Carefully embroider nose and mouth to give your bunny personality.
Dress
Dress Panels (Make 2)
- Row 1: Slip knot, ch 5; starting in 2nd ch, sc 4; ch 1, cut yarn (first panel finished).
- Second Panel: ch 5, sc 4; do NOT cut yarn.
Join Panels (Row 2)
- Ch 6, sc into nearest st of first panel, sc 3 across panel, ch 6, sc into next panel, sc 3 across panel.
Create Circle (Row 3)
- sc 7 around chain, sc 4 across panel, sc 7 around next chain, sc 4 across panel.
Skirt (Row 4)
- ch 1, 3 hdc in same st (marker), 3 hdc in each st around for a fluffy, ruffled look. sl st to first hdc, ch 1, cut yarn, weave in ends.
Straps
- With dress on bunny, slip knot, insert hook in front corner, ch 5, attach to back corner with sl st, ch 1, cut, weave in ends.
- Repeat for second strap.

The dress is made by joining two panels, adding chains, and crocheting in the round. Add straps for detail.
Ears (Make 2)
- Round 1: MR, ch 1, 6 sc, sl st to first.
- Round 2: Inc in each st (12), sl st to first.
- Round 3: (sc, inc) around (18).
- Rounds 4–5: sc in each st around.
- Round 6: sc 7, dec, sc 7, dec (16).
- Round 7: sc around (16).
- Round 8: sc 6, dec, sc 6, dec (14).
- Round 9: sc in each st (14).
- Round 10: sc 5, dec, sc 5, dec (12).
- Round 12: sc 4, dec, sc 4, dec (10).
- Round 13: sc in each st (10).
- Round 14: sc 3, dec, sc 3, dec (8).
- Round 15: sc 2, dec, sc 2, dec (6).
- Finish:
Fold ear flat, use sl sts to sew through both sides; ch 1, cut yarn, leave long tail for sewing.
Shape ears with decreases. Fold and sew shut to create cute bunny ears.
Assembly & Finishing
- Sew ears toward back of head using yarn tail and needle.
- Tie knots inside bunny, hide ends firmly.
- Sew second ear at matching height.
- Dress bunny, check fit.
- Weave in all ends.
- If fit isn’t perfect, simply re-sew; hide any leftovers inside parts.
What you can make by using these stitches
- Plush bunny toys
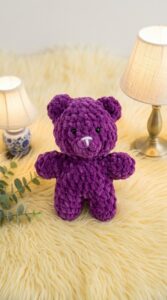
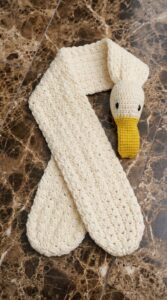
- Other amigurumi animals (bear, cat, puppy)
- Ruffled skirts for dolls
- Simple arms, legs, ears for various characters
- Small accessories (purses, straps, headbands)
Leave a Reply