

Use this free crochet guide to stitch a lovable Winnie The Pooh that adds a charming touch to your collection or gifts with warmth and personality.
This cute crochet project shows a beloved childhood character full of warmth and charm. The Crochet Winnie The Pooh’s friendly smile and soft body make it a great gift, decoration, or collectible for any home. It adds a cozy touch to a child’s room or a shelf filled with favorite toys.
Free Crochet Winnie The Pooh Pattern For Kid's Toy
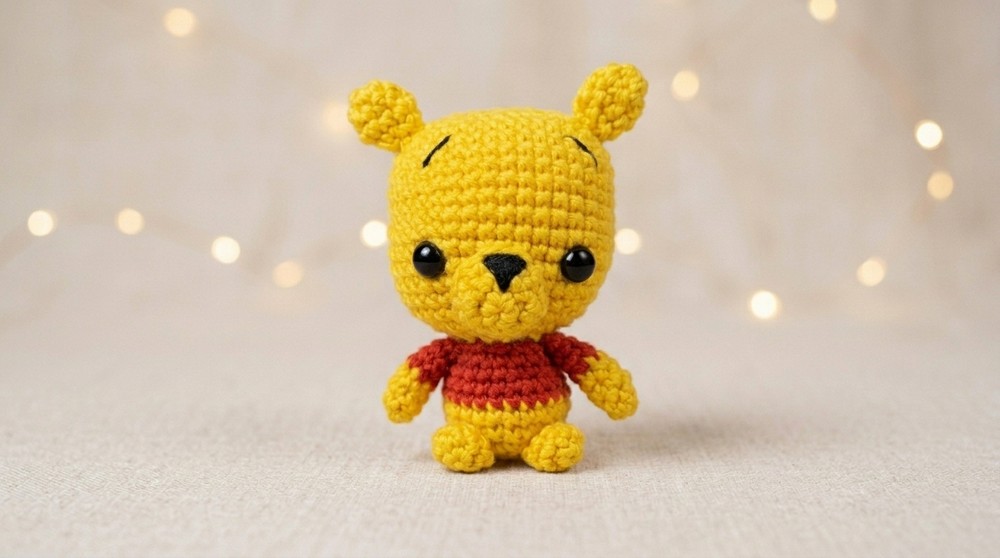
The finished figure is about six inches tall and includes Pooh’s round belly, soft arms and legs, and his classic red shirt. The simple shape and sweet details are fun to work on and not too tricky to crochet.
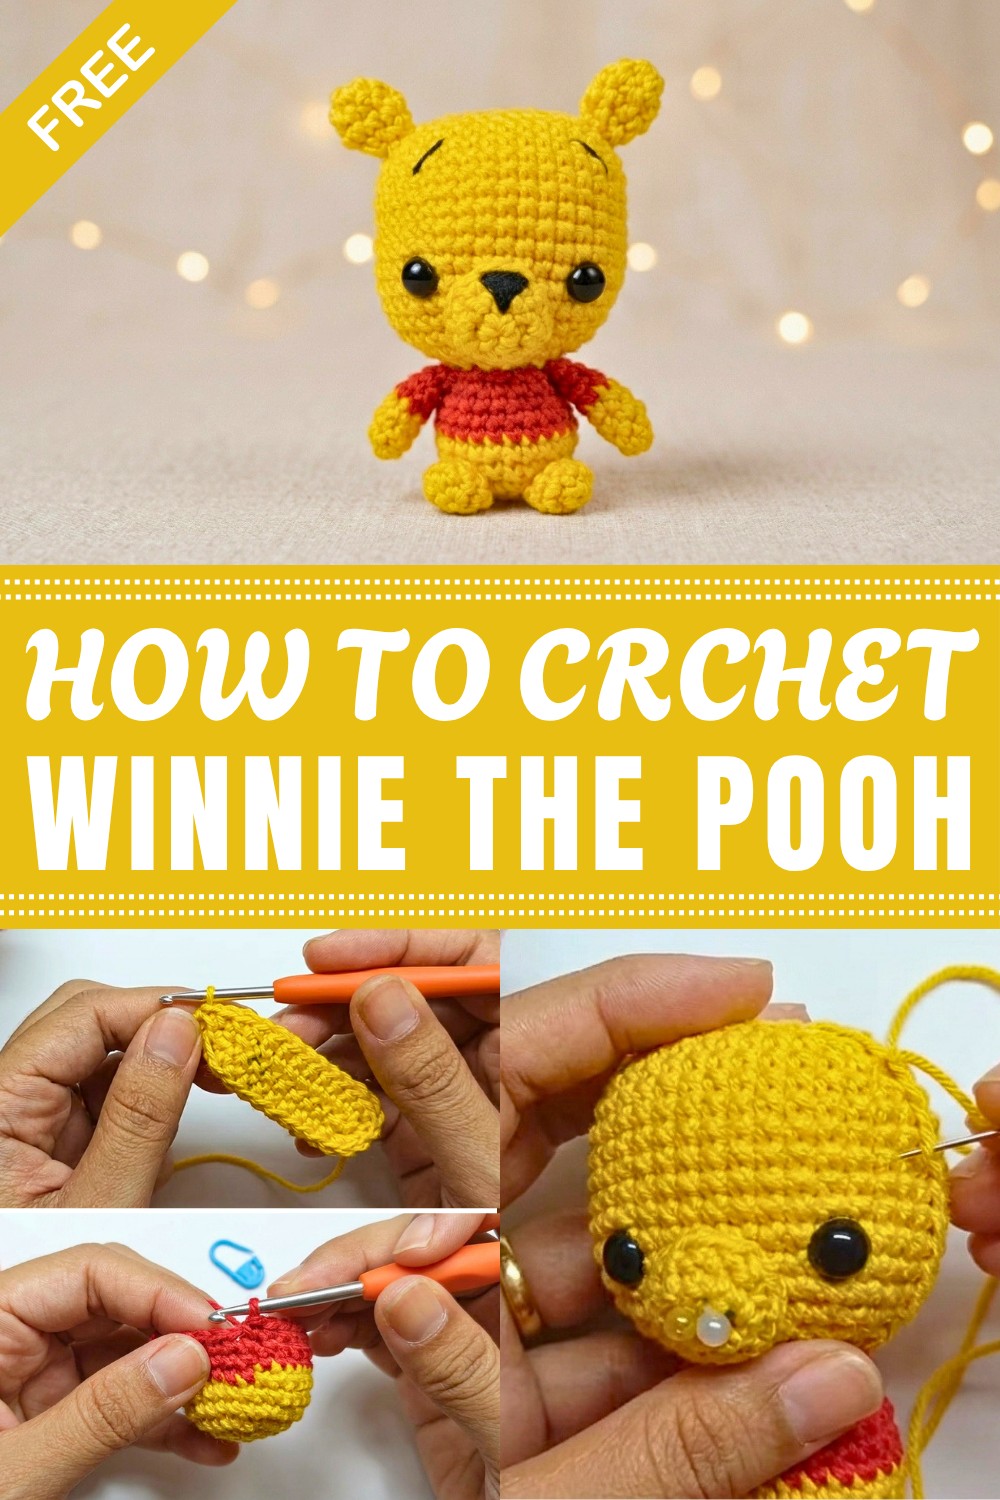
This project works well for beginners and those with some crochet experience. It uses easy stitches like single crochet, increases, and decreases, all worked in rounds to shape Pooh’s body smoothly. Sewing the parts together and adding small details like embroidered eyes and nose make Pooh look friendly and full of character.
Using soft yarn and stuffing, this project feels relaxing and enjoyable while helping you practice basic amigurumi skills. The small size means it won’t take too long to finish but still looks special when done.
Crochet Winnie The Pooh is a fun way to make a charming, soft toy that’s full of personality. Its simple design and lovely details make it a great project to improve your crochet skills and have a cute handmade friend to keep or give to someone special.
Winnie the Pooh Amigurumi Crochet Pattern
This amigurumi pattern allows the creation of a charming Winnie the Pooh ("Ursinho Pooh") doll following detailed, easy-to-understand rounds and assembly steps. Designed to mirror the classic character, this guide is suitable for crocheters looking to craft a soft, stuffed figure with clear instructions and structured format.
Pattern Basic Points
- Pattern worked in continuous spirals; do not join rounds.
- Use stitch markers to track start/end of rounds.
- Safety eyes are used for a professional finish and child safety.
- Color changes are required for the iconic red shirt.
- Finer black yarn/thread recommended for neat facial features.
- Detailed sewing and assembly instructions enhance durability and appearance.
Special Notes
- Maintain even tension throughout for a uniform look.
- Stuff parts firmly but avoid overfilling.
- Position limbs and features carefully before sewing.
- Adjust yarn/hook size for a smaller/larger Pooh.
- Shaping occurs naturally through increases and decreases; no heavy sculpting required.
Skill Level
Beginner/Intermediate
- Suitable for crocheters who understand basic rounds, increases, decreases, color changes, and simple sewing.
- Some manual dexterity required for embroidering facial details.
Materials Required
- Yarn:
- Yellow (body and head)
- Red (shirt)
- Thin black (embroidery for face)
- Tools:
- 3.0 mm crochet hook
- Tapestry needle (for sewing and embroidery)
- Scissors
- Stitch marker or scrap yarn
- Accessories:
- Safety eyes (9 mm, black)
- Fiberfill stuffing
Measurements, Gauge, and Stitch Pattern
- Finished Size: Approximately 16–18 cm height (varies with yarn/hook choice).
- Gauge: 22 stitches and 24 rows = 10 cm in single crochet in the round.
- Stitch Pattern: Primarily single crochet; worked in continuous rounds.
Stitch Abbreviations
- ch: chain
- sc: single crochet
- inc: increase (2 sc in the same stitch)
- dec: decrease (sc two stitches together)
- sl st: slip stitch
- st(s): stitch(es)
- MR: magic ring
Special Stitches
- Magic Ring (MR): Form a loop, then crochet stitches inside to pull closed and avoid a hole.
- Invisible Decrease: Insert hook into front loops of next 2 stitches, yarn over, pull through both loops, yarn over again and pull through final 2 loops.
Detailed Pattern Instructions
Head (Yellow Yarn)
Start with 12 chains.
Round 1:
- Work 1 sc in each chain (12 sts).
Round 2:
- Inc evenly around: (2 sc in each st) (24 sts).
Round 3:
- (Sc in next st, inc in next st) repeat around (36 sts).
Round 4:
- (Sc in next 2 sts, inc in next st) repeat around (36 sts).
Rounds 5–8:
- Work 1 sc in each st (36 sts per round).
Round 9:
- (Sc in next 5 sts, inc in next st) repeat around (42 sts).
Rounds 10–12:
- Work 1 sc in each st (42 sts per round).
Eye Placement:
- Insert safety eyes between rows 10 and 11, 7 stitches apart.
Rounds 13–14:
- (Sc in next 5 sts, dec in next st) repeat around (36 sts).
Round 15:
- (Sc in next 4 sts, dec in next st) repeat around (30 sts).
Round 16:
- (Sc in next 3 sts, dec in next st) repeat around (24 sts).
Stuff the head firmly at this point.
Body (Yellow & Red Yarn)
Begin with Yellow Yarn.
Round 1:
- MR, 8 sc into ring (8 sts).
Round 2:
- Inc evenly around (16 sts).
Round 3:
- (Sc in next st, inc in next st) repeat (24 sts).
Round 4:
- (Sc in next 2 sts, inc in next st) repeat (32 sts).
Round 5:
- 1 sc in each st (32 sts).
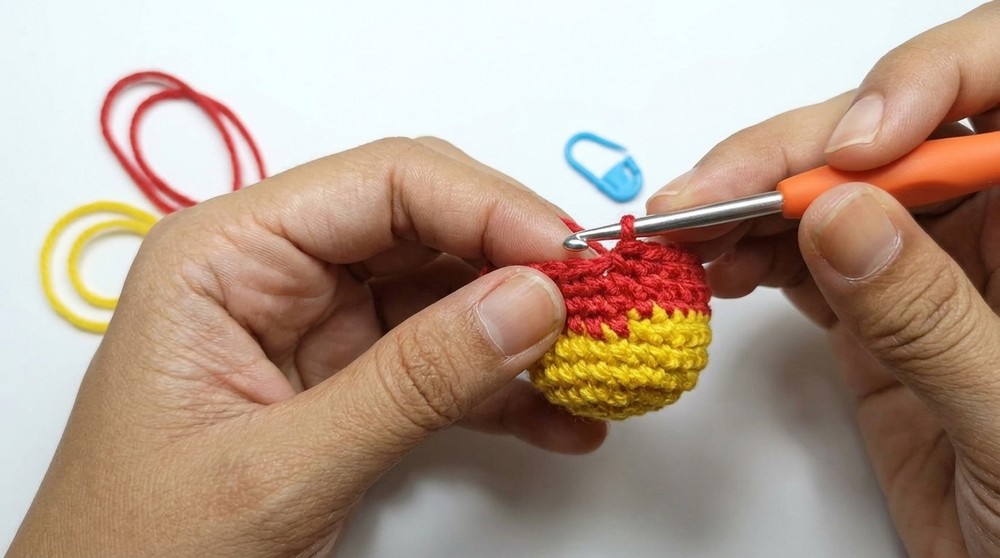
Change to Red Yarn (for shirt).
Rounds 6–7:
- 1 sc in each st (32 sts).
Round 8:
- (Sc in next 2 sts, dec in next st) repeat (24 sts).
Round 9:
- (Sc in next st, dec in next st) repeat (16 sts).
Stuff the body.
Snout (Yellow Yarn)
Round 1:
- MR, 6 sc into ring (6 sts).
Round 2:
- Inc in each st (12 sts).
Round 3:
- (Sc in next st, inc in next st) repeat (18 sts).
Round 4:
- (Sc in next 2 sts, inc in next st) repeat (24 sts).
Round 5:
- Work 1 sc in each st (24 sts).
Round 6:
- Dec every 4th st around (15 sts).
Stuff lightly before closing.
Arms (Yellow Yarn)
Round 1:
- MR, 6 sc (6 sts).
Round 2:
- Inc in each st (12 sts).
Rounds 3–6:
- 1 sc in each st (12 sts).
Round 7:
- Dec every 3rd st (9 sts).
Rounds 8–12:
- 1 sc in each st (9 sts per round).
Stuff lightly; close end with slip stitches. Make 2 arms.
Legs (Yellow Yarn)
Round 1:
- MR, 6 sc (6 sts).
Round 2:
- Inc in each st (12 sts).
Rounds 3–6:
- 1 sc in each st (12 sts).
Round 7:
- Dec every 3rd st (9 sts).
Rounds 8–12:
- 1 sc in each st (9 sts).
Stuff lightly; flatten and close with slip stitches. Make 2 legs.
Ears (Yellow Yarn)
Round 1:
- MR, 6 sc (6 sts).
Round 2:
- Inc in each st (12 sts).
Round 3:
- 1 sc in each st (12 sts).
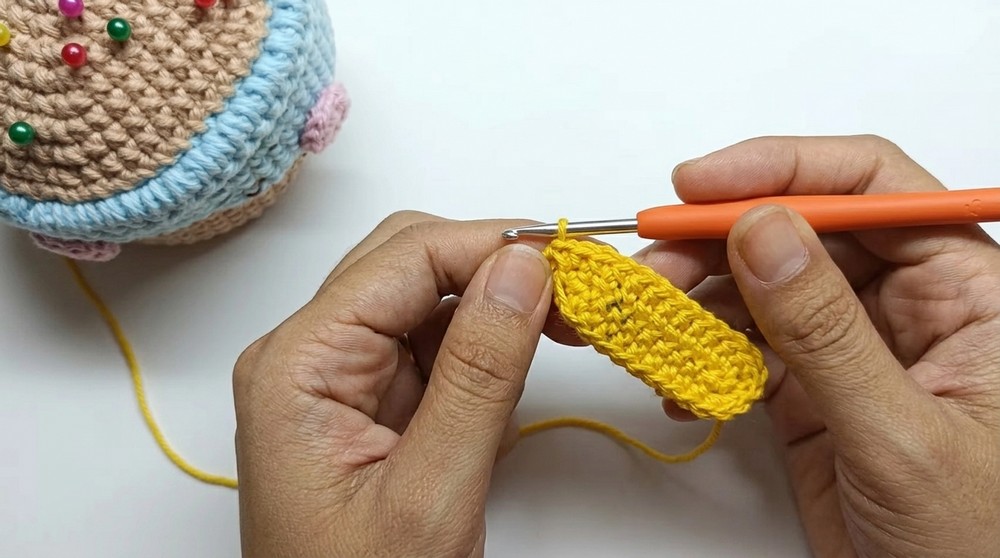
Finish off, leaving a long tail for sewing. Make 2 ears.
Assembly & Finishing
Step-by-Step Assembly:
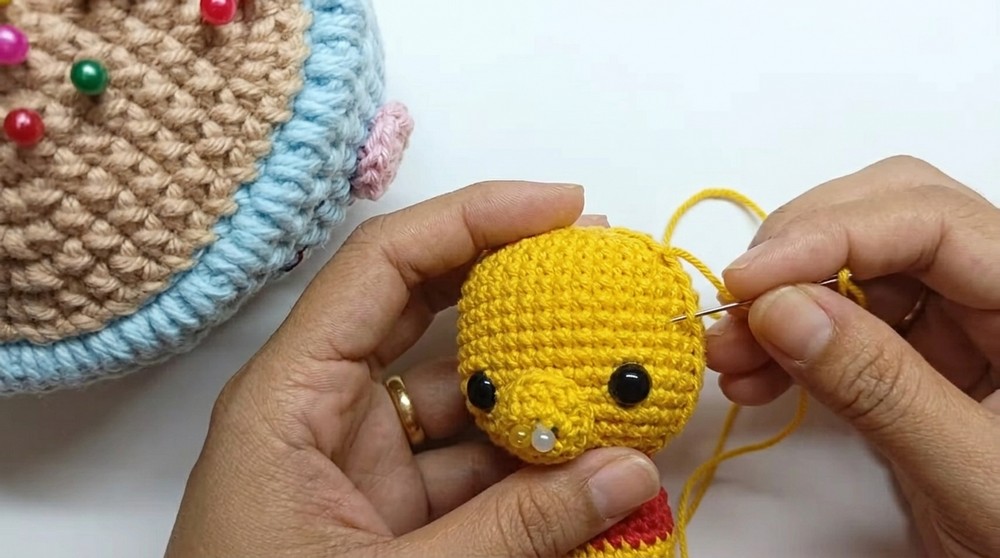
- Sew the head to the body: Align body centrally under head, attach using whip stitch or similar.
- Position ears: Use pins to determine placement; sew ears onto top sides of head.
- Attach snout: Center snout between eyes, sew firmly. Stuff slightly for dimension.
- Sew on arms and legs: Arms just below red shirt; legs at bottom sides of body.
- Embroider face: With thin black thread, add eyebrows above eyes and a triangular nose/mouth on snout using backstitch or whipstitch. Go slowly for precision.
- Final touches: Ensure no loose ends or missed stitches, adjust stuffing if needed.
Finished Size
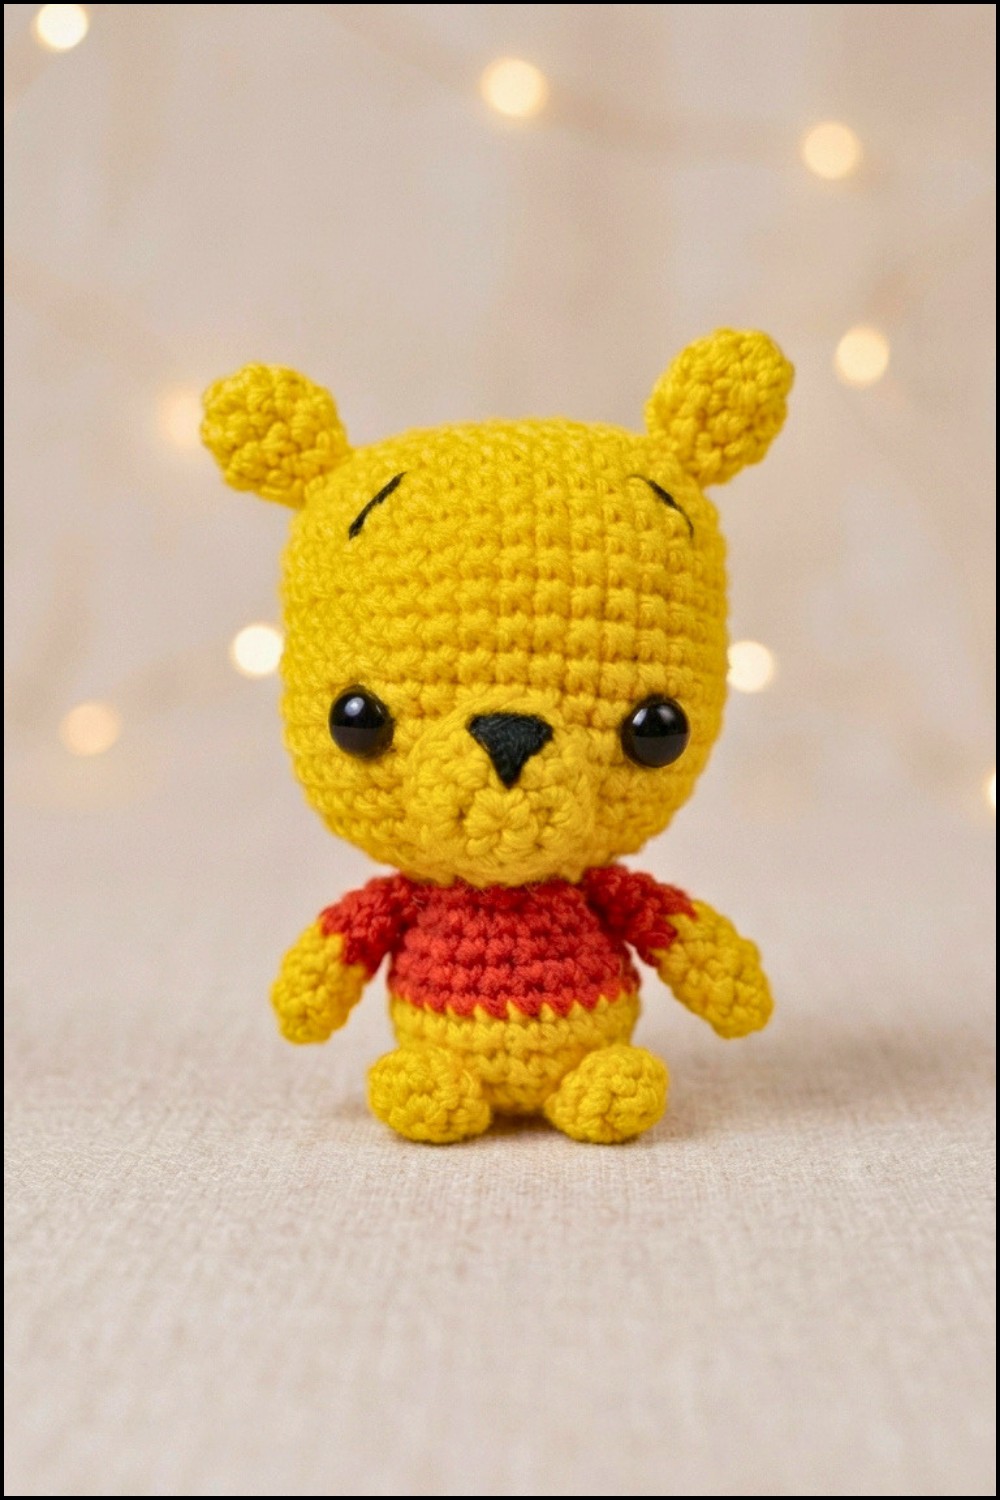
The completed Winnie the Pooh amigurumi stands approximately 16–18 cm tall (about 6–7 inches) when made with recommended materials. Adjustments in yarn thickness or hook size will alter the final size.
Pattern Closing Notes
The Winnie the Pooh amigurumi pattern is structured for consistent results, guiding through rounds, shaping, and assembly with clarity. The finished character captures the gentle charm and iconic appearance of Pooh, combining bright colors and expressive details. Crocheters will achieve a delightful collectible suitable for gifting as a toy or display, with techniques that build amigurumi confidence. The steps encourage careful assembly, accurate stitch count, and mindful embroidery, ensuring the finished product is both sturdy and expressive. Each component is crafted for durability and appeal, creating a nostalgic and lovable keepsake.
Leave a Reply