

Honor favorite anime moments with Free Crochet Sanji Amigurumi Pattern featuring iconic style charming details and playful character spirit.
Isn’t it exciting to bring your favorite anime characters to life through the art of crochet? The Free Crochet Sanji Amigurumi Pattern lets fans and crocheters alike create a charming, handmade version of this beloved character. There’s something truly special about transforming soft yarn into a detailed, huggable figure that captures Sanji’s style and personality. Many makers enjoy this project because it combines creativity with a satisfying level of detail, resulting in a fun and memorable finished piece.
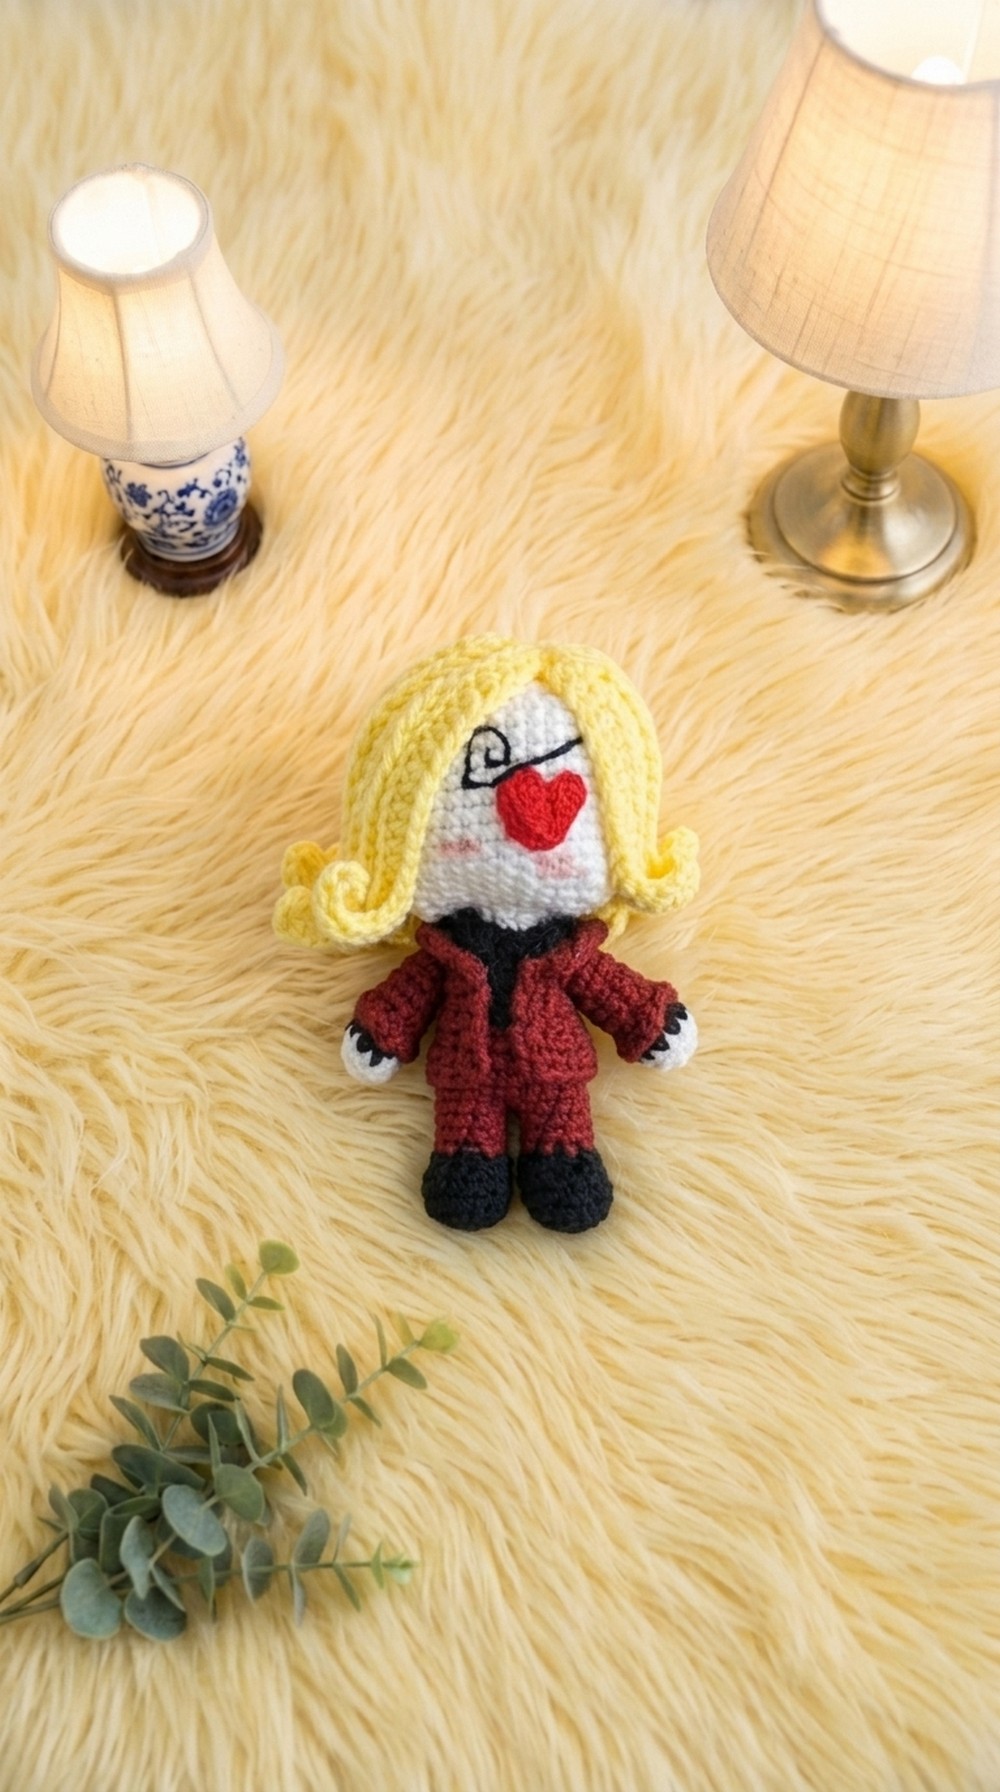
The finished Sanji amigurumi boasts a sleek silhouette, complete with his iconic hairstyle and tailored suit details that showcase his sharp yet approachable demeanor. The texture is smooth and firm, achieved through tight, even stitches that help the doll maintain its shape while still feeling soft to the touch. Its compact size makes it perfect for display on a shelf or as a cute companion to your daily routine.
How to Crochet Sanji Amigurumi Pattern
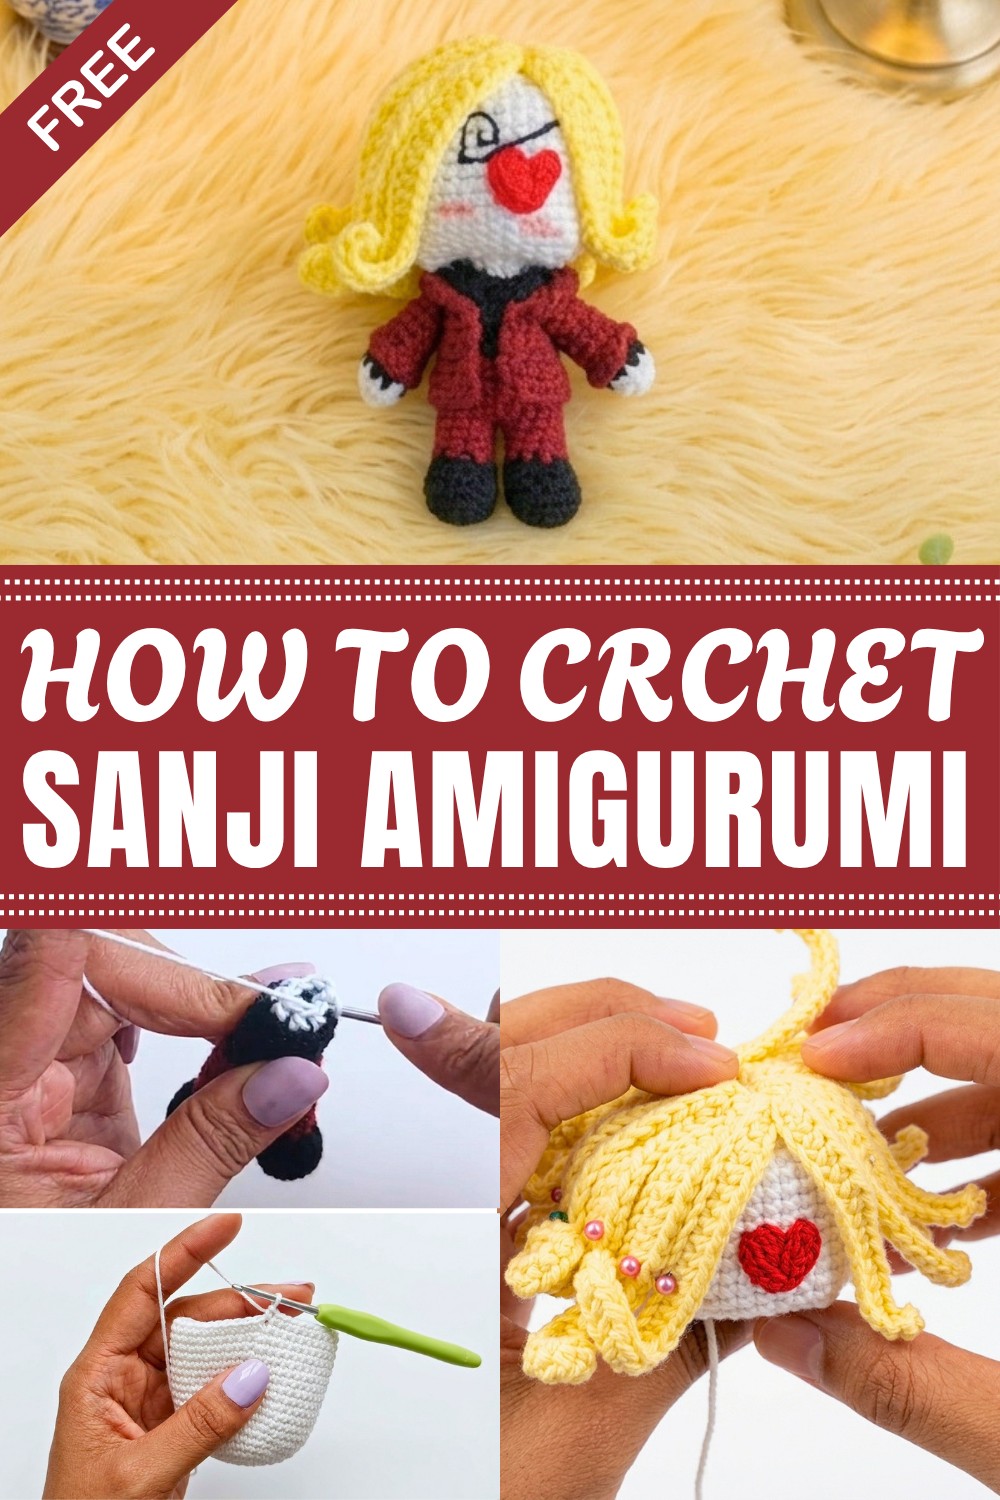
It makes a thoughtful gift for fellow anime lovers, a charming desk companion to brighten your workspace, or a comforting cuddle buddy. Additionally, it can be a unique addition to themed decor or cosplay accessories, adding a handmade touch that stands out. Customization options add even more joy to this project—you can choose yarn colors to suit your personal preference or add small accessories like embroidered facial features or miniature props to enhance Sanji’s character. This pattern is especially well-suited for intermediate crocheters who are comfortable working in the round and shaping amigurumi, though those with some basic experience may also rise to the challenge.
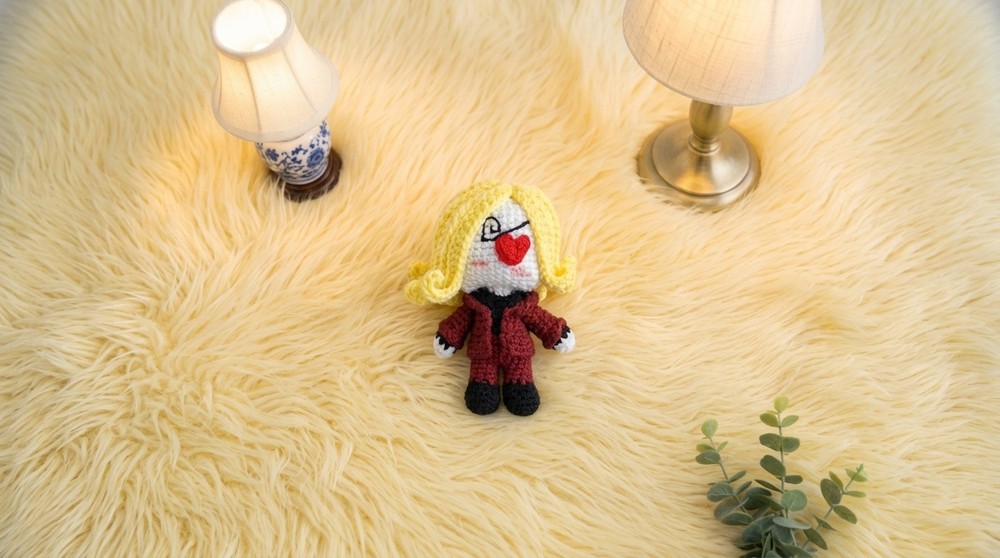
By working on the Free Crochet Sanji Amigurumi Pattern, crocheters can expect to develop skills in consistent stitch work, shaping through increases and decreases, and adding expressive details with embroidery or surface stitching. It’s a delightful project that not only results in a unique keepsake but also encourages growth in technique and creativity. For anyone passionate about crocheting beloved characters, this Sanji amigurumi is a wonderful addition to your crochet repertoire.
Sanji Amigurumi Crochet Pattern
This detailed crochet pattern guides you through creating Sanji, the beloved One Piece character, as a charming amigurumi about 12 cm tall. Throughout the pattern, you’ll crochet separately the legs, body, arms, head, hair, and other details, then assemble the complete figure.
Skill Level & Terminology
- Skill Level: Intermediate (comfortable with basic stitches, increases, decreases, and color changes)
- Terminology: US crochet terms
Materials & Tools
- Yarn in colors: black, wine/red, beige (skin tone), white (or as desired)
- Crochet hook size appropriate for yarn (small hook for amigurumi size)
- Stitch markers
- Fiberfill stuffing
- Tapestry/yarn needle
- Scissors
- Optional: Pins for positioning elements
Gauge
No exact gauge required; use consistent tension. Finished amigurumi will measure approximately 12 cm tall.
Abbreviations List
- ch = chain
- sc = single crochet
- inc = increase (2 sc in the same stitch)
- dec = decrease (crochet two stitches together)
- sl st = slip stitch
- flo = front loops only
- blo = back loops only
- MR = magic ring
- triple increase = 3 sc in one stitch
- triple decrease = crochet 3 stitches together
- hdc = half double crochet
Special Stitch Instructions
- Magic Ring (MR): Adjustable loop to start rounds without hole.
- Increase (inc): Working two sc in one stitch.
- Decrease (dec): Crochet two stitches together to reduce stitch count.
- Triple Increase: Three sc in same stitch to enlarge shape rapidly.
- Triple Decrease: Crochet three stitches together for significant stitch reduction.
- Front Loop Only (flo): Insert hook in the front loop to create shaping texture.
Finished Size
Sanji amigurumi is approximately 12 cm tall.
Pattern
Part 1: Legs (Make 2)
Round 1:
- Make magic ring (MR), 8 sc into ring, close and place marker.
Round 2:
- Make 8 increases (2 sc in each stitch), total 16 stitches.
- Place marker at round start.
Round 3:
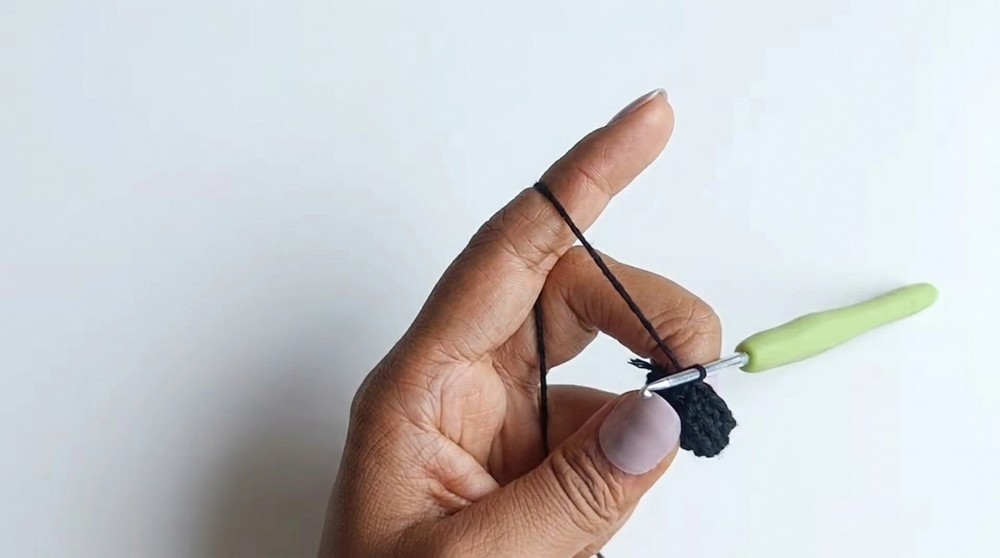
- Work 16 sc in back loops only (blo) for a textured round.
Round 4:
- Repeat round 3: 16 sc blo.
Round 5:
- (4 sc, dec) repeat around, total 12 stitches.
Round 6:
- (4 sc, dec twice) to get 10 stitches.
- Before finishing last stitch, leave two loops to make a color change to wine color.
- Cut black yarn and tie knot.
Rounds 7–9:
- Work 10 sc in wine color stitches evenly without increasing/decreasing.
Finish:
- Close round with slip stitch, cut yarn leaving a tail for assembly.
- Repeat whole process for second leg (DO NOT cut yarn on second leg as it will be used for body).
Summary: Each leg begins as an 8-stitch MR circle and gradually increases, textured with back loop only stitches, then decreases and changes color to simulate pants.
Part 2: Body
Joining Legs:
- Chain 1 between legs after finishing second leg (22 chains total: 10 leg stitches, 1 chain, 10 leg stitches, 1 chain).
Round 10:
- Work 22 sc over both legs and chains, joining all pieces in a round.
Rounds 11–12:
- Work 22 sc evenly without increases or decreases.
Round 13:
- (6 sc, dec), (4 sc, dec), (6 sc, dec), total 19 stitches.
Round 14:
- Work 19 sc evenly.
Round 15:
- (5 sc, dec), (3 sc, dec), (5 sc, dec) twice, total 24 stitches.
- Color change to black wool at end of round.
Round 16:
- Work knit stitches in back loop only (blo) to add texture and emulate clothing.
- Work stitches in color black and continue.
Rounds 17–21:
- Work 16 sc evenly for shaping.
- Remember to mark starts of each round.
Round 22:
- (8 dec in back loops only) total 8 stitches.
- Stuff the body before finishing.
Rounds 23–25:
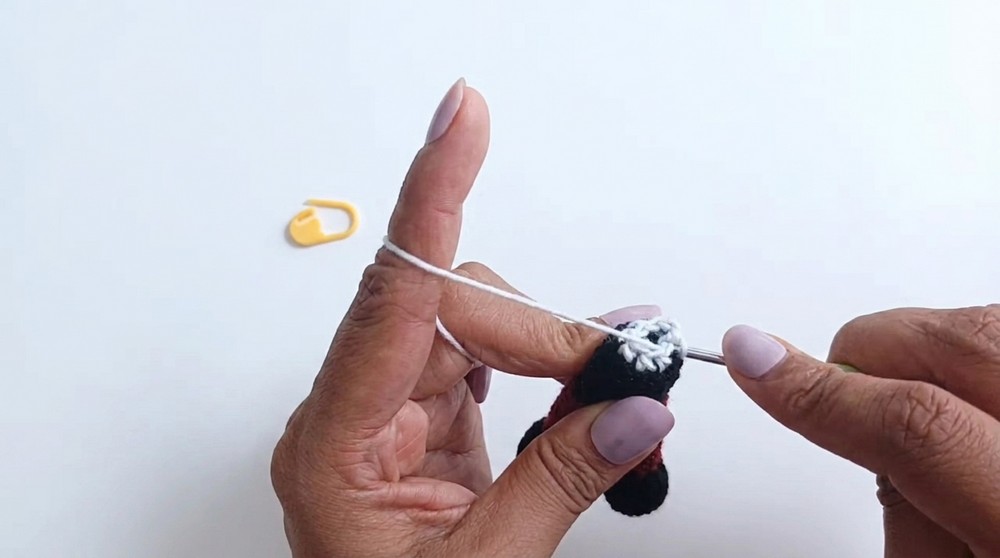
- Work 8 stitches evenly in beige color creating neck area.
Closing:
- Close with slip stitch, pull yarn, leaving a long tail for sewing closed with yarn needle.
Summary: Legs are joined by chains and between legs to form the body base which gradually narrows, changes color for clothing, and finishes with neck shaping and stuffing.
Part 3: Sack
Foundation:
- Chain 22.
Rows 1–12:
- Work 21 sc each row, chaining 1 and turning after each row.
- Finishing last row, cut yarn and weave the ends inside.
Summary: Sack is a simple rectangular panel crocheted back and forth.
Part 4: Arms (Make 2)
Round 1:
- MR, 5 sc into ring.
Round 2:
- 5 increases (2 sc in same stitch), 10 stitches total.
Round 3:
- Work 10 sc evenly in black wool without increasing or decreasing.
Color Change:
- Switch to wine color yarn on last stitch and work 6 rounds of 10 sc in wine color for sleeves.
Finish:
- Close with slip stitch and cut yarn.
- Stuff arms and close by sewing stitches from opposite sides together with needle or crochet hook.
Summary: Arms mimic legs’ construction, with smooth color transitions for clothing.
Part 5: Shirt Collar
- Work half double crochets (hdc) along the top portion of the amigurumi body’s front side, leaving an opening for the neck. Do not join the round; cut yarn and weave ends after the collar is formed.
Summary: The collar uses hdc stitches to develop an attractive neckline that opens in front for realism.
Part 6: Head
Round 1:
- MR, 8 sc into ring, close round.
Round 2:
- (1 sc, triple inc) 4 times, total 16 sc.
- Place marker at start.
Round 3:
- Repeat pattern shown in video: 2 sc, triple inc, 3 sc, triple inc, continuing until 24 sc.
Round 4:
- Increase further with 3 sc, triple inc, 5 sc, triple inc until 32 stitches.
Round 5:
- Continue increasing following sequence in the transcription to reach 40 stitches.
Round 6:
- Repeat increases and work evenly to reach 48 stitches.
Round 7:
- Work 48 sc taking only front loops loosely for texture.
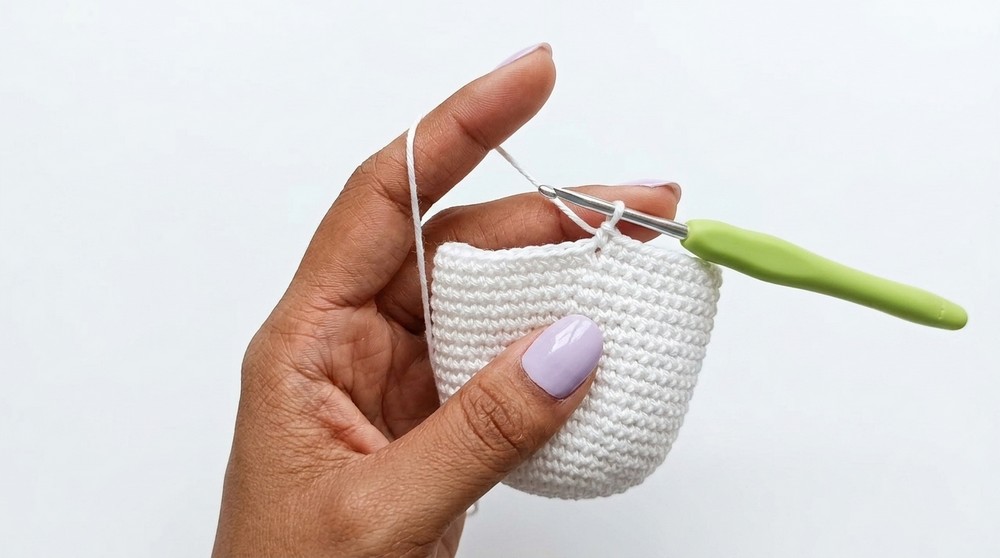
Rounds 8–18:
- Work 48 sc in rounds evenly to form head.
Round 19:
- Decrease via triple decreases in sequence with stitches in between, to reach 40 stitches.
Round 20:
- Further decreases with triple decreases and sc in between, to get 32 stitches.
Round 21:
- Continue triple decreases with sc between to get 24 stitches.
Stuff the head leaving it unstitched during shaping.
Summary: Head is shaped by gradual increases to form a sphere, textured on front loops, then decreases for tapering.
Part 7: Hair
Left Side Hair:
- Chain 11 as foundation.
- Work 17 rows of half double crochets (hdc) down the chain, slip stitch to join, repeat this 11 times forming 11 strips of hair.
Right Side Hair:
- Chain 25 and repeat 7 strips of 25 chains filled with hdc for longer hair.
Asymmetry:
- The left side has more but shorter strands; the right side has fewer but longer strands to create Sanji’s iconic asymmetrical hairstyle.
Attach Hair:
- Pin hair strands to head placing longer strands on left. Sew or glue into place.
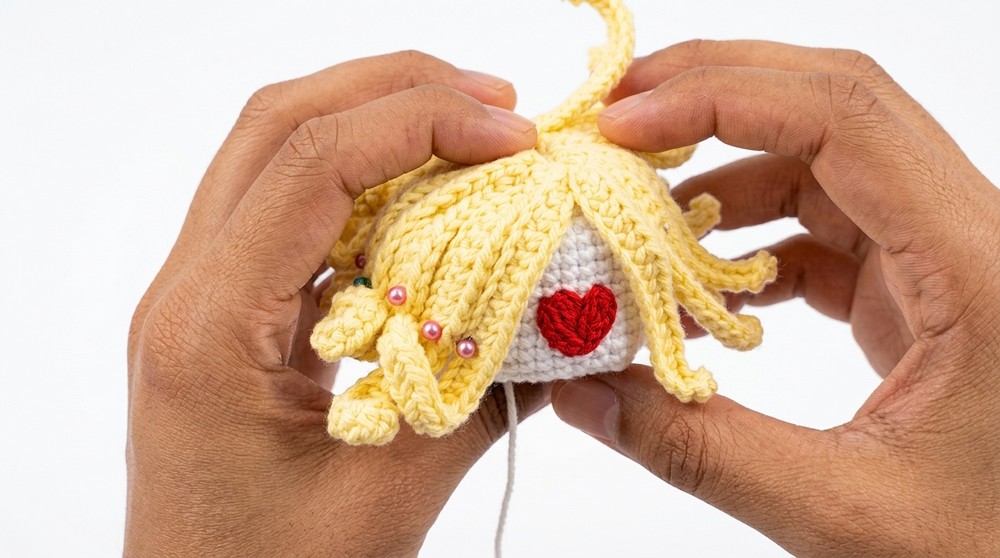
Summary: Hair is a curtain of hdc strips of varying length, positioned carefully for authentic character look.
Part 8: Face Detailing
- Use pins to outline hearts and curls for eyes and eyebrows, then use yarn and needle to trace and fill these shapes with embroidery stitches for expressive facial features.
Assembly & Finishing
- Stuff all components firmly but evenly.
- Sew head securely onto body.
- Attach arms and legs to body using yarn needle and yarn tail.
- Assemble sack and collar as you like.
- Add hair, pin, then sew or glue securely.
- Weave in all yarn tails for neatness.
- Optionally, add blush or fabric paint for cheeks and nose highlights.
For Quick Reference:
- Stitch types: single crochet (sc), increase (inc), decrease (dec), triple increase/decrease, half double crochet (hdc), back/front loop only stitches.
- Build limbs then body, joining legs before continuing body rounds.
- Shape head with increases then decreases, adding texture.
- Crochet hair strips and attach asymmetrically.
- Embroider face for character expression.
- Assemble by sewing all parts, stuffing as needed.

Leave a Reply