

Decorate your festive space with elegance using this Crochet Christmas Star pattern, featuring clear instructions for a charming holiday decoration.
There’s something truly magical about a handmade star ornament during the holiday season. One popular project that captures this feeling is the Crochet Christmas Star Pattern, which creates beautifully textured, star-shaped decorations perfect for adding a festive glow to your home. These stars feature a classic pointed shape with a soft, raised texture that brings warmth and charm to any tree, wreath, or gift.
Pretty Crochet Christmas Star Free Pattern With A Simple Festive Style
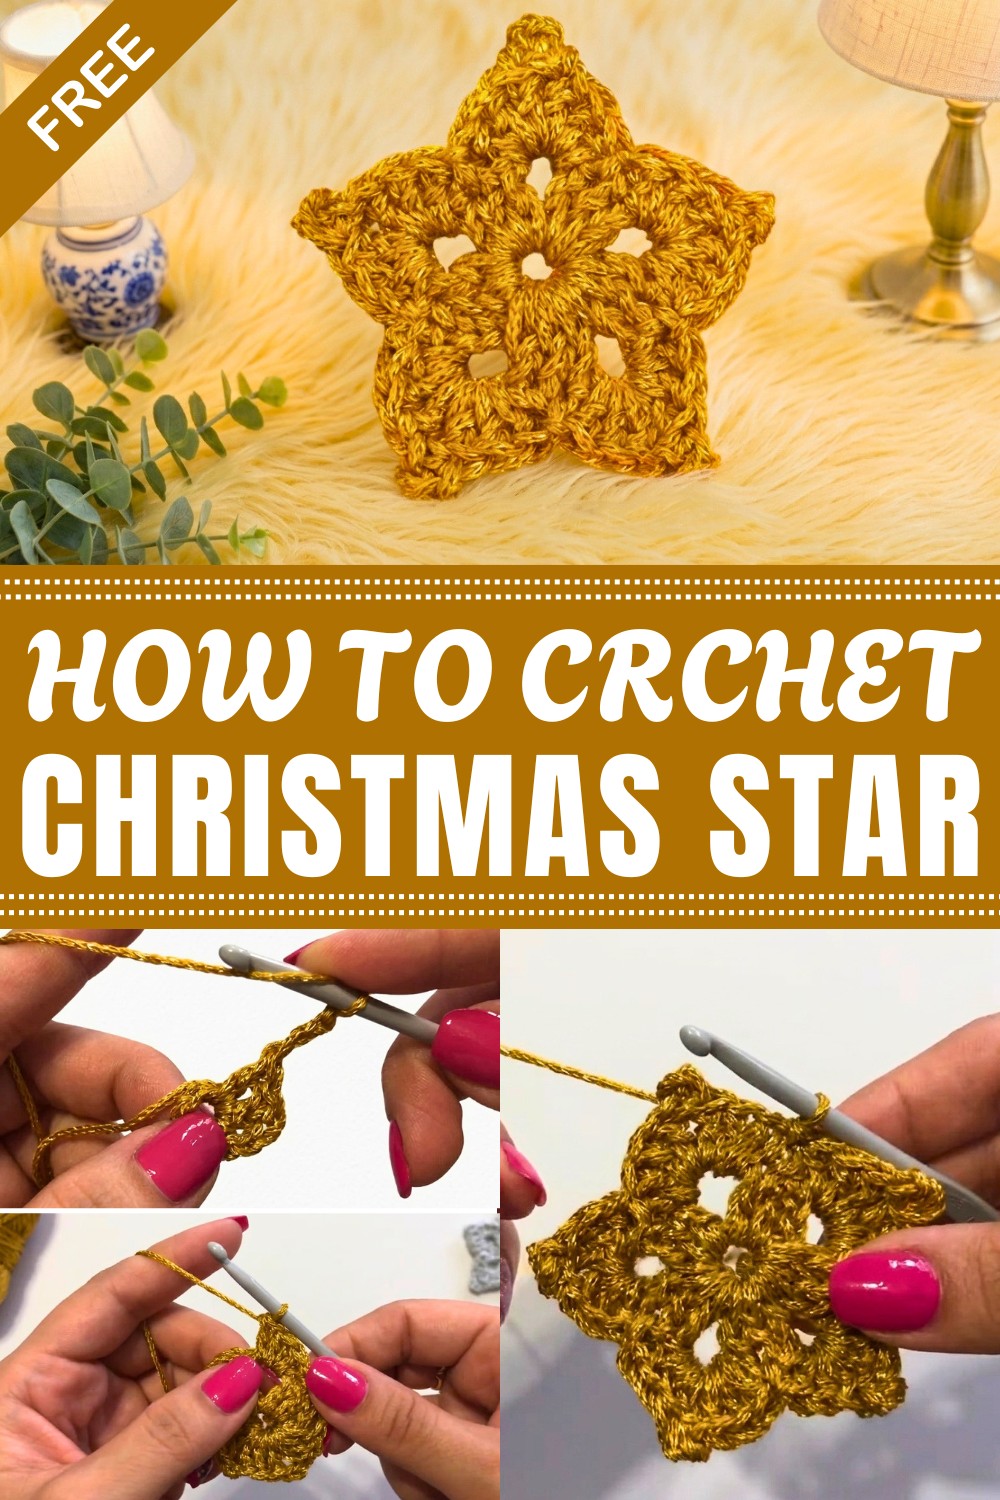
This pattern offers a range of sizes to suit different uses—from small, delicate stars perfect for hanging in clusters, to larger versions that make eye-catching centerpiece decorations. The yarn choice is important; smooth, slightly shiny yarns like mercerized cotton or soft acrylic blends showcase the stitch detail and give the star a subtle sparkle. Color options are endless, allowing you to stick with traditional reds and whites or branch out with metallics and pastels to match your seasonal style.
Construction usually begins with a central circle, gradually working outward to form the pointed star arms. Keeping an even tension throughout helps the star maintain its shape, while gently blocking the finished piece ensures crisp edges. A handy tip is to try experimenting with stitch variation or adding beads to enhance the texture and give it a personalized touch.
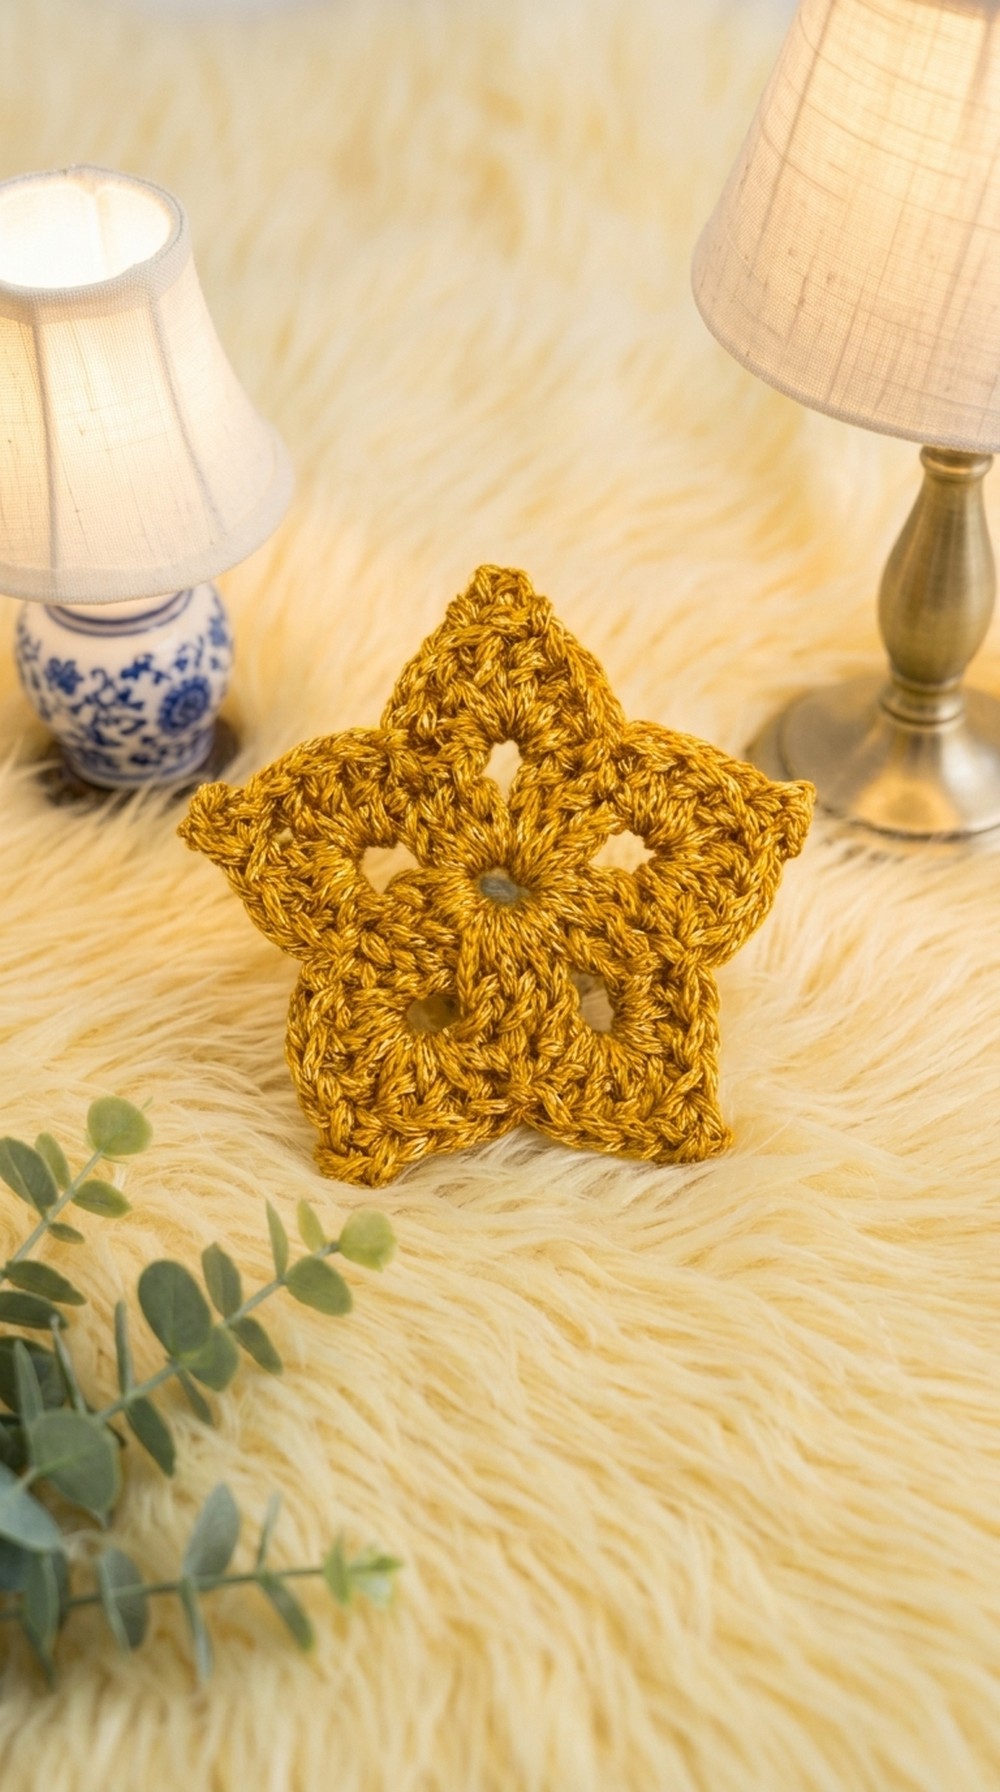
This design draws inspiration from the symbolic beauty of Christmas stars, representing hope and joy throughout the season. Whether given as a heartfelt gift or used to personalize your holiday décor, these crochet stars encourage creativity and add a handmade sparkle that brightens any celebration. It’s a simple yet meaningful way to make the holidays feel even more special.
Crochet Christmas Star Free Pattern
This pattern outlines the precise construction of a radiant star ornament, following each step in the process for clear, elegant results. Beginning with a simple foundation ring and structured with grouped double crochet clusters, the instructions detail every phase, including the transition from base layers to three-dimensional star points. Each phase ensures a symmetrical, neat, and attractive finish, with a subtle shimmer from metallic or shiny yarns. Unique touches such as picot-topped points and a practical hanging loop are fully explained, guiding you from first stitch to final assembly.
Quick Overview of Pattern
- Begin with a secure foundation ring for stability
- Build the ornament using double crochet clusters
- Form five star arms with clustered groups and chain spaces
- Shape each point individually with a combination of double crochet and picot stitches
- Finish seamlessly with a decorative hanging loop for display
- Step-by-step instructions ensure a cohesive appearance
- Designed for concise assembly with elegant results
Notes
- Work continuously unless specified otherwise.
- Metallic or shiny yarns enhance the festive appearance but may split easily; work slowly for best results.
- Maintain consistent tension, especially with slippery yarns.
- When slip stitching, always enter the correct indicated stitch to maintain symmetry.
- Securely weave in loose ends to prevent fraying, given the smoothness of shiny fiber.
- All chain spaces should be neat to support the sharpness of each star point.
- Blocking the finished ornament (by lightly steaming or pinning it out) will yield crisp, professional results.
Skill Level
- Beginner to confident beginner
Appropriate for those familiar with double crochet, single crochet, chaining, and joining rounds.
Materials
- Yarn: Metallic or shiny yarn (such as Ficus yarn)
- Crochet Hook: 3.5 mm
- Scissors
- Tapestry Needle (for weaving ends)
Measurements / Sizing
- Approximate Finished Size: 7–9 cm across, depending on yarn weight and tension
Gauge
- Gauge is not critical; however, a typical 3.5 mm hook with DK-weight shiny yarn should yield stars of the specified size. For best results, use tight, even stitches to provide good stitch definition.
Stitch Abbreviations
- ch – chain
- sl st – slip stitch
- sc – single crochet
- dc – double crochet
- st(s) – stitch(es)
- sp – space
Special Stitches
- Picot: ch 3, insert hook through top two loops of last dc, yarn over, pull through all loops.
This forms a distinct point at the tip of each star arm, giving a decorative finish.
The Crochet Pattern
Round 1: Foundation Ring & Base Clusters
- Slip Knot & Foundation: Begin by forming a slip knot. Ch 5, then sl st to the first chain to create a foundation ring.
- Insert Center sc: Insert hook into the center of the ring and sc 1 to anchor your work.
- First Double Crochet Group: Ch 3 (counts as the first dc), then work 2 dc into the center of the ring.
- First Corner Space: Ch 3 to create the initial space between groups.
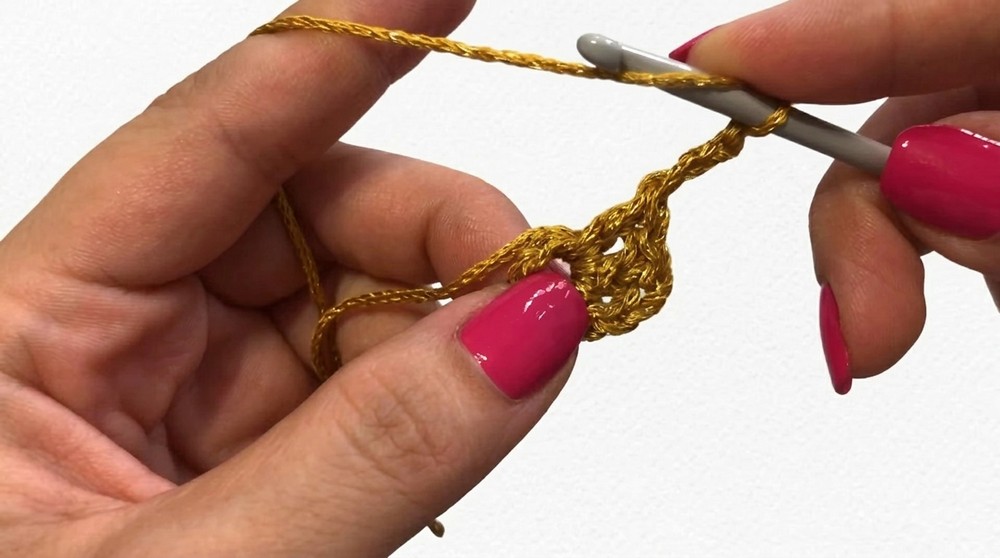
- Second Group: Work 3 dc directly into the center of the ring once again. Then ch 3 to separate.
- Remaining Groups: Repeat the sequence [3 dc, ch 3] into the foundation ring until there are a total of 5 groups of 3 double crochets, with each group separated by a chain-3 space.
- Closing the Round: After the final group, ch 3 and sl st into the third chain of the initial starting chain to close the base round.
You should have: A symmetrical pentagonal base, made up of five clusters, each separated by chain-3 spaces.
Round 2: Star Points
For a striking star effect, each arm is built individually along the chain spaces just created.
- Position for Next Round: Sl st into the second dc of the nearest group from Round 1. This brings the working yarn close to the first chain-3 space.
- First Half of Point: In the nearest chain-3 space, 3 dc.
- Picot Top: Ch 3, then insert hook through the top two loops of the last dc just worked; sc 1 here to secure a neat picot point.
- Second Half of Point: Again, into the same chain-3 space, 3 dc.
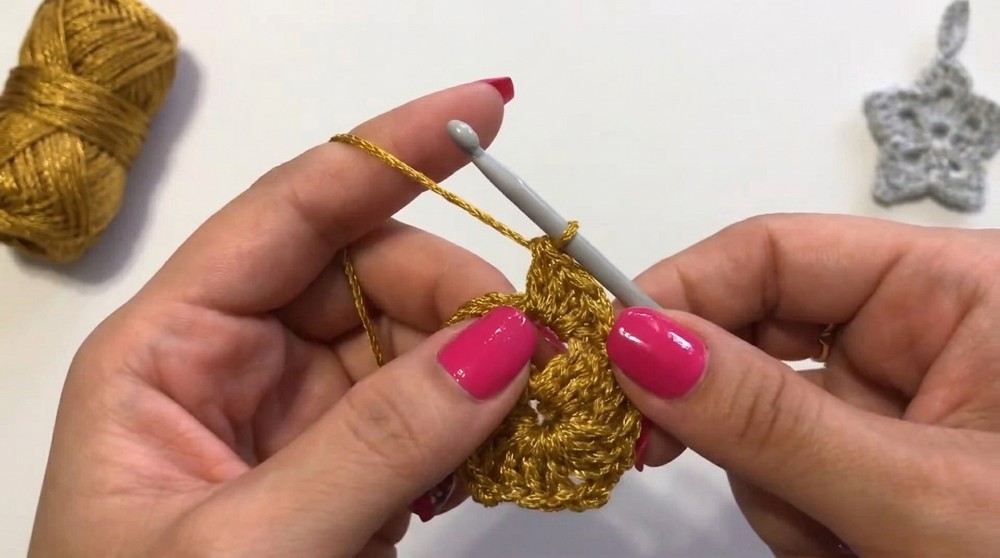
- Anchor Point: Sl st into the second dc of the next group from Round 1.
- Repeat Points: In each of the remaining four chain-3 spaces, repeat this process:
- Work 3 dc into the chain-3 space,
- Ch 3, then sc 1 through the top two loops of last dc for the picot point,
- Again 3 dc in the same space,
- Sl st into the second dc of the next group
- Final Closure: After finishing the fifth and last point, sl st into the starting slip stitch to complete the round.
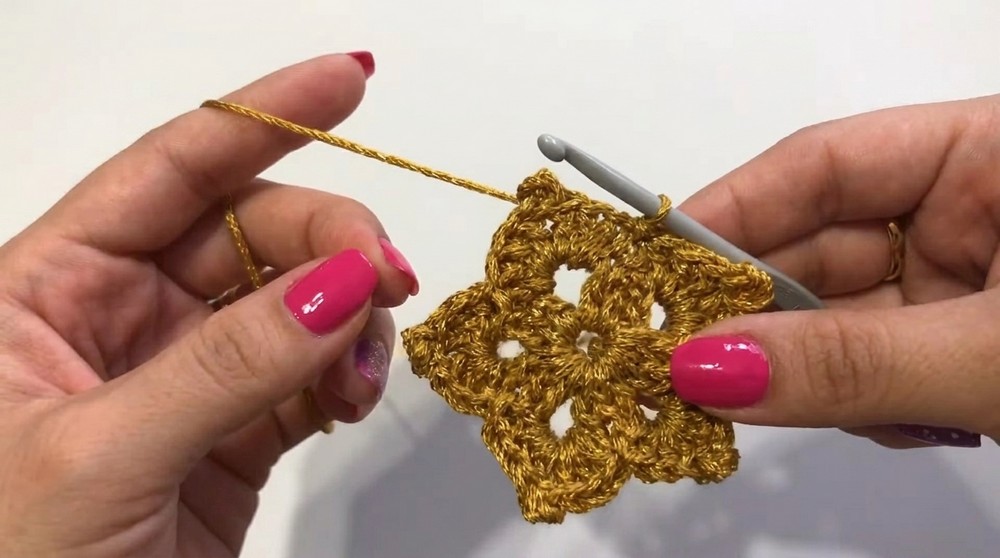
- Fasten Off: Cut the yarn with a scissors, and pull through to secure.
Hanging Loop & Finishing
- Attach Yarn: Choose any of the uppermost picot points. Insert hook into the tip, pull up a loop of yarn, and ch 12 to form a hanging loop.
- Secure Loop: Insert hook back into the same star point and sl st firmly.
- Weave Ends: Cut yarn, pull through to fasten. Tie off the loose ends at the back and use a tapestry needle to neatly weave in all ends.
- Optional: Lightly block your ornament for extra sharp points and an even shape.
Assembly & Finished Size
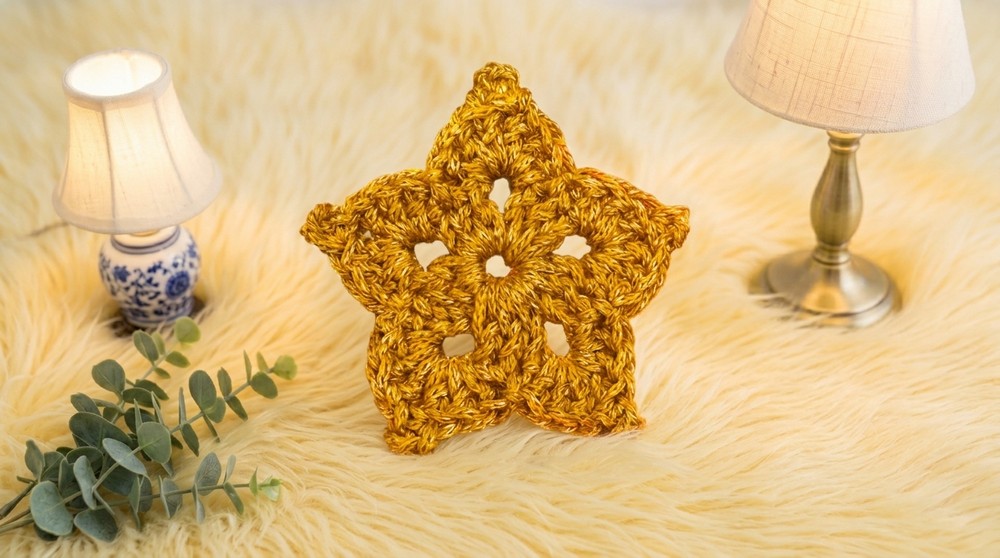
Your finished star is ready to brighten any setting. The crispness of each picot-tipped point and the gentle shimmer from the chosen yarn combine for a visually appealing ornament, sized at 7–9 cm across (depending on tension and yarn). The hanging loop provides an easy, stable way to display your decoration on a tree, wall, or window.
Assembly Recap:
- No separate pieces to attach.
- Ensure the hanging loop is securely tied off for durability.
- Consider starching or lightly steaming for extra firmness.
Conclusion and Ending Words
With each carefully executed round, this shiny star ornament reflects a harmonious blend of straightforward construction and aesthetic appeal. The foundation establishes a stable base, while the cluster and chain arrangements form crisp star points. Features like the picot tip detail and a practical hanging loop add personality and functionality, ensuring that the final result stands out in any festive setting. Attention to detail, from neat slip stitches to securely woven ends, guarantees a professional finish. Display your ornament proudly during the holidays or present it as a heartfelt hand-stitched keepsake, knowing it was produced with care and precision.



Leave a Reply