

Carry your team colors on game day by pairing two shades of yarn with this Crochet Ball Amigurumi Keychain Free Pattern for a detail on your bag.
If you’re looking for a fun and simple crochet project, the Crochet Ball Amigurumi Keychain is a perfect choice. This delightful pattern comes from the original YouTube tutorial by Hobihobiku, who deserves full credit for creating such an easy and charming design.
Free Crochet Ball Amigurumi Keychain Pattern With Contrasting Colors
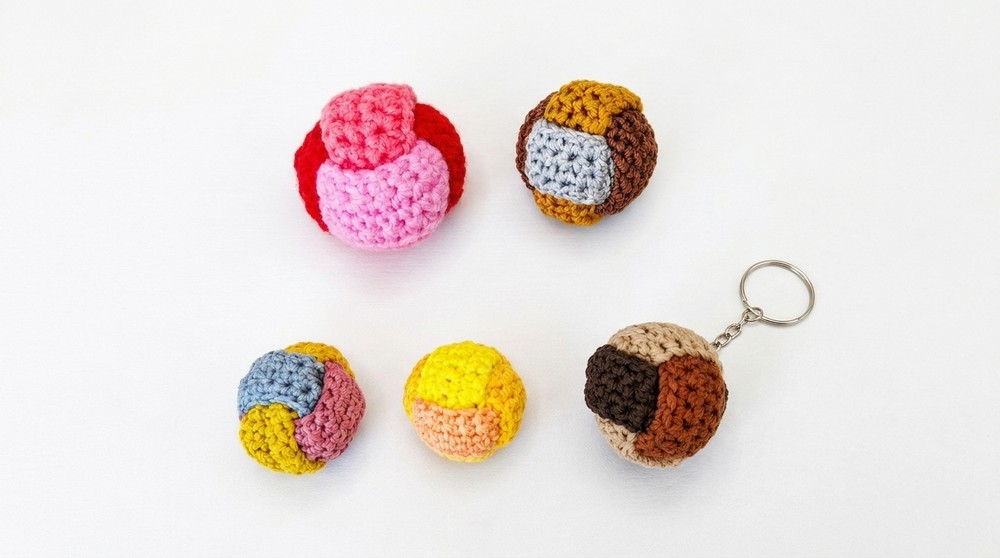
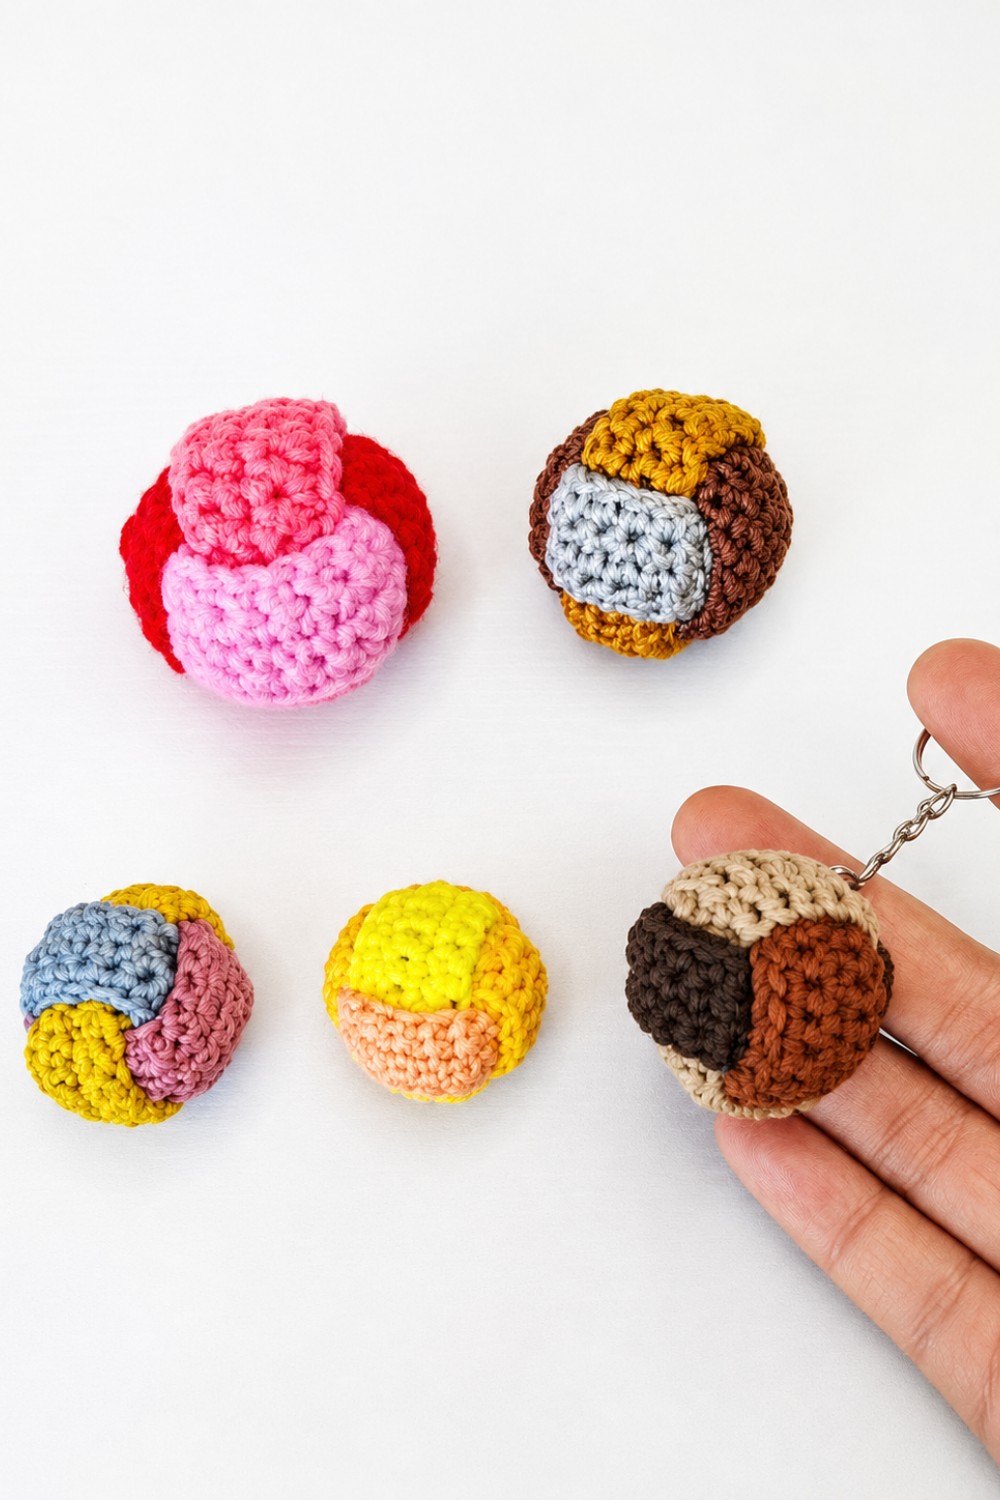
The project results in a small, round amigurumi ball that can be used as a keychain, bag charm, or even a cute decoration. Its main features include a smooth, spherical shape made with neat stitches and the option to experiment with different colors or add small details like stripes or faces. This makes the little ball both beautiful and playful, adding a touch of personality to everyday items.
This keychain is ideal for beginners because it uses basic crochet stitches and simple shaping. The steps start with crocheting a magic ring followed by rounds of single crochet stitches to gradually increase and then decrease the size, forming the perfect sphere.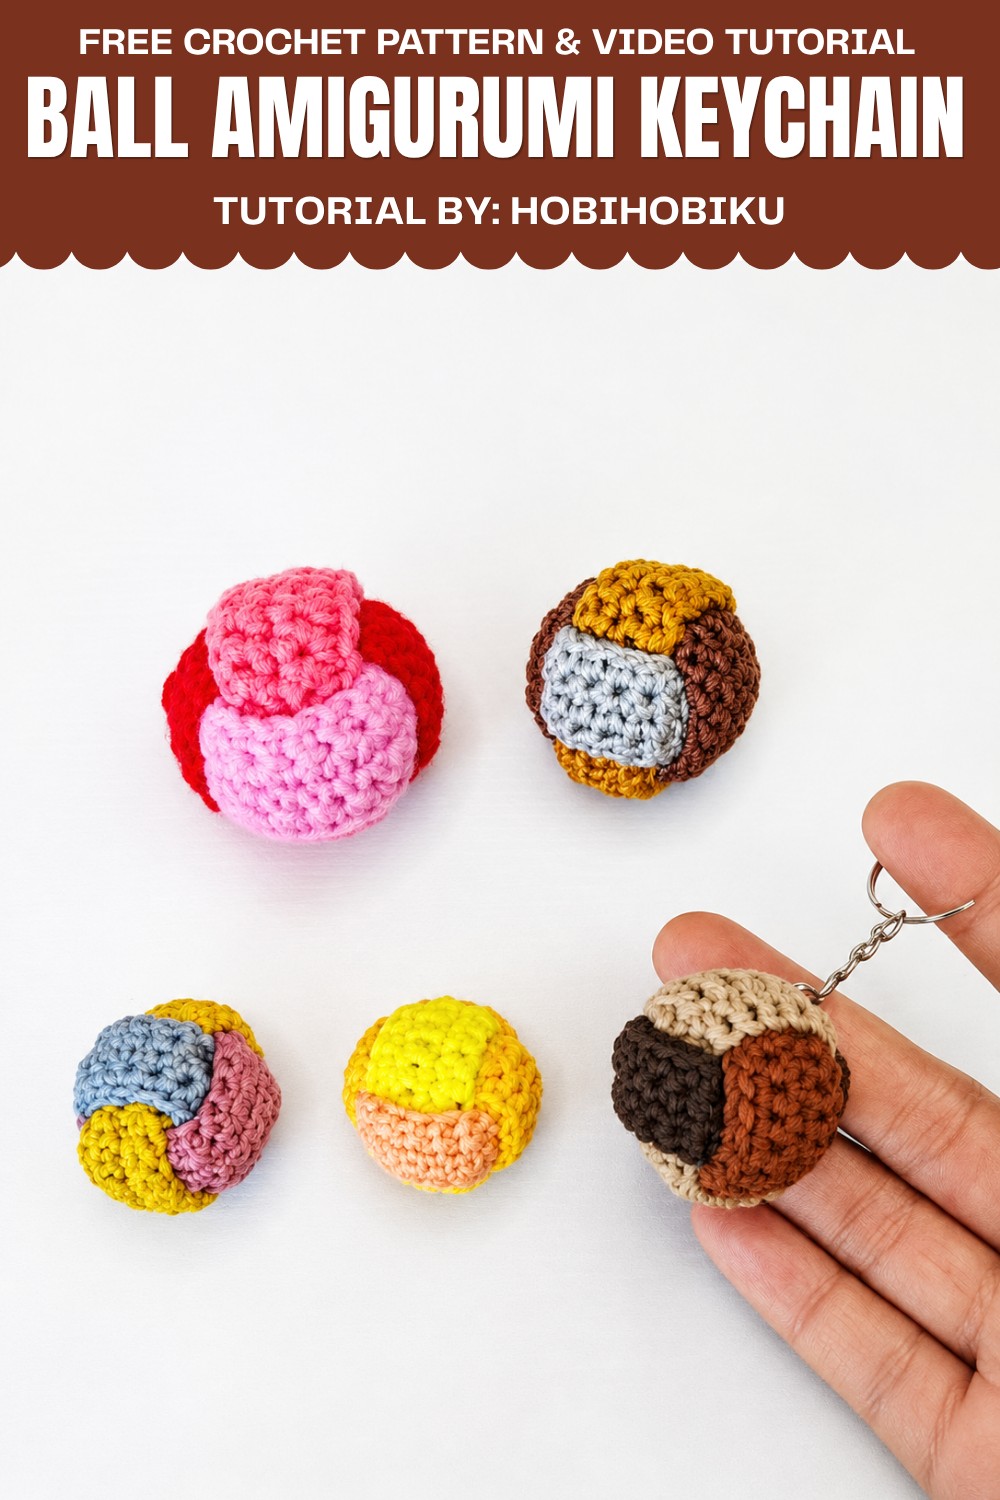
After stuffing the ball with soft filling, you close it up and attach a keyring or chain. You can customize it by choosing your favorite yarn colors or adding small sewn decorations to make it unique and personal.
This project is quick to make and very satisfying, perfect for practicing your crochet skills while creating a cute accessory you’ll love. Ready for a charming mini crochet? Try this free pattern and crochet your own Crochet Ball Amigurumi Keychain today!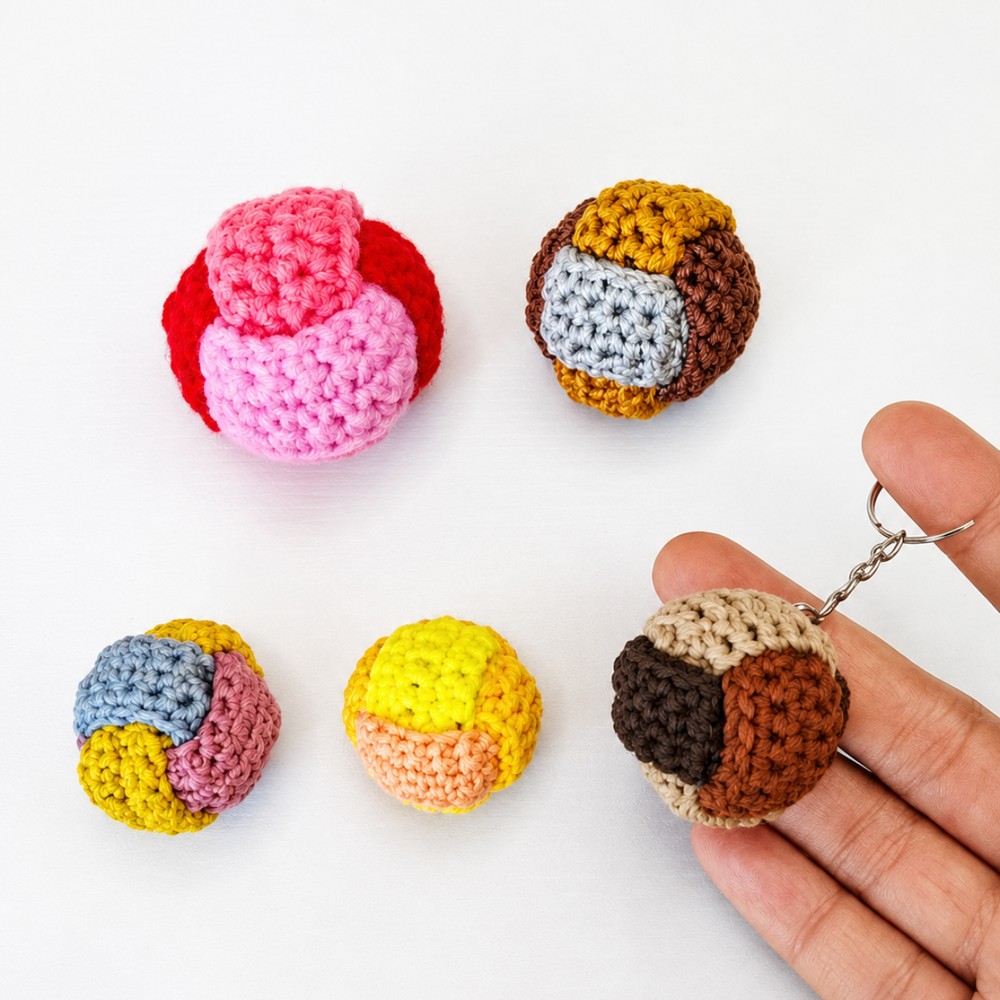
Pattern Overview
This easy crochet pattern shows you how to create a colorful, three-panel amigurumi ball keychain. You will make three flat square panels, stitch them together to form a 3D shape, stuff lightly, and attach a keychain ring. Each panel uses basic stitches and you can use different yarn colors for a playful effect. This project is beginner-friendly and a quick way to create a soft and personalized accessory.
Quick Details
- Project: Crochet Amigurumi Ball Keychain
- Type: Assembly of three square panels (can be multicolored)
- Time Estimate: About 1–2 hours
- Main Stitches: Single Crochet (SC)
Important Tips
- Keep your stitches even to ensure the panels are all the same size.
- Be sure to leave a long tail at the end of each square to make sewing easier.
- Sew seams tightly to prevent stuffing from escaping.
- Stuff lightly for best shape; avoid overfilling.
- Hide all yarn tails inside for a neat result.
- Attach the keychain securely.
Skill Level
- Beginner/Easy
Only basic stitches and simple assembly skills are required.
Materials
- 3 colors of medium-weight yarn (use leftover or favorite colors)
- Crochet hook suitable for your yarn (commonly 3.0 mm–4.0 mm)
- Yarn needle (for sewing panels together)
- Polyester fiberfill or dacron stuffing
- Scissors
- Keychain ring or swivel clip
Measurements
- Each finished square: approx. 4.5–5cm (1.75–2") per side (may vary based on yarn and tension)
- Finished ball: approx. 5–6cm (2–2.5") in diameter
Gauge
Gauge is not essential for this project, but your panels should be square and similar in size. Use the same yarn and hook size for all panels.
Abbreviations
- ch – chain
- SC – single crochet
- st(s) – stitch(es)
- sl st – slip stitch
Special Stitches
This pattern uses only the standard single crochet.
No special stitches are involved.
Step-by-Step Instructions
Creating the Square Panels (Make 3 panels in different colors)
Starting Chain
- Ch 20. (This is your foundation chain for the first row.)
Row 1
- Add 1 extra ch (to turn).
- Starting in the second chain from your hook, work 1 SC in each of the 20 foundation chains.
- At row’s end, you will have 20 single crochet stitches.
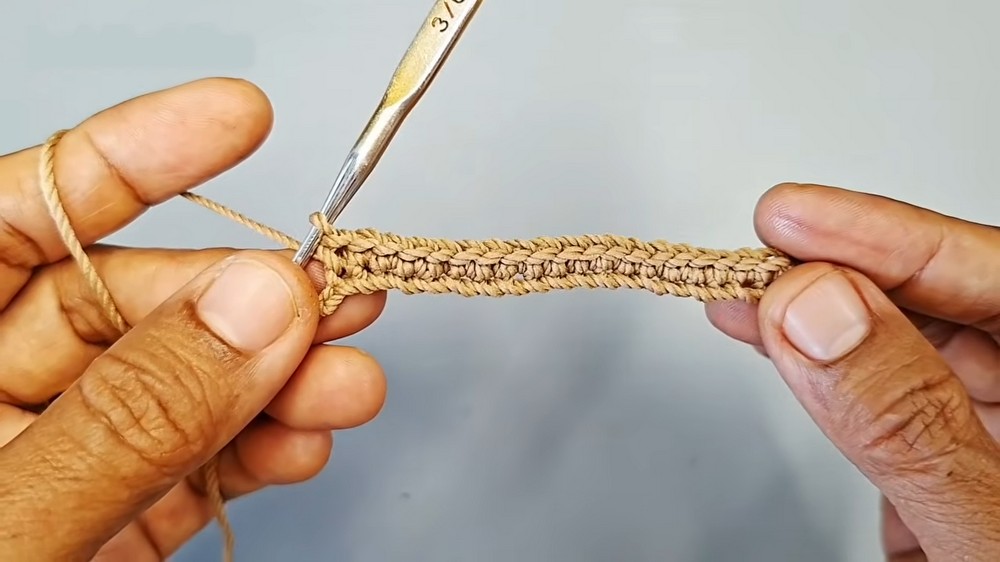
Rows 2–4
- At the end of each row, ch 1, turn your work.
- Work 1 SC in every stitch across (20 SC total per row).
- Complete a total of 4 rows for each square panel.
Finishing the Panel
- After completing the 4th row, cut the yarn, leaving a long tail for stitching panels together during assembly (leave about 25–30cm/10–12").
- Pull yarn through last loop to secure.
- Repeat this process until you have 3 square panels, each in your chosen color.
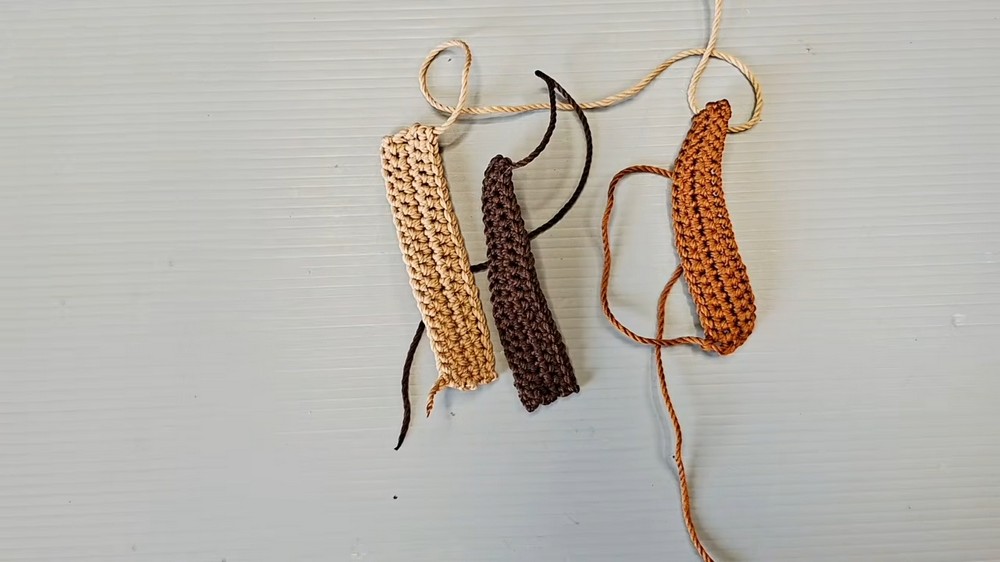
Assembly
Stitching Panels Together
- Align the edges of two panels so that they match from corner to corner.
- With a yarn needle and the long tail, sew along one complete edge to join them together from end to end.
- Use a whip stitch or mattress stitch, whichever you prefer, but keep your stitches neat and close.
- Repeat this process to attach the third panel, sewing it to one of the open sides of your existing panels.
- As you stitch, tuck the yarn tails inside or weave them through the seams to keep the exterior neat and free of ends.
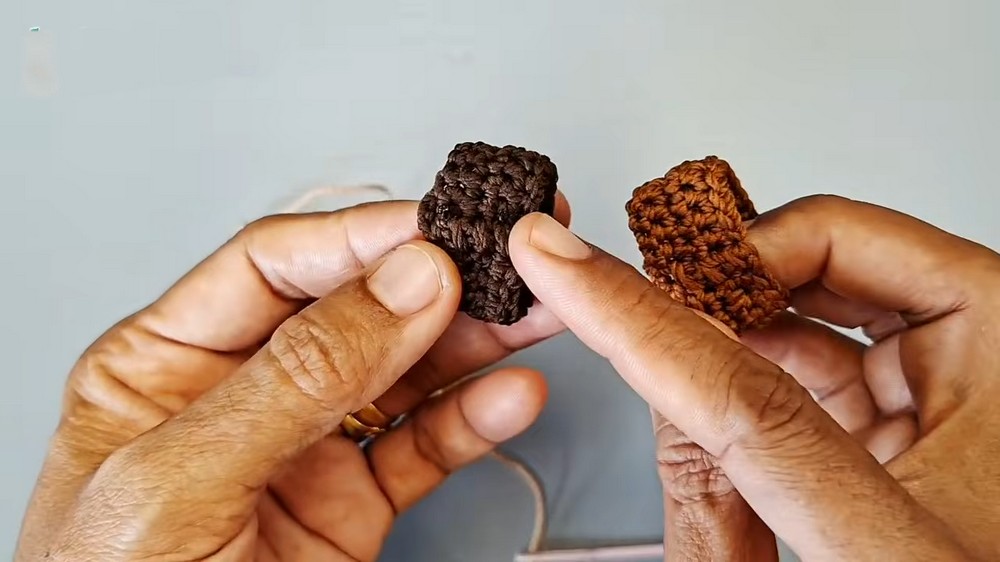
Forming the Ball Shape
- With the three squares connected, begin joining the remaining open sides together.
- Sew along the remaining open edges to gradually shape the panels into a 3D ball.
- As you sew, make sure the seam allowances are kept inside the ball. Tucking the allowance inwards as you go keeps the outer surface smooth and tidy.
- Continue until only a small opening remains for stuffing.
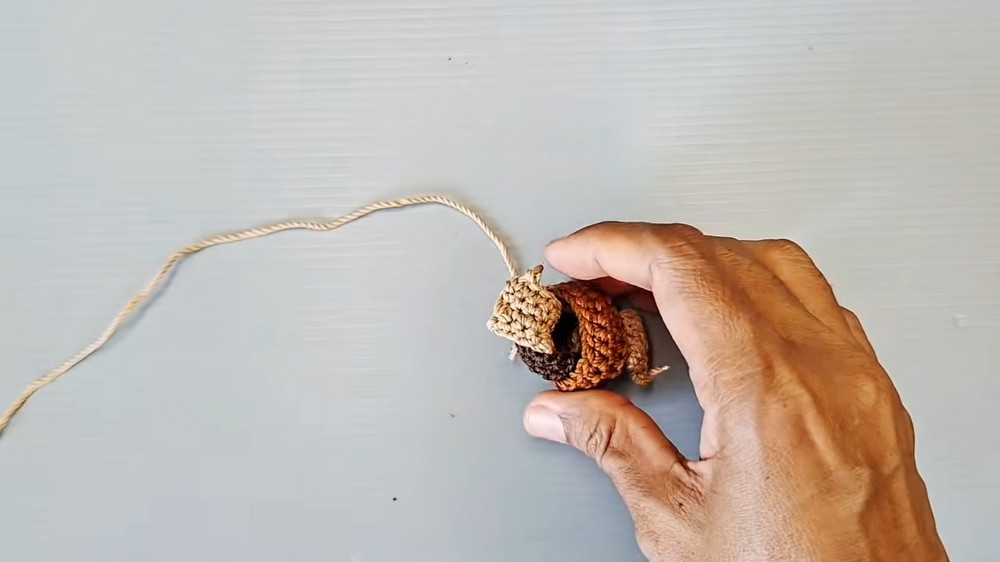
Stuffing
- Insert polyester fiberfill (dacron) into the opening.
- Add stuffing a bit at a time, using your fingers or a tool to push it gently into the ball’s center.
- Do not overstuff. Too much filling may stretch stitches or create gaps. The ball should keep its shape but still be soft to the touch.
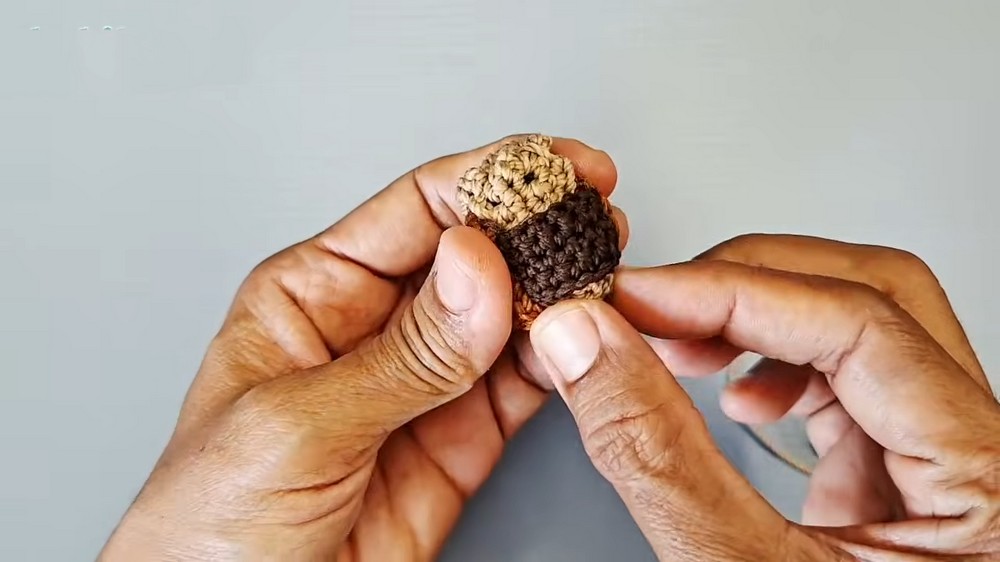
Final Closure
- After stuffing, finish stitching the opening closed using the remaining yarn tail.
- Ensure your stitches are close together to avoid any gaps where stuffing can escape.
- Tuck the yarn tail inside the ball using your needle to hide it and give a clean finish.
Attaching Keychain
- Using sturdy yarn or a spare yarn tail left at the top (at a corner seam is recommended for strength), attach the keychain ring.
- If using a ring, thread the yarn through the ring and a stitch or two on the ball, tie securely, and weave the ends into the ball to hide.
- If using a clip or other keychain hardware, attach in the same way, making sure it’s strong enough to hold the weight of the ball.
Final Notes
- For a smoother ball, make sure each panel is the same size before assembly.
- Use tight, even stitches to reduce visible gaps.
- Press the finished ball gently into shape after stuffing and closing.
- Panels can be made in all the same color or in three different ones for a playful pattern.
- Avoid heavy keychains or overfilling, which can distort the shape.
- Spot clean your amigurumi ball as needed with a gentle, damp cloth.
- This project is great for scrap yarn and makes a charming, personalized gift or accessory.
- Always check that the keychain is attached securely before use.
Leave a Reply