

Create a charming handmade gift with this free crochet sloth pattern that helps you make a cozy and lovable companion quickly and easily at home.
A little while ago, I decided to try making a small crochet toy, and that’s when I found the free crochet crochet sloth amigurumi pattern. This project quickly became one of my favorites because it's not just any toy, but a cute little sloth you can hold, gift, or display. What’s great is that with small changes in colors or parts, you can turn this basic pattern into other animals or different sloth poses, letting your creativity shine.
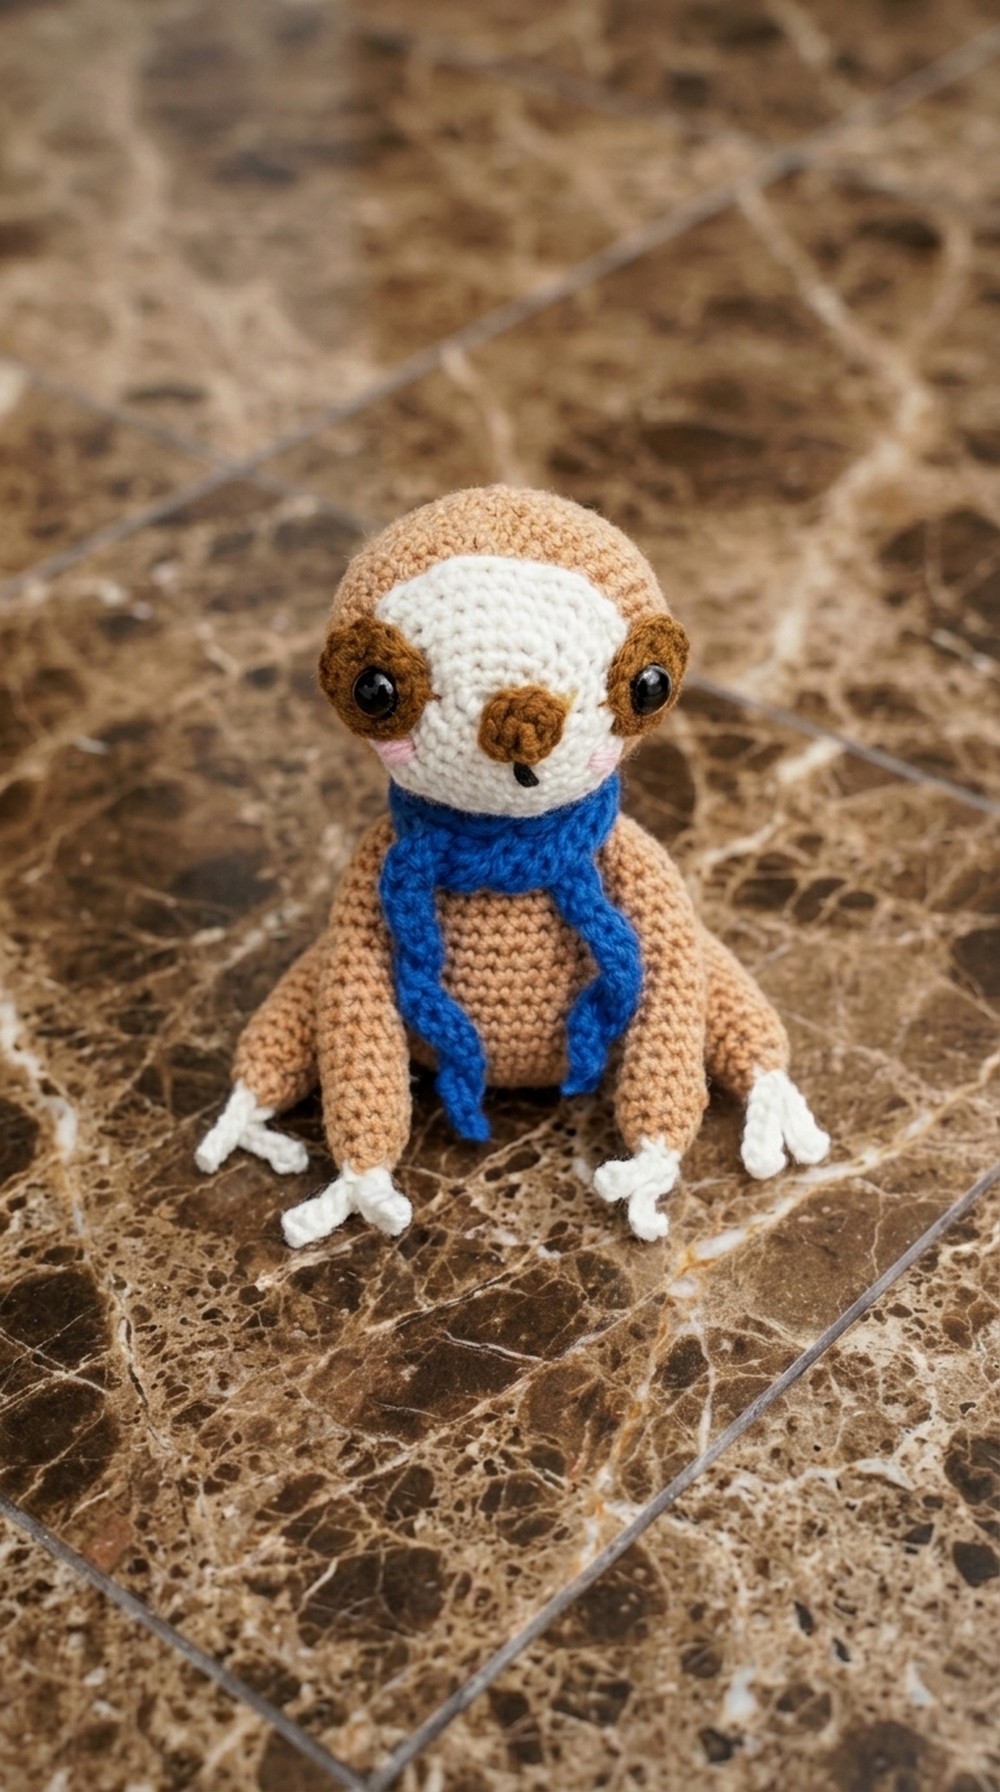
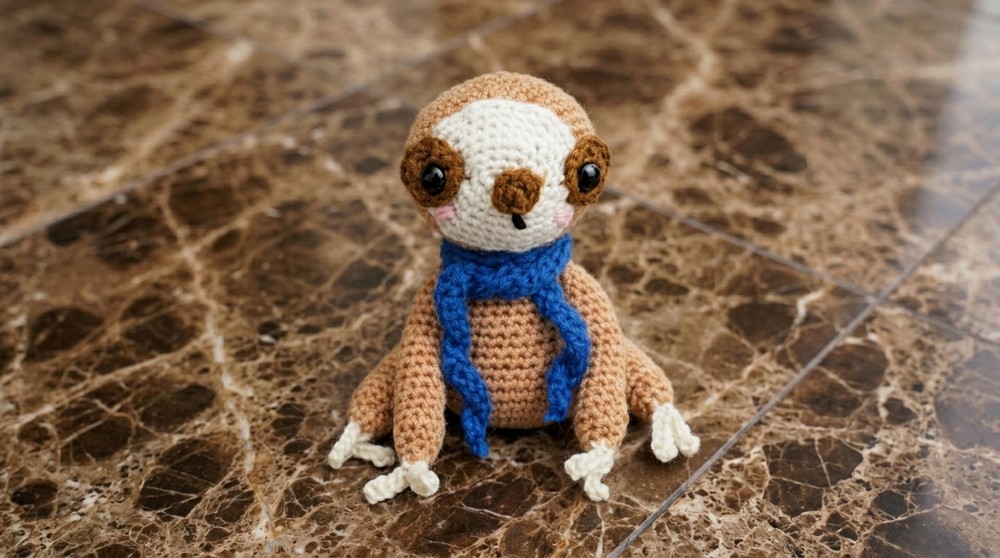
This sloth is charming with its soft, round shape and tiny arms and legs that look like it’s ready for a slow, cozy hug. The texture is smooth and tightly stitched, giving it a plush feel that’s perfect for cuddling or decoration. Its gentle face, with sleepy eyes and a sweet smile, is full of personality and makes it stand out as an adorable handmade friend anyone would love to have around.
Cute Free Sloth Crochet Pattern that's a Stuffed Toy
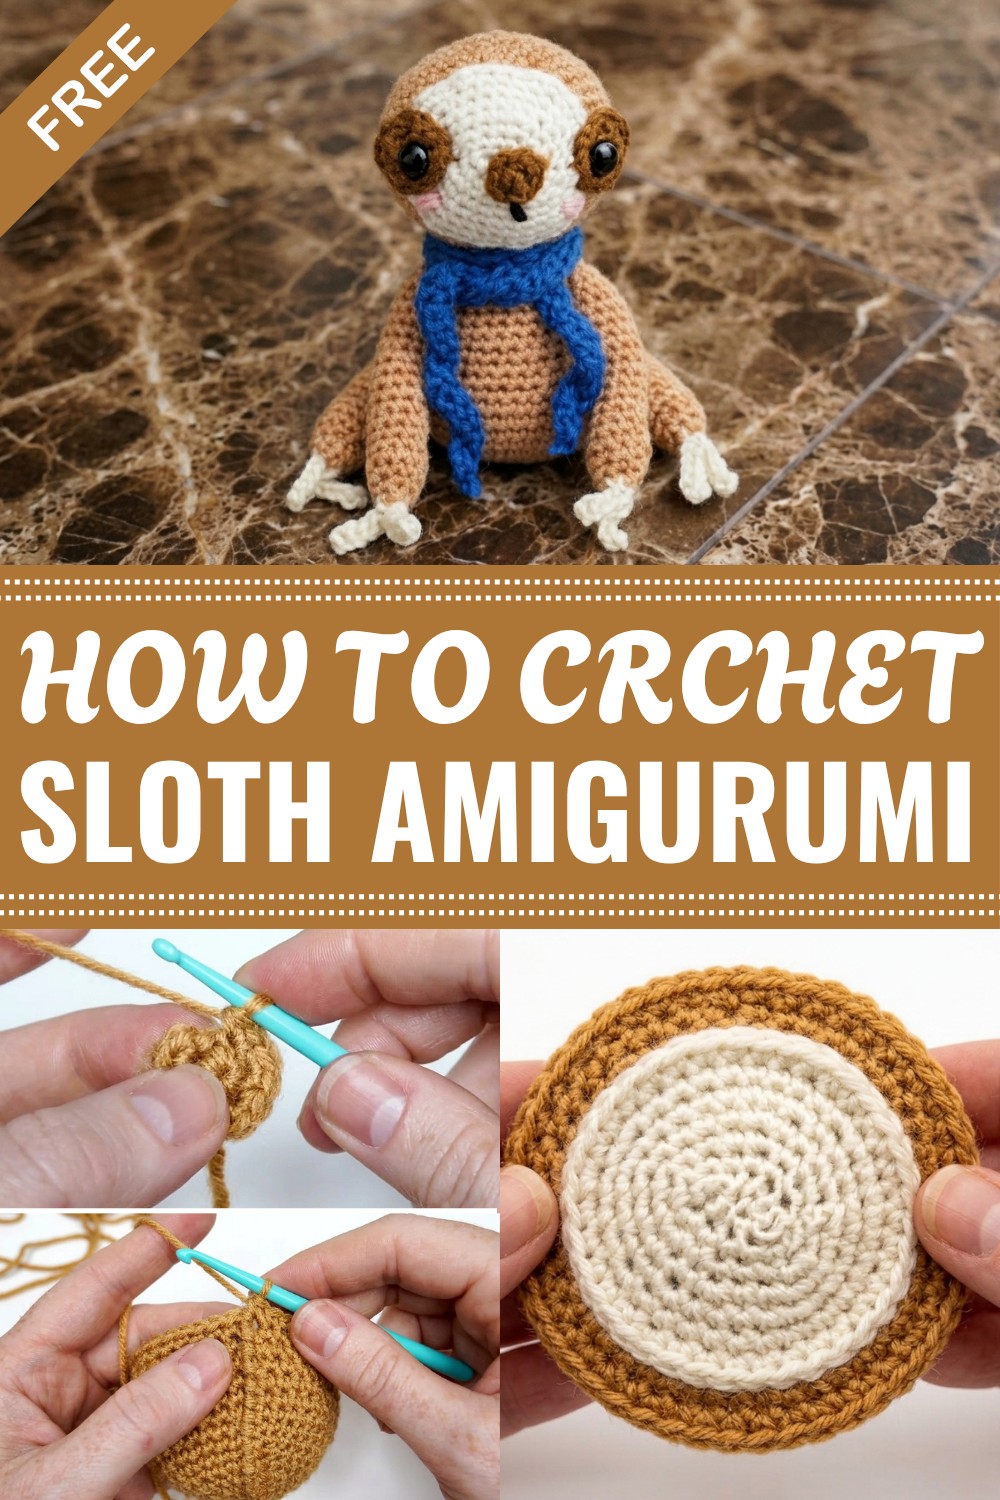
If you’re comfortable with beginner stitches like single crochet and slip stitch, this pattern is very doable. The main technique is working in continuous rounds to build seamless shapes, making it easier to create a neat and polished look. I found the repetitive stitches calming and straightforward, ideal for anyone wanting to gain confidence in amigurumi.
This crochet sloth is a wonderful gift for friends, kids, or collectors of cute handmade items. It looks great on shelves and makes a cozy companion too. If you’re up for a fun and rewarding crochet project that’s both charming and beginner-friendly, this sloth amigurumi pattern is definitely worth a try. You’ll enjoy every stitch as you bring this little slowpoke to life.
Sloth Amigurumi Crochet Pattern
This charming sloth amigurumi features a soft, cuddly body, detailed face, limbs, and a cozy scarf. Easy to follow with clear instructions for each part, this project is perfect for those familiar with basic crochet techniques and looking to make a delightful stuffed toy.
Pattern Notes
- Worked in continuous rounds unless otherwise stated.
- Join rounds with a slip stitch (sl st) unless instructed to work in rows.
- Use the same tension throughout to achieve consistent size.
- Stuff firmly but not too tight to maintain softness.
- Use a yarn needle to sew parts together securely.
Skill Level
Intermediate — requires familiarity with single crochet, increase (inc), decrease (dec), slip stitch (sl st), and working in the round.
Materials
- Yarn:
- Color A (CA): Light brown (main body and limbs)
- Color B (CB): Cream (face and claws)
- Color C (CC): Darker brown (nose and eyes)
- Crochet Hook: Size suitable for chosen yarn (recommended 3.5 mm or E/4)
- Fiberfill stuffing
- Yarn needle
- Stitch marker
- Scissors
Measurements / Sizing
- Head diameter: approximately 2 ¾ inches (6.99 cm)
- Body diameter: approximately 2 ¾ inches (6.99 cm)
- Finished sloth height: about 6–7 inches (15–18 cm) excluding scarf
- Scarf length: approximately 85 chains (~29 inches)
Gauge
- 6 single crochet rounds = about 1 inch (2.54 cm) in diameter when following pattern with suggested hook and yarn.
Stitch Abbreviations
- ch = chain
- sc = single crochet
- inc = increase (2 sc in same stitch)
- dec = decrease (single crochet two stitches together)
- sl st = slip stitch
- st(s) = stitch(es)
- RS = right side
- … = repeat instructions within brackets specified number of times
Special Stitches
- Magic Ring (or adjustable ring) to start rounds for a tight center
- sc2tog: single crochet decrease stitch (single crochet 2 stitches together)
Crochet Pattern
HEAD
Rnd 1 (RS): Using Color A (CA), ch 3, join with a slip stitch to form a ring. Ch 1, work 6 sc into ring; join — 6 stitches.
Rnd 2: Ch 1, 2 sc in each stitch around; join — 12 sts.
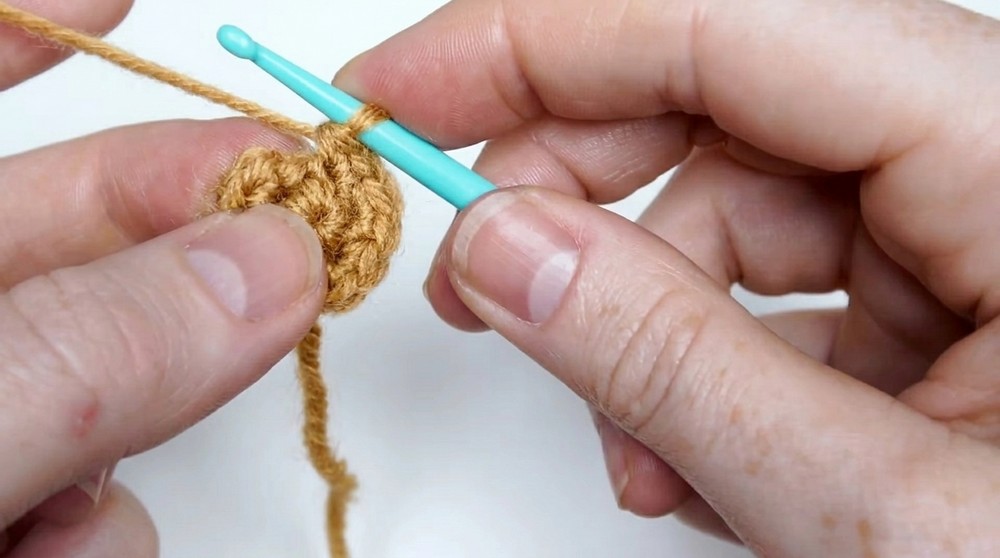
Rnd 3: Ch 1, [sc in next st, 2 sc in next st] repeat 6 times; join — 18 sts.
Rnd 4: Ch 1, [sc in next 2 sts, inc] repeat 6 times; join — 24 sts.
Rnd 5: Ch 1, [sc in next 3 sts, inc] repeat 6 times; join — 30 sts.
Rnd 6: Ch 1, [sc in next 4 sts, inc] repeat 6 times; join — 36 sts.
Rnd 7: Ch 1, [sc in next 5 sts, inc] repeat 6 times; join — 42 sts.
Piece should measure approximately 2 ¾ inches (6.99 cm) across.
Rnds 8 to 14: Ch 1, sc in each stitch around; join — 42 sts each round.
Rnd 15: Ch 1, [sc in next 5 sts, sc2tog] repeat 6 times; join — 36 sts.
Rnd 16: Ch 1, [sc in next 4 sts, dec] repeat 6 times; join — 30 sts.
Rnd 17: Ch 1, [sc in next 3 sts, dec] repeat 6 times; join — 24 sts.
Rnd 18: Ch 1, [sc in next 2 sts, dec] repeat 6 times; join — 18 sts.
Rnds 19-20: Ch 1, sc in each stitch around; join — 18 sts.
Fasten off leaving a tail for sewing.
FACE
Rnd 1 (RS): Using Color B (CB), ch 5. Starting in 2nd ch from hook, 2 sc, then sc in next 2 ch, 4 sc in last ch; turn and work in the opposite side of foundation chain by sc in next 2 loops and 2 sc in starting ch; join — 12 sts.
Rnd 2: Ch 1, inc in next st, sc in next 4 sts, inc 2 times, sc in next 4 sts, inc in next st; join — 16 sts.
Rnd 3: Ch 1, [sc, inc] in succession, sc in next 5 sts, inc 2 times; join — 20 sts.
Rnd 4: Ch 1, [sc, inc] continue while sc in next 6 sts, inc, sc; repeat twice; join — 24
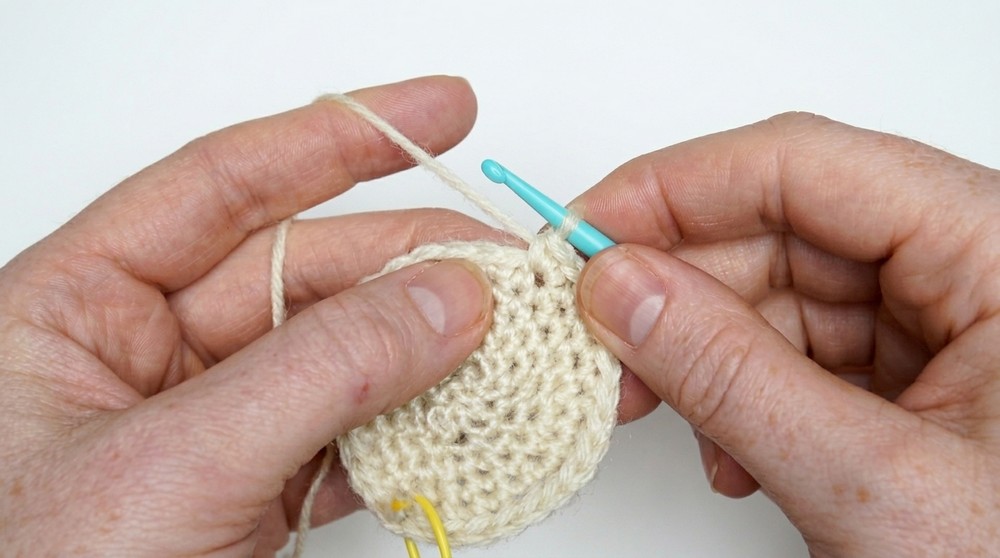
Rnd 5: Ch 1, [sc in next 3 sts, inc, sc in next 7 sts, inc] twice; join — 28 sts.
Rnd 6: Ch 1, [sc in next 2 sts, inc, sc in next 8 sts, inc, sc in next 2 sts] repeat twice; join — 32 sts.
Rnd 7: Ch 1, [sc in next 5 sts, inc, sc in next 9 sts, inc] twice; join — 36 sts.
Fasten off leaving a tail for sewing.
EYES (MAKE 2)
Rnd 1 (RS): With Color C (CD), ch 3. Sc in 2nd ch from hook, 3 sc in next ch; turn and work on opposite side in remaining loops, sc in next loop; join — 5 sts.
Rnd 2: Ch 1, inc, sc in next st, inc 2 times, sc in next st, inc; join — 10 sts.
Rnd 3: Ch 1, inc, sc in next 3 sts, inc 2 times, sc in next 3 sts, inc; join — 14 sts.
Fasten off leaving a tail for sewing.
NOSE
Rnd 1 (RS): With Color C (CD), ch 2, 4 sc in 2nd ch from hook; join — 4 sts.
Rnd 2: Ch 1, 2 sc in each stitch around; join — 8 sts.
Fasten off leaving a tail for sewing.
BODY
Rnd 1 (RS): With Color A (CA), ch 3, join with sl st to form a ring. Ch 1, 6 sc in ring; join — 6 sts.
Rnd 2: Ch 1, 2 sc in each stitch around; join — 12 sts.
Rnd 3: Ch 1, [sc in next st, inc] 6 times; join — 18 sts.
Rnd 4: Ch 1, [sc in next 2 sts, inc] 6 times; join — 24 sts.
Rnd 5: Ch 1, [sc in next 3 sts, inc] 6 times; join — 30 sts.
Rnd 6: Ch 1, [sc in next 4 sts, inc] 6 times; join — 36 sts.
Rnd 7: Ch 1, [sc in next 5 sts, inc] 6 times; join — 42 sts.
Piece should measure approximately 2 ¾ inches (6.99 cm) across.
Rnds 8 to 11: Ch 1, sc in each stitch around; join — 42 sts.
Rnd 12: Ch 1, [sc in next 5 sts, dec] 6 times; join — 36 sts.
Rnd 13: Ch 1, sc in each stitch around; join — 36 sts.
Rnd 14: Ch 1, [sc in next 10 sts, dec] 3 times; join — 33 sts.
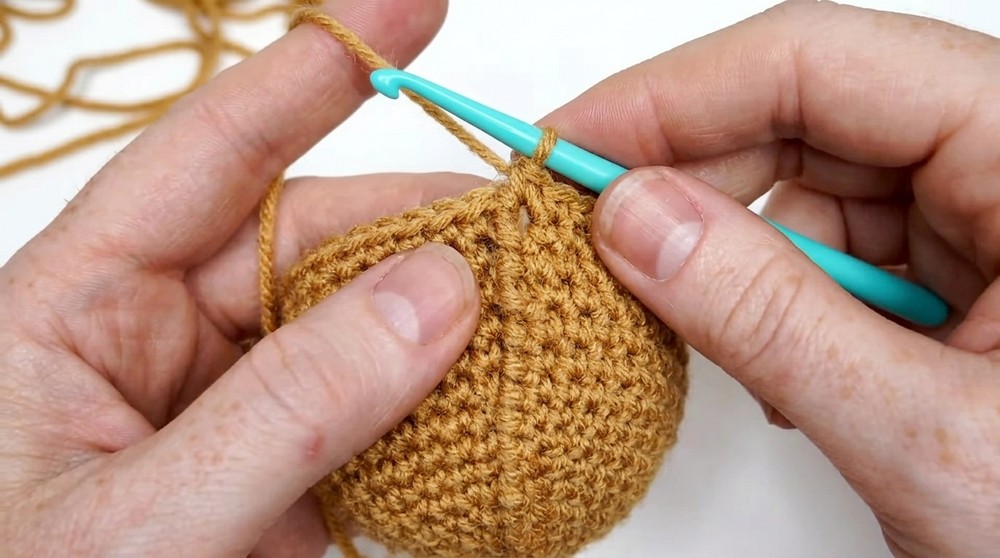
Rnd 15: Ch 1, sc in each stitch around; join — 33 sts.
Rnd 16: Ch 1, [sc in next 9 sts, dec] 3 times; join — 30 sts.
Rnd 17: Ch 1, sc in each stitch around; join — 30 sts.
Rnd 18: Ch 1, [sc in next 8 sts, dec] 3 times; join — 27 sts.
Rnd 19: Ch 1, sc in each stitch around; join — 27 sts.
Rnd 20: Ch 1, [sc in next 7 sts, dec] 3 times; join — 24 sts.
Rnd 21: Ch 1, [sc in next 6 sts, dec] 3 times; join — 21 sts.
Fasten off and weave in ends.
ARMS (MAKE 2)
Rnd 1 (RS): With Color A (CA), ch 3; join with sl st to form a ring. Ch 1, 6 sc in ring; join — 6 sts.
Rnd 2: Ch 1, [sc in next 2 sts, inc] twice; join — 8 sts.
Rnd 3: Ch 1, [sc in next 3 sts, inc] twice; join — 10 sts.
Rnds 4 to 15: Ch 1, sc in each stitch around; join — 10 sts.
Stuff firmly.
Rnd 16: Ch 1, sc in next 4 sts, dec, sc in next 4 sts; join — 9 sts.
Rnd 17: Ch 1, sc in next 3 sts, dec, sc in next 4 sts; join — 8 sts.
Rnd 18: Ch 1, sc in next 3 sts, dec, sc in next 3 sts; join — 7 sts.
Rnd 19: Ch 1, sc in next 3 sts, dec, sc in next 2 sts; join — 6 sts.
Rnd 20: Ch 1, sc in each stitch around; join — 6 sts.
Fasten off leaving a tail for sewing.
LEGS (MAKE 2)
Rnd 1 (RS): With Color A (CA), ch 3; join with sl st to form a ring. Ch 1, 6 sc in ring; join — 6 sts.
Rnd 2: Ch 1, [sc in next 2 sts, inc] twice; join — 8 sts.
Rnd 3: Ch 1, [inc, sc in next 3 sts] twice; join — 10 sts.
Rnds 4 to 11: Ch 1, sc in each stitch around; join — 10 sts.
Stuff firmly.
Rnd 12: Ch 1, [dec, sc in next 3 sts] twice; join — 8 sts.
Rnd 13: Ch 1, sc in next 3 sts, dec, sc in next 3 sts; join — 7 sts.
Rnd 14: Ch 1, sc in next 5 sts, dec; join — 6 sts.
Rnd 15: Ch 1, dec, sc in next 4 sts; join — 5 sts.
Fasten off leaving a tail for sewing.
CLAWS (MAKE 4)
Row 1 (RS): Using Color B (CB), ch 6, sl st in 2nd ch from hook and next 4 chains; ch 6, sl st in 2nd ch from hook and next 4 chains; join.
Fasten off leaving a tail for sewing.
SCARF
Row 1 (RS): With Color C (CC), ch 85, sc in 2nd ch from hook and in each ch across; turn — 84 sts.
Row 2: Ch 1, sc in each stitch across — 84 sts.
Fasten off leaving a tail for tying around the sloth’s neck.
Assembly & Finished Size
- Sew the face onto the head aligning the bottom edge evenly with the head’s front center.
- Attach eyes symmetrically on the face with about 2 to 3 stitches apart.
- Position and sew the nose centered between eyes on the lower face segment.
- Attach the head securely to the body.
- Sew arms evenly on each side near upper body.
- Attach legs on the lower body front, aligned with the centerline.
- Sew claws to the tips of arms and legs (two claws per limb).
- Wrap the scarf around the neck and tie it or sew it lightly to stay in place.
- Weave in all loose yarn ends and trim excess.
Leave a Reply