

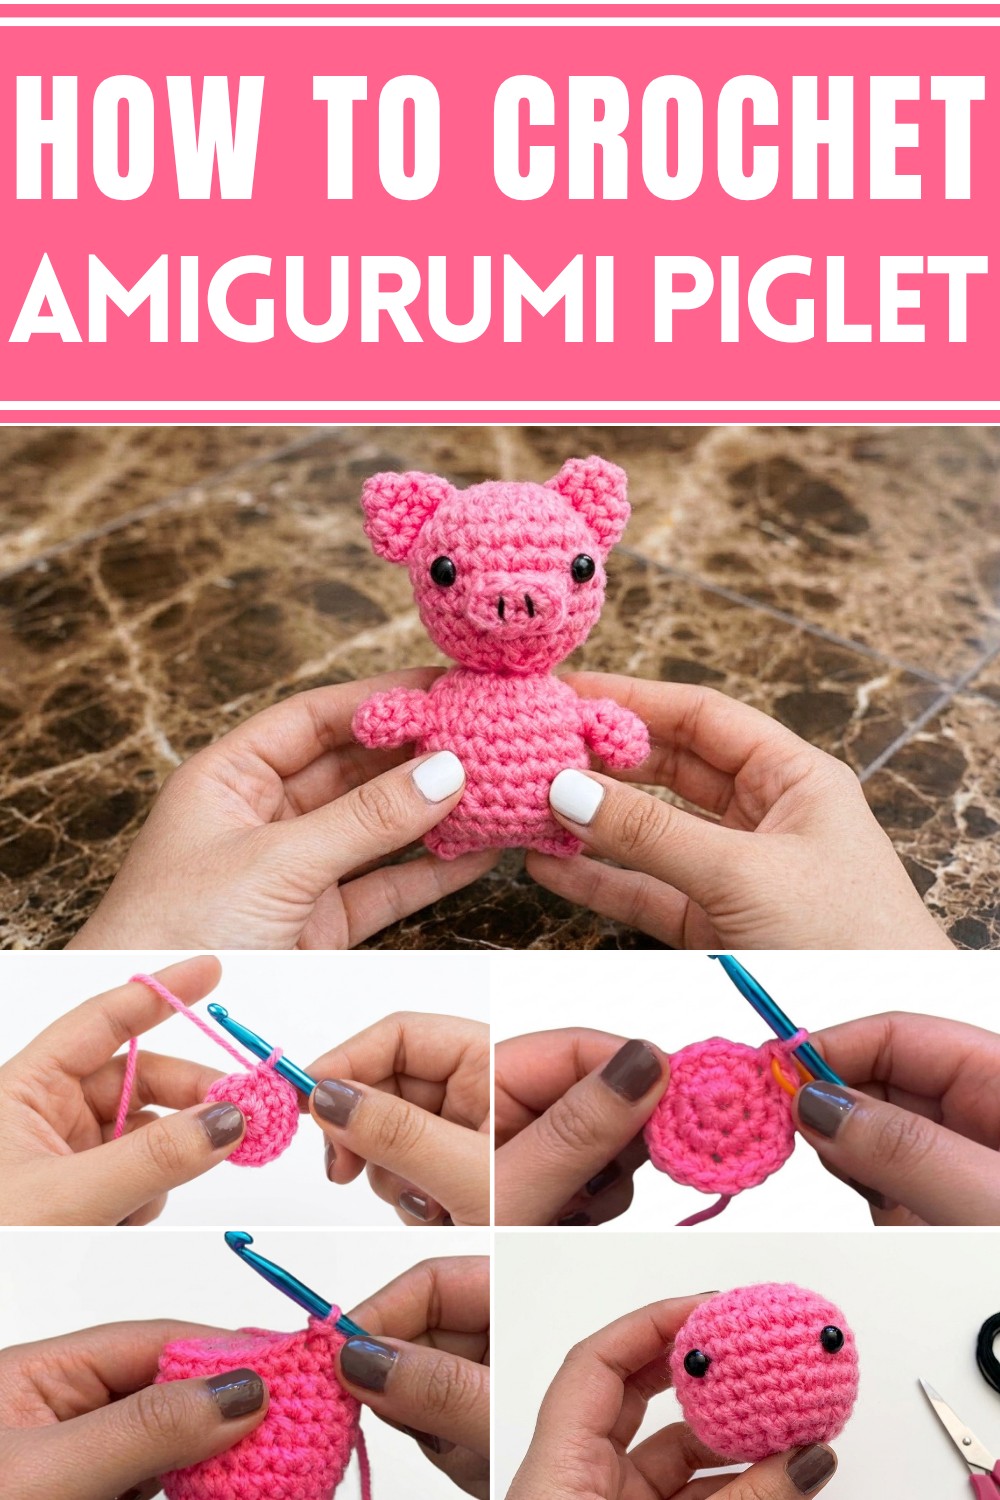
Crochet an adorable piglet amigurumi pattern for kids which is for crocheting enthusiasts and creating unique handmade toys for children.
Small enough to crochet in a short time yet detailed enough to be eye-catching, this project offers the best of both worlds for anyone who loves quick and cute crochet makes. The Free Crochet Piglet Amigurumi Pattern creates a tiny piglet that’s perfectly sized to sit in your palm, making it ideal for those who want a satisfying finish in just a few hours.
Despite its compact shape, the piglet stands out with its charming details. The soft, round head and little snout give it a friendly expression, while the curly tail and perky ears add extra personality. These features make it not just fast to finish, but also fun and attractive when displayed. The pattern’s size also means you can easily make a set of piglets for gifts, decorations, or even as keychains.
free Crochet Piglet Amigurumi Pattern for Kids’ Delight
Crocheters will enjoy this project because it combines speed with creativity. You get to practice simple techniques—like single crochet and basic shaping—without spending days on a single project. Plus, you can try making slightly bigger or smaller versions by adjusting your yarn or hook size.
This little piglet is perfect for carrying in a pocket, hanging on your bag, or giving to a friend. It looks adorable on a shelf, as a lucky charm, or as part of a mini amigurumi collection. Its quick size and cute details make it a project you’ll want to make again and again.
Little Piglet Amigurumi Pattern
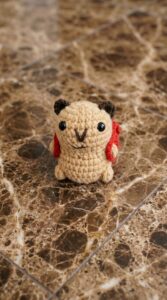
Make your own adorable little piglet—perfect as a keychain, soft toy, or part of a mini farm animal set! This piglet is worked in separate pieces (head, body, arms, ears, tail, and nose), then assembled. The pattern features beginner-friendly techniques and straightforward construction, with the option to glue or sew on facial features. It’s a great project for those wanting to improve their amigurumi skills and create a delightful, cuddly creature.
Pattern Overview
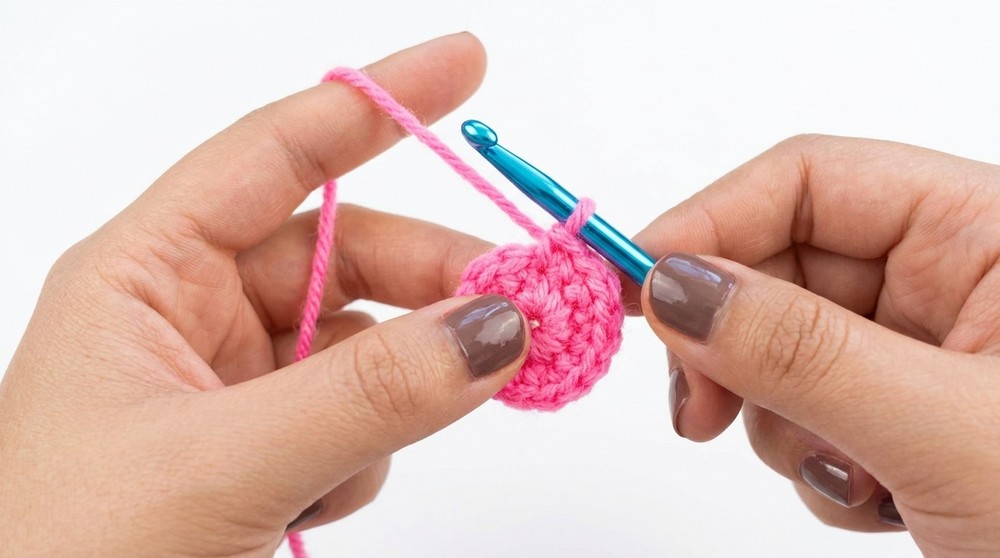
Starting at the head, you will use mostly single crochet stitches, working in spirals and increasing/decreasing as directed. The piglet is constructed from small, simple shapes (balls/oval/chain). The only stitches used are: magic circle, chain, single crochet, increases, and invisible or normal decreases. The nose and tail use simple chains and single crochets.
Skill Level & Terminology
- Skill Level: Advanced Beginner
- Terminology: Pattern is written using US crochet terms.
Materials & Tools
- Pink yarn (Worsted/medium weight recommended)
- Crochet hook (recommended: 5 mm)
- Black embroidery thread (for nose details)
- Tapestry/yarn needle
- 8 mm safety eyes (or black beads/embroidery if you prefer to sew)
- Stitch marker
- Stuffing
- Scissors
- Hot glue gun (optional, for attaching nose and eyes)
Gauge
Gauge is not essential for this amigurumi. For reference, your piglet’s head (after round 9) should measure roughly 1.5–2 inches (3.5–5 cm) in diameter when pulled lightly. Adjust hook/yarn if your stitches are loose and stuffing escapes.
Abbreviations List
| Abbreviation | Meaning |
|---|---|
| mc | Magic Circle |
| ch | Chain |
| sc | Single Crochet |
| sl st | Slip Stitch |
| inc | Increase (2 sc in one) |
| dec | Decrease (see below) |
| st(s) | Stitch(es) |
| BLO | Back loop only |
Special Stitch Instructions
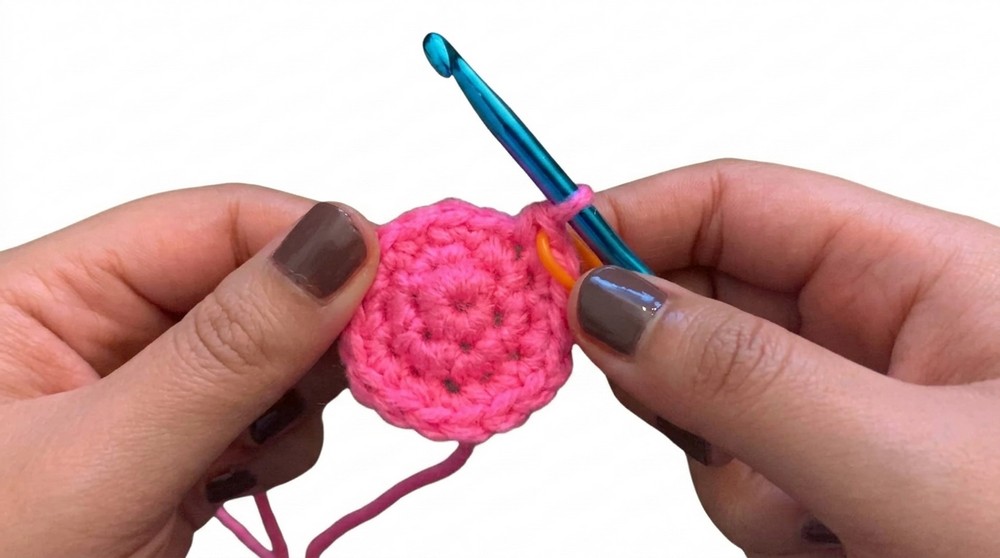
- Magic Circle (mc): Form a ring using the yarn tail, crochet the first round into the center.
- Increase (inc): 2 sc in one stitch.
- Invisible decrease (dec): Insert hook into FLO of next 2 sts, yarn over, pull through both, yarn over, pull through two (reduces visible gaps).
- Normal decrease: Insert hook into st, pull up loop, insert into next st, pull up loop (3 loops), yarn over, pull through all three.
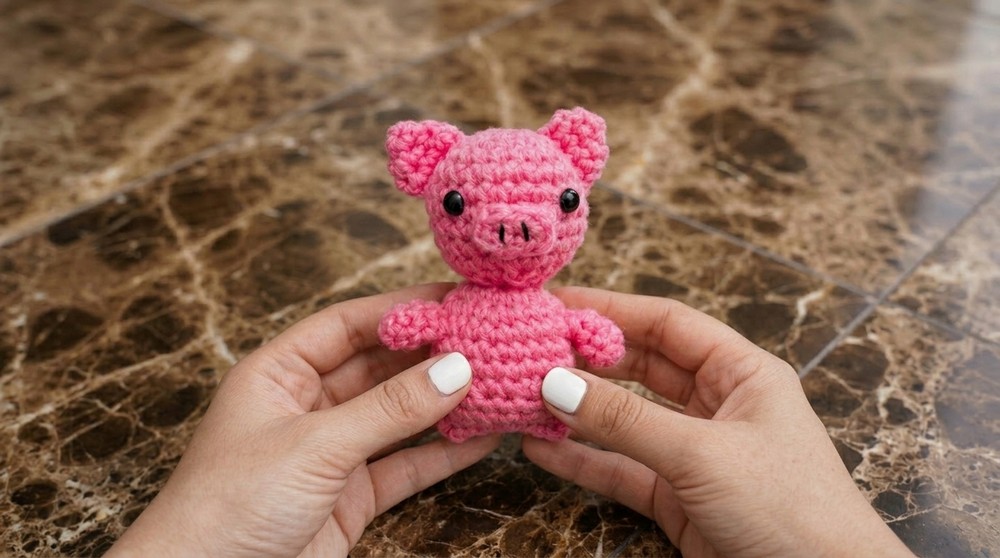
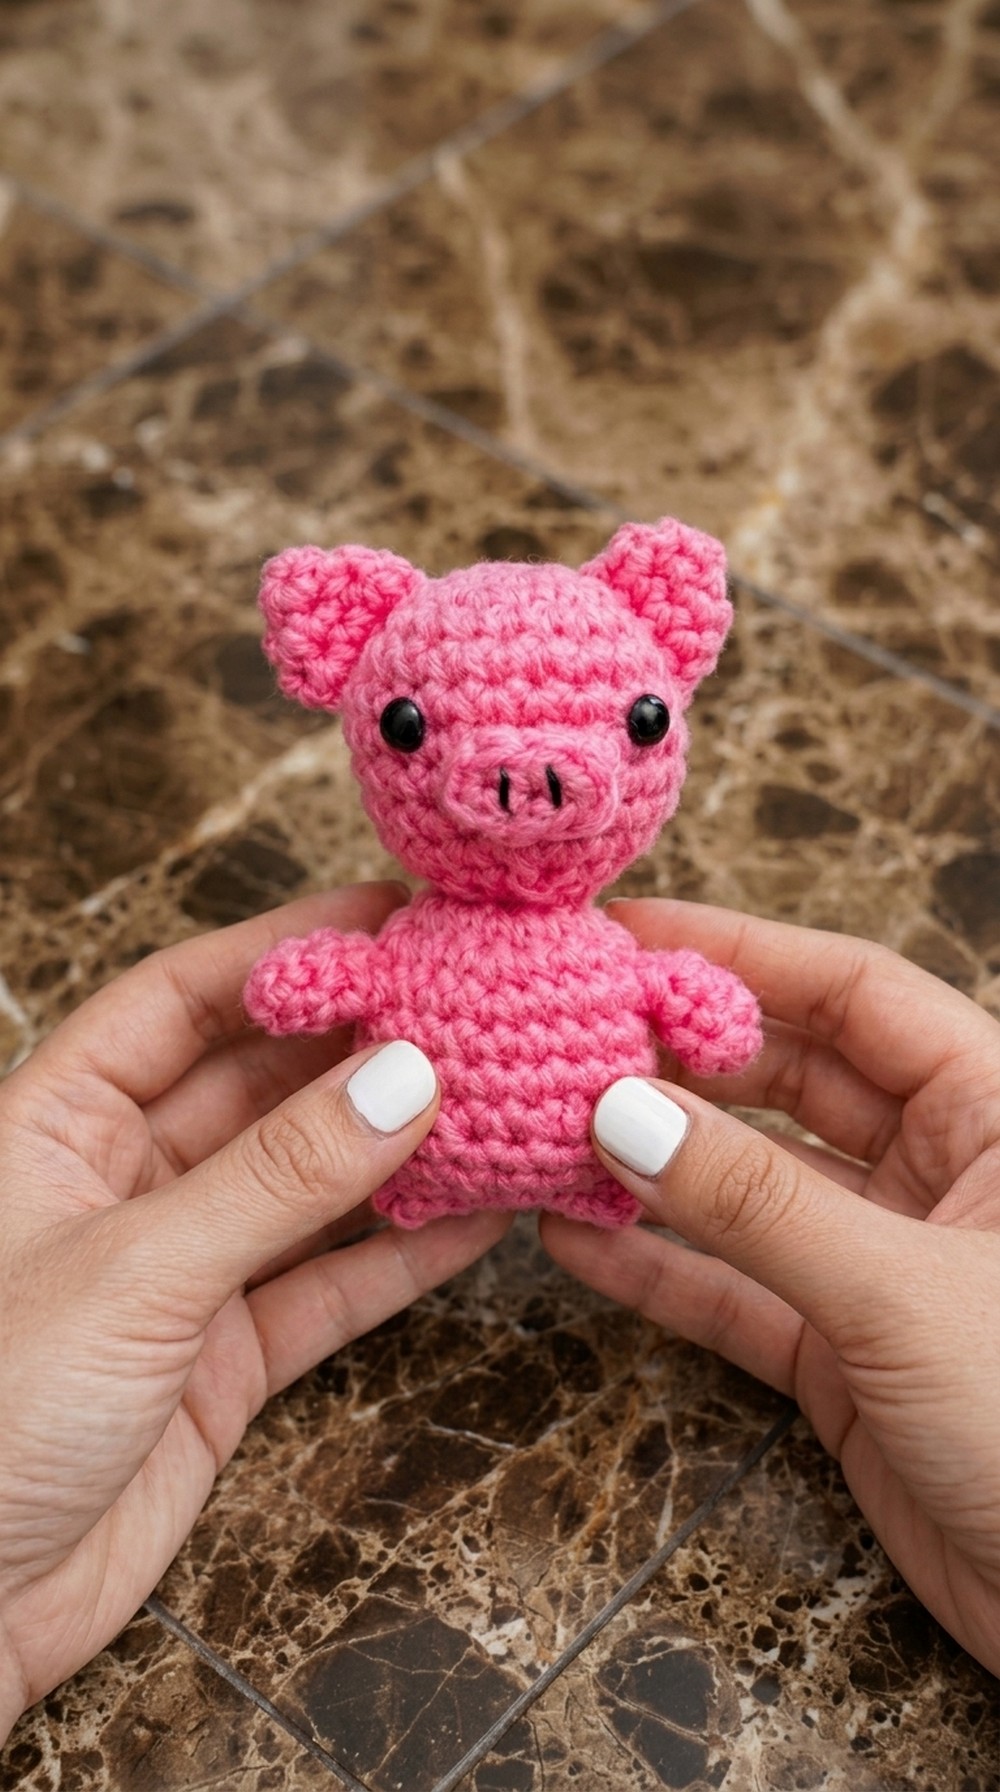
Finished Size
Completed piglet stands about 2.5–3 inches (6.5–8 cm) tall.
The Pattern
Head
With pink yarn:
- Round 1: Make a magic circle, 6 sc in mc.
- Round 2: Inc in each st around (12).
- Round 3: (Inc, 1 sc in next st) repeat around (18).
- Round 4: (Inc, 1 sc in each of next 2 sts) repeat around (24).
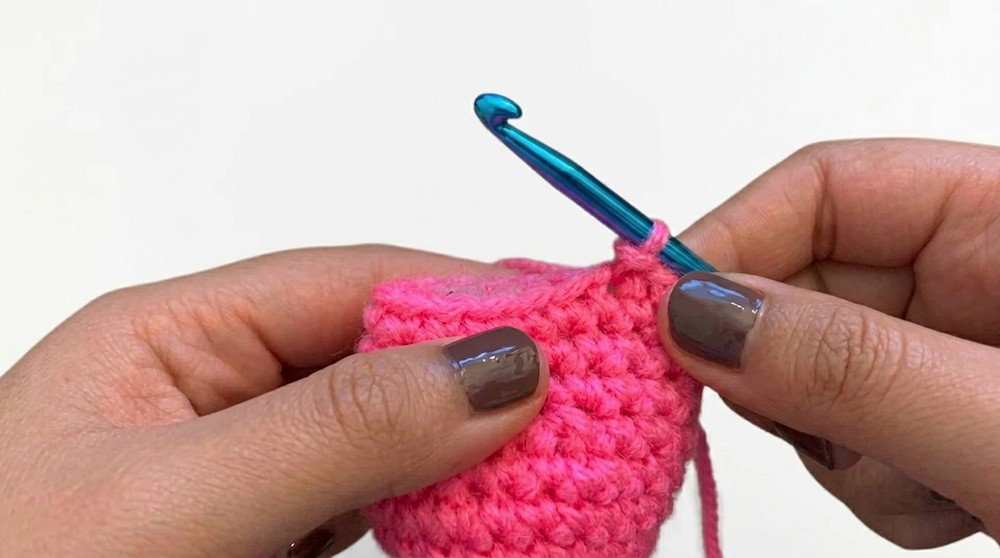
- Rounds 5–9: Sc in each st around (24 sts/round).
You have now formed a firm round shape for the piglet's head. If you do not read crochet patterns, simply make a flat disc using single crochet, increasing the circle, then work straight for several rows to build the head.
Head Decreases (stuff after round 11):
- Round 10: (Dec, sc in next 2 sts) repeat around (18).
- Round 11: (Dec, sc in next st) repeat around (12).
Stuff the head firmly at this point.
- Round 12: (Dec) repeat around (6).
- Fasten off with a long tail for sewing. Draw yarn through each of the last 6 stitches to close and secure.
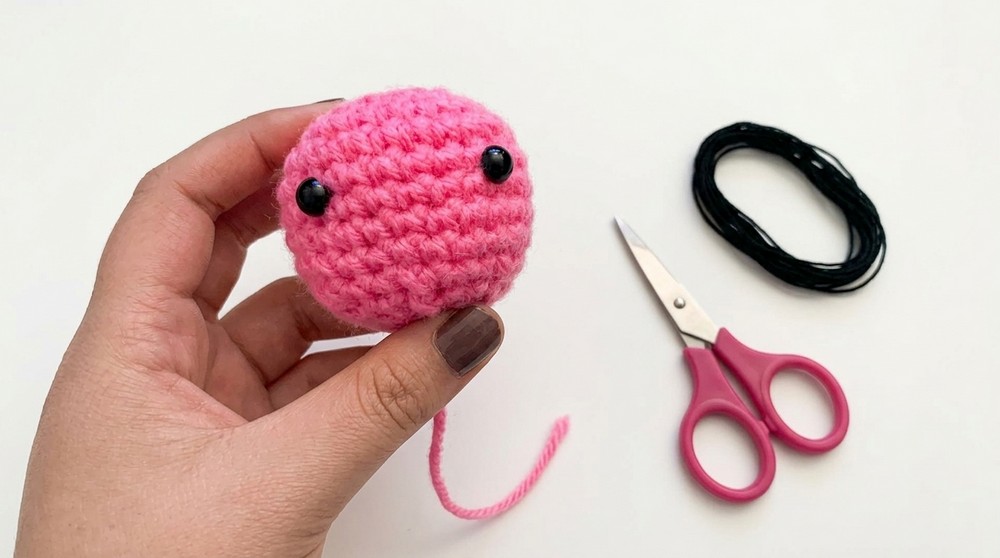
The head is finished and ready to attach. You can glue or sew on the face later.
Nose/Snout
- Make a slip knot, ch 4.
- Beginning in 2nd ch from hook, 3 sc back down the chain.
- Ch 1, turn; 3 sc across.
- Sl st to first st to round off. Fasten off, leaving tail.
For the nostrils, use black embroidery thread: make two short horizontal passes across the snout, secure and trim ends. This piece will be glued or sewn to the face.
Ears (Make 2)
- Round 1: 4 sc in mc, sl st to first st.
- Round 2: Inc in each st (8).
- Round 3: Sc in each st around (8).
- Fasten off, leaving long tail for sewing.
Shape the pieces as little circles with some curl. Use the tails for sewing onto the head.
Arms (Make 2)
- Round 1: 5 sc in mc, sl st to first st.
- Round 2: Sc in next 2 sts, inc in next st, sc in last 2 sts (6).
- Rounds 3–4: Sc in each st around (6).
- Fasten off with a long tail for sewing.
Again, make two, stuff lightly if desired, and leave long tail for attaching.
Tail
- Begin with a slip knot, ch 5.
- In 2nd ch from hook and each across: work inc (2 sc in each—resulting in 8 sc).
- Fasten off and leave a long tail for sewing.
Twist the chain slightly to form a little curl.
Body
- Round 1: 6 sc in mc, sl st to first st, place marker.
- Round 2: Inc in each st (12).
- Round 3: (Inc, sc in next st) repeat around (18).
- Round 4: (Inc, sc in each of next 2 sts) repeat around (24).
- Rounds 5–7: Sc in each st around (24).
- Round 8: (Dec, sc in next 2 sts) repeat around (18).
- Rounds 9–10: Sc in each st around (18).
- Round 11: Sc in next 7 sts, dec in next 2 sts, sc in next 7 sts, dec in last 2 sts (16).
- Stuff the body well.
- Flatten top opening and close it with sl st. Weave end through remaining sts, fasten off and hide yarn inside the body.
The body is now finished! If you do not like round-by-round instructions, work a tube doubling up in some rows, then work straight, then decrease and close, stuffing as you go.
Assembly & Finishing
- Face Details:
- Glue or sew on the snout/nose in the center of the face.
- Glue or sew on two safety eyes above and to either side of the snout.
- Make sure position is pleasing before attaching.
- If desired, embroider a mouth or cheek detail with black or pink embroidery thread.
- Head and Body:
- Sew head gently to the top of the body using the long head tail.
- Ears & Arms:
- Flatten ears and sew to the top sides of the head.
- Flatten the arms and sew to each side of the body, just below the head, aiming for a natural placement.
- Tail:
- Attach the tail by curling and sewing to the piglet’s bottom/back.
- Final Touches:
- Check for loose ends and weave them in.
- Adjust and shape the piglet as desired.
If you are new to amigurumi and not confident reading patterns: Simply make a head ball, a slightly smaller body ball, two arms, two curved ears, a little coiled tail, and a flat oval nose. Stuff as you go, and sew or glue all pieces in place.
Conclusion
Congratulations! Your tiny piglet is complete and ready for cuddles, keys, or collecting. This beginner-friendly amigurumi project is portable, quick, and perfect for improving your 3D crochet skills. You can personalize your piglet with facial embroidery, different colors, or accessory details.
Simply start with the head if you are unsure, working in continual rounds, then move to the body and other appendages. By using only simple crochet stitches and practicing basic sewing or gluing, you’ll have your piglet made and ready for display or gifting.
Leave a Reply