

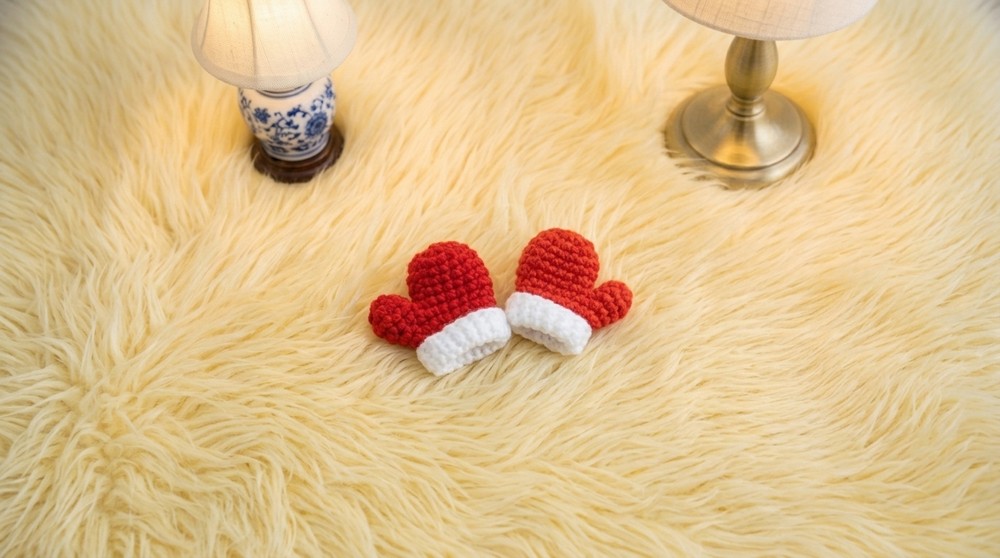
Give your keyring a festive touch with this Crochet Christmas Glove Pattern and enjoy this tiny glove as a cheerful seasonal charm.
Have you ever wanted to add a touch of cozy charm to your winter outfits? The Crochet Christmas Gloves Pattern brings just that to life with its snug fit and festive look. Designed by Kiki Crochet, these gloves make a wonderful gift or a lovely treat for yourself during the holiday season. The gloves showcase a simple yet elegant style, featuring classic stitch details that keep your hands warm while adding a dash of Christmas spirit.
Fun Crochet Christmas Glove Free Pattern To Add Festive Charm
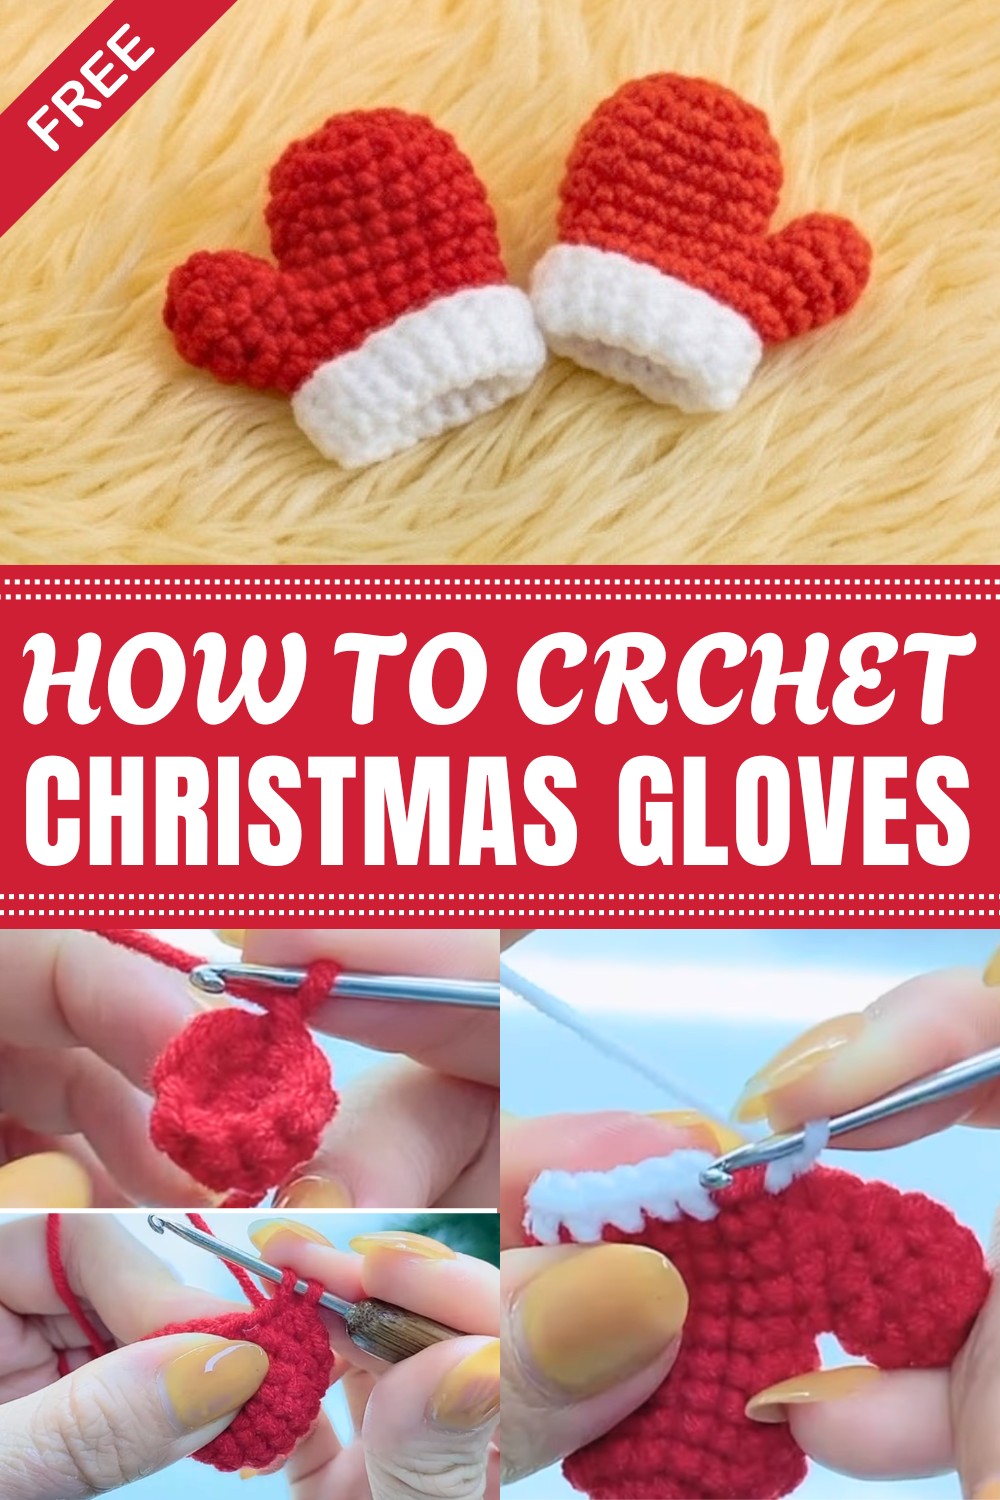
The gloves are perfect for chilly days, blending comfort and style beautifully. Their soft texture and bright holiday colors evoke warm feelings, whether you're out for a snowy walk or sitting by the fire. Great for both kids and adults, these gloves can easily match scarves or hats, creating a complete winter set. The handmade feel adds personality and a special glow to your seasonal wardrobe.
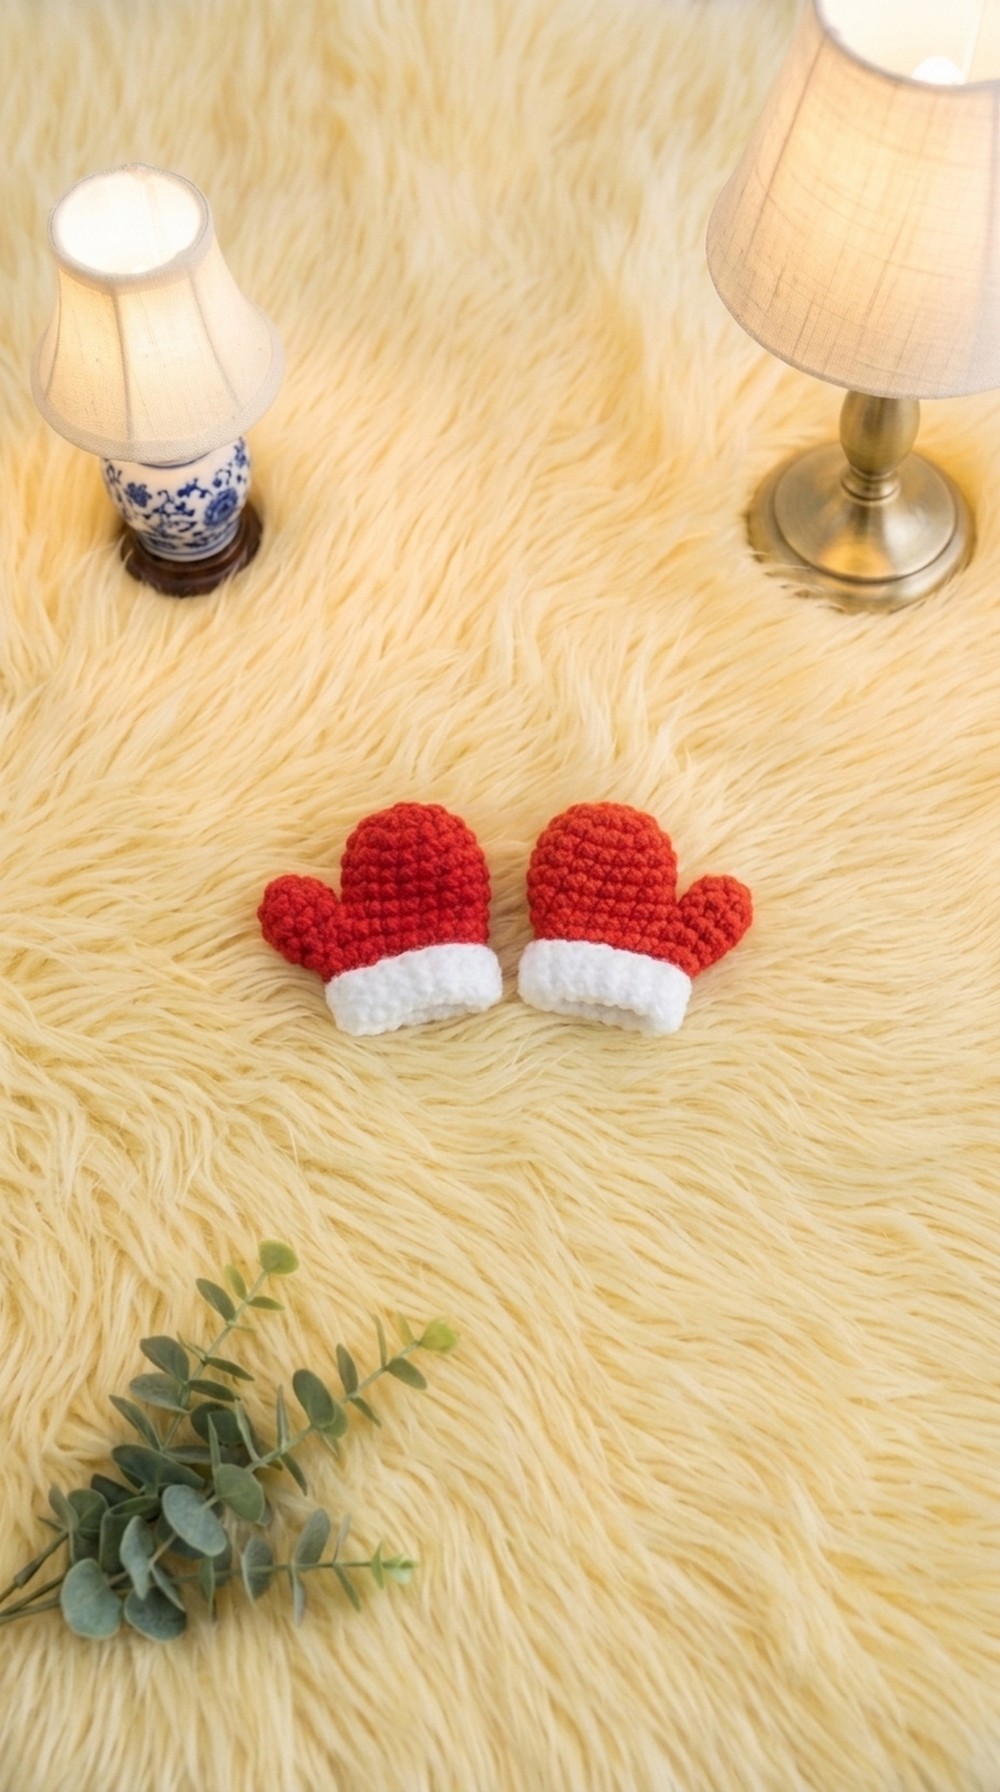
What makes these gloves stand out is their versatility. You can wear them for casual outings or as part of your festive party outfit. Plus, the breathable design ensures your hands stay cozy without feeling sweaty. It’s a winter accessory that’s both practical and delightful. If you love simple projects that bring joy, this pattern suits you perfectly. The Crochet Christmas Gloves Pattern is easy to follow and free to access. Feel the magic of the holidays by making your own gloves that keep the festive spirit alive. Don’t wait—check out the full pattern now and make this Christmas extra warm and special.
Crochet Christmas Glove Free Pattern
A festive touch can easily be added to any seasonal setting with small projects like this crochet mitten ornament. The pattern utilizes straightforward stitches and a simple construction process, making it accessible for various skill levels. By working the thumb and main section separately and then joining them in a precise sequence, the mitten achieves both structure and a charming, realistic shape. The use of traditional holiday colors enhances its visual appeal, making it suitable for gift-giving or accenting home décor. Careful attention to stitch placement, color changes, and finishing details will yield an ornament that looks cohesive and polished. Each round builds upon the last, resulting in a seamless and tidy piece, ideal for hanging on a tree or presenting as a thoughtful, handmade keepsake.
Quick Overview of Pattern
- Work thumb/finger in red first, set aside.
- Make the main hand/body in red.
- Join the thumb to the body as you go.
- Shape the mitten top.
- Switch to white yarn and crochet the cuff.
- Finish by weaving in ends and folding cuff over.
Notes
- Always begin each part with a magic circle for a neat, tight start.
- When switching colors, do so at the end of a round for a seamless join.
- Invisible decrease (dec) stitches are used for smooth shaping.
- Make sure to slip stitch (sl st) to close each round unless otherwise stated.
- Check your stitch count at the end of every round for best results.
- The ornament is small and works up quickly; even beginners can complete it with a bit of patience.
- You can use yarn scraps for this project.
Skill Level
- Beginner to Confident Beginner:
Familiarity with working in the round, increases, and decreases is helpful, though each step is described for clarity.
Materials
- Worsted or DK Weight Yarn in Red and White
- Crochet Hook: 2.5 mm
- Scissors
- Yarn/Tapestry Needle
Measurements / Sizing
- Finished ornament measures approximately 7 cm tall by 4.5 cm wide.
- Size may vary depending on yarn weight and personal tension.
Gauge & Stitch Pattern
- Gauge is not critical, but a firm tension is recommended to keep the stitches tight and shape crisp.
- All stitch counts are given at the end of each round.
- Main stitch: Single Crochet (sc) in continuous rounds, except where noted for joining.
Stitch Abbreviations
| Abbreviation | Meaning |
|---|---|
| MR | Magic Ring / Magic Circle |
| sc | Single crochet |
| inc | Increase (2 sc in same stitch) |
| dec | Invisible decrease |
| sl st | Slip stitch |
| ch | Chain |
Special Stitches
- Magic Ring (MR): Begin with a loop and work stitches into the ring for a seamless start.
- Invisible Decrease (dec): Insert hook in front loop of next 2 stitches, yarn over, pull through both front loops, yarn over, pull through two remaining loops.
- Slip Stitch (sl st): Insert hook, yarn over, pull through both loops on hook in one motion.
The Crochet Pattern
Thumb / Finger (Work in Red)
- Round 1:
- MR, 6 sc into the ring, sl st to join, ch 1. (6 sts)
- Round 2:
- (1 sc, 1 inc, 1 sc) × 2, sl st to join, ch 1. (8 sts)
- (Sequence: sc in first stitch, 2 sc in next stitch, sc in next stitch; repeat sequence 2 times).
- (1 sc, 1 inc, 1 sc) × 2, sl st to join, ch 1. (8 sts)
- Round 3:
- 8 sc around, sl st to join. (8 sts)
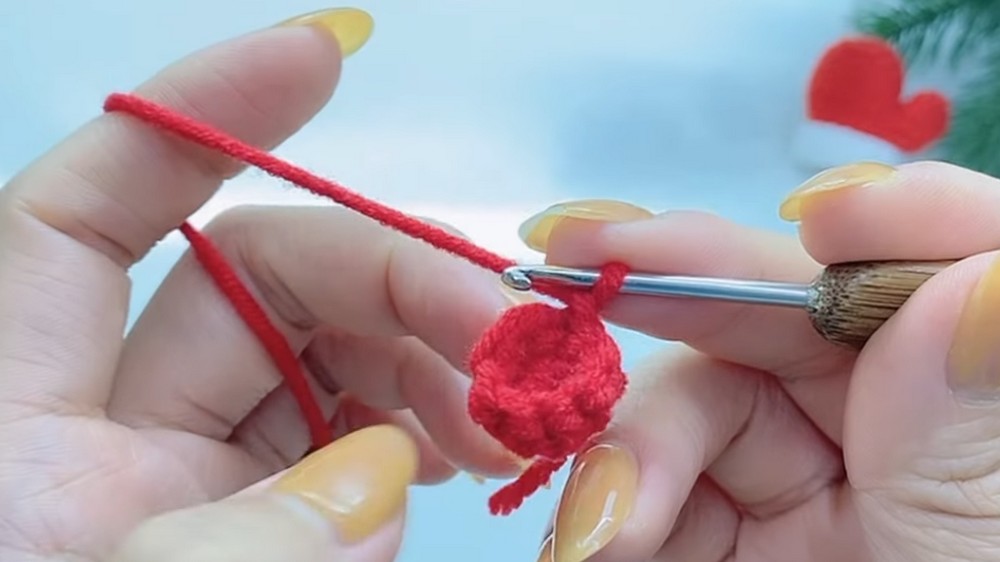
- Fasten off and cut the yarn. Set aside thumb for now.
Hand / Body (Work in Red)
- Round 1:
- MR, 8 sc into the ring, sl st to join, ch 1. (8 sts)
- Round 2:
- 8 inc around (2 sc in each stitch), sl st to join, ch 1. (16 sts)
- Rounds 3–6:
- For each round:
- 16 sc around, sl st to join, ch 1. (16 sts per round)
- (Repeat this for a total of four rounds.)
- For each round:
Shaping and Attaching Thumb
Round 7 (Joining Thumb to Hand):
- 7 sc in the body,
- 1 dec (invisible decrease),
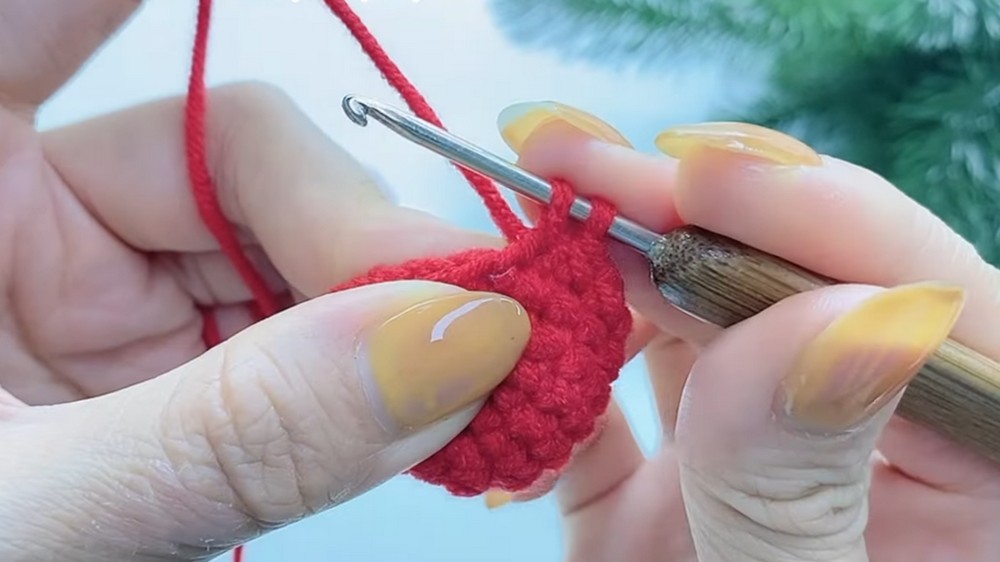
- 6 sc in the body (to the point of thumb join),
- Attach Thumb:
- 3 sc across the thumb stitches,
- 1 dec (invisible decrease) across thumb,
- 3 sc across remaining thumb stitches,
- sl st to join, ch 1.
Round 8:
- 6 sc in body,
- 1 dec,
- 9 sc in body,
- 1 dec,
- 3 sc in thumb,
- sl st to join, ch 1.
Round 9:
- 14 sc in body,
- 2 dec,
- 2 sc in thumb,
- sl st to join, ch 1.
Round 10:
- 14 sc in body,
- 1 dec,
- 2 sc in thumb,
- sl st to join, (do not ch 1 yet). (17 sts)
Color Change for Cuff
- On the final slip stitch of Round 10, change yarn color to White and now ch 1.
- Drop red yarn at this point; continue only with white for next rounds.
Cuff (Work in White Yarn)
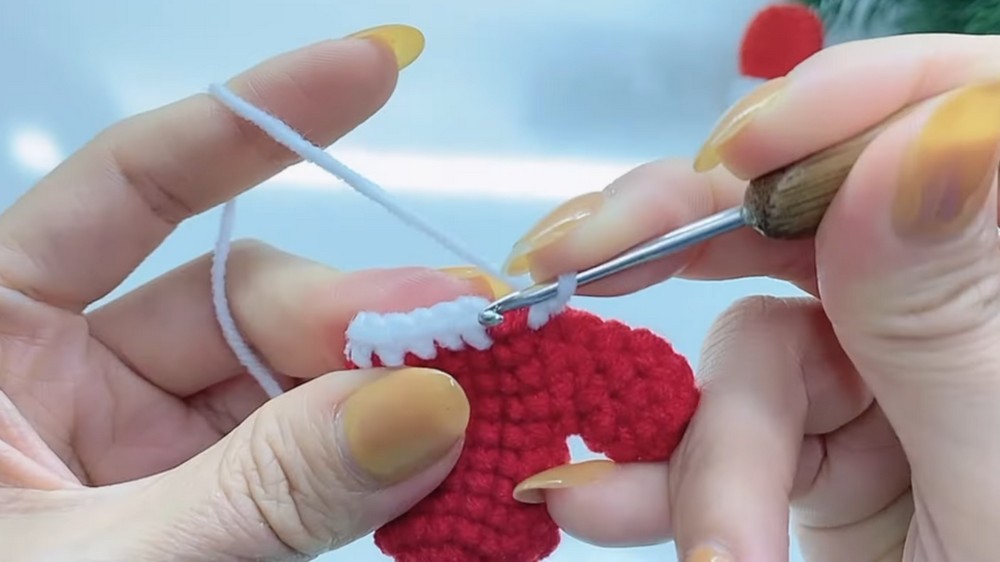
- Rounds 11–15:
- For each round:
- 17 sc around, sl st to join, ch 1. (17 sts per round)
- For each round:
-
- (Repeat for five rows to form the cuff.)
Assembly & Finished Size
- After Round 15, fasten off, leaving a tail long enough for weaving.
- Use the tapestry needle to weave in all loose ends on the inside.
- Fold the white cuff downward to form the classic mitten finish.
- Adjust the shape, ensuring the thumb stands out and the cuff lines up neatly.
Finished ornament: Approximately 7 cm tall and 4.5 cm wide, size may vary with yarn choice.
Conclusion
Upon completing this mitten ornament, the detailed assembly and finishing process are evident in the overall appearance. The classic cuff, sturdy thumb, and smooth shaping contribute to both durability and decorative value. This ornament serves as a small testament to the effectiveness of mindful construction and balanced color choices. Its compact size and lightweight build allow for versatile display options, whether featured on a holiday tree or as part of a festive garland. Simple yet thoughtful techniques bring out the charm and usefulness in this seasonal project. Whether shared with loved ones or added to a personal collection, this mitten will remain a delightful highlight among handmade decorations.


Leave a Reply