

Add festive charm to your home with this Crochet Christmas Tree Pattern, a fun handmade decoration that brings cozy holiday cheer to any space.
As the holiday season approaches, many people eagerly look for unique ways to add a personal touch to their festive decorations or thoughtful gifts. One charming project that fits perfectly into this spirit is a handmade piece inspired by the traditional Christmas tree but created with yarn and a hook. This delightful item not only brings warmth to any room but also offers a wonderful opportunity to make something special for friends and family.
Festive Crochet Christmas Tree Free Pattern For Decor
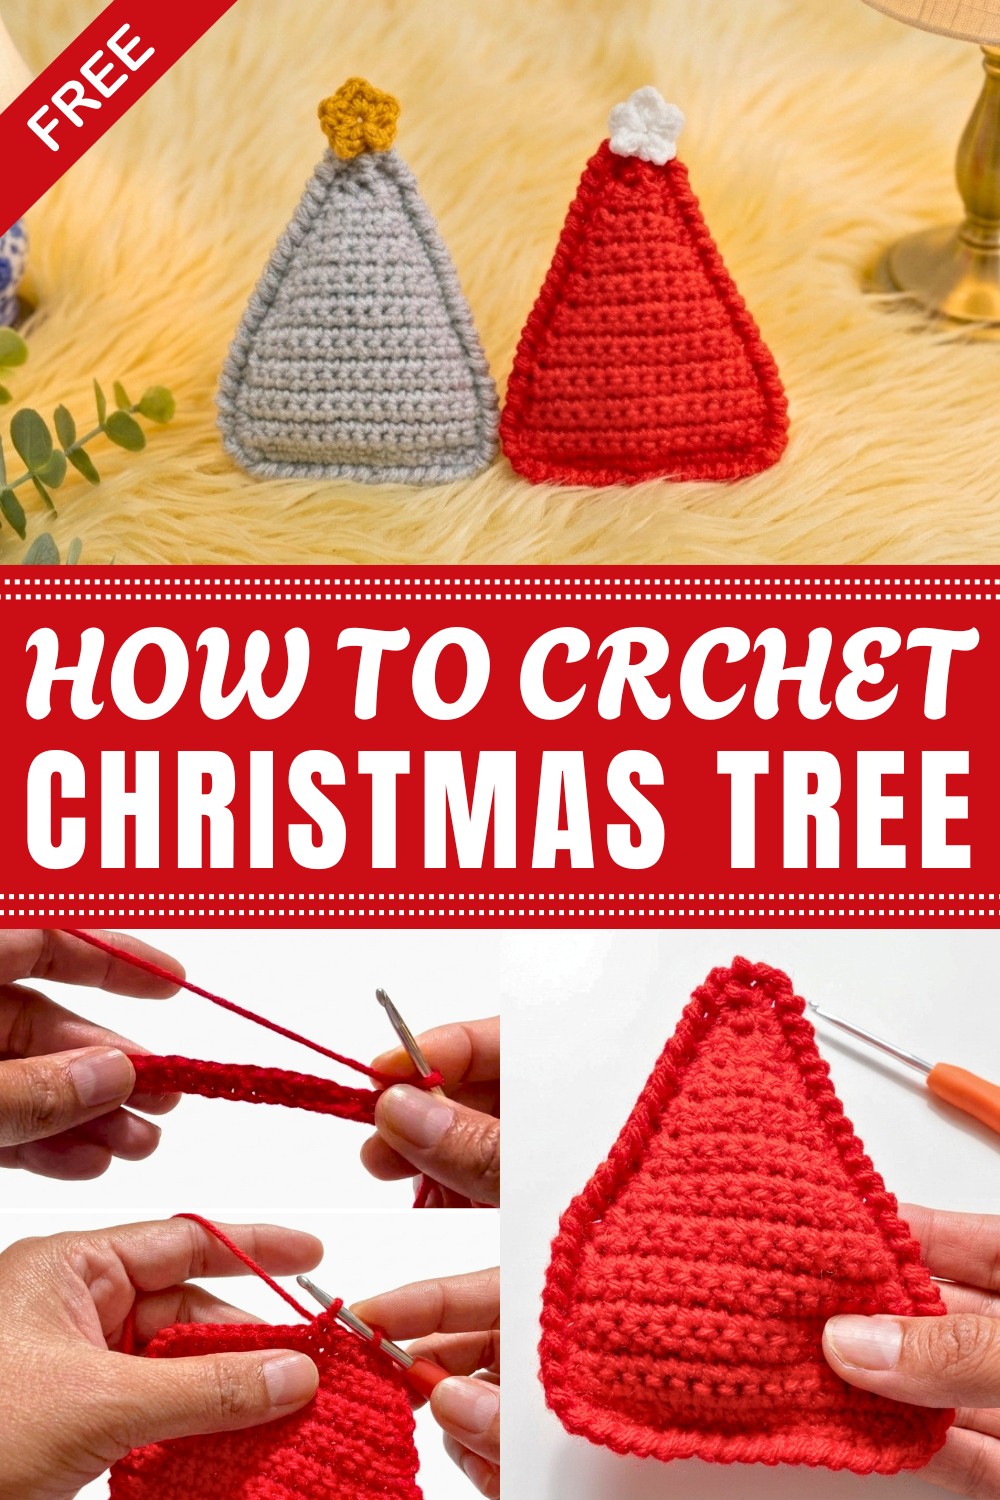
This crochet ornament is a wonderful way to bring a seasonal symbol into your home or gift-giving repertoire. This pattern guides you through making a petite, evergreen-inspired decor piece that stands out with its intricate stitches and lovely texture. Unlike a real tree, this small holiday decoration captures the essence of pine needles and layered branches through loops and stitches, creating a soft but structured shape.
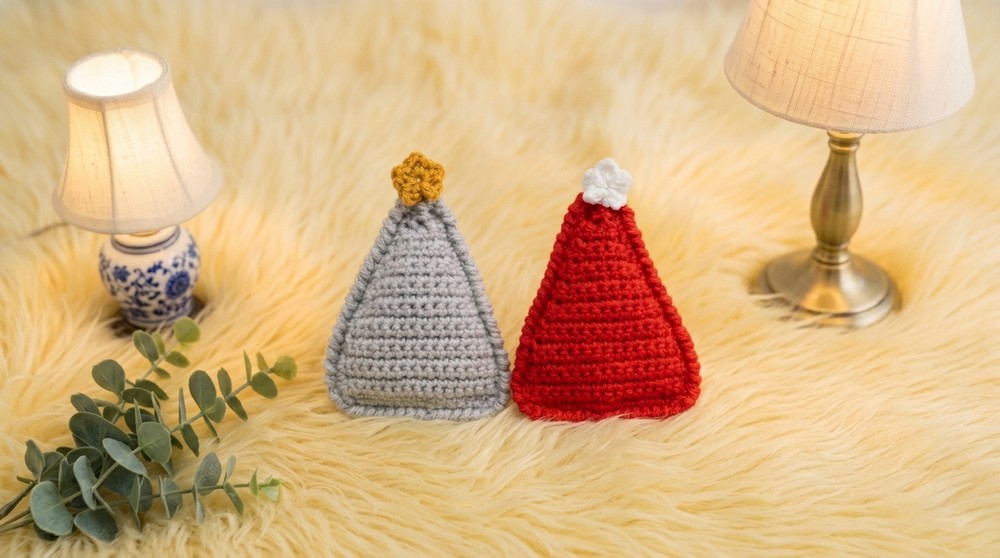
This project often results in a charming conical tree with a series of textured ridges, mimicking the lush fullness of fir branches. The appearance can be enhanced with miniature embellishments such as tiny yarn balls or beads, resembling ornaments, which add a playful sparkle. Its soft texture contrasts beautifully with the usual hard ornaments, inviting a cozy, handmade feel to any mantelpiece, windowsill, or desk. Its compact size and light weight make it easy to display anywhere, while its style ranges from traditional green to whimsical color variations depending on the yarn chosen.
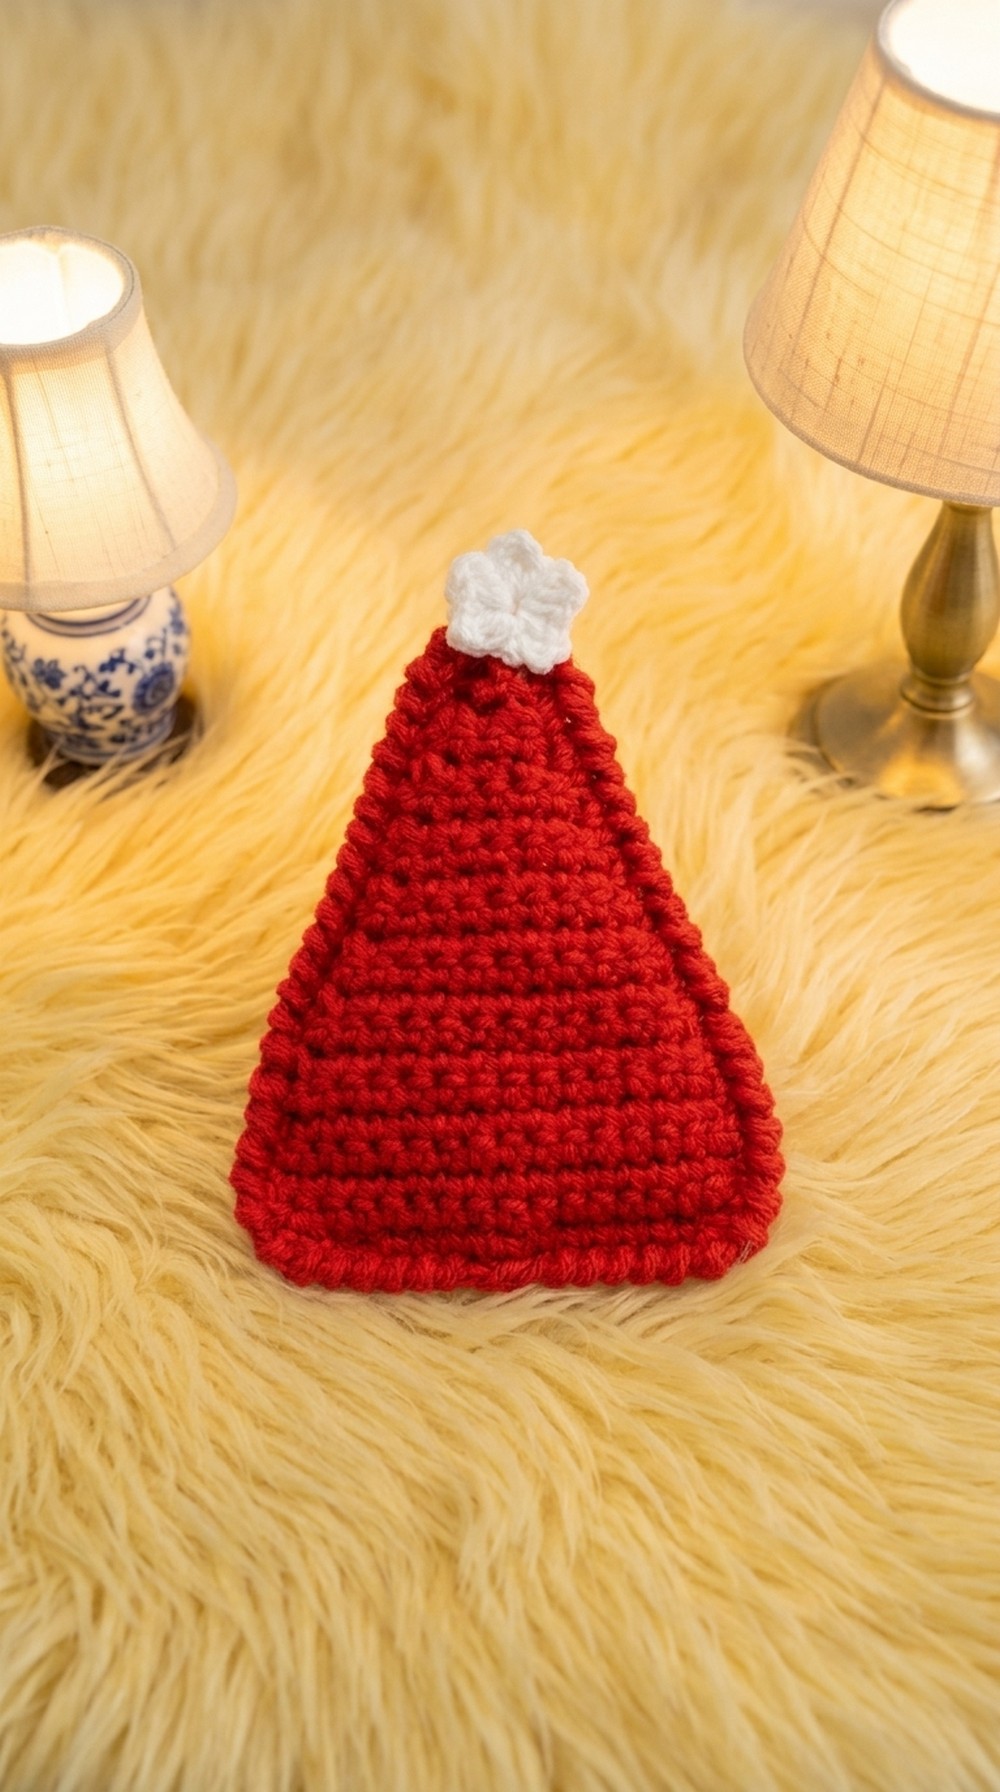
The standout feature of the Crochet Christmas Tree Pattern lies in its combination of simplicity and intricate detail, making it an ideal project for both beginners and seasoned makers. It’s a heartfelt, reusable decoration that brings festive spirit without clutter or waste, and it offers a lasting reminder of the joy in creating something meaningful during the holidays.
Cute Crochet Christmas Tree Free Pattern
This project guides you through making a charming and small crochet Christmas tree using 100% cotton yarn and a 3.0 mm hook. Starting from the bottom, you will complete two panels for the tree. These panels are joined together and filled lightly with fiberfill stuffing, followed by a simple border and a delightful star to finish. The design is visually appealing, easy to modify for size, and approachable for all experience levels. Following each step carefully ensures that your tree is sturdy and symmetrical—a festive touch for holiday décor or gifting.
Quick Overview Of Pattern
- Work base and body using rows of single crochet (sc) with periodic decreases to shape the tree.
- Create two identical panels.
- Join panels with single crochet (sc) around edges, stuffing before final closure.
- Add a decorative crab stitch (reverse single crochet) border for a neat finish.
- Make a five-pointed star separately, then attach securely to the top.
Notes
- Work decreases as single crochet two together (sc2tog) at both ends of decrease rows.
- Maintain stitch counts by counting at the end of each row, especially after decreases.
- Stuff the tree lightly for best shape—too much stuffing will overstretch the fabric, while too little results in a floppy tree.
- Panels are reversible; either side may face outward when joining.
- Use cotton yarn for a crisp stitch definition and shape retention.
Skill Level
- Beginner to Confident Beginner
- Anyone comfortable with basic stitches—chain (ch), single crochet (sc), double crochet (dc), and working simple decreases—can achieve success with this project.
Materials
- Yarn: 100% Cotton Yarn (DK or light worsted, green for tree, yellow or color of choice for star)
- Crochet Hook: 3.0 mm
- Other Tools: Fiberfill stuffing, yarn needle, scissors, stitch marker (optional)
Measurements / Sizing
- Finished Tree (approximate): 4.5" – 5" tall, 3.5" wide at base
Gauge & Stitch Pattern
- Gauge is not critical for this pattern; a dense fabric helps the tree hold its shape.
- Sample: 16 sc × 6 rows ≈ 2" × 1" in chosen yarn and hook.
Stitch Abbreviations
| Abbreviation | Stitch |
|---|---|
| ch | chain |
| sc | single crochet |
| sc2tog | single crochet two together |
| dc | double crochet |
| sl st | slip stitch |
Special Stitches
- sc2tog: Insert hook in next st, yarn over and pull up a loop, insert hook in following st, yarn over and pull up a loop (3 loops on hook), yarn over and pull through all 3 loops.
- Crab stitch / Reverse single crochet: Work single crochet into each stitch from left to right (reverse crochet).
- Magic Circle: Form an adjustable ring for center-start motifs.
The Crochet Pattern
Tree Panels (Make 2)
Base Foundation
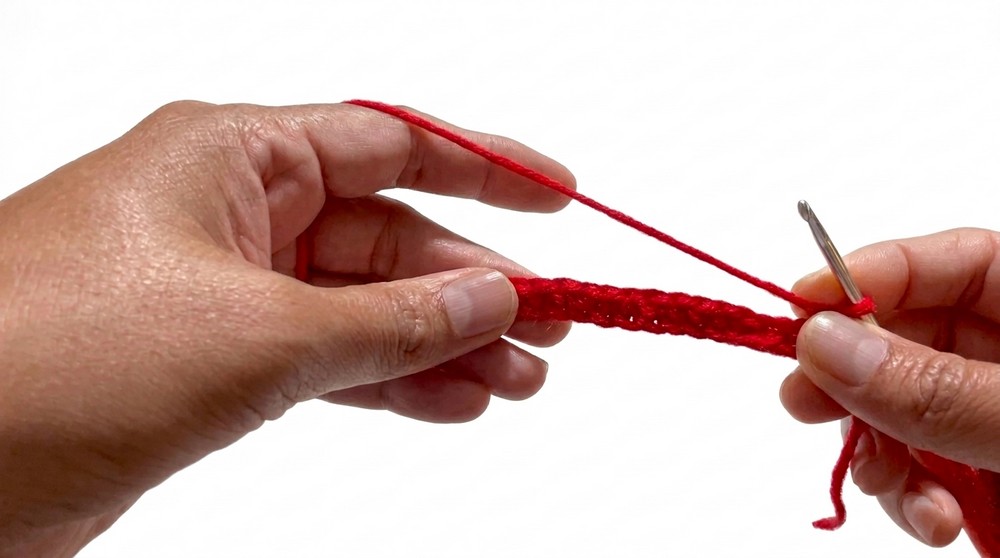
- Slip knot, ch 17.
Row 1
- sc in 2nd ch from hook and each across. (16 sc)
- Turn.
Rows 2–6
- For each row: ch 1, turn. 1 sc in each st across. (16 sc per row)
Decreasing
Row 7
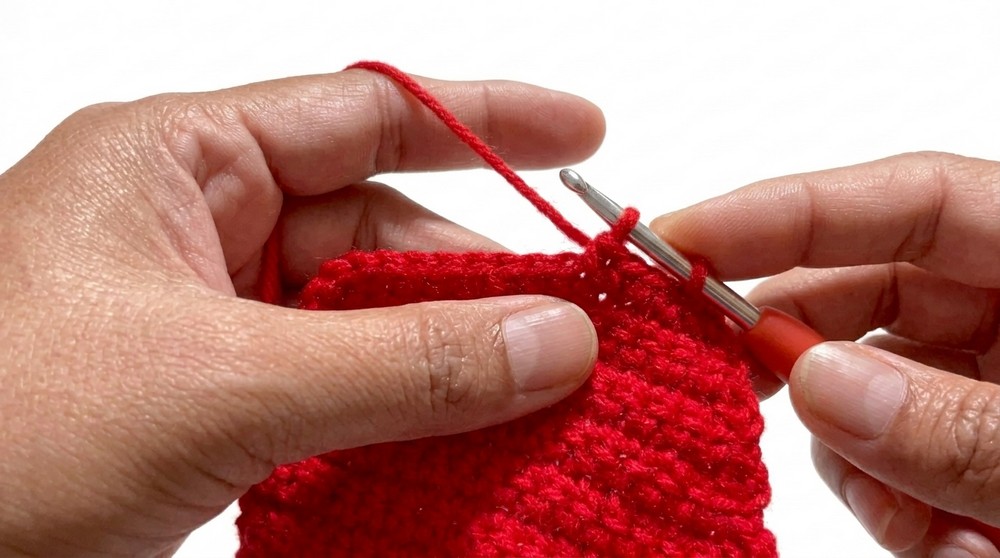
- ch 1, turn. sc2tog over first 2 sts, 12 sc, sc2tog over last 2 sts. (14 sc)
Row 8
- ch 1, turn. 1 sc in each st across. (14 sc)
Row 9
- ch 1, turn. sc2tog over first 2 sts, 10 sc, sc2tog over last 2 sts. (12 sc)
Row 10
- ch 1, turn. 1 sc in each st across. (12 sc)
Row 11
- ch 1, turn. sc2tog over first 2 sts, 8 sc, sc2tog over last 2 sts. (10 sc)
Row 12
- ch 1, turn. 1 sc in each st across. (10 sc)
Row 13
- ch 1, turn. sc2tog over first 2 sts, 6 sc, sc2tog over last 2 sts. (8 sc)
Row 14
- ch 1, turn. 1 sc in each st across. (8 sc)
Row 15
- ch 1, turn. sc2tog over first 2 sts, 4 sc, sc2tog over last 2 sts. (6 sc)
Row 16
- ch 1, turn. 1 sc in each st across. (6 sc)
Row 17
- ch 1, turn. sc2tog over first 2 sts, 2 sc, sc2tog over last 2 sts. (4 sc)
Row 18
- ch 1, turn. 1 sc in each st across. (4 sc)
Row 19
- ch 1, turn. sc2tog twice across. (2 sc)
Row 20
- ch 1, turn. 1 sc in each st across. (2 sc)
Row 21
- ch 1, turn. sc2tog across. (1 sc)
- Fasten off.
Assembly & Edging
Joining & Stuffing
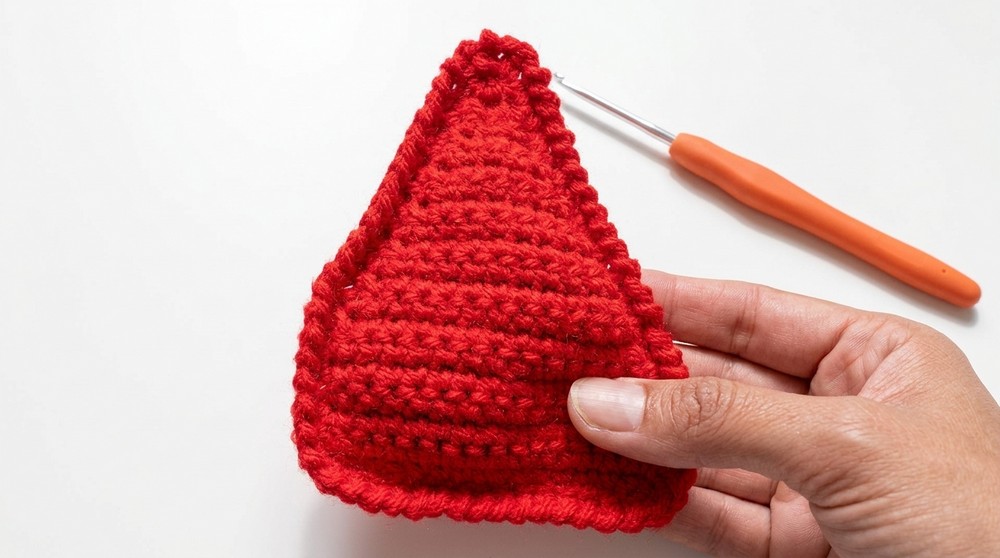
- Hold both panels together, matching rows and edges.
- Join yarn at top corner with a ch 1 (counts as first sc).
- Work a single crochet evenly around three edges to join. (Leave base open for stuffing.)
- Before closing last edge, lightly stuff the tree with fiberfill. (Fill moderately for best shape—not too full or too loose.)
- Continue single crochet to close the opening, then sl st into initial ch 1 to join.
Border
- ch 1.
- Work reverse single crochet (crab stitch) backward into each stitch around the entire perimeter for texture and firmness.
- Finish with a reverse sl st into first stitch.
- Cut yarn and weave in all ends.
Top Star
Star Points (Work 5 times):
- With star color, make a magic circle.
- ch 1 (does not count as a stitch).
- 1 dc into the magic circle, ch 1.
- Turn slightly, insert hook into back strand of the dc, and sl st.
- ch 1, 1 sc into the magic circle.
- Repeat the process for a total of 5 star points.
Finish Star:
- Pull tail to tighten and close the center.
- Fasten off, leaving tail long for sewing.
- Sew or tie the star to the top tip of the tree. Insert ends into the tree and weave in securely.
Finished Size & Assembly Reference
- Approx. tree height: 4.5" – 5"
- Base width: 3.5"
Optional: See schematic for panel shaping per row, mirroring tree’s symmetrical triangle form.
Conclusion and Ending Words
Your small crochet Christmas tree is now ready to enhance festive décor or serve as a heartfelt handmade gift. Each step, from even foundation chains to precise decreases and tidy joining, contributes to a clean silhouette and well-shaped design. The crab stitch border and the unique star top deliver a polished finish. Intermediate beginners and seasoned crocheters alike will find satisfaction in the straightforward flow of rounds and the versatility of the result. This little tree offers just the right dose of seasonal cheer, adding warmth and character wherever it’s displayed. Keep this pattern for years of holiday enjoyment.=

Leave a Reply