

Add a charming and cozy touch to your home with Crochet Goat as the centerpiece, perfect for decor, gifts, keychains, and adding warmth with comfert.
This crochet project is a fun way to make a soft and cute animal figure. The Crochet Goat Amigurumi has a round, fluffy body, little horns, and a sweet face. You can make it in different sizes, so it can be used as a keychain, a decoration, or a small toy.
Mini Crochet Goat Amigurumi Free Pattern for Nursery Décor
The Crochet Goat Amigurumi uses simple single crochet stitches and easy shaping, which is great for people who know basic crochet. Keeping stitches tight helps the goat keep its shape and hold the stuffing inside.
This goat is made with soft cotton yarn, so it feels nice to touch and is easy to clean. It makes a nice gift for birthdays, baby showers, or holidays. You can also use it to decorate a desk, a child's room, or collect them with other handmade animals.
You can add your own style by choosing different colors or small decorations like scarves or bells. This lets each goat have its own personality. This crochet project is a great way to relax, practice your skills, and create a cute toy that brings joy to any space or gift box.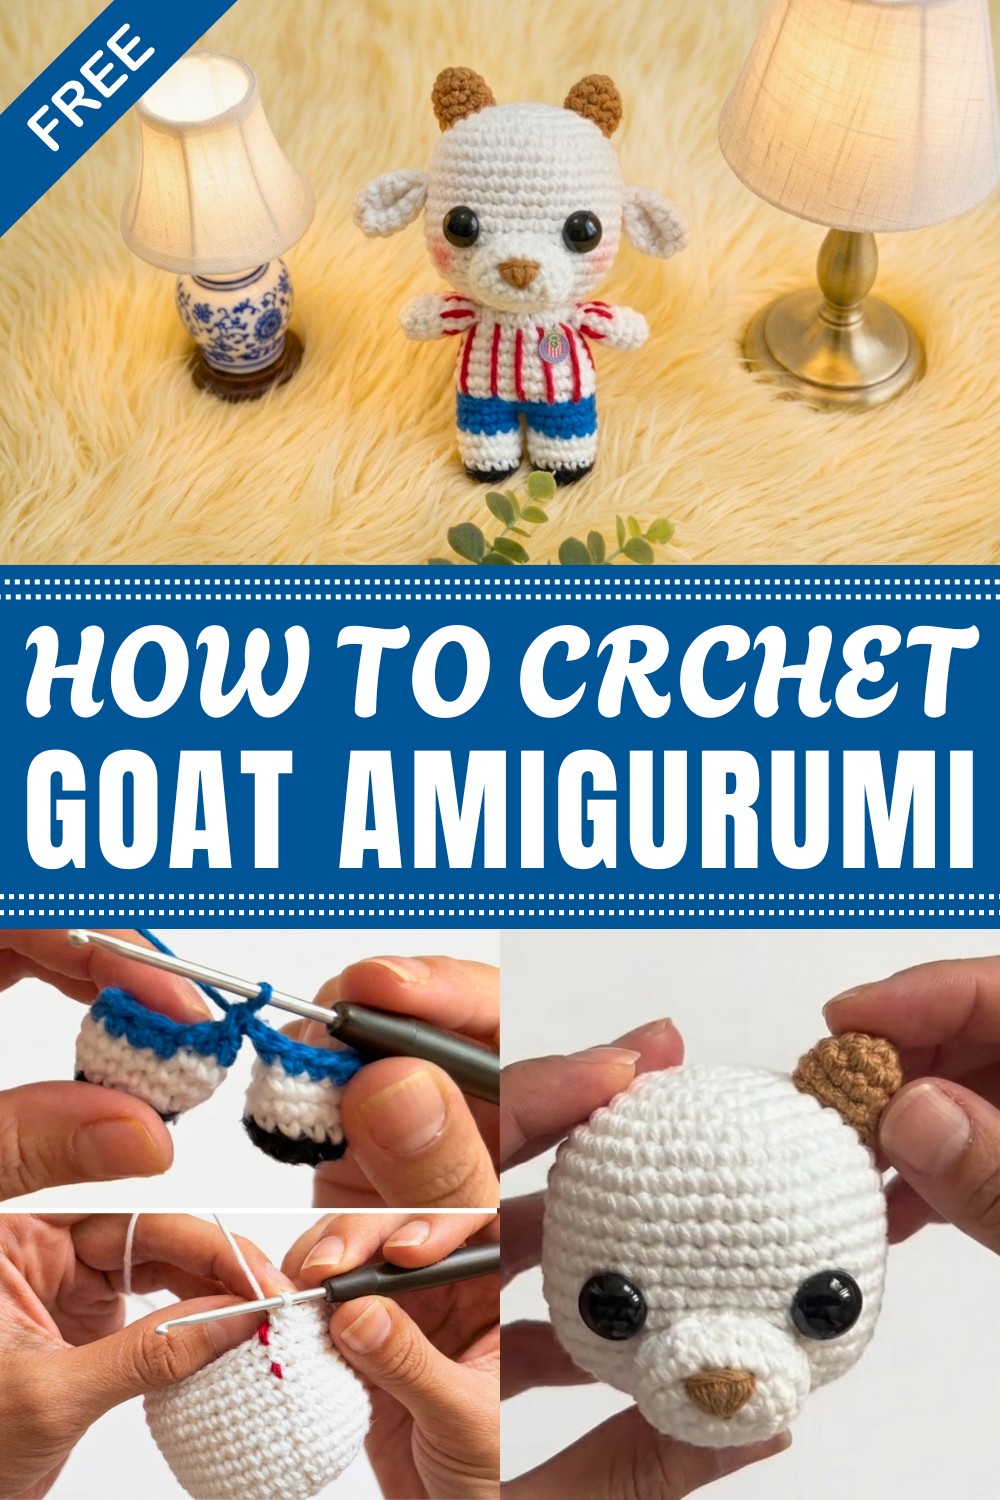
Little Goat Amigurumi Crochet Pattern
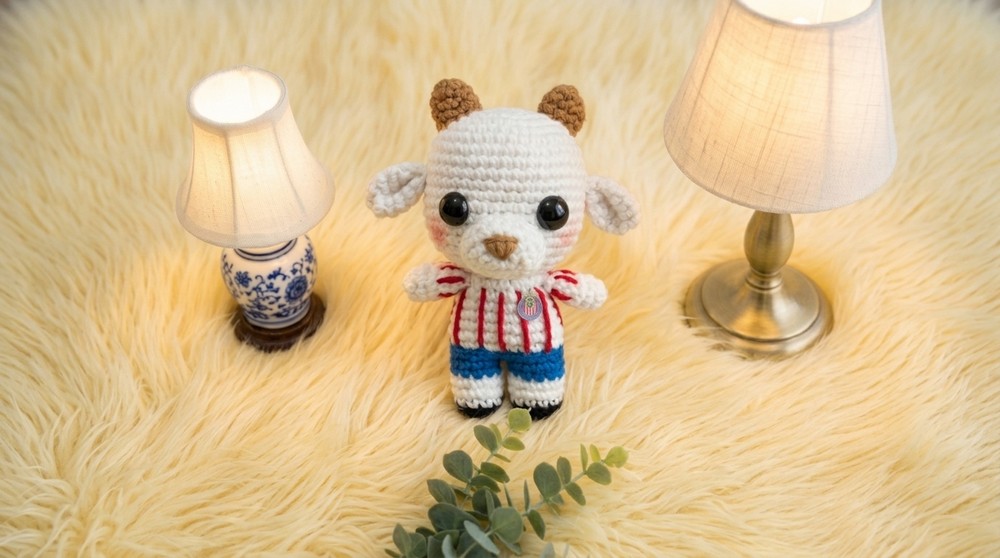
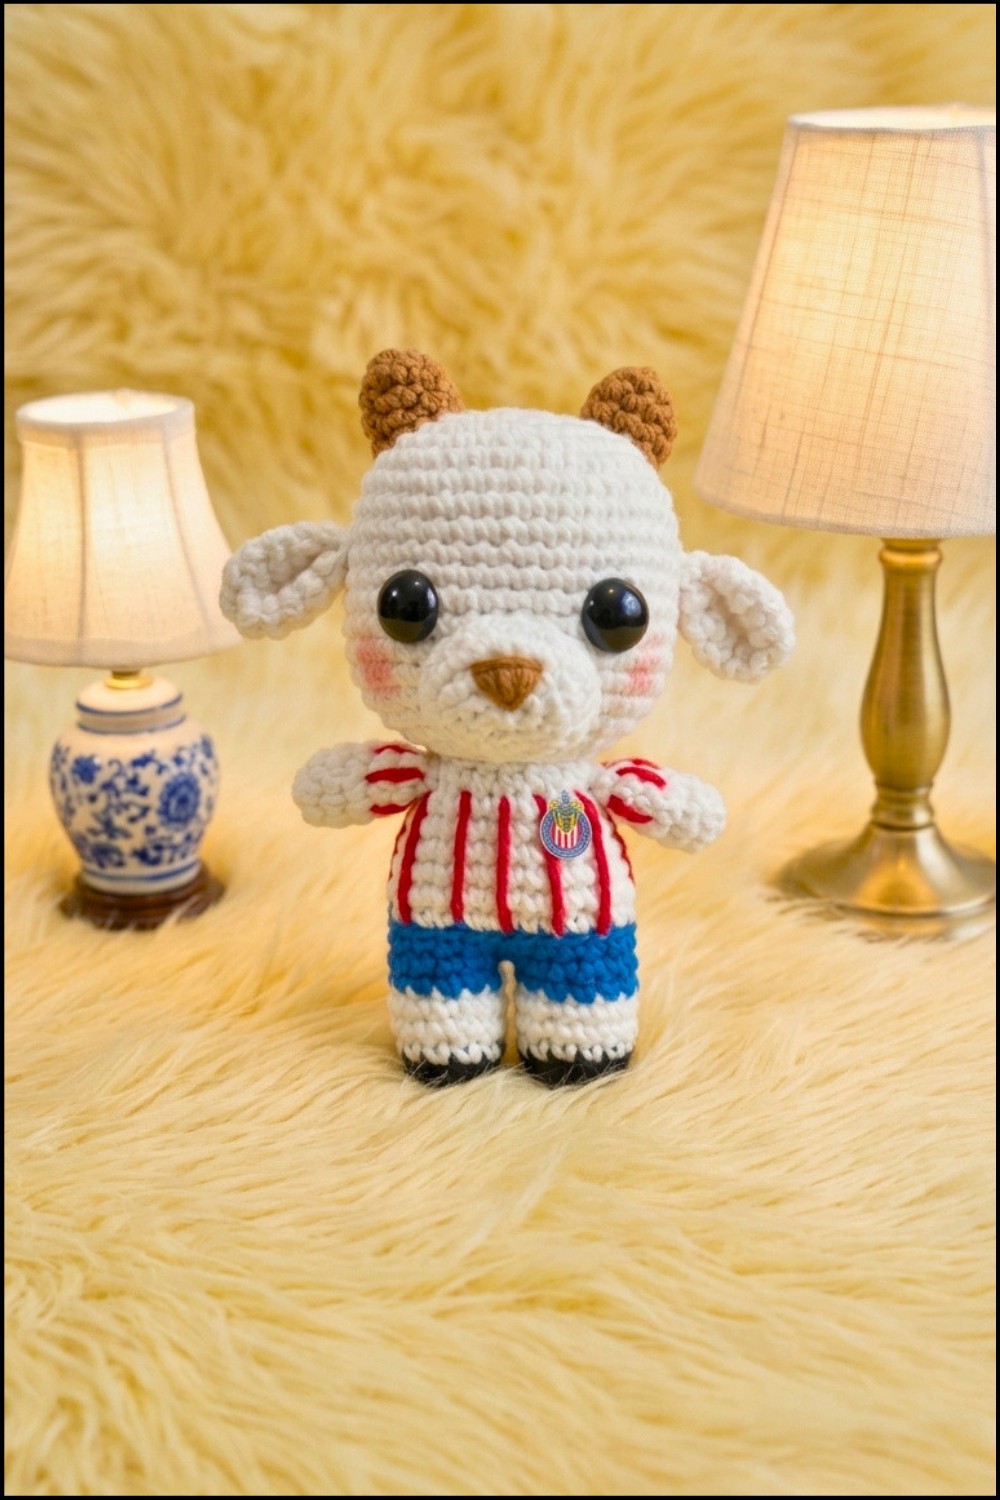
Today we’re going to crochet this charming little goat, which stands approximately 12 cm tall. Carefully follow each step, and you’ll have your own adorable amigurumi goat—perfect as a gift or for your crochet collection!
Pattern Basic Points
General Construction
- Worked in continuous rounds (unless otherwise stated).
- Different color changes for realistic features and clothing.
- Multiple techniques: starting with magic rings, working in back loops only, color changes, attaching separate appendages.
Sections
- Legs and Body: Worked from the feet up, joined together and continued as one piece.
- Arms: Simple tubes with red sleeve details added by embroidery.
- Head: Basic sphere shape, shaped with increases and decreases, with safety eyes and embroidered details.
- Details: Includes a crocheted nose with an embroidered triangle, horns, ears, a tail, and a dyed logo for the shirt.
- Finishing: Includes stuffing, sewing limbs, and adding blush and details.
Special Notes
- Follow all color changes carefully for seamless transition, as indicated in each step.
- Safety eyes are attached using a lighter to secure the plastic backs, as mentioned.
- Magic rings are used for all appendages to ensure minimal holes for stuffing.
- Embroidering: Sleeve stripes and shirt logo are finishing touches for a realistic effect.
Skill Level
Advanced Beginner to Intermediate
Familiarity with color changes, magic rings, increases, decreases, back loop only stitches, and simple embroidery is recommended.
Materials
- Yarns:
- Black (hooves)
- White (body, head, ears, part of legs)
- Blue (shirt/pants)
- Red (sleeve stripes)
- Brown (nose details)
- Crochet Hook: 2.5 mm
- Fiberfill Stuffing
- Tapestry Needle
- Scissors
- Safety Eyes (Size recommended for a 12 cm amigurumi)
- Pins (for positioning pieces)
- Pink Blush and Small Brush (or pink powder makeup) for cheeks
- Logo Print, Plastic (for shirt logo, optional)
- All-purpose Glue
- Lighter (for melting eye locks)
- Stitch Marker (optional)
Measurements / Sizing
- Finished Height: Approx. 12 cm tall
- Body parts fit proportionally for a cute, chibi effect
Gauge (and Stitch Pattern if Applicable)
Gauge is not critical but stitches should be tight to avoid stuffing showing through. Adjust hook/yarn accordingly.
Stitch Abbreviations
| Abbreviation | Meaning |
|---|---|
| MR | Magic ring |
| sc | Single crochet |
| inc | Increase (2 sc in same) |
| dec | Decrease (sc2tog) |
| BLO | Back loop only |
| sl st | Slip stitch |
| ch | Chain |
| st/sts | Stitch/Stiches |
Special Stitches
Magic Ring (MR)
Form a loop, hold yarn tail, insert hook, yarn over, pull up loop, and crochet stitches into center. Pull tail to close.
Back Loop Only (BLO)
Insert hook only through back loop when instructed, for subtle ribbing and shaping.
The Complete Pattern
Legs (make 2)
- Round 1: MR, 6 sc
- Round 2: 6 inc (12 sc)
- Before closing last st, join white yarn.
- Round 3: (BLO) 12 sc
- Rounds 4-5: 12 sc each round
- Before finishing Round 5, change to blue yarn.
- Round 6: 12 sc
- End one leg here, cut and hide yarn.
- For second leg: after last stitch, DO NOT cut yarn.
Join Legs & Crochet Body
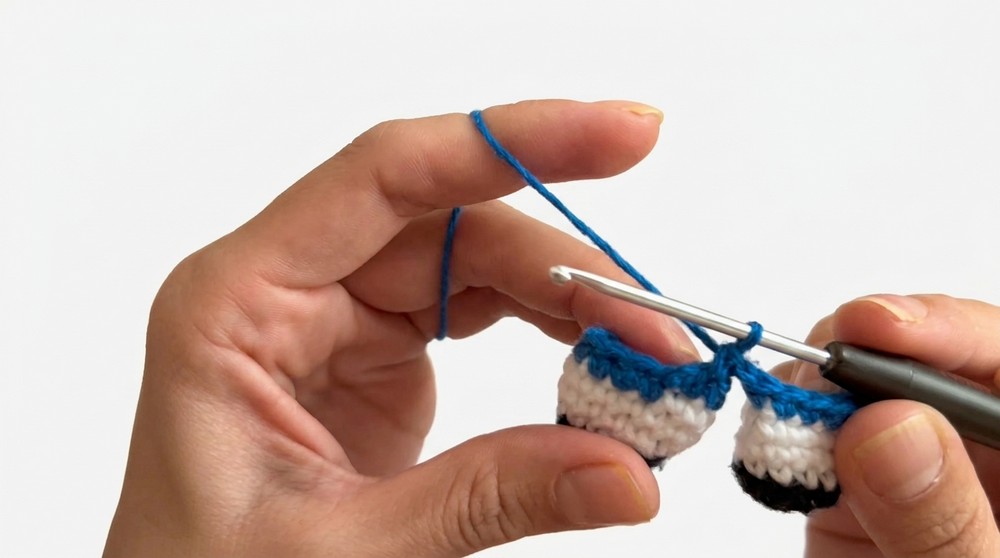
- ch 1 after last leg.
- Join to the last st of first leg with 1 sc.
- Go around first leg:
12 sc (over first leg), 1 sc (in ch), 12 sc (over second leg), 1 sc (in ch)
(you now have 26 st) - Round 8: 26 sc
- Before finishing last st, join white yarn.
- Round 9: (BLO) 26 sc
- Round 10: 26 sc
- Round 11: 5 sc, dec, 11 sc, dec, 6 sc (24 sc)
- Round 12: 24 sc
- Round 13: (4 sc, dec) x4 (20 sc)
- Round 14: 20 sc
- Stuff legs and body firmly before next step.
- Round 15: (3 sc, dec) x4 (16 sc)
- Finish with sl st. Leave a long tail.
- Remove stitch marker, fasten off.
Arms (make 2)
- Round 1: MR, 6 sc
- Round 2: (sc, inc) x3 (9 st)
- Rounds 3-6: 9 sc per round
- Finish, cut yarn and hide.
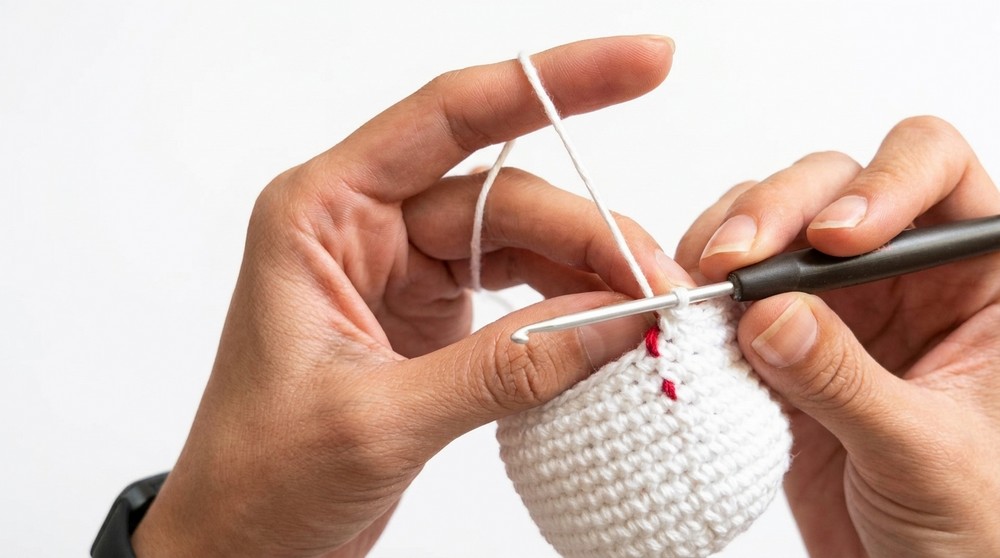
- Embroider red sleeve stripes on last round:
Insert red strand and stitch 2 rows of lines, tying off securely, and hide ends inside arm.
Head
- Round 1: MR, 6 sc
- Round 2: 6 inc (12 sc)
- Round 3: (sc, inc) x6 (18 sc)
- Round 4: (sc, inc, sc) x6 (24 sc)
- Round 5: (3 sc, inc) x6 (30 sc)
- Round 6: (2 sc, inc, 2 sc) x6 (36 sc)
- Round 7: (5 sc, inc) x6 (42 sc)
- Rounds 8-16: 42 sc each round
- Round 17: (5 sc, dec) x6 (36 sc)
- Round 18: (2 sc, dec, 2 sc) x6 (30 sc)
Pause to insert eyes:
- Place position between rounds 13 and 14.
- Leave 9 stitches between them, counting from first eye, place the second.
- Use pins to mark placement, enlarge stitch, insert eye and secure lock, melt and flatten backs with lighter for safety.
- Round 19: (3 sc, dec) x6 (24 sc)
- Round 20: (sc, dec, sc) x6 (18 sc)
- Stuff head firmly now.
- Round 21: (sc, dec) x6 (12 sc)
- Stuff again to make it firm.
- Final round: 6 dec (6 sc)
- Leave long tail, thread through rem sts to close; secure well and fasten off.
Nose
- Ch 5, work back along chain:
- Skip 1, 1 inc (2 sc in next st), 2 sc,
- In last chain, 3 sc.
- On reverse side, 3 sc.
- Should total 10 st.
- Place marker.
- Round 2: (sc, inc) x5 (15 sc)
- Round 3: (4 sc, inc) x3 (18 sc)
- Round 4: 18 sc
- End with sl st, leave long tail.
Embroider brown triangle on nose:
- Using brown yarn, position needle in center, stitch triangle. Fill by passing back and forth.
Stuff lightly (optional) and sew between eyes.
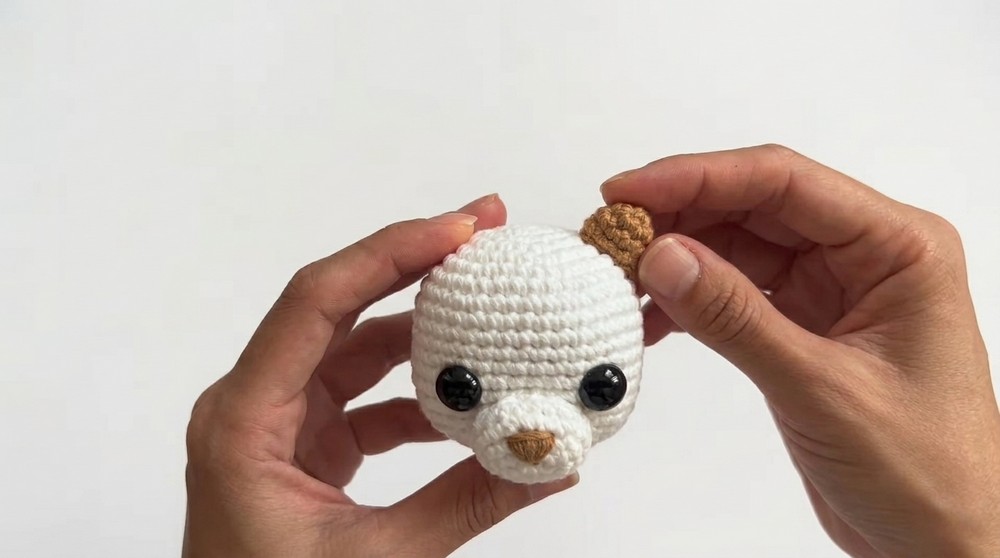
Horns (make 2)
- Round 1: MR, 6 sc
- Round 2: (sc, inc) x3 (9 sc)
- Rounds 3-4: 9 sc each round
- Finish with sl st, leave long tail. Stuff lightly.
- Sew to head, using pins to check position.
Ears (make 2)
- Round 1: MR, 6 sc
- Round 2: 6 inc (12 sc)
- Rounds 3-5: 12 sc each
- Round 6: (sc, dec) x4 (8 sc)
- End with sl st, leave long tail.
- Shape by folding and stitching corners together with tapestry needle.
- Sew at eye-level on head, checking position.
Tail
- Round 1: MR, 6 sc
- Rounds 2-3: 6 sc
- Finish with sl st and leave a long tail.
- Sew at color change between blue/white on body.
Assembly & Details
- Embroider T-shirt lines:
Use red or blue yarn, insert needle at color change and embroider vertical or horizontal lines. Tie off and hide ends inside body. - Sew head to body securely, using pins to keep straight.
- Sew arms at level of t-shirt lines.
- Sew tail at back color change.
- Use pink blush and brush to add color to cheeks.
Optional: Shirt Logo
- Print and cut out goat logo, laminate with plastic, and cut again.
- Use glue to attach at chest level.
Conclusion
Congratulations on finishing your adorable little goat! Through careful color changes, neat embroidery, and mindful assembly, you now have a characterful amigurumi packed with charming details. This makes a perfect collectible, gift, or decoration for any crochet enthusiast. Remember to subscribe to the channel, share your creations on social media, and leave any feedback or questions in the comments. Happy crocheting, and thank you for joining me on this creative journey!


Leave a Reply