

Create an adorable crochet Miffy basket with this easy pattern, perfect for storage, nursery decor, gifting, and adding charm to any room.
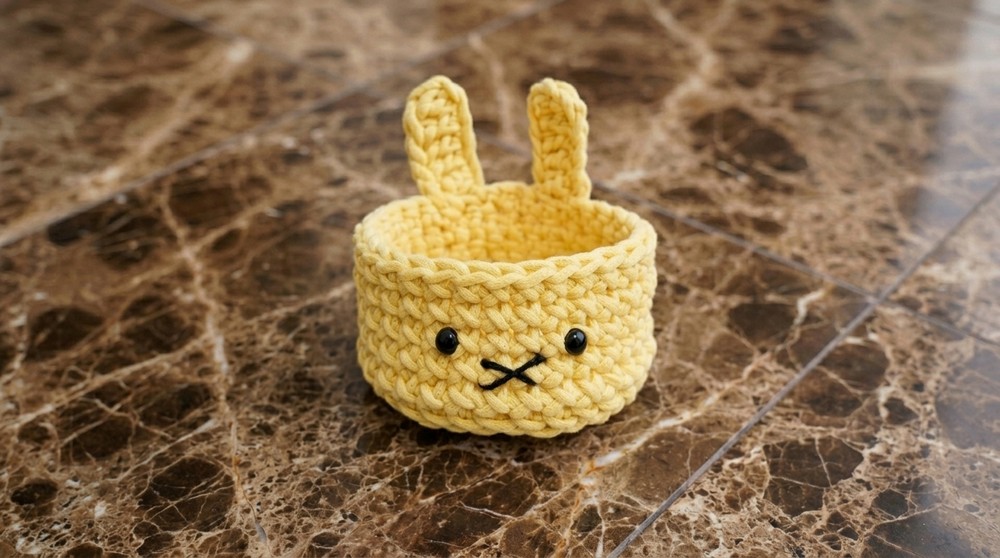
Inspired by the charm of Miffy, this free crochet pattern brings a playful twist to everyday storage. This crochet Miffy basket features a sturdy, round shape created with tight, snug stitches that give it a soft yet firm texture, perfect for holding toys, yarn, or any bits and bobs. What really makes it pop are Miffy’s iconic ears perched on the rim and her sweet, simple embroidered face that adds an irresistible touch of personality.
Adorable Free Crochet Miffy Basket Pattern For Desk Organizer
This project is perfect for anyone who loves adding a bit of fun and function to their crochet creations. Whether you’re a beginner looking for a satisfying project or an experienced hooker wanting something quick and cute, this pattern mainly uses easy stitches worked in rounds. Plus, you can customize the size simply by adjusting the yarn thickness or hook size, so you can make a mini basket for your desk or a larger one for cozy blankets.

The classic, minimalist style of Miffy inspired the choice of cotton or cotton-blend yarn, which helps the basket hold its shape while showing off crisp, clean stitches that highlight the design’s simplicity.
Looking for a gift idea? This basket is great for baby showers, birthdays, or even as a fun Easter basket. Feel free to play with colors, add your own touches, or personalize it to make it truly one-of-a-kind. Grab your hook and yarn, this Miffy basket is ready to hop into your crochet lineup.
Miffy Inspired Mini Basket Crochet Pattern
Pattern Notes
- The basket is worked in the round from the bottom up, beginning with a magic ring base.
- Increase rounds grow the flat base, followed by back post single crochet rounds to create structured basket walls.
- The ears are crocheted separately and sewn on later near the basket seam.
- Miffy’s face is made by sewing an embroidered mouth and gluing on ready-made eyes for accuracy and ease.
- Stitch markers are recommended to mark round starts for consistent stitch counts.
- Stitch tension should be relatively firm for a sturdy basket shape but not overly tight to maintain flexibility.
Skill Level
Beginner – suitable for beginners with basic knowledge of crochet: single crochet, increases, slip stitch, chain stitch, double crochet, and basic sewing and assembly.
Materials
- Macrame yarn in yellow color (or any bulky yarn of similar thickness)
- Crochet hook size 7 mm
- Small scissors
- Fabric glue
- Black embroidery thread for mouth
- Two small black eyes for gluing (plastic or bead eyes)
- Stitch markers (optional but helpful)
- Yarn needle for sewing and weaving ends
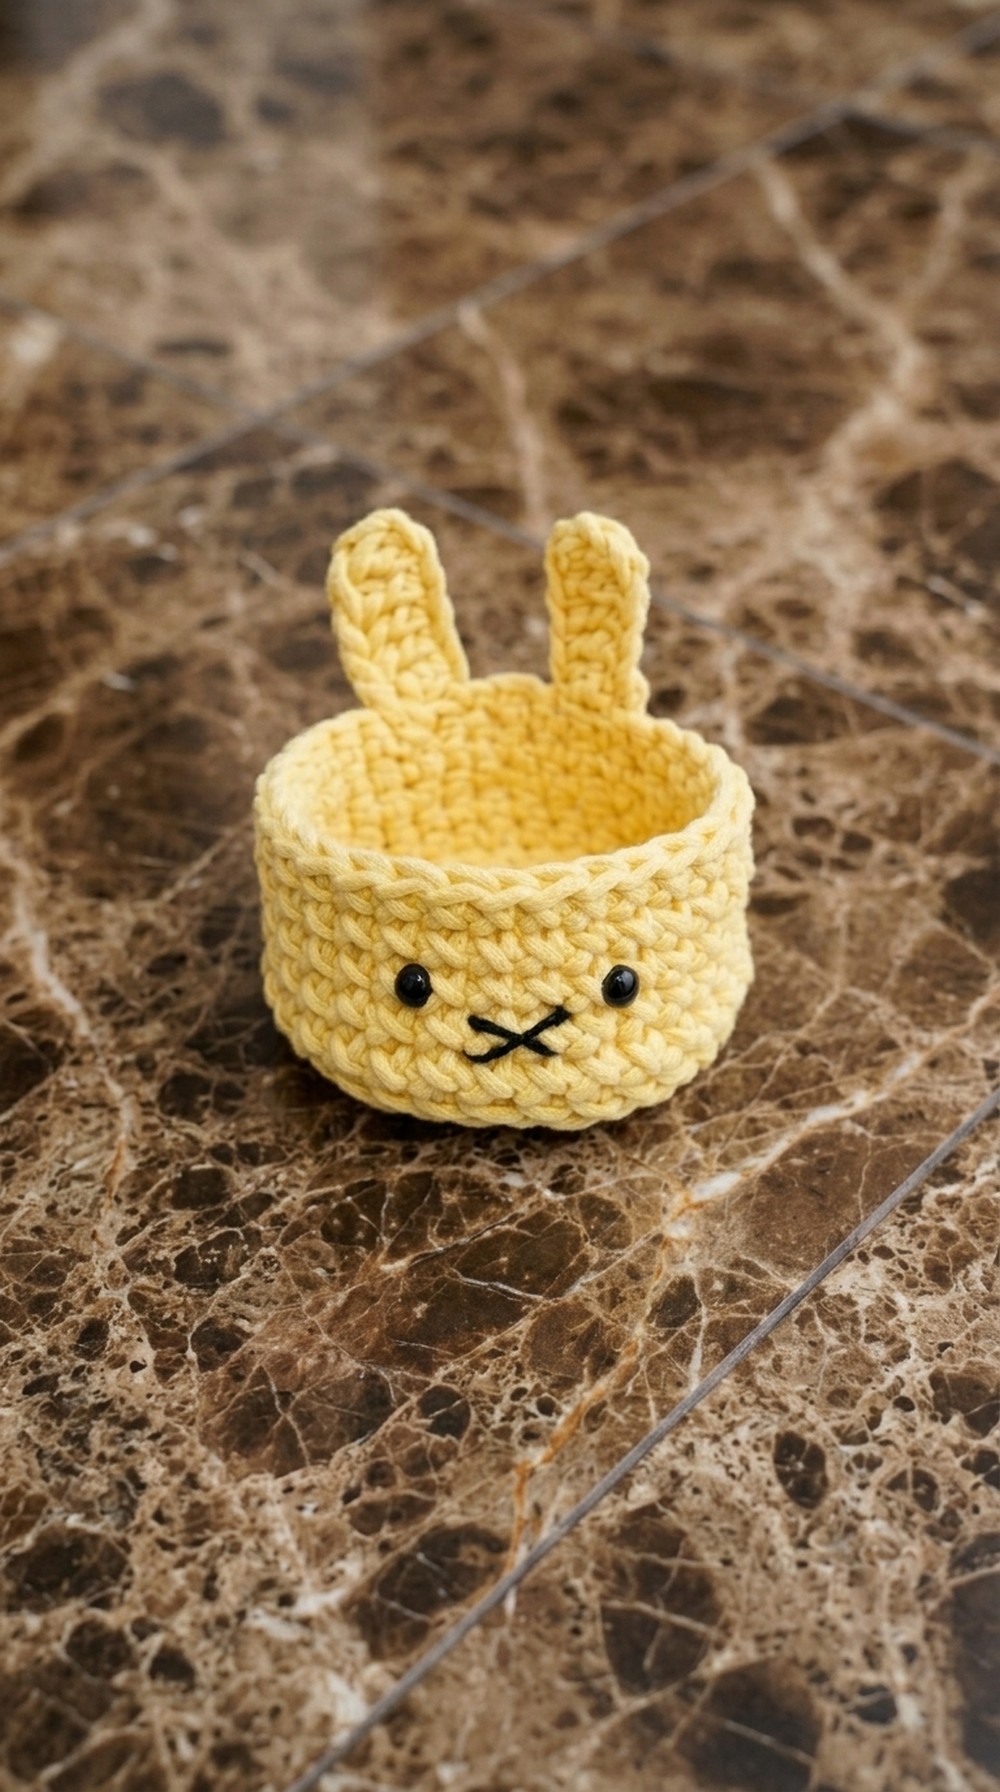
Measurements / Sizing
- Finished mini basket diameter: approximately 7-9 cm (dependent on yarn and hook tension)
- Height: approximately 7-9 cm to the basket rim (before ears attached)
- Ears size: about 5 cm wide each (worked on chain 6 foundation)
Gauge
Not critical but for consistency:
- Approximate gauge with 7 mm hook and macrame yarn: 12 single crochet stitches = 10 cm in width (flat)
Stitch Abbreviations
- ch = chain
- sc = single crochet
- sl st = slip stitch
- inc = increase (2 sc in one stitch)
- dc = double crochet
- Bpsc = back post single crochet (crochet around the post of the stitch from the back)
- st(s) = stitch(es)
Special Stitches
- Back Post Single Crochet (Bpsc): Instead of inserting the hook into the top V of the stitch, insert from behind around the vertical post of the stitch from the previous row, and complete a single crochet normally. This creates a raised ridge.
- Popcorn Stitch (refer to pattern if applicable; not used in this pattern).
The Crochet Pattern
Base (Rounds 1–5): Constructing the Flat Circular Base
Round 1:
- Make a magic ring.
- Crochet 6 single crochets (sc) into the magic ring.
- Pull the yarn tail to close the ring tightly.
- Join by inserting your hook into the 3rd stitch (counting from the initial ch or the first sc) and make a slip stitch (sl st) to finish the round.

Round 2:
- Chain 1 (does not count as stitch).
- Make 2 sc in each stitch around (an increase in every stitch) for a total of 12 sc.
- Use a stitch marker to mark the first stitch of the round.
- Join with a sl st to the marked stitch (or the first sc of the round).

Round 3:
- Chain 1.
- 1 sc in first stitch, 2 sc in next stitch (increase). Repeat from * to * around for a total of 18 stitches.
- Place stitch marker on first stitch of the round.
- Join with a sl st to first sc.
Round 4:
- Chain 1.
- 1 sc in each of next 2 stitches, 2 sc in next stitch (increase). Repeat around for a total of 24 stitches.
- Join with a sl st to first sc.
Round 5:
- Chain 1.
- 1 sc in each of next 3 stitches, 2 sc in next stitch (increase). Repeat around for a total of 30 stitches.
- Join with a sl st to first sc.
Basket Walls (Rounds 6–11): Building Up the Sides with Back Post Single Crochet
Round 6:
- Chain 1.
- Work one Back Post Single Crochet (Bpsc) around each stitch of the previous round (30 Bpsc total).
- Join with a sl st to first Bpsc.
- This creates a raised rim and encourages the stitches to grow upward forming the basket’s side.
Rounds 7 to 11:
- Chain 1.
- Work one sc in each stitch around (30 sc each round).
- Place stitch marker at first stitch to keep track of rounds.
- Join with sl st to first sc after each round.
- Repeat for 5 rounds.
- Fasten off and cut the yarn leaving a long tail for assembly.
Miffy’s Ears (Make 2)
- Begin by making a slip knot and chaining 6.
- Skip the chain on the hook; insert hook into second chain from hook.
- Yarn over, pull through (3 loops on hook), yarn over, pull through two loops, yarn over, pull through last two loops – this is a double crochet (dc).
- Work 1 dc in each remaining chain (total 5 dc including the first one).
- Cut yarn leaving a long tail for sewing. These sturdy ears form the iconic Miffy shape.

Attaching the Ears
- Locate the slip stitch row on the basket where the join was made.
- Attach first ear at the slip stitch join point near basket edge by sewing using the yarn tail and yarn needle.
- Count approximately 2-3 stitches over to attach the second ear symmetrically.
- Insert needle from outside through basket fabric, pulling yarn tail through to secure ears.
- Tie a tight knot to secure, weave in ends inside basket.
- Repeat securely for both ears ensuring they stand upright.

Sewing Miffy’s Mouth
Thread black embroidery thread onto a needle.
Find the center between the two ears along the front of the basket.
Sew a small X-shaped mouth using a simple cross-stitch.
Keep the X slightly wider than tall for the signature Miffy look.
Knot the thread securely inside the basket and trim excess.
Adding the Eyes
- Use fabric or craft glue to attach two small black eyes on either side of the mouth, spaced slightly wide apart.
- Position carefully and step back to check for symmetry before glue sets.
- Allow to dry completely for a neat finish.
Assembly & Finishing
- Weave in all loose yarn ends using a yarn needle for tidy edges.
- Confirm ears are secured firmly and upright.
- Ensure glue on eyes is completely dry and secure.
Finished Size
- Diameter of basket base: approx. 7–9 cm
- Height to basket rim: approx. 7–9 cm
- Ear width: approx. 5 cm each
- Suitable for holding small Easter eggs, candies, or as a decorative keychain holder.
Last Words!
This beginner-friendly crochet pattern creates a tiny, cute Miffy-inspired mini basket perfect for Easter or as a charming gift. The project builds a sturdy basket base with a flat circular bottom and neat vertical sides using single crochet and back post single crochet stitches. The iconic Miffy ears and simple facial features are added at the end to bring personality and charm. Step-by-step instructions make this pattern accessible for those new to crochet or looking for an easy, adorable project.


Leave a Reply