

Level up your festive decorations with this Free Crochet Christmas Tree Pattern that brings joyful details and handcrafted charm to your home.
Have you ever wanted to add a handmade touch to your Christmas decorations without taking up much space? A crocheted Christmas tree can bring warmth and festive charm to shelves, tables, mantels, and holiday centerpieces. The Free Crochet Christmas Tree Pattern is a lovely seasonal project that turns soft yarn into a cheerful decoration you can enjoy throughout the holiday season.
The finished tree has a classic pointed shape with gently layered sections that give it the look of a tiny evergreen. Its soft texture makes it feel cozy and inviting, while its small size allows it to fit easily into different areas around the home. Place one beside your favorite ornaments, create a small holiday scene, or arrange several trees together for a simple festive display.
Christmas Tree Free Crochet Pattern for Holiday Gifts
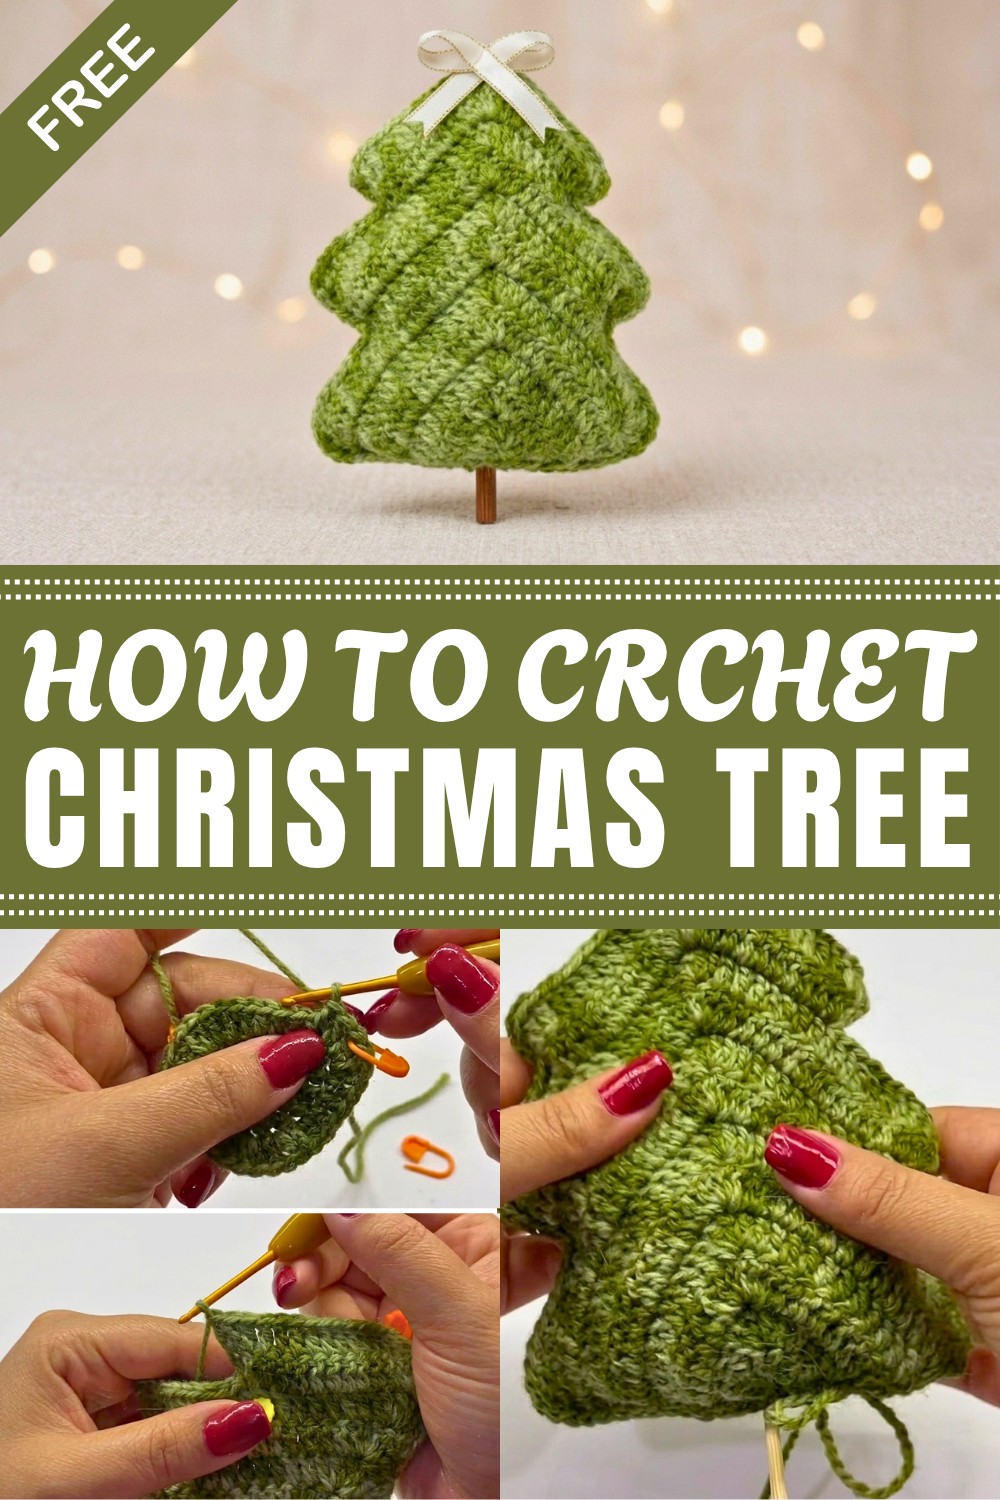
There is plenty of room to make the project your own. Traditional green yarn gives the tree a familiar Christmas appearance, while white, cream, silver, or pastel shades can create a snowy or modern effect. You can also decorate the finished piece with small bows, beads, buttons, stars, or other festive details. Different colors and embellishments can give every tree a completely different personality.
Making several trees in various sizes can be especially fun. A group of small trees can decorate a dining table, mantel, bookshelf, or entryway, while a single larger piece can become a charming focal point. They can also make thoughtful handmade presents for friends and family who appreciate seasonal décor.
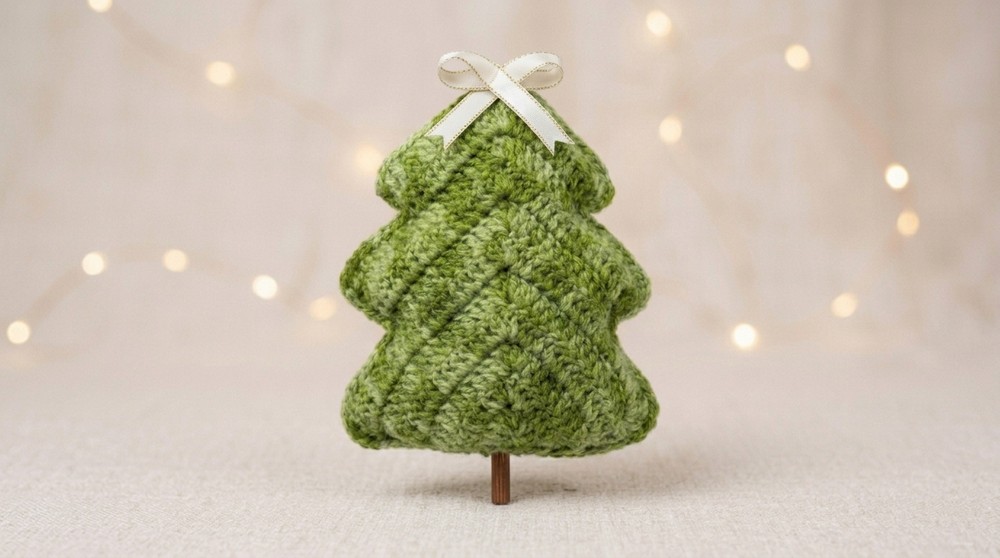
The simple shape makes this project suitable for crocheters who enjoy manageable seasonal makes. Beginners can use it to build confidence with shaping and finishing, while experienced makers can experiment with textures, colors, and decorative touches. Each finished tree becomes a small reflection of your personal holiday style.
Whether your Christmas décor is traditional, rustic, colorful, or minimal, a handmade crochet tree can fit right in. Check out the free pattern and add a cozy yarn made accent to your holiday collection.
Mini Crochet Pine Tree Pattern
This pattern will guide you through creating a charming mini crochet pine tree, perfect as a holiday decoration or even a small gift. With simple crochet stitches and basic shaping, you can craft this delightful tree using leftover yarn in your favorite green hues. The pattern includes detailed instructions for crocheting the tree layers, assembling, stuffing, and mounting on a wooden stick base. Lightweight and customizable, this project is great for crocheters of various experience levels who would like to try a festive project that works up quickly and beautifully.
Quick Overview Of Pattern
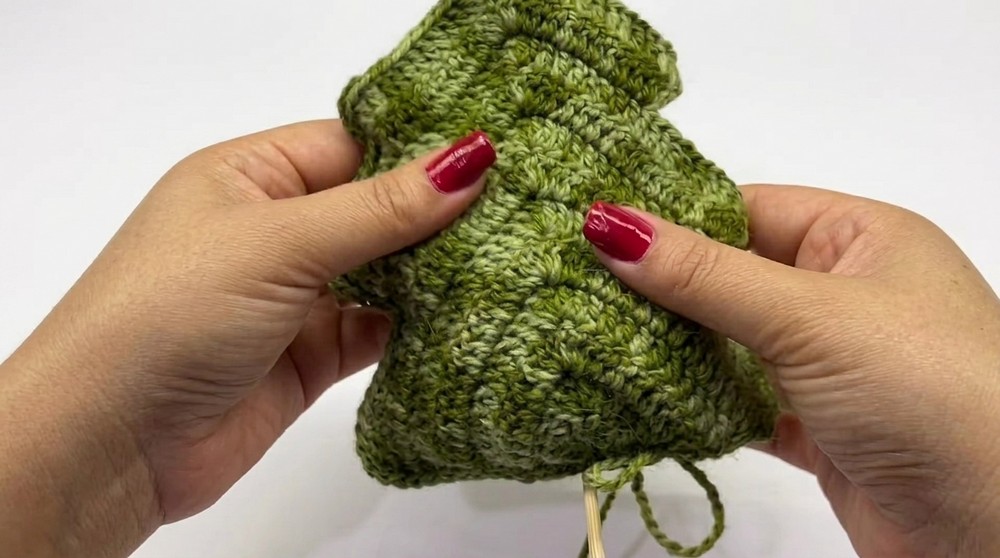
The mini crochet pine tree is made by working layered rows of double crochet stitches beginning from a magic ring. The tree grows in triangular layers by strategically placing increases and marked points to create gradual widening and height. The tree body is made in two identical halves, which are then sewn together and stuffed lightly to maintain shape. Mounted on a wooden stick and supported by a weighted base, this mini tree can be decorated with ribbons, buttons, or stars for a personalized festive look.
Notes
- Use a stitch marker to mark the middle point of your rows consistently for shaping and increases.
- Keep tension consistent for well-defined layers and a firm, neat shape.
- Leftover variegated yarn is perfect, but you may use any solid or nuanced green shades.
- The base can be any suitable container filled to hold the wooden stick steady.
- Hot glue or fabric glue works well for securing the stick and decorations.
Skill Level
Intermediate beginner – the project involves:
- Magic ring (MR)
- Double crochet (dc)
- Chain stitch (ch)
- Increasing with double crochet stitches
- Joining two pieces by slip stitch or single crochet
- Using stitch markers
- Basic assembly and finishing techniques
Materials
- Leftover green yarn in desired shade (variegated or solid)
- 2.75 mm crochet hook
- Wooden skewer stick (kebab stick)
- Small container or pot for base
- Lightweight filler for base (foam, cotton, or fabric scraps)
- Hot glue or fabric glue
- Yarn needle
- Stitch markers
- Scissors
- Optional decorations: ribbons, buttons, glitter stars, etc.
Measurements / Sizing
- Size of tree depends on number of rows worked; typical example is about 15–20 cm tall without the stick.
- Width at widest row corresponds to the number of stitches; adjust as you desire for a smaller or larger tree.
- Wooden stick length set proportional to tree height to provide stable mounting.
Gauge and Stitch Pattern
- Gauge is flexible; tension should be consistent rather than strict measurement.
- Pattern is mostly worked in double crochet rows using increases to shape triangular layers.
- Chain stitches are used to turn between rows.
- Stitch markers designate middle points for shaping and increases.
Stitch Abbreviations
- ch: chain
- dc: double crochet
- sl st: slip stitch
- MR: magic ring
- st(s): stitch(es)
- inc: increase (multiple stitches in the same stitch)
Special Stitches
- Magic Ring (MR): creates tightly closed starting loop for first crochet round.
- Increasing Double Crochet: working multiple double crochet stitches into one stitch to widen or shape the row.
The Crochet Pattern
Making the Tree Body (Two Identical Halves)
Round 1
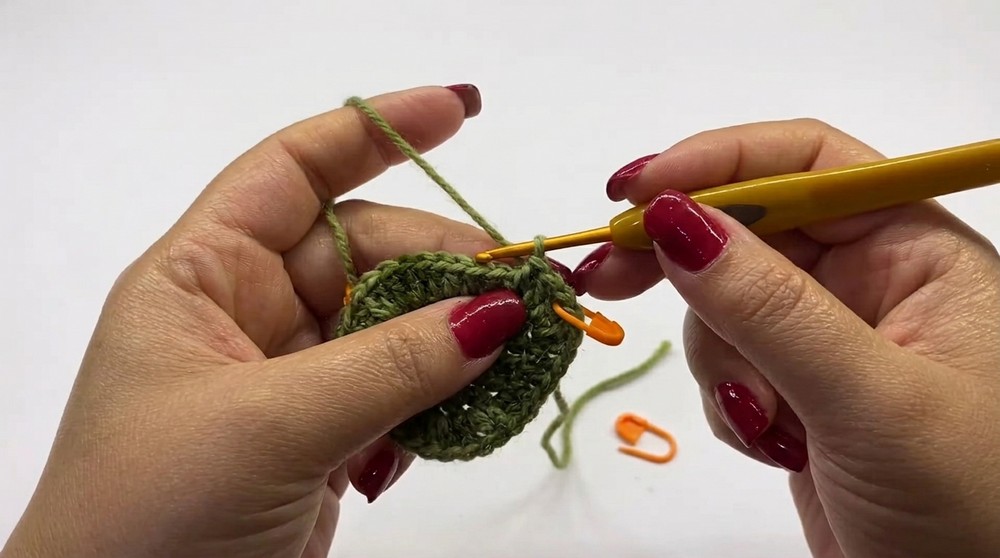
- Form a magic ring (MR) with your green yarn.
- Chain 3 (counts as first double crochet).
- Work 8 double crochet (dc) stitches into the MR (total 9 dc including chain 3).
- Close the ring tightly and place a stitch marker at the 5th double crochet from the beginning to mark the "middle" of the row. This helps with later shaping.
Round 2
- Chain 3 and turn.
- Work inc: 2 dc in the first stitch (increase) to start shaping.
- Work 1 dc in each stitch until you reach the stitch marker.
- At the stitch marker, work 5 dc in that single stitch to form central peak widening. (Count carefully: 5 dc in one stitch)
- Continue working 1 dc in each stitch until the last 2 stitches.
- At the last 2 stitches, work an increase (2 dc in one stitch) to widen end.
- Your row will have increased overall, creating a triangular layering effect.
Round 3 and Ongoing
- Chain 3 and turn.
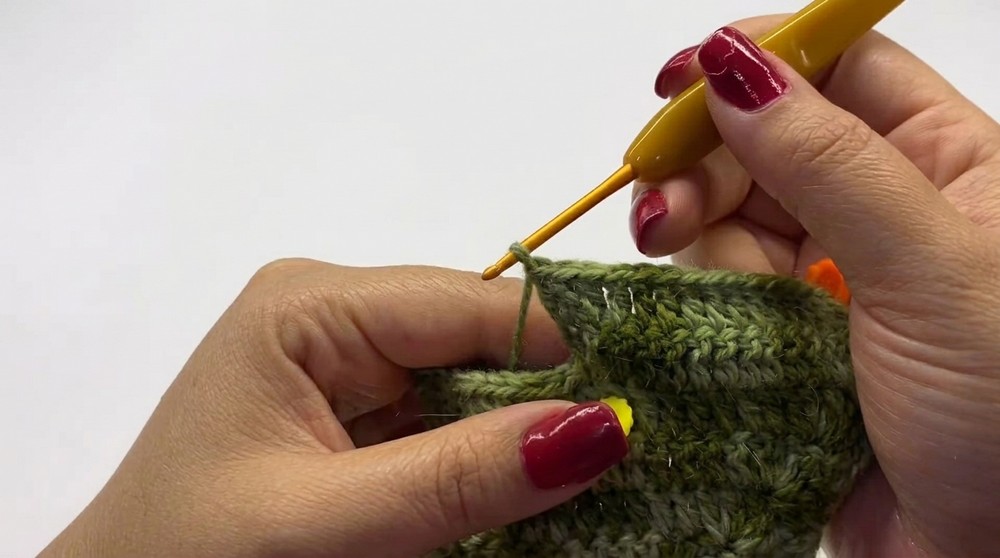
- Repeat the previous round’s pattern by placing increases at row ends and working 5 double crochets in the middle marked stitch. Use the stitch marker to relocate the middle every round accordingly, moving it forward as the row grows longer.
- Continue working double crochet stitches across, increasing at edges and middle to form triangular layers that become bigger with each round.
- Crochet approximately 7 rounds or until the triangular shape reaches your desired size. The triangular piece resembles a layered pine tree side.
Detailing Tips
- At each middle point (marked stitch), work 5 double crochets to create the defining "branch" protrusion.
- Keep the stitch marker moving by placing it on the 3rd double crochet of the 5-dc cluster every round for accurate positioning.
- The tree will form a tapered triangular shape with a decorative tip.
Making the Second Half
- Crochet a second identical half following the same instructions and round counts. Consistency between both pieces ensures neat assembly.
Assembly
Joining Tree Halves
- Align the two identical halves with right sides facing out.
- Using your yarn needle and yarn tail, sew the edges of the two halves together using half double crochet slip stitch joins or neat whip stitches all around, leaving an opening near the bottom or side to add stuffing.
Adding Filling
- Lightly fill the interior of the pine tree with fiberfill or your choice of lightweight stuffing to add volume and maintain shape. Avoid overstuffing to retain softness.
Closing the Opening
- Continue stitching the edges closed after stuffing. Secure tail ends by weaving into the fabric neatly.
Mounting the Tree
- Prepare a small container or pot for a base. Fill it with lightweight filler such as foam, fabric scraps, or cotton.
- Insert the wooden skewer stick gently into the filler so it stands upright.
- Use hot glue or fabric glue to secure the stick in place for stability.
- Attach the base of your stuffed tree over the wooden stick by applying glue on the interior lower edge or securing with stitches, ensuring the tree stays upright.
Optional Decoration
- Wrap a ribbon around the tree or tie a small bow near the top for a festive accent.
- Hot glue small buttons, glitter stars, or ornaments onto the outer surface of the tree for extra charm.
- Use contrasting colored yarn for a whimsical or rustic look depending on your décor.

Finished Size
- The finished mini pine tree measures approximately 15 to 20 cm tall, excluding the wooden stick base, which adds further height.
- Width scales with stitch count and rounds—adjust the number of rounds to create smaller or larger trees.
Ending Words
This mini crochet pine tree is a wonderful and quick project perfect for holiday décor or gifting. Its layered double crochet construction creates eye-catching texture and a natural silhouette with minimal materials. The pattern’s modular nature allows easy customization for size and color, making it an ideal way to use up yarn scraps of variegated greens or solid tones. Mounted on a wooden stick and base, this charming tree will brighten your space or festive table with handmade warmth.

Leave a Reply