

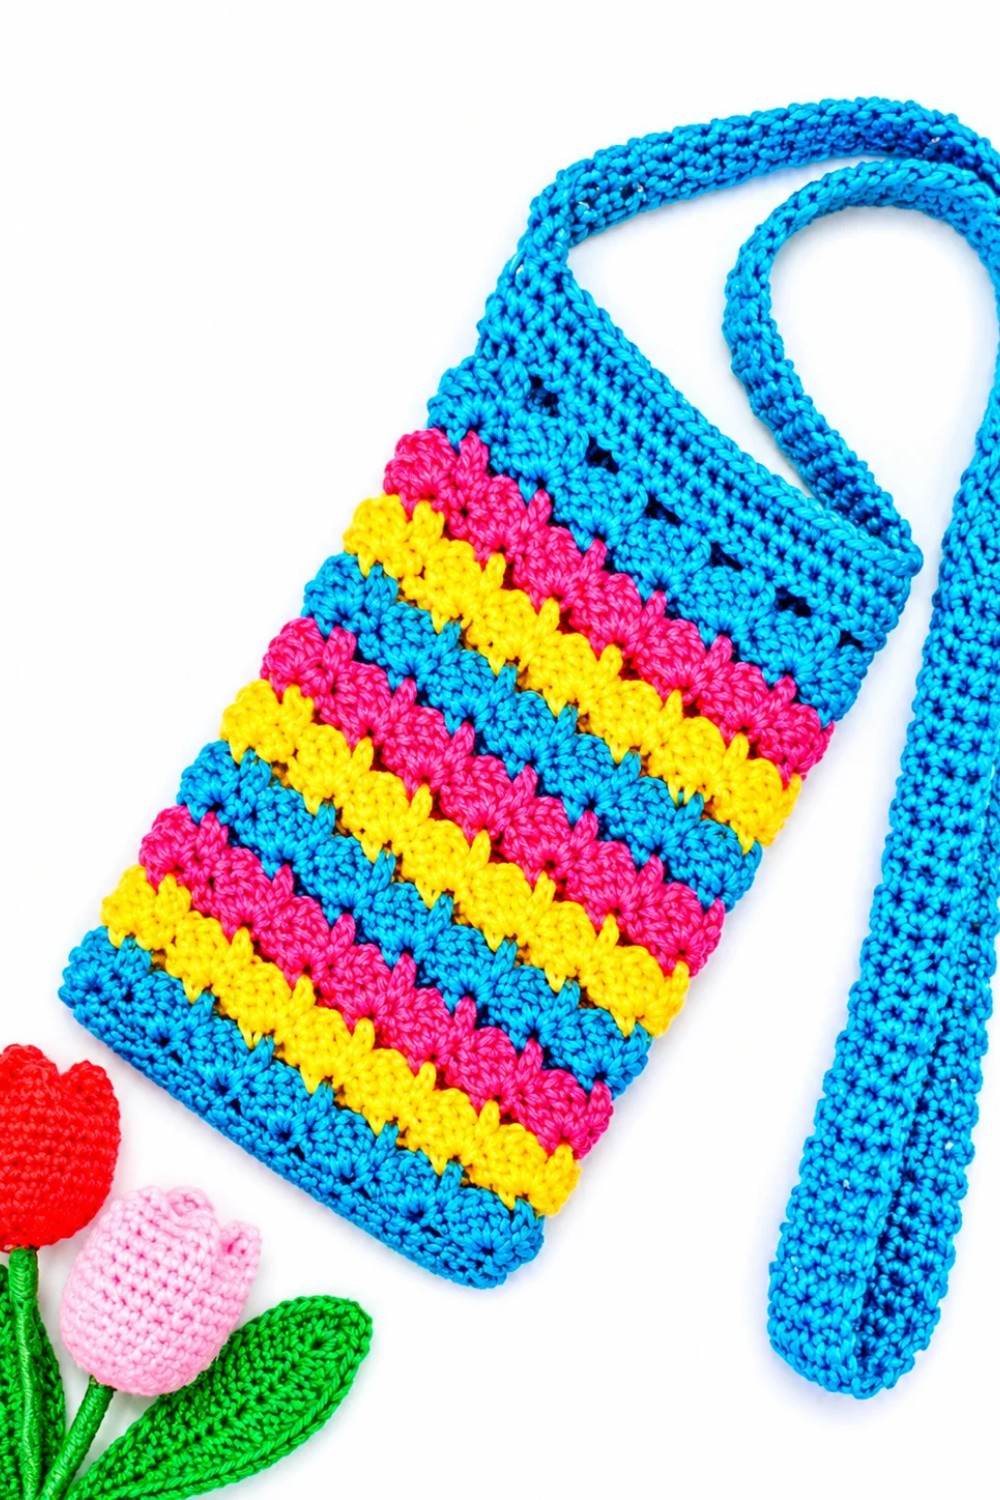
Follow the Crochet Phone Case Bag Free Pattern for a small weekend project that comes in handy when your jacket pockets are too shallow.
A huge shoutout to Hobihobiku for making such a clear and inspiring tutorial that makes crocheting accessible and enjoyable. Their guidance truly brings the Crochet Phone Case Bag to life in a way anyone can follow.
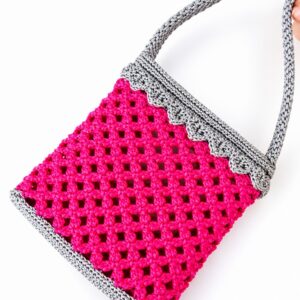
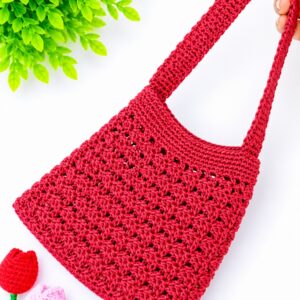
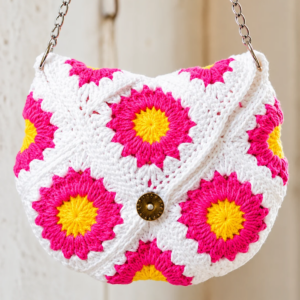
The Crochet Phone Case Bag is a handy and stylish accessory designed to protect your phone while adding a personal, handmade touch. Typically sized to fit most smartphones snugly, this bag combines practicality with charm. Its main features include a sturdy crochet fabric, a secure flap or button closure, and often an optional strap to carry it over your shoulder or across your body.
Soft Crochet Phone Case Bag Free Pattern With Your Favorite Yarn
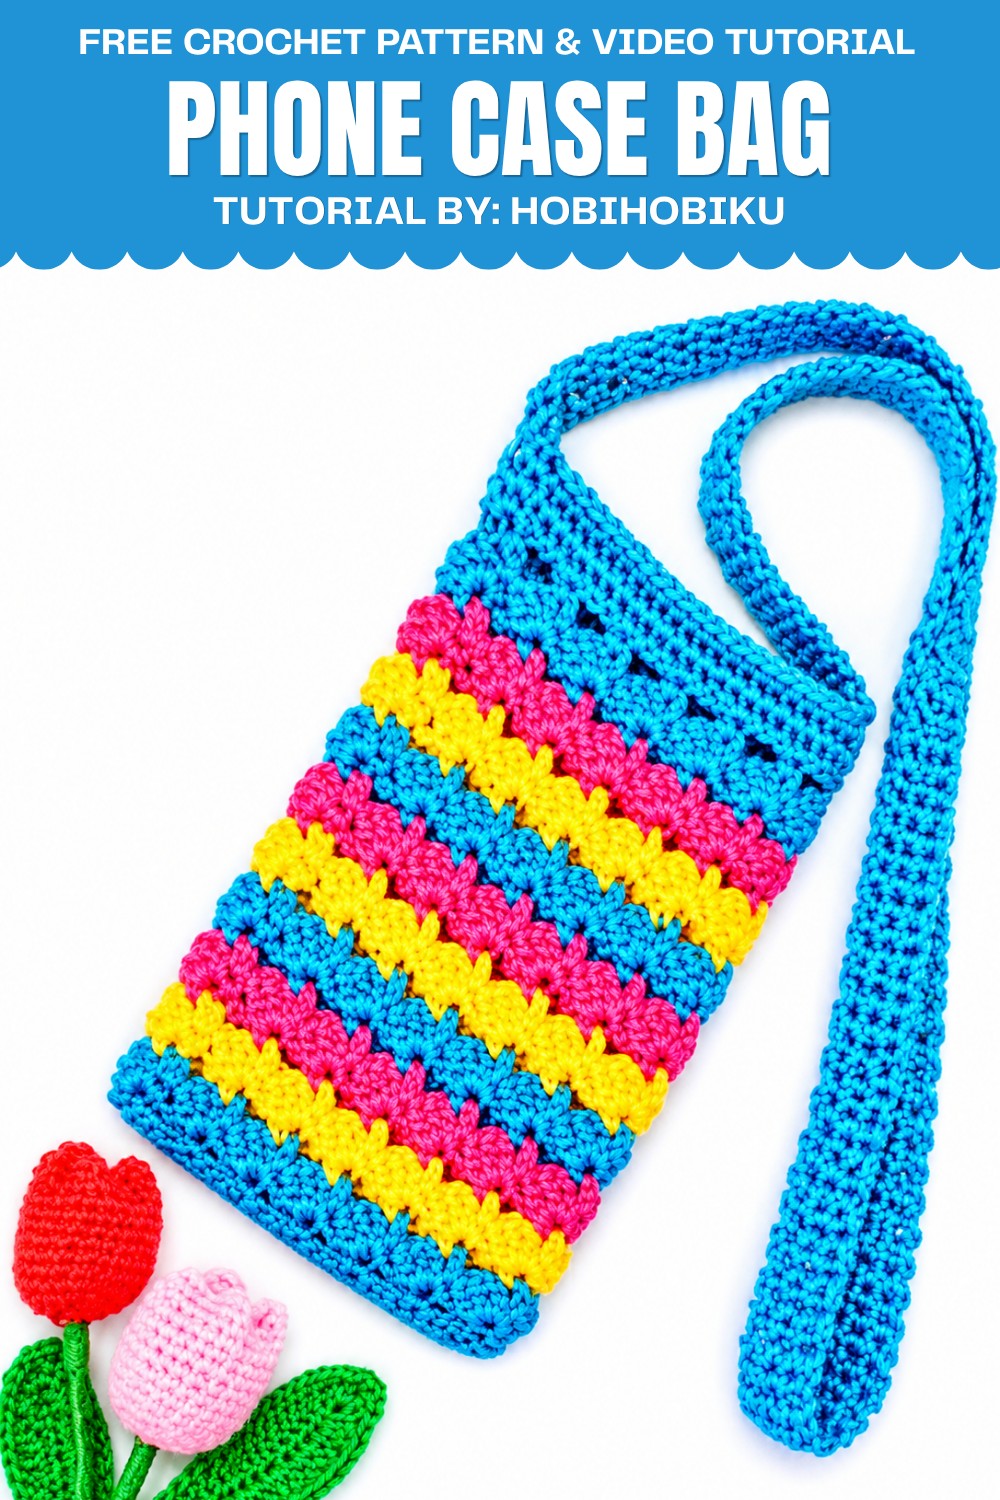
This project is perfect for crocheters with a beginner to intermediate skill level, showcasing basic stitches like single crochet and slip stitch. It’s an excellent choice if you want a quick, useful project that also allows room for creativity — you can customize the size, color, and even add embellishments like buttons or appliques to suit your style.
Creating the bag involves crocheting a flat rectangular piece that forms the body, then folding and stitching the edges together. The tutorial walks you through adding a flap and handles or straps, making the finished piece both functional and attractive.
If you’re looking for a simple yet rewarding crochet project that results in a colorful, everyday accessory, this Crochet Phone Case Bag is a fantastic option. Ready to crochet your own? Dive into Hobihobiku’s free pattern and make your phone carrying stylish and unique!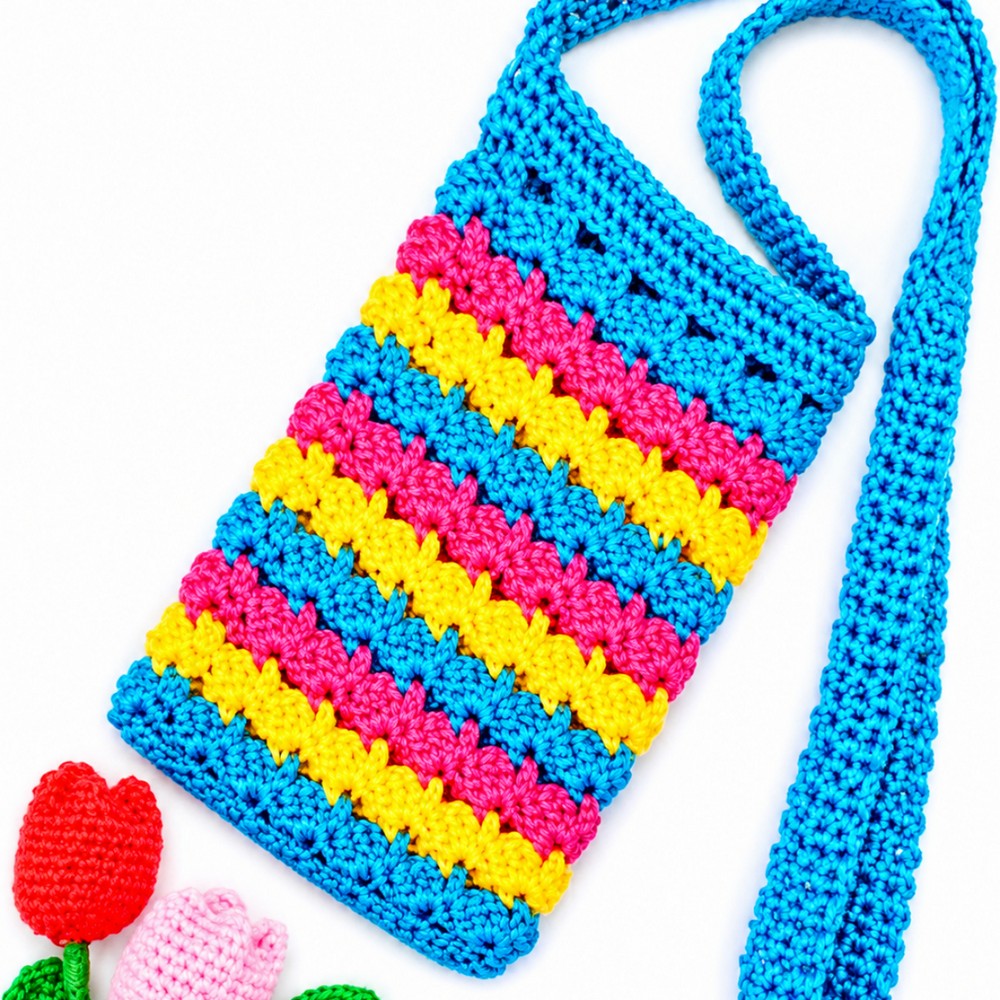
Crochet Phone Bag Pattern (Motif with Multiple of 4)
Pattern Overview
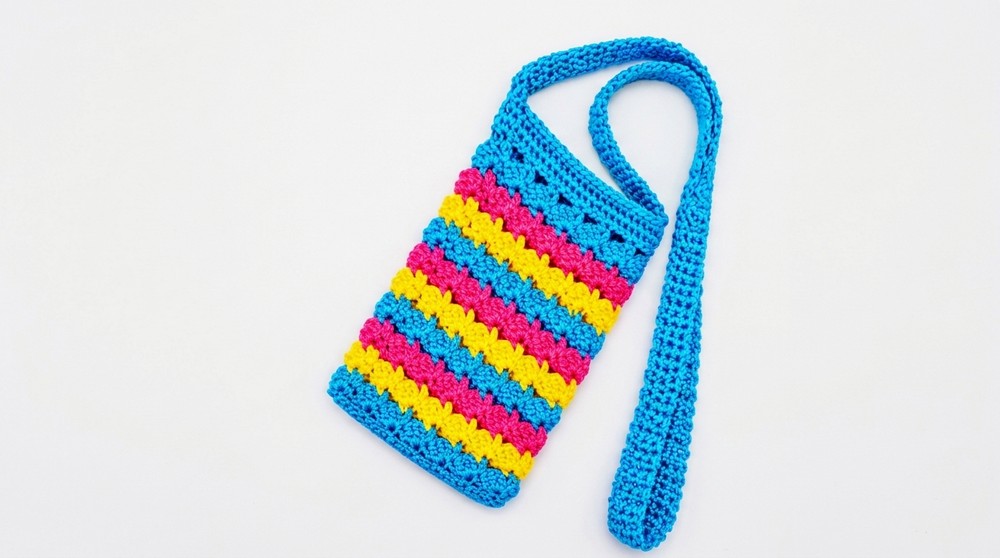
This is a crochet pattern for a phone bag using a repeating motif based on a multiple of 4 stitches. The bag is constructed starting with a flat rectangular base, then the side walls are built up with alternating decorative motif rounds. The pattern includes instructions for changing colors to create stripes, as well as finishing steps with a single crochet border and strap attachments.
Quick Details
- Project type: Crochet Phone Bag
- Techniques: Single crochet, double crochet, working in the round, motif pattern, color changes, and basic bag assembly
- Motif count: Foundation chain is a multiple of 4
Important Tips
- Work with even tension for a neat, structured bag.
- Change yarn colors at the start of a motif round for stripes.
- Count stitches carefully, especially for motifs and corners.
- Using stitch markers can help track rounds and color changes.
Skill Level
- Beginner to confident beginner
- You should be comfortable with single crochet, double crochet, basic joining, and following a repeat motif.
Materials
- Worsted weight yarn in two or more contrasting colors (for stripes)
- Crochet hook suitable for yarn (typically 3.5 – 4.5 mm)
- 2 D-rings for strap attachment
- Scissors
- Yarn needle for sewing in ends
Measurements
- Base: Approx. 24 chains ≈ 10 cm (4”) wide, 4 rows ≈ 5–6 cm tall (adjust as needed for your phone)
- Finished height: Customizable; typically 15–18 cm tall (adjust rounds as needed)
- Strap length: Adjustable; depends on user preference
Gauge
- No strict gauge, but ensure base fits your phone with a little ease.
Abbreviations
- ch: chain
- sc: single crochet
- dc: double crochet
- sl st: slip stitch
- sp: space
- st(s): stitch(es)
- rnd: round
Special Stitches
- Shell motif: Instructed in Motif Part 2 (1 sc, 2 ch, 3 dc in the same stitch)
Step-by-Step Instructions
1. Base Structure
Foundation:
- Make a slip knot.
- Ch 24 (or another multiple of 4 to fit your phone).
- Ch 1 extra for turning (total = 25 chains).
Rows:
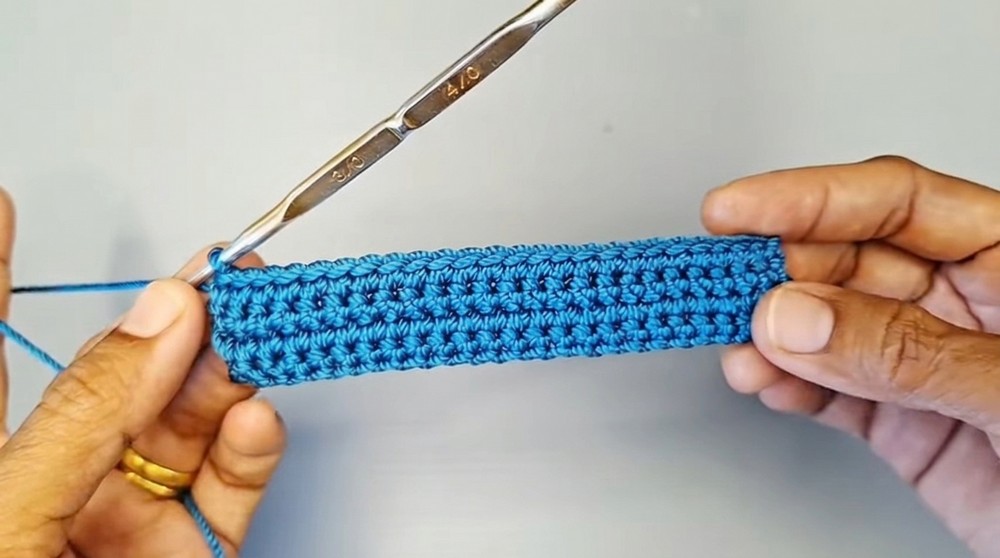
- Row 1: Starting in the second chain from hook, work single crochet (sc) in each chain across. (24 sc)
- Rows 2–4: Ch 1, turn. Work sc in each stitch across.
- Finish 4 rows to create a rectangle base.
2. Side Walls & Motifs
Edge Single Crochet:
- Without turning, work sc evenly all the way around the rectangle base.
- Place 1 sc in each stitch along the top and bottom.
- Along the short sides (rows), work 1 sc into each row end.
- Use extra sc at each corner if required to prevent puckering.
- Calculate stitches to ensure an even count and a multiple of 4 for the motif.
Motif Part 1: (First Decorative Round)
- Begin with sc at the sl st join point (start of round).
- Ch 3, skip next 3 sts, sc in next st.
- Repeat ch 3, skip 3 sts, sc in next st around.
- Join with sl st to beginning sc.
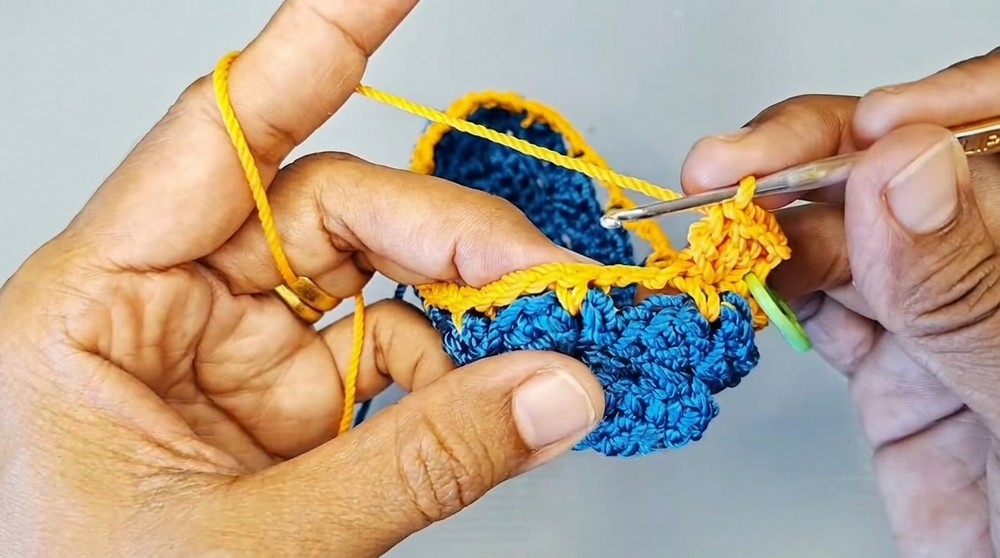
Motif Part 2: (Shell Motif Round)
- In each ch-3 space from the previous round:
- (sc, ch 2, 3 dc) all into the ch-3 space.
- Continue this shell motif in each ch-3 space around.
- Join with sl st to first sc.
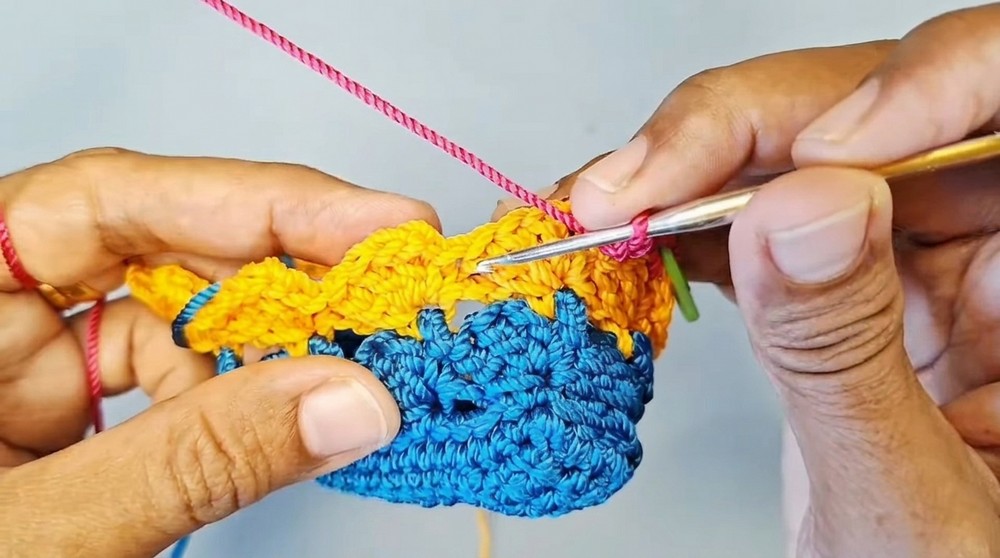
Alternating Motif Rounds
- Alternate between Motif Part 1 and Motif Part 2 rounds:
- Start with an sc, ch 3, skip 3 sts (Motif Part 1).
- Next, (sc, ch 2, 3 dc) in ch-3 spaces (Motif Part 2).
- Switch yarn colors at the start of each new round for stripes (optional).
- Continue these alternating rounds until the bag reaches your desired height for your phone.
3. Finishing & Assembly
Top Edge:
- When the bag is tall enough, work 1 final round of sc all around the top edge for neatness.
- Join with sl st and fasten off.
Strap Attachments (D-Rings):
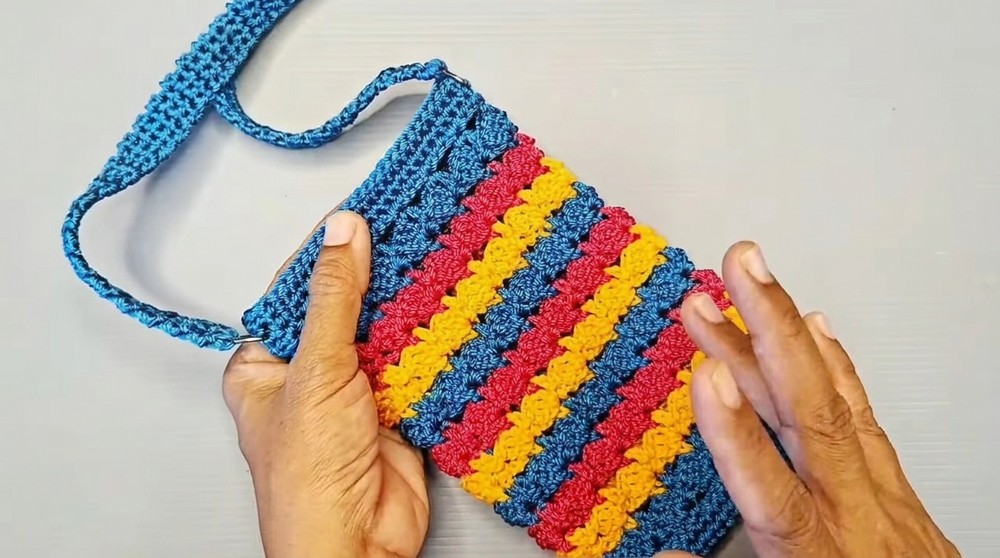
- Fold the bag to find the left and right side corners at the top.
- At each designated top corner:
- Hold a D-ring in place.
- Insert hook through corner st and through D-ring.
- Work 3 sc around the D-ring, securing it to the bag.
- Fasten off and weave in ends.
- Repeat for the other side for the second D-ring.
Assembly
- Turn bag inside out if you want seamed edges inside.
- Join the bottom and the sides: Use whip stitch, slip stitch, or sc the base and sides together as desired.
- Attach your chosen strap (crocheted, leather, or chain) to the D-rings.
Final Notes
- This phone bag is adjustable—simply change the length of your starting chain (as long as it's a multiple of 4) to fit your phone’s width.
- Customize the bag height by adding or subtracting motif rounds.
- For a bolder look, alternate colors every motif round; weave in ends securely for a neat finish.
- Check fit as you build—your bag should fit your phone with some ease for safe storage.
- Experiment with different yarns, colors, and strap types to create unique styles.
- Block your finished bag lightly for the straightest edges.

Leave a Reply