

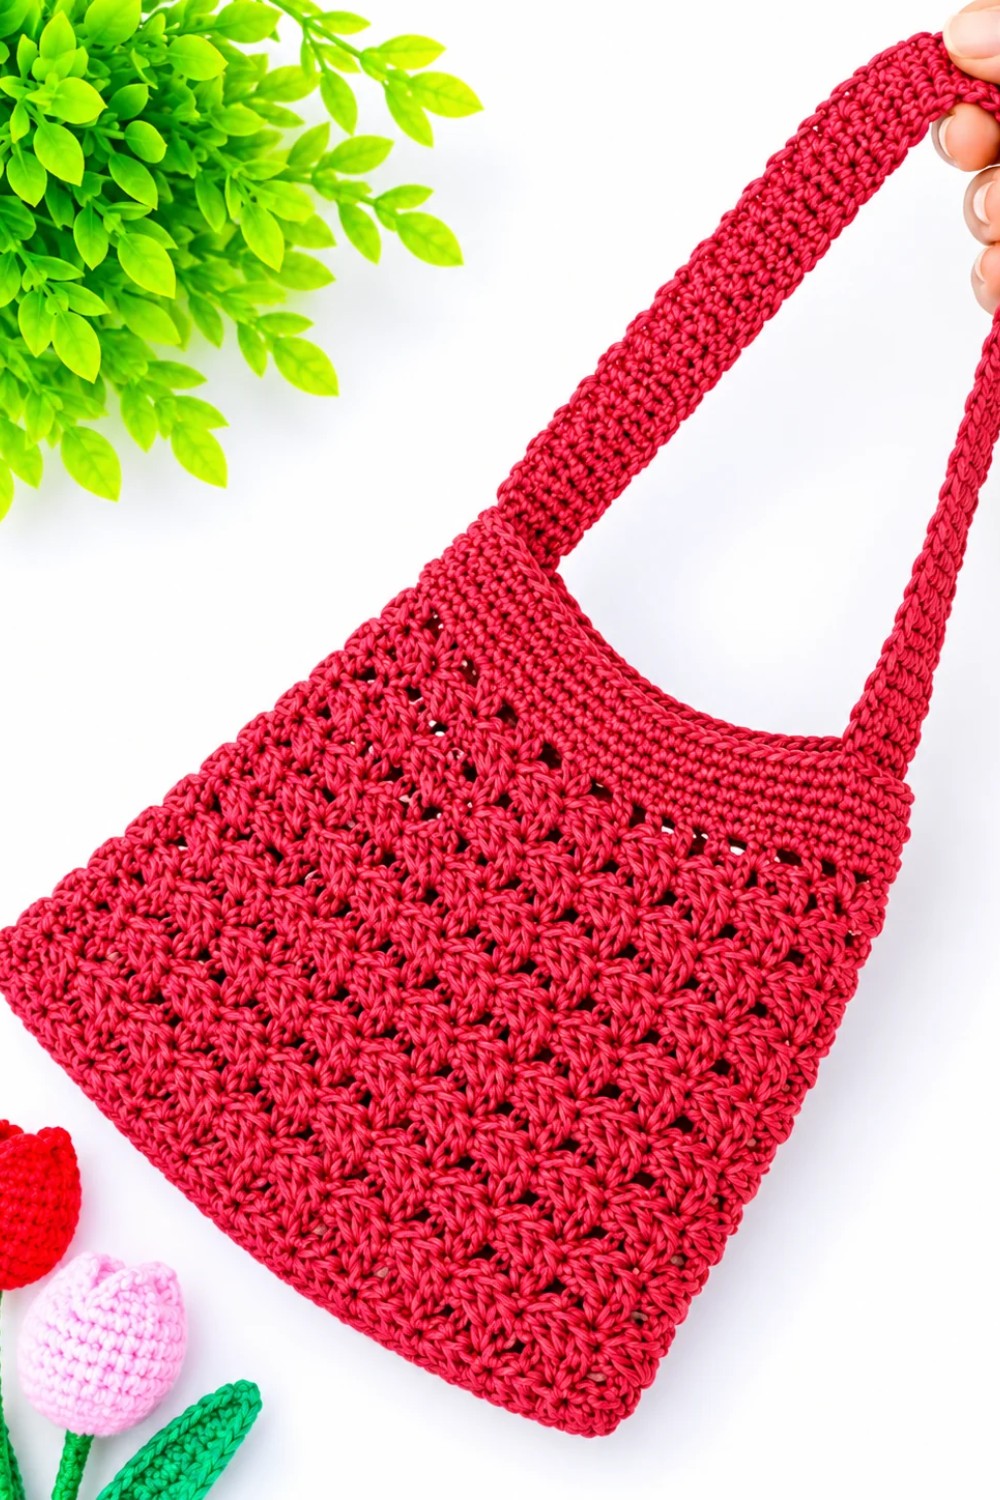
Carry your daily basics on a weekend trip with this Crochet Mini Tote Bag Free Pattern and keep your keys, cards, and lip balm together in one handy place.
Hobihobiku has created a wonderful tutorial that makes crocheting a Crochet Mini Tote Bag a delightful and rewarding experience. Full credit goes to this talented creator for sharing such an accessible and stylish project.
The Crochet Mini Tote Bag is a small, charming bag perfect for carrying essentials like keys, a phone, or a small wallet. The finished size is compact yet roomy enough for everyday use, making it ideal for quick outings or as a cute accessory. This mini tote often features sturdy handles, a flat bottom for stability, and a neat stitch pattern that adds texture and durability.
Small Handbag Idea Using A Crochet Mini Tote Bag Free Pattern
This project suits beginners and intermediate crocheters, as it includes basic techniques like single crochet, double crochet, and simple shaping. The bag is usually worked in rounds or rows, then the handles are crocheted separately and attached securely. This process helps build confidence with sewing on parts, as well as mastering consistent tension and stitch uniformity.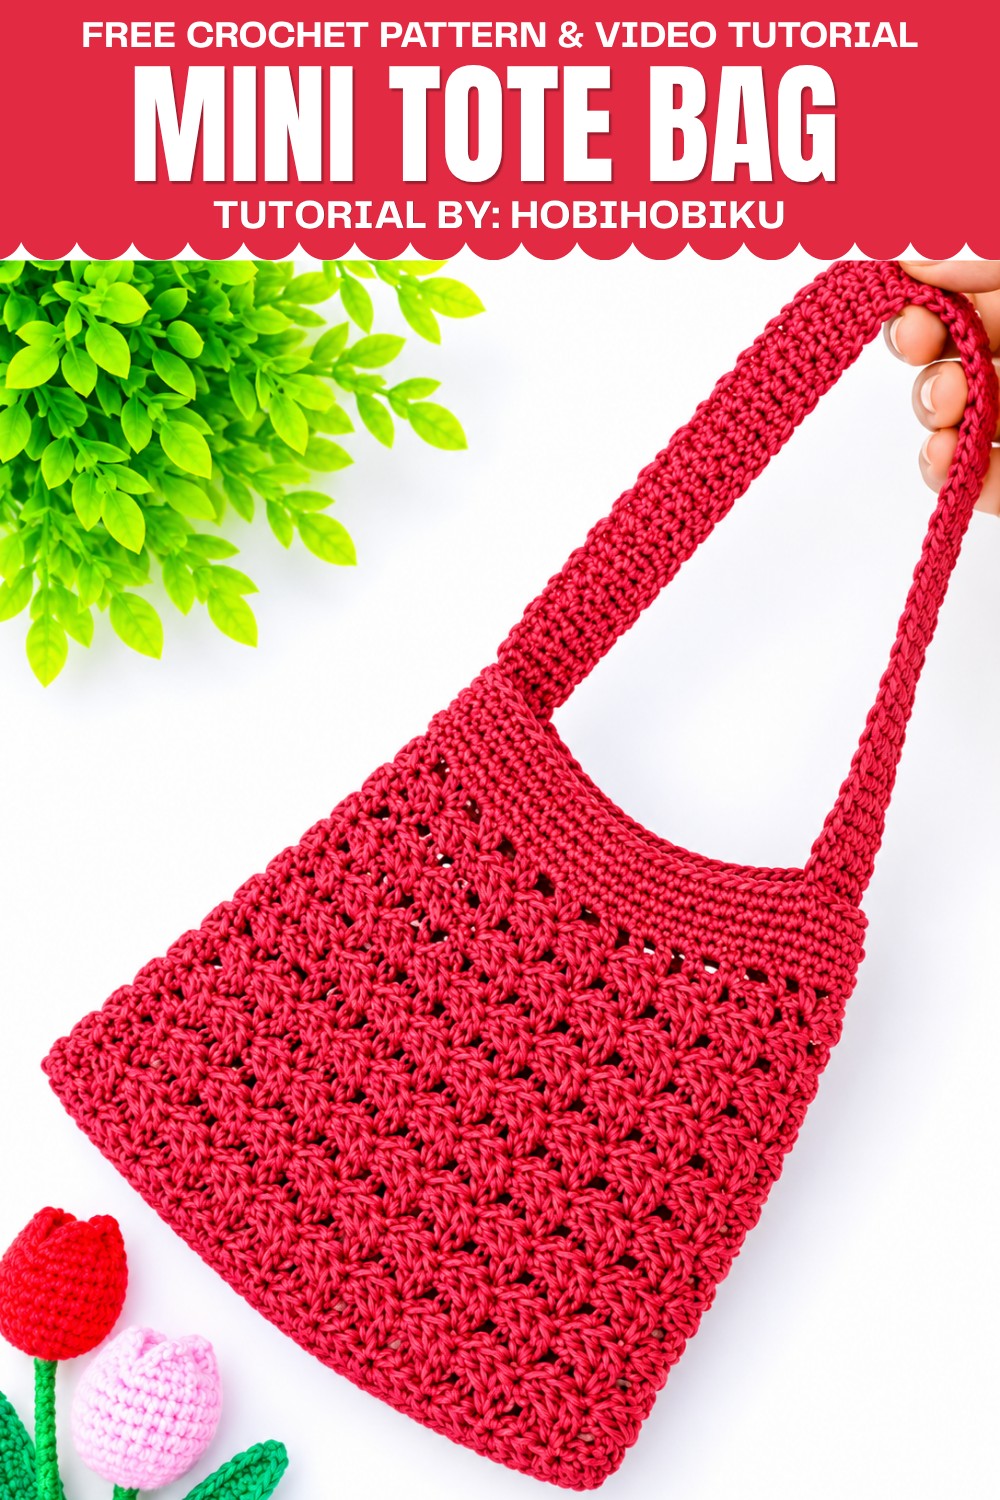
Why pick this bag? It’s a quick and useful way to make something stylish by hand, perfect for gifting or personal use. Plus, the concise size means it works up quickly, offering instant satisfaction and a practical result. Customizing colors or adding embellishments like buttons or patches can make your mini tote truly one of a kind.
Ready to carry your essentials with handmade charm? Dive into this free pattern and stitch your own adorable Crochet Mini Tote Bag!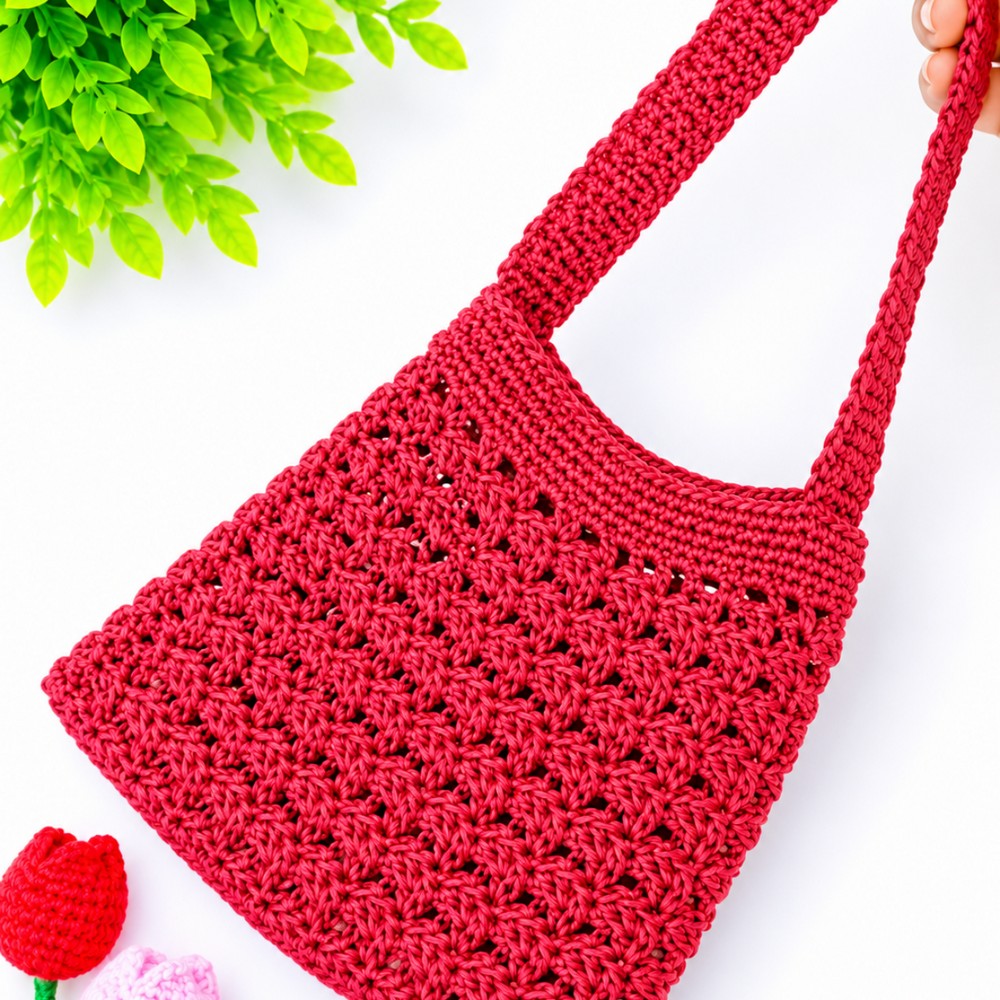
Mini Tote Bag Crochet Pattern
Pattern Overview
This mini tote bag is built on a rectangular single crochet base and worked up in the round using a motif based on a multiple of four stitches. The motif alternates textured lace rows and classic double crochet shells. The bag is finished with a sturdy single crochet top edge, metal rings worked in at the corners, and a strong, flat strap crocheted back-and-forth and attached to each ring. This tote is compact, easy to carry, and features both solid and openwork styling for a modern crochet accessory.
Quick Details
- Bag shape: Rectangular base, seamless sides worked in the round.
- Closure: Open top
- Motif: Alternating lace and shell rows, built on a multiple of four stitches.
- Carrying: Flat, sturdy strap with metal ring attachments
Important Tips
- Check stitch counts at the end of each row, especially in the motif sections, to keep the pattern even.
- Place stitch markers at each corner of the base so the wall turns are crisp and evenly spaced.
- When working around into the side edges of the base, spread stitches as evenly as possible for smooth sides.
- Use metal or strong plastic rings for durability at the strap attachment points.
- Adjust strap length as needed for personal preference or intended use.
- Block the finished tote for the best shape.
Skill Level
Easy/Confident Beginner
Familiarity with single crochet, double crochet, working in rounds, chain spaces, and simple pattern repeats. Suitable for those ready to follow clear repeat rows and work some assembly.
Materials
- Yarn of your choice (smooth cotton recommended for structure, worsted/light worsted weight)
- Crochet hook sized for your yarn (generally 3.5–4.5 mm for worsted)
- Four 2.5 cm diameter rings (metal or sturdy plastic)
- Scissors
- Yarn needle
- Stitch markers (recommended for corners)
Measurements
- Base: Approximately 20 cm x 6 cm (will vary with yarn, hook, and tension)
- Height: Adjustable; generally 17–20 cm tall, based on number of motif repeats
- Strap: Flat, 6 stitches wide, approximately 36 cm long (or as desired)
Gauge
- Gauge is not critical, but the base should measure about 20 cm when using worsted weight yarn and appropriate hook.
- Ensure bag is not too loose, for stability and shape.
Abbreviations
- ch – chain
- sc – single crochet
- dc – double crochet
- sl st – slip stitch
- yo – yarn over
- st – stitch
- sp – space
- rep – repeat
Special Stitches
- Extended cluster with two yarn overs:
(yo, insert hook into stitch, yo, pull up loop, yo, pull through two loops) twice in same stitch, leaving one loop from each half-finished stitch on the hook, then yo and pull through all loops (similar to a double-treble decrease worked twice into the same stitch).
Step-by-Step Instructions
1. Base Creation
Foundation
- Make a slip knot.
- Chain 37 (36 + 1 turning chain).
Rows 1–4: Rectangular Base
- Row 1: Starting in the 2nd chain from hook, sc in each chain across (36 sc). Ch 1, turn.
- Rows 2–4: Sc in each stitch across, ch 1, turn at the end of each row.
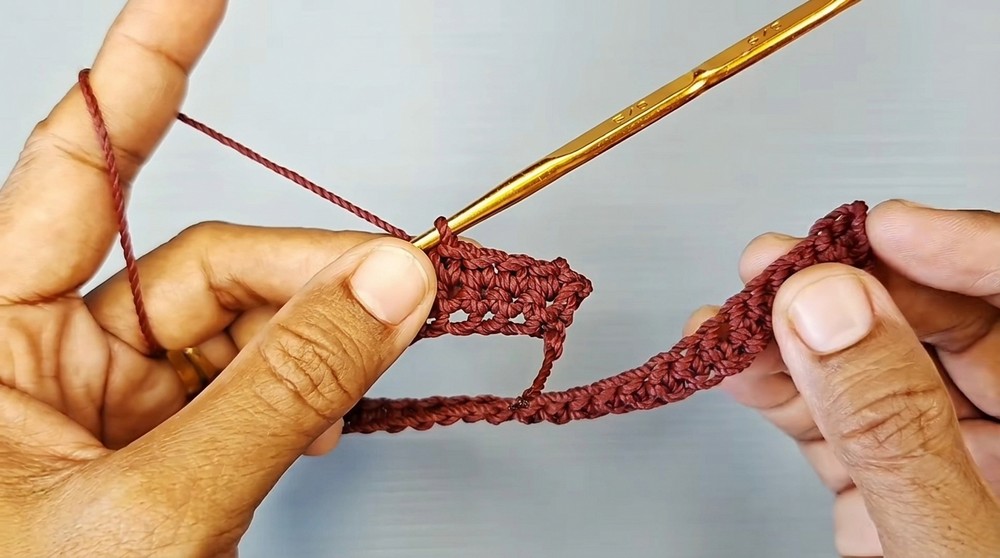
You will have a rectangle 4 rows high and 36 sc wide.
2. Side Walls (Round Construction)
Foundation Round
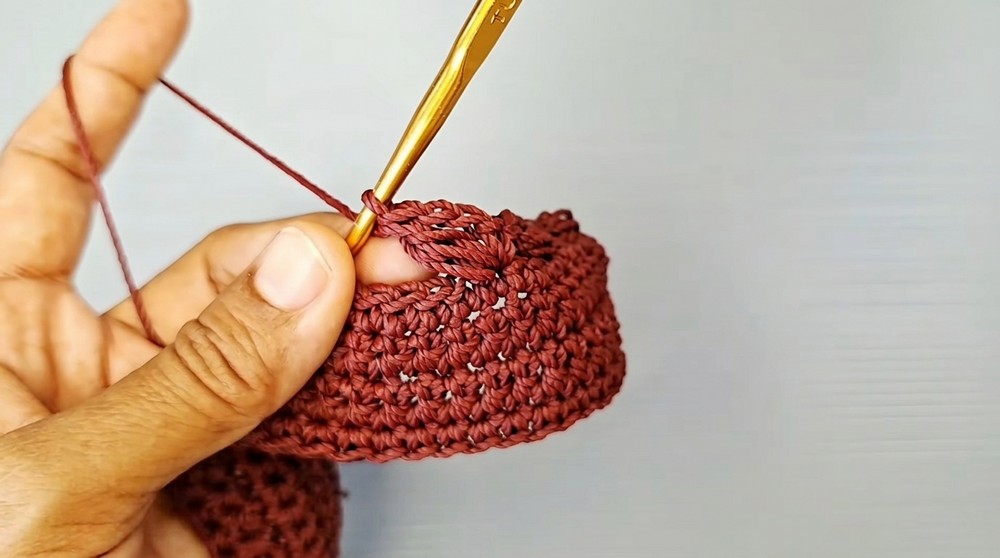
- With yarn still joined at the last row’s end, begin working sc evenly around all four sides of the rectangle to create the bag’s foundation wall.
- Work sc into each stitch across the top,
- For the short sides, distribute stitches evenly along the edge (about 4 sc per edge),
- On the bottom edge, sc into each chain or row end,
- Use stitch markers to mark each corner.
- Join with a sl st to the first sc of the round.
- You should now have a clean rectangle with evenly spaced corners and sides.
3. Main Body Motif
Motif Part 1 (Lace Wave Row)
- Starting at the slip stitch join of the previous round:
- Into the same stitch: sc, ch 2, 2 extended clusters as described above (with double yarn-overs pulled through twice into the same stitch).
- Skip next 3 stitches.
- Repeat: (sc, ch 2, 2 extended clusters) in one stitch, skip 3, around the bag.
- Complete the round, working the motif evenly into the stitch counts (if needed, adjust at corners to maintain the multiple of 4).
- Join with a sl st to the first sc to close the round.
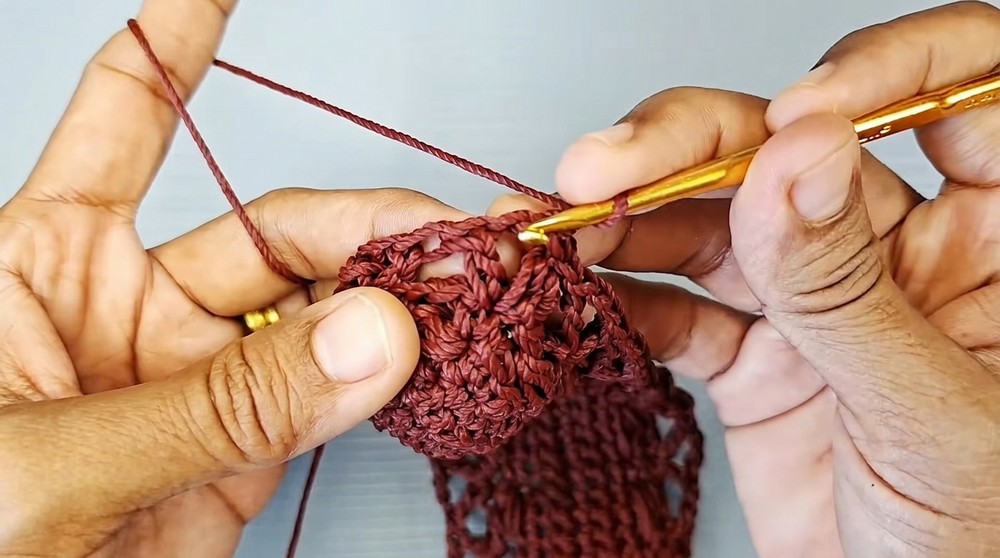
Motif Part 2 (Shell Row)
- Work into every single crochet (sc) space from the previous motif round:
- In the sc space: dc, ch 2, dc.
- Skip next 3 stitches.
- Repeat (dc, ch 2, dc) in each sc space, skip 3, around.
- Complete the round, joining with a sl st.
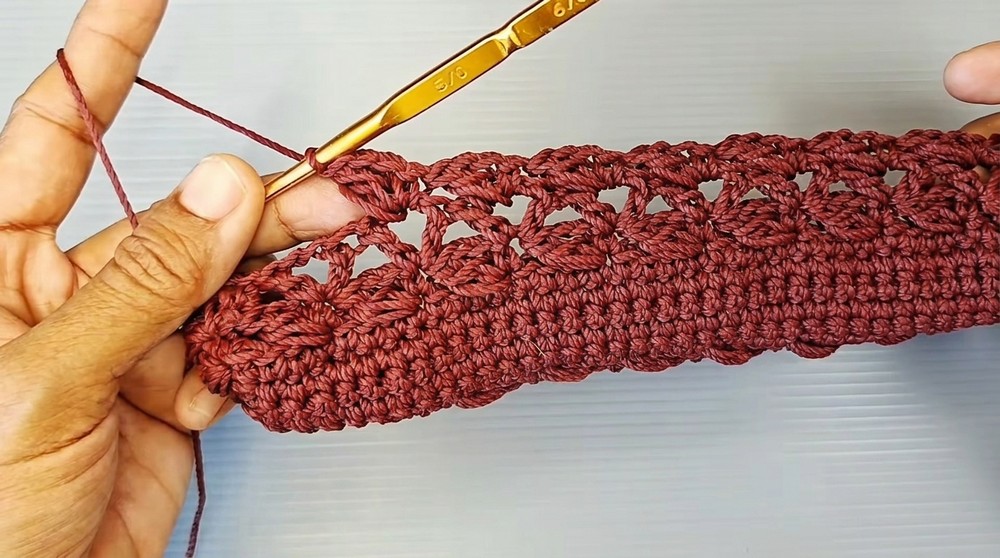
Repeat Motif Rows
- Continue alternating Motif Part 1 and Motif Part 2 for as many rounds as needed to reach your preferred bag height (usually around eight to ten motif rows in total).
- End after a shell row for a straight, stable top.
4. Finishing & Strap
Top Edge
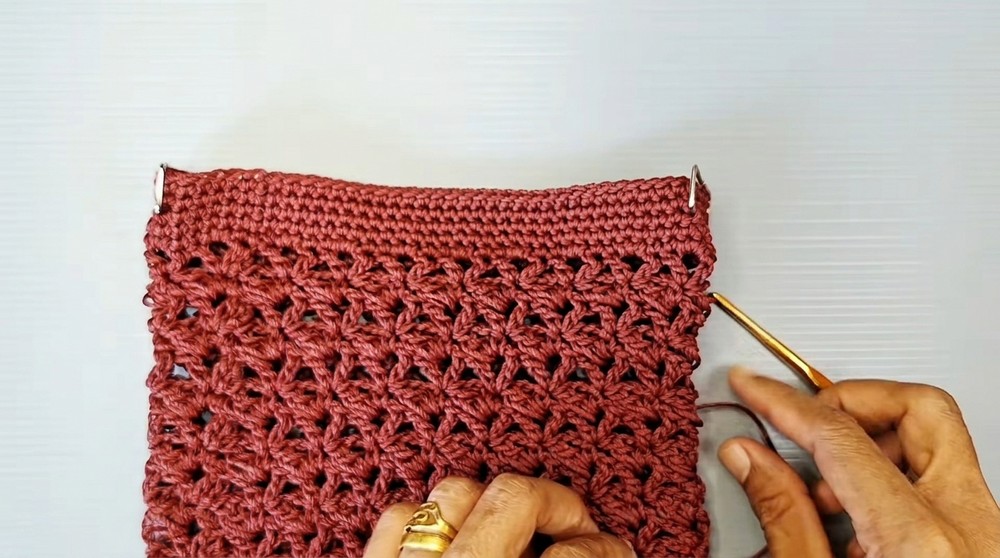
- After the final motif round, work two rounds of sc evenly around the top opening, joining with a sl st at the end of each round.
- This creates a stable and tidy edge for the top of your tote.
Ring Attachment
- At each corner of the rectangle (the top four corners), attach a 2.5 cm ring.
- Holding the ring in place, work 5 sc around each ring (encompassing the ring in your stitches).
- Secure each ring to its corner with these stitches.
Strap Construction
- Join yarn to one of the attached rings.
- Chain 1, then work 6 sc directly into the ring or strap base to set up for a flat strap. Ch 1, turn.
- Continue: 6 sc back and forth (working in rows) until the strap measures about 36 cm long (or your preferred length).
- At the other end, sew (or crochet) the strap securely to the other ring using a yarn needle.
- Fasten off and weave in any remaining ends.
Assembly
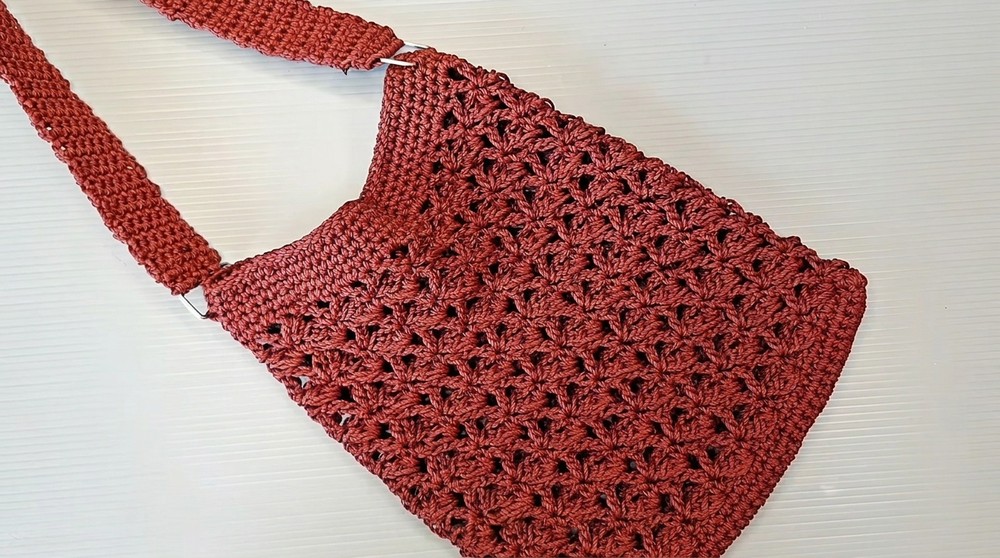
- Double-check all joins, weave in loose ends, and ensure that the strap is firmly attached for safe carrying.
- Gently block or shape the bag if needed, especially if using wool or cotton that relaxes with steam.
- Your finished mini tote is now ready to use!
Final Notes
This mini tote bag combines classic crochet structure with a modern openwork motif, thanks to rows worked on a multiple of four stitches. The sturdy base establishes shape, while motifs create airy interest and lightness. Strong rings and a flat, comfortable handle ensure durability and function. The result is a dependable, attractive accessory that’s easy to customize in size, color, and strap length. This pattern is perfect for crocheters seeking a satisfying and portable project with practical applications as a purse, lunch bag, or charming gift.


Leave a Reply