

Pack your daily essentials in style with this Crochet Backpack Free Pattern, a useful yarn project for casual outings, shopping trips, and handmade gift.
Hats off to the creative genius Yanet Pupo Crochet, whose original YouTube tutorial brings us the delightful Crochet Backpack project! This beautifully crocheted pattern combines style and function, reflecting Yanet’s talent for designing accessories that are both practical and eye-catching.
Free Crochet Backpack Pattern For Travel Accessories
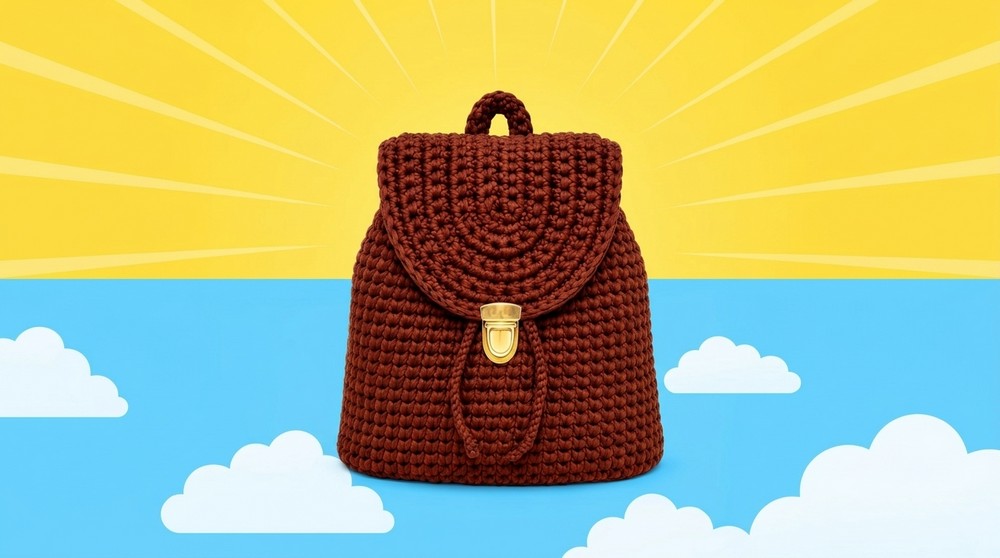
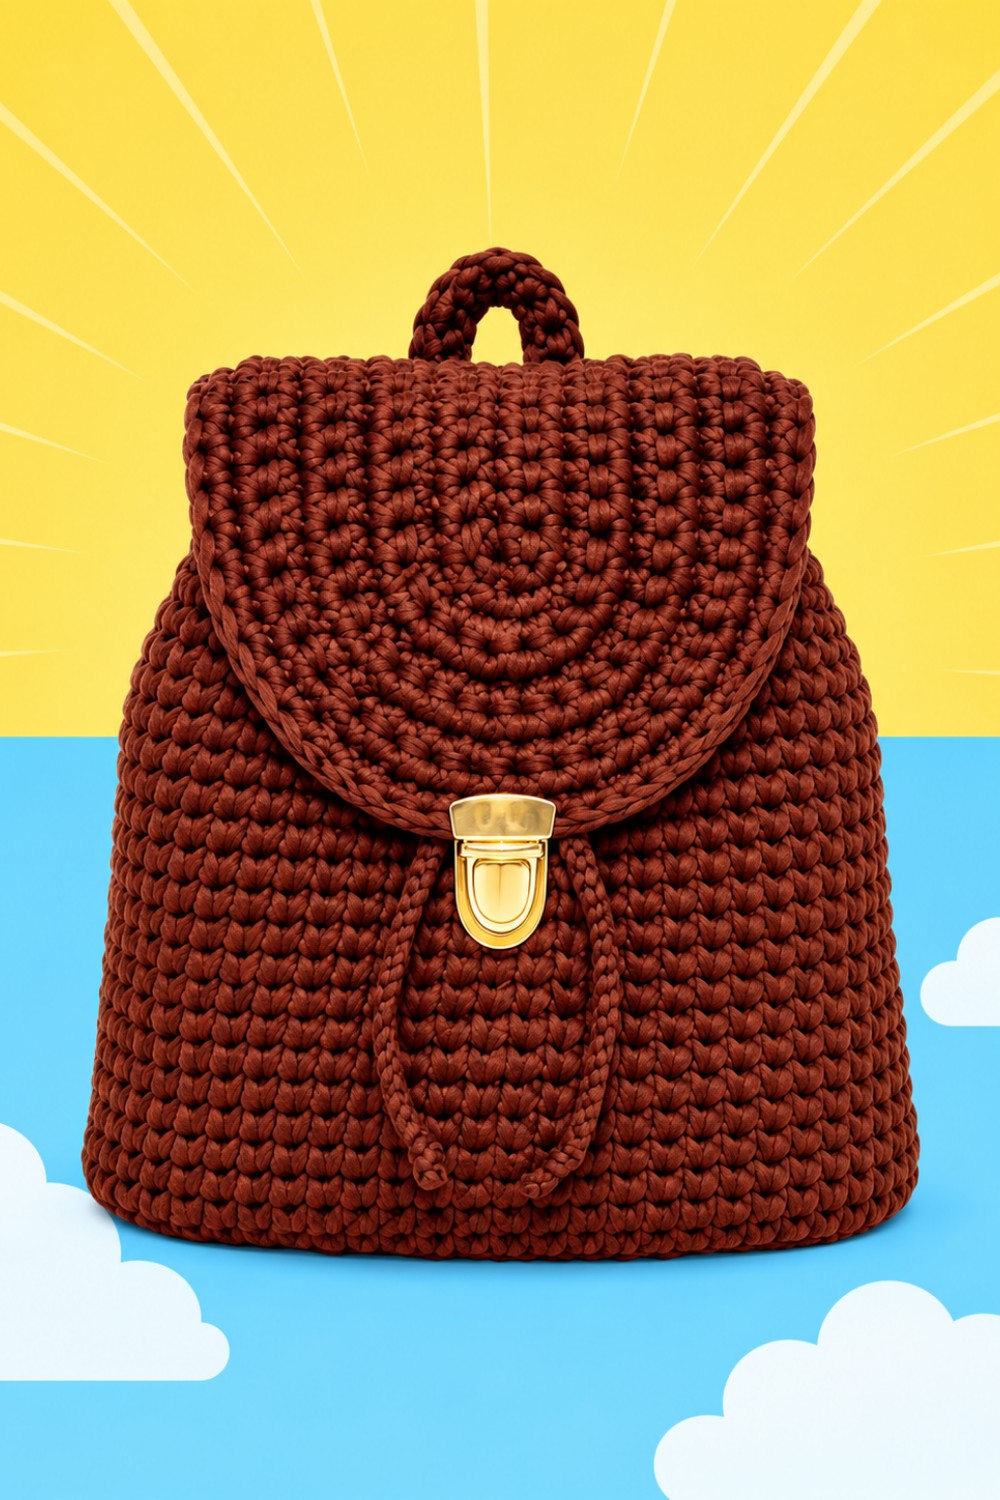
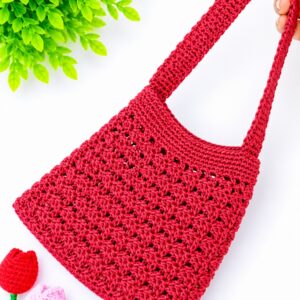
The Crochet Backpack is a cozy, roomy bag made entirely from yarn, boasting a smooth, rounded shape with a handy flap closure and two adjustable straps. Its simple yet elegant look makes it perfect for daily use—whether you’re heading to school, running errands, or simply want to add a handmade touch to your outfit. The soft texture and neat stitches give it a warm, inviting charm that sets it apart from ordinary backpacks.
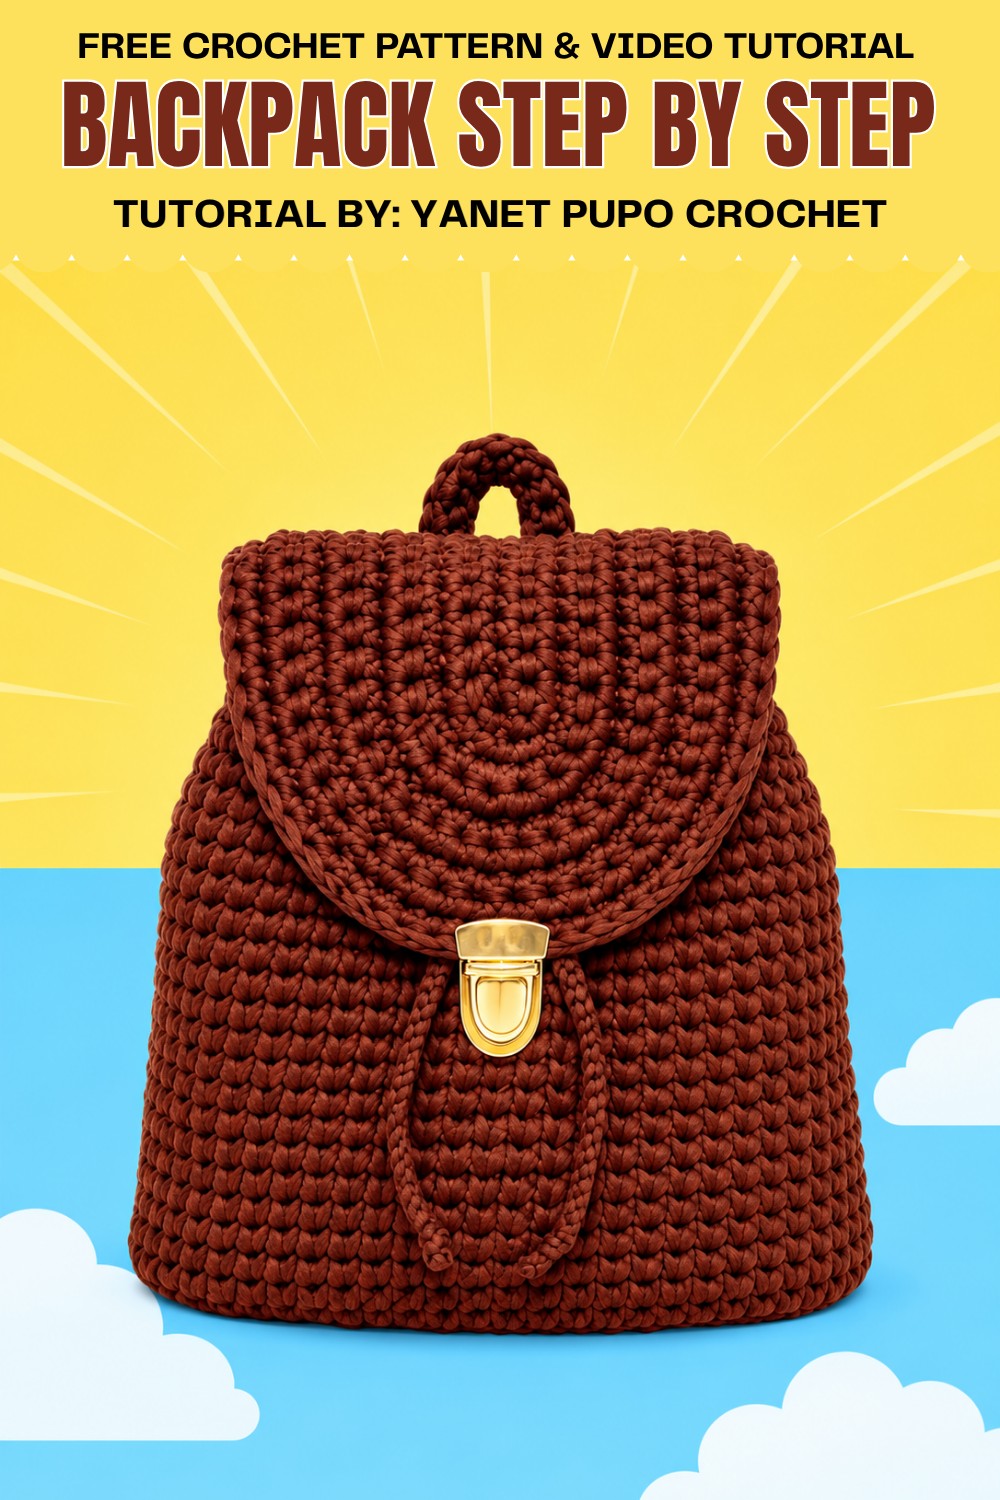
The project begins with a foundation chain, building rounds or rows with simple stitches like single crochet and half-double crochet. Then comes crocheting the straps and flap, followed by assembling all parts with careful stitching.
This Crochet Backpack is a wonderful, approachable project that lets you crochet a beautiful and useful accessory. Ready to create something uniquely yours? Give this free pattern a whirl and watch your new favorite backpack come to life!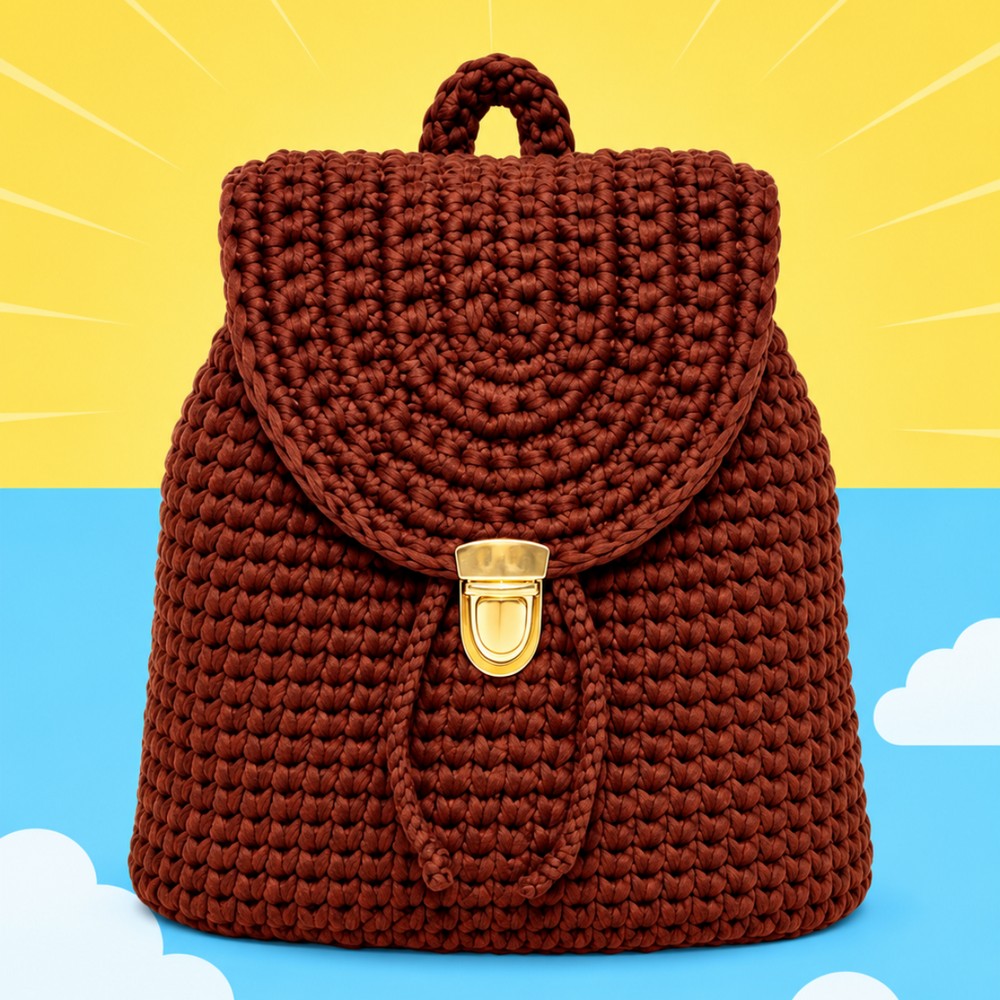
Pattern Overview
This backpack uses thick cloth yarn and simple stitches for a sturdy, modern look. The entire bag body and lid are worked in single crochet. The cord and handles use chains and slip stitches for strength. All joining and finishing steps use these basic crochet stitches for easy construction and durability.
Quick Details
- Single crochets worked in rows for the body and lid.
- Edge finished with a firm double chain.
- Lid shaped with increases and rounds of single crochet.
- Drawstring cord made with chains and stretched for tightness.
- Handles made from chains and slip stitches, sewn onto rings.
- Closure uses a small ring created with chains, single crochets, and slip stitches.
Important Tips
- Keep single crochets even and slightly tight for a sturdy fabric.
- Mark stitches for symmetry and handle placement.
- Make tight chains for cords and handles.
Skill Level
Easy to Intermediate
Materials
- Thick cloth yarn, 3mm (approx. 700g)
- 5.5mm aluminum crochet hook
- Scissors
- Wool needle
- Markers
- Buckles/rings
Measurements
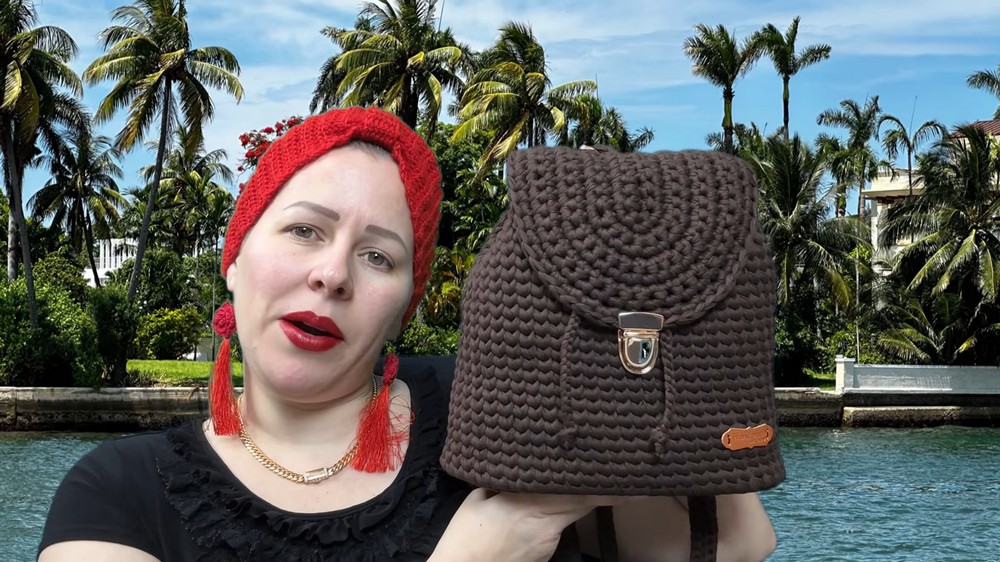
- Body: 23cm high, 25cm wide
- Lid: 22cm high, 17cm wide
- Cord: ~55cm
- Handles: 120–150cm (2cm wide)
Gauge
Work single crochets firmly and evenly for a neat result.
Abbreviations
- ch: chain
- sc: single crochet
- sl st: slip stitch
- st(s): stitch(es)
Special Stitches
- Double Chain Edge: Insert hook, yarn over, pull through, slip through both loops for a chain-like border.
- Slip Stitch Back Loop: Work slip stitches in the back loop only for flat, thick handles.
Step-by-Step Instructions
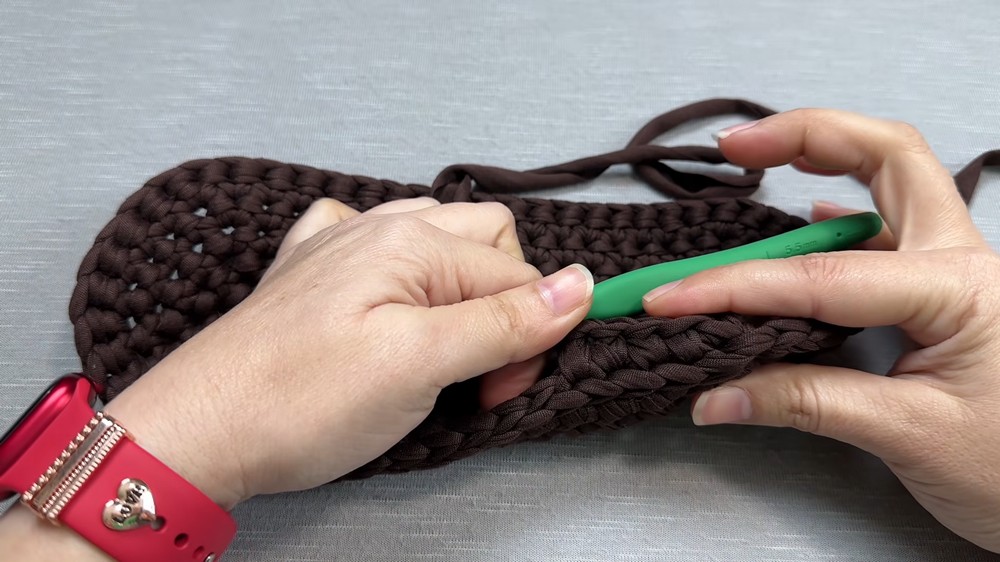
Backpack Body
Rounds:
- Begin on last round of base panel.
- sc in each chain around, working through both loops.
- Continue for 27 rows or to desired height (23cm).
- End each round by joining in the first chain with a needle through the center, adjust to tighten.
- All stitches are single crochet.
Reinforced Edge
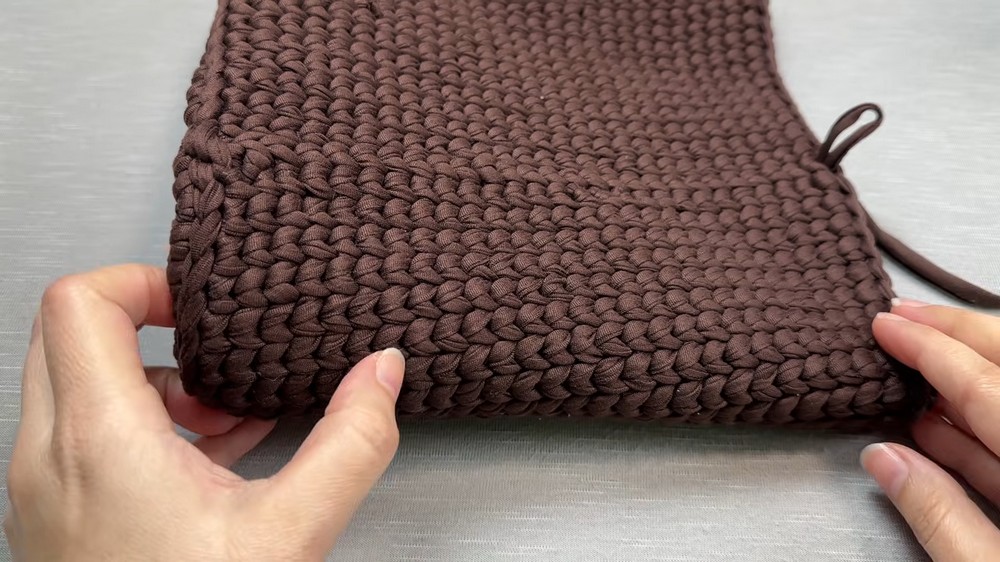
Edge Round:
- Work a firm double chain: insert hook, yarn over, pull through, slip through both loops.
- Continue around for one round.
Lid
Chains and Rounds:
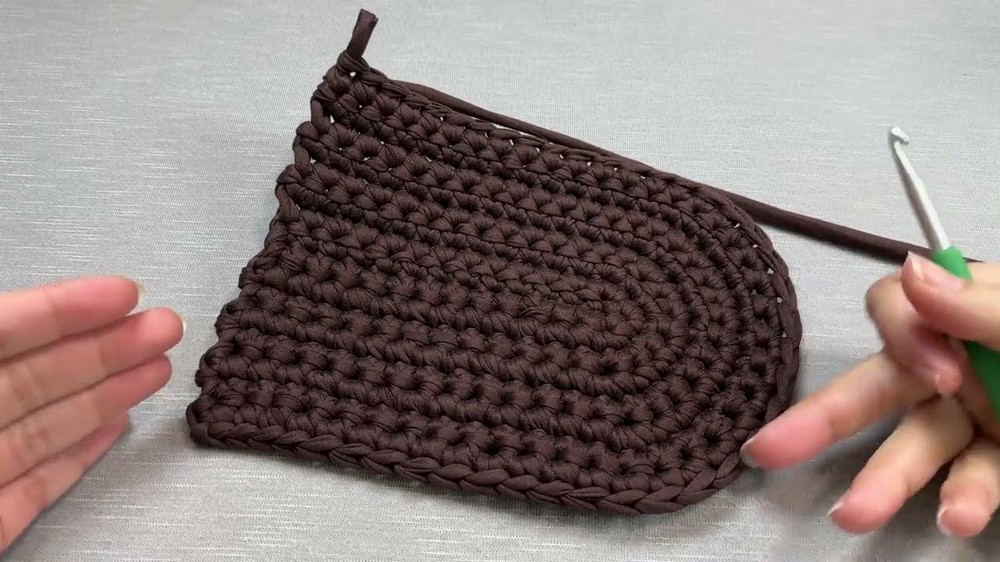
- Tie a knot, ch 14.
- Skip last ch; sc in next, and in each base chain.
- In last chain, make 3 sc (for curve).
- Work sc down the opposite side of base.
- Turn, ch 1 (does not count), sc in each st.
- At curved area, 3 increases: 2 sc in each st.
- Repeat, placing 3 sc in curved section per round for shaping.
- Subsequent rounds:
- (Increase, sc, Increase, sc, Increase)
- (Increase, 2 sc, Increase, 2 sc, Increase)
- (Increase, 3 sc, Increase, 3 sc, Increase)
- (Increase, 4 sc, Increase, 4 sc, Increase)
- After last increase round, work two rounds of sc with no increases.
- Work a final sc border on lower edge for straightening.
Drawstring Cord
Chains:
- Tie a knot, make tight chains for a cord measuring about 55cm.
- Stretch each stitch for slimness.
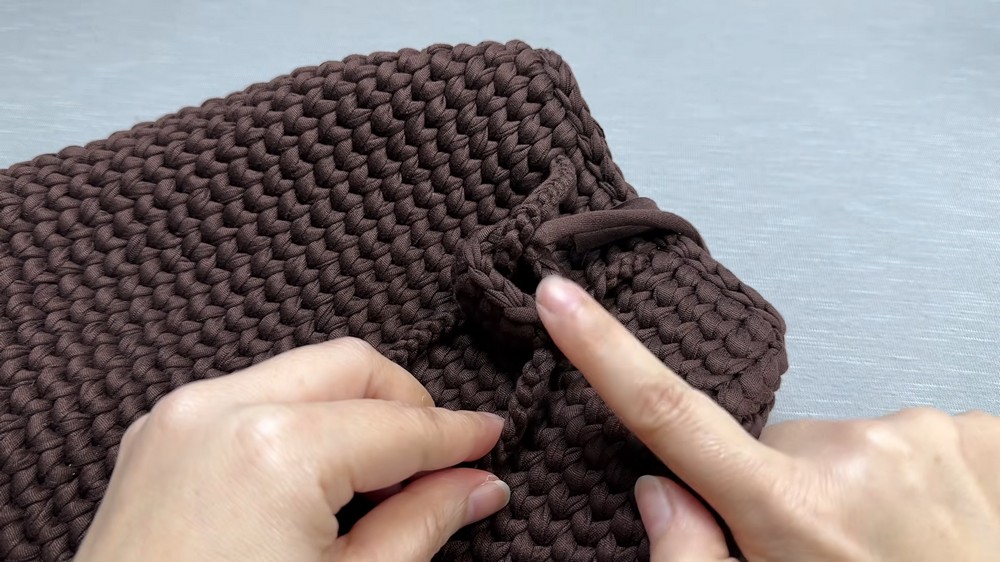
Cord Placement
- Fold bag in half, mark corners.
- Pass cord through points: count five stitches inward, use second row for insertion.
- Use a thinner hook if needed, pull cord through as described.
Closure Ring
Chains and Rounds:
- Tie a knot, ch 9.
- Join into first ch with a sl st for ring.
- ch 1, sc in each base chain around, join with a sl st.
- Second round: ch 1, sc in each stitch, join with sl st.
- Leave a long tail for sewing.
Sewing Lid and Closure
Assembly:
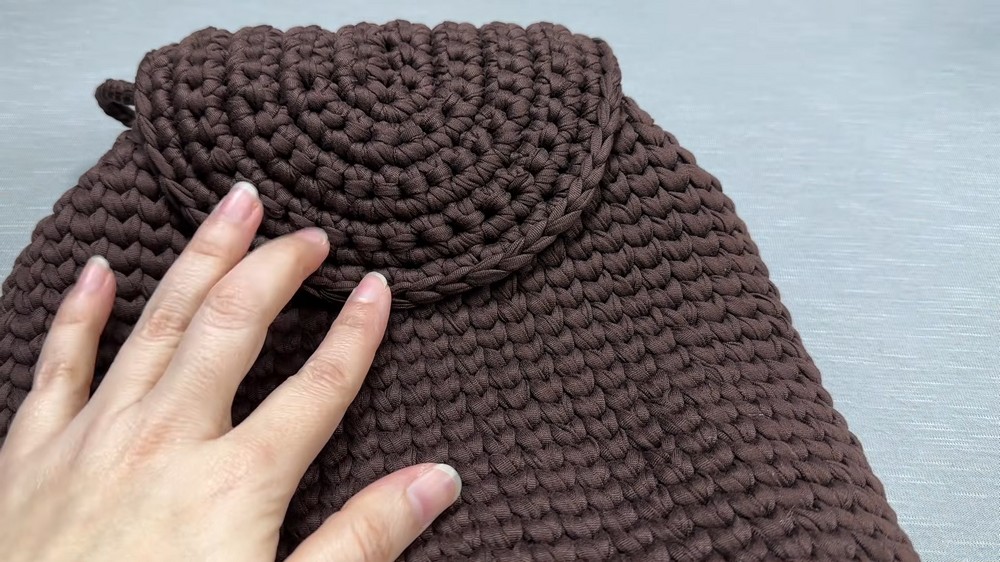
- Attach lid using wool needle and leftover yarn, sewing through the back top of the bag.
- Sew closure ring at bag center, securing cord ends firmly.
Handles
Chains and Slip Stitches:
- ch 150 for adult (120 for child), leave 15cm at end.
- Turn chain, work sl st in back loops along chain.
- Make three rounds for thickness, each round with sl st in back loop only.
- Cut, hide end, sew handles onto rings for adjustable attachment.
Handle Assembly
Sewing:
- Sew rings into bag corners for handle attachment, securing with wool needle.
- Attach handle at top center and bottom using rings.
Final Notes
- Focus on single crochet, chains, and slip stitches for building and assembling.
- All edges, handles, and closures use these basic stitches for strength.
- Adjust sizes and placement as needed for your desired fit and look.
Leave a Reply