

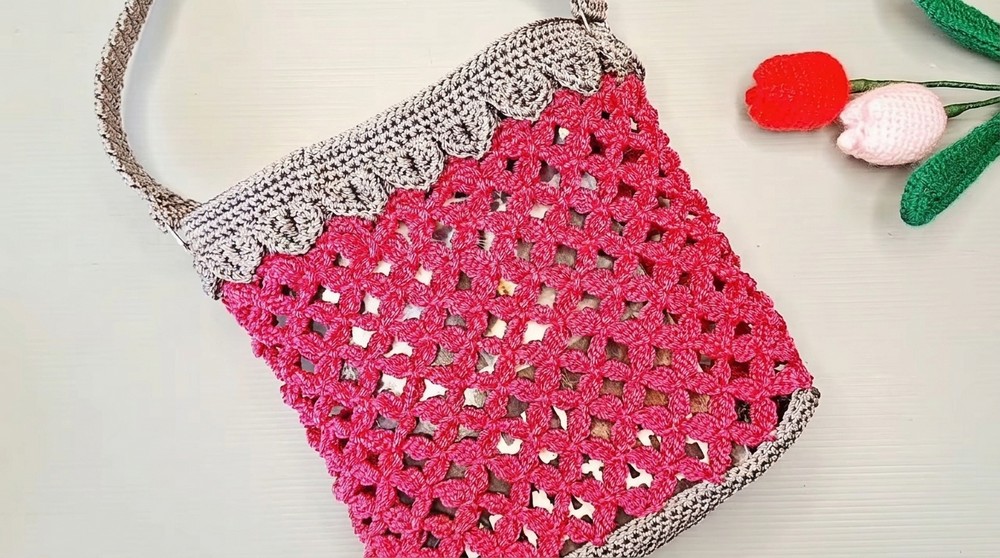
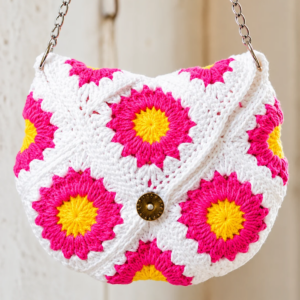
Carry your keys and lip balm on coffee runs with the Crochet Mini Hand Bag Free Pattern and pick a yarn color that goes with your favorite jeans.
The original YouTube tutorial by Hobihobiku offers a wonderful guide to creating a lovely Crochet Mini Hand Bag, and full credit goes to this talented creator for sharing such an inspiring project. This mini handbag is a charming, compact accessory perfect for carrying small essentials like keys, lip balm, or cards while adding a stylish handmade touch to your outfit.
Free Crochet Mini Hand Bag Pattern For Coffee Runs
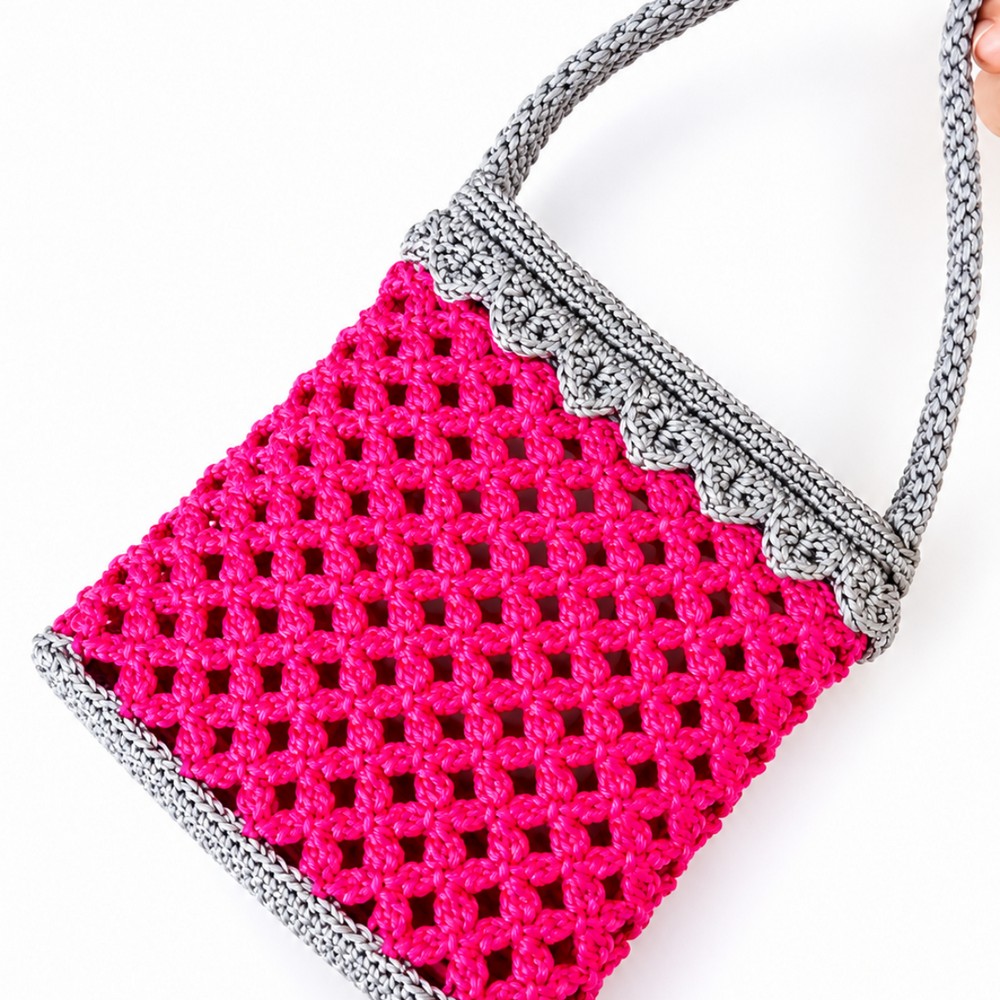
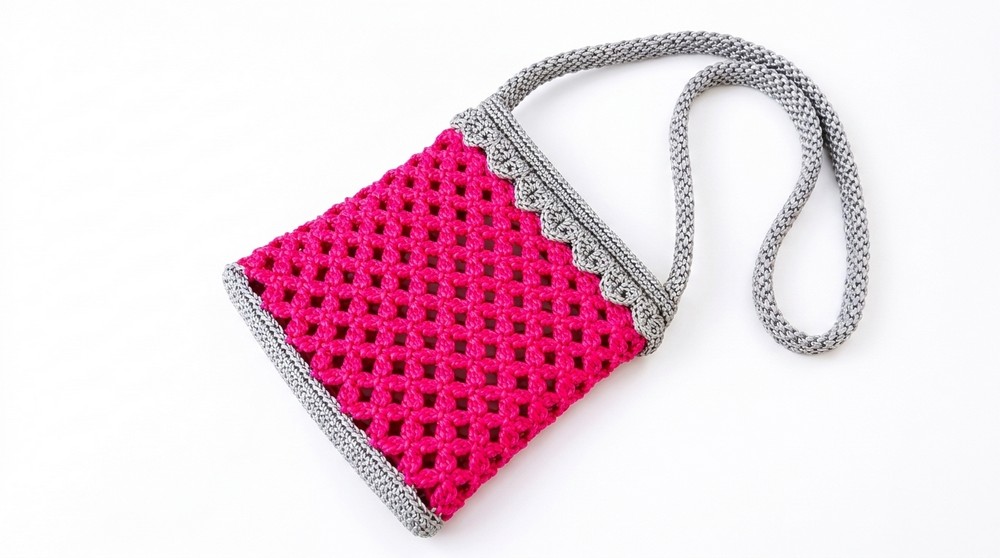
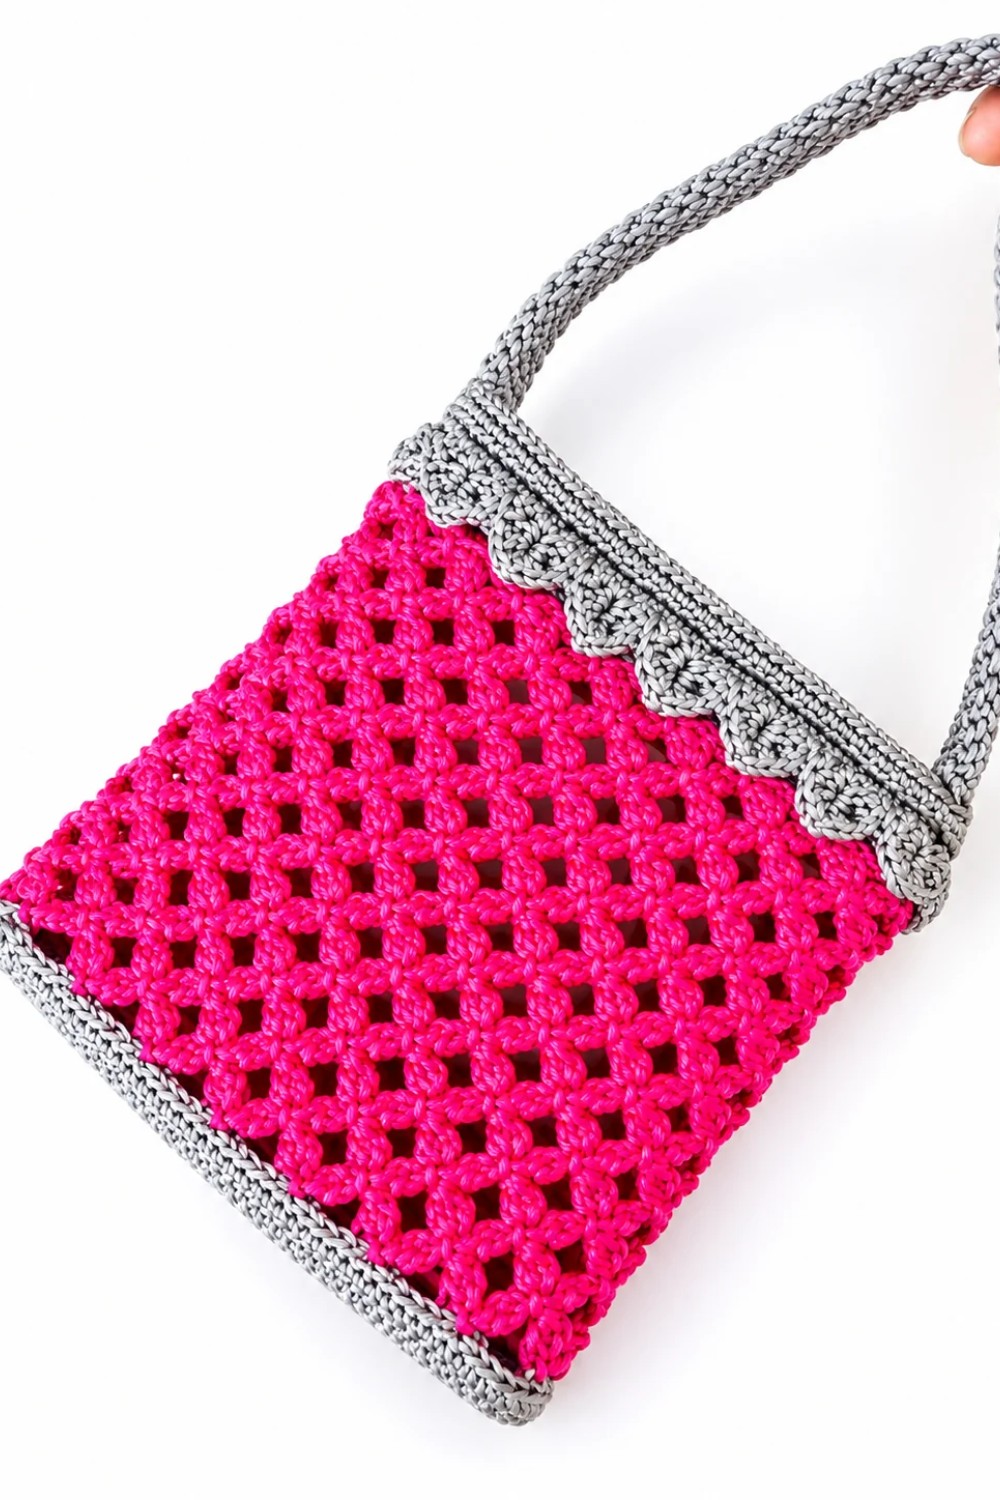
The bag’s main features include its petite size, sturdy structure, and delightful texture, which comes from using basic crochet stitches like single crochet and half double crochet. Its beauty lies in its simplicity combined with elegant details like a neat flap closure and a sturdy strap that can be customized in length to suit your preference. Plus, you can personalize it by choosing your favorite yarn colors or adding embellishments such as buttons, beads, or appliques.
This pattern walks you through the essential crochet steps: starting with a foundation chain, building the bag’s body with even stitches, shaping the flap, and finishing with a practical strap that’s both durable and comfortable. This bag is perfect for beginners and intermediate crocheters who want to create something functional yet fashionable.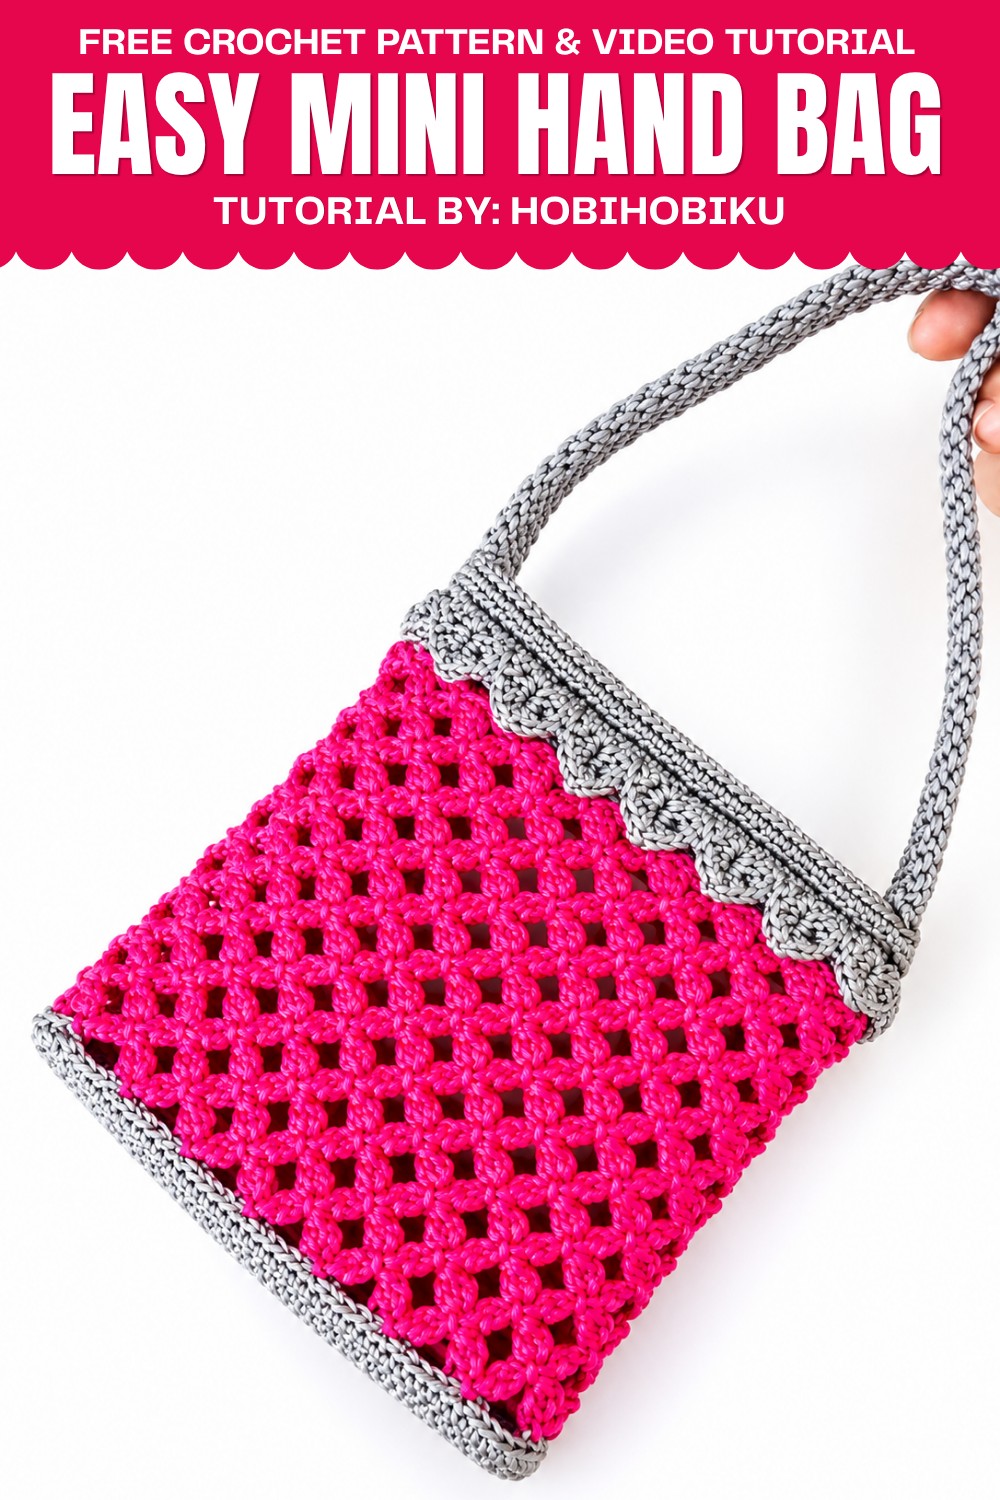
This Crochet Mini Hand Bag is great for everyday use, special occasions, or as a thoughtful handmade gift. It highlights how simple crochet techniques can turn basic materials into a beautiful and personal accessory.
Pattern Overview
This crochet mini handbag features a base in single crochet, a decorative floral motif constructed in multiples of 6, a unique leaf/scale detail, and functional finishing with sturdy straps. Each section is constructed step-by-step—with motifs layered for both texture and visual appeal. You’ll use only standard stitches, some shaping, and simple rounds, making this a versatile yet fun pattern.
Quick Details
- Project Type: Mini handbag
- Techniques: Single crochet base, chain-based floral & leaf motifs, sturdy handle attachment
- Pattern Repeat: Multiples of 6 stitches
Important Tips
- Work foundation and first rows carefully—maintain a consistent edge for even assembly.
- Always count stitches at the end of each row and motif round for symmetry.
- Use stitch markers as needed, especially for corners and handle placement.
- Use the slip stitch to join neatly at round/row ends.
- For a clear pattern, ensure you follow the order of sections exactly as described.
Skill Level
- Beginner to Intermediate—Relies on basic crochet stitches and combinations, with some attention needed for motif shaping and joining.
Materials
- Yarn of your choice (worsted or DK weight suggested)
- Match crochet hook to yarn weight (usually 3-4 mm)
- Stitch markers
- Scissors
- Yarn needle for weaving ends
- 2 D-rings or square rings for handle attachment
Measurements
- Finished handbag will depend on yarn and hook size
- Starting rectangle (base): 42 stitches wide (plus turning chain), single crocheted for 12 rows
- Modifications: Adjust width in multiples of 6 to change handbag size
Gauge
- Not critical, but maintain firm, even stitches for structure
Abbreviations
- SC: Single Crochet
- DC: Double Crochet
- DC2tog: Double Crochet 2 Together
- Ch: Chain
- Sl st: Slip Stitch
- St / sts: Stitch(es)
Special Stitches
- DC2tog (Double Crochet 2 Together): Yarn over, insert hook into st, yarn over and pull up loop, yarn over and draw through 2 loops, yarn over, insert hook into next st, yarn over and pull up loop, yarn over and draw through 2 loops, yarn over and draw through all 3 loops.
- Petal Motif: Built from a sequence of Chain 4 and DC2tog, arranged in alternating arcs for a floral look.
Step-by-Step Instructions
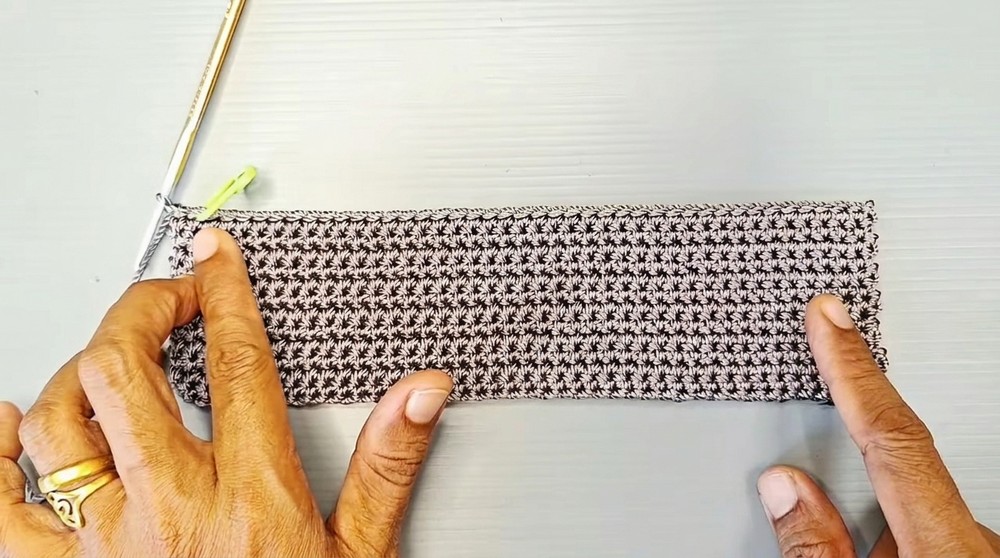
1. Base
- Chain 42 + 1 (total 43 chains).
- Row 1: Work 1 SC in second chain from hook and each chain across (42 SC).
- Rows 2–12: Ch 1, turn. Work 1 SC in each stitch across (42 SC per row).
2. Border SC
- Work SC around the entire rectangle as follows:
- 12 SC evenly spaced along each short side (row ends)
- 42 SC across the foundation (bottom)
- 41 SC along the top, working into the last row’s stitches
- Place 1 SC in each corner for smooth turns as you work around.
- Slip stitch (sl st) to the first SC to join and finish the border.
3. Floral Motif Foundation
- Join yarn at side or corner as needed.
- [Ch 4, work DC2tog in first chain], Ch 4, work another DC2tog into the same space.
- Skip 5 stitches, sl st into the next.
- Repeat from * to * all around the bordered rectangle. This creates the first round of petal motifs around the bag base.
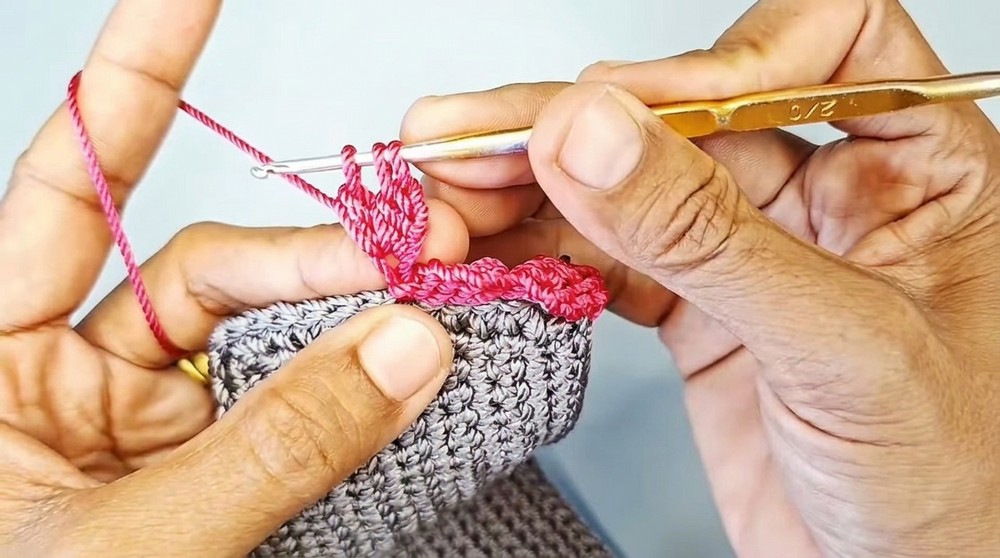
4. Floral Motif Rows
- Slip stitch to reach the center peak (top of a petal).
- For each round:
- [Ch 4, DC2tog into peak of previous row], Ch 4, DC2tog again into same peak.
- Continue this petal sequence in every center peak space around the bag.
- Repeat for several rounds (depending on height desired), always working petals into previous row’s peaks.
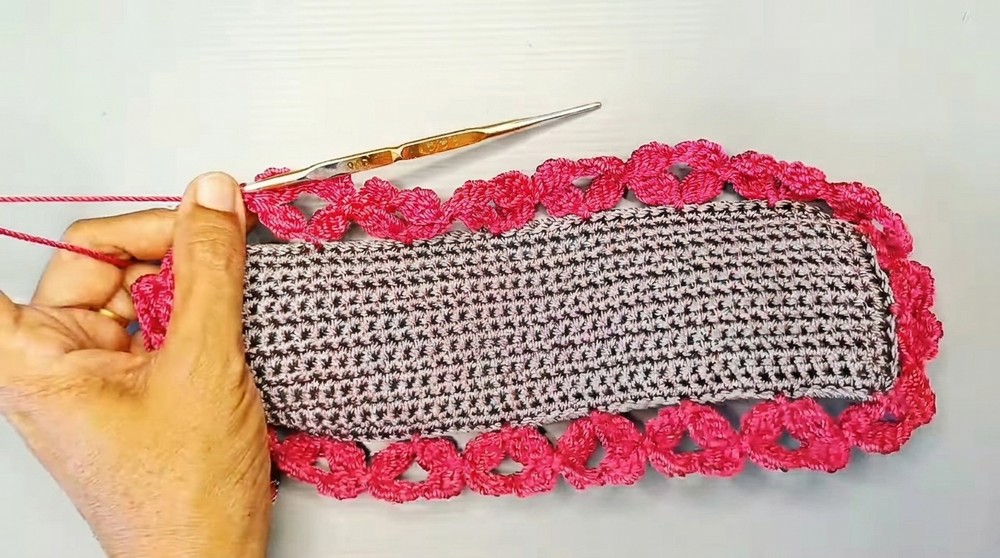
5. Finishing Top Edge
- With the main yarn, start at any petal peak:
- 1 SC in center of a petal, Ch 2, 1 DC between motifs, Ch 2.
- Continue this sequence all the way around.
- Final Round: Work 1 SC in every stitch around the top edge for a sturdy and neat finish.
6. Leaf/Scale Motif
- At the desired round (after floral motifs, before handles):
- Ch 2, skip 2, 2 DC in next stitch.
- Ch 2, skip 2, 1 DC in next.
- In each 1-DC space, work 5 DC (this forms the full scale or leaf effect).
- Secure the leaf by working 1 SC into the row below at the base of the motif.
- Repeat all around to complete the leafy border.
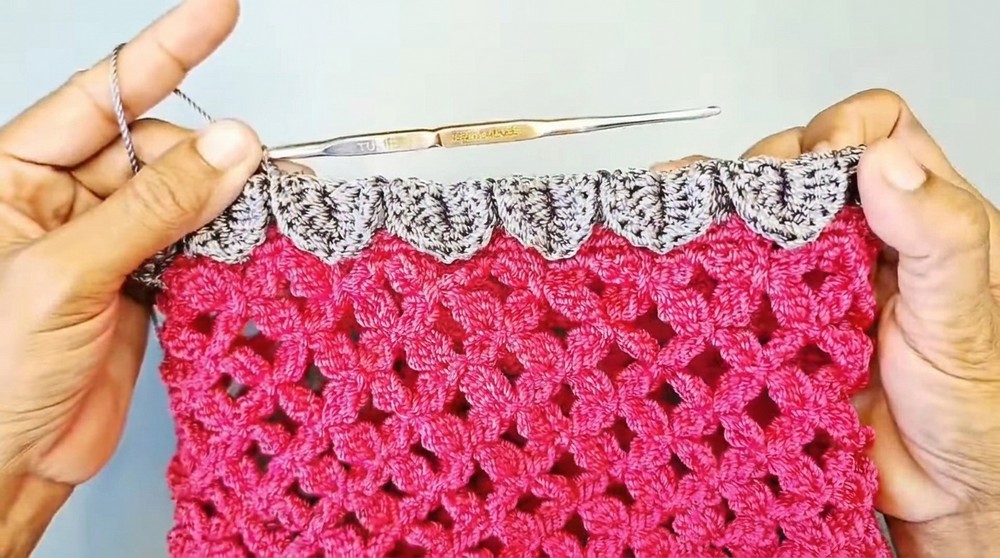
7. Final Assembly & Straps
- SC around the entire top edge to firm up.
- At corner markers: For each handle attachment,
- Place 5 SC around a D-ring or square ring at the marked spots.
- This firmly attaches the ring for a sturdy handle connection.
- Work 2 more rounds of SC around the entire top, enclosing the ring bases and giving a polished look.
- Fasten off, weave in all ends with yarn needle.
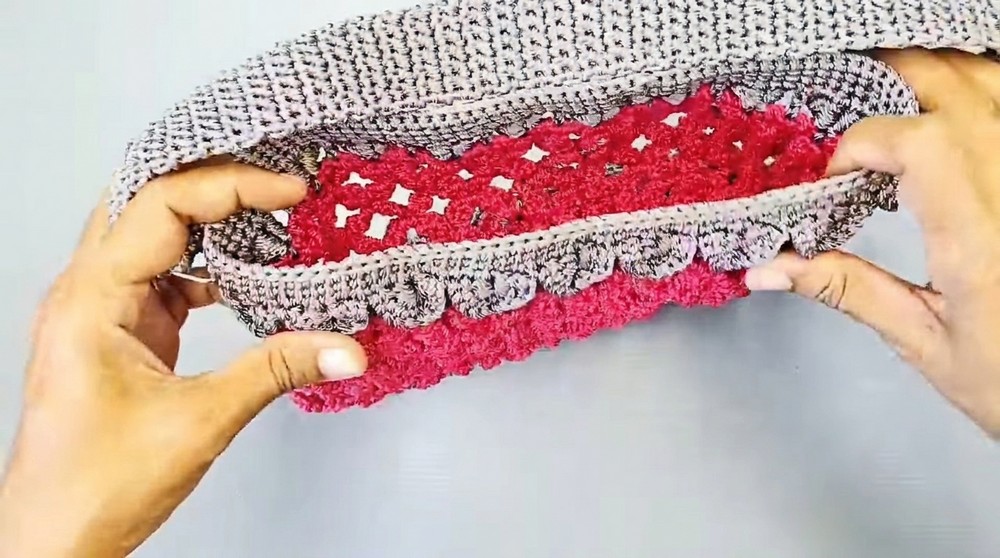
Assembly
- Fold the crocheted fabric along the base and sides (to form a bag).
- Use the natural corners as placement points for the D-rings or square rings.
- After completing edging and motifs, ensure the bag is even and all motifs are aligned.
- Attach pre-made or crocheted straps/handles to the rings, as desired.
Final Notes
- Sticking closely to multiples of 6 ensures the floral and leaf motifs line up evenly.
- Adjust base chain length in multiples of 6 for wider bags, keeping the motif pattern smooth.
- Slip stitch joins keep motif rounds neat; do not skip this for seamless results.
- Placement and evenness of petals and scales are key for a professional appearance.
- Use a yarn needle to tidy up any stray yarn ends.
- For strap durability, check the firmness of SC rounds at ring attachments.
- Block the bag gently for an improved shape if desired.
- The bag is created only with simple stitches and shaping; altering colors for each motif row can further personalize your design.
- All instructions use only details provided by the transcript for accuracy and order.
Pattern Summary
This pattern uses a sturdy SC base, decorative petal (DC2tog motif) and leaf (scale) stitches, and strong SC rounds for attachment and shape, resulting in a mini handbag that’s visually complex but straightforward to execute with basics from the provided assembly transcript.

Leave a Reply