

Hang your keys with a cute Crochet Pig Keychain that is easy to make and adds a fun handmade touch to your daily accessories for everyone to enjoy.
Small, handmade items can really brighten up everyday things. A Crochet Pig Keychain is a fun and cute accessory that adds personality to your keys, bag, or backpacks. This project creates a soft, round pig with little details like a nose and ears, making it look friendly and adorable.
Easy Crochet Pig Keychain Free Pattern For Everyday Accessories
This keychain is made in the amigurumi style, using simple crochet stitches worked in rounds to form a neat shape. You can change the size by using different yarn thicknesses or hook sizes, and there are lots of color options besides the usual pink to make it your own.
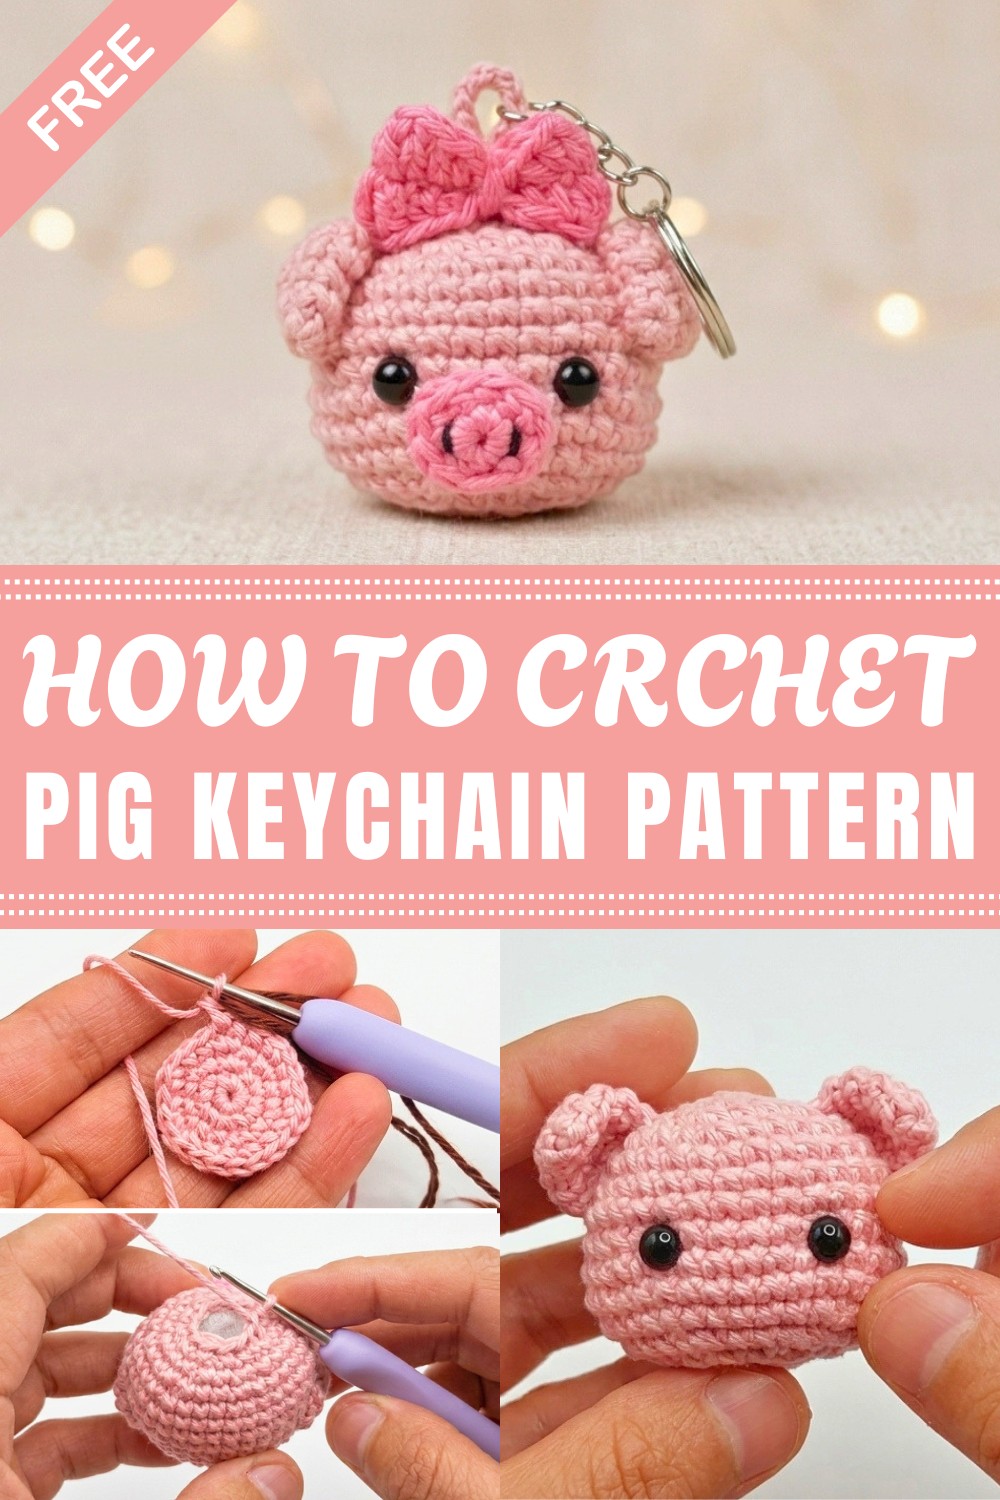
Using cotton yarn is a great choice because it’s soft but also strong enough to hold the pig’s shape well. The clear stitches help show off the little features that make the pig special.
The idea behind this keychain comes from wanting small, useful items that also feel personal. It’s a nice gift idea for birthdays or just a small surprise. You can even add tiny decorations like bows or flowers to make each pig unique. This project is simple, enjoyable, and a great way to practice crochet skills.
Mini Pig Keychain Amigurumi Pattern
In this step-by-step pattern, we will crochet a charming mini pig keychain. This project features detailed instructions to build the head, nose, ears, and a bow, utilizing simple stitches and adorable embroidery. The piece is perfect for beginners and intermediate crocheters looking for a cute, quick amigurumi.
Pattern Basic Points
Construction Method
- The keychain is worked from the head down, in continuous rounds.
- All features (nose, ears, bow) are individually crocheted and sewn to the head.
- Embroidery is used for the pig's nostrils.Key Features
- Simple color changes for character detailing.
- Ample stuffing for a firm, durable keychain head.
- Detailed assembly for a neat, secure finish.

Special Notes
- Use a stitch marker or a contrasting thread to mark the first stitch of each round for accuracy, especially in the increase and decrease rounds.
- Tight, uniform stitches create a sturdy base for keychain wear.
- Firmly stuff as you go to avoid lumps and shaping issues.
- The bow, nose, and ears are all secured with careful sewing for durability.
Skill Level
Beginner to Intermediate: Recommended for those familiar with basics of amigurumi in the round, simple color changes, basic embroidery, and hand sewing of parts.
Materials
- Yarn:
- Light pink (head & ears)
- Dark pink (nose & bow)
- Black embroidery thread (nostrils)
- Crochet Hook: 1.75 mm
- Stuffing: Polyester fiberfill
- Tapestry/Embroidery Needle
- Scissors
- Pins: For sewing accuracy
Measurements / Sizing
- Approximate Size: 4–5 cm diameter (head/body)
- Perfect for keychain, bag charm, or gift.
Gauge
- Gauge is not critical. Use a hook and yarn that produces tight stitches to keep stuffing from showing.
Stitch Abbreviations
| Abbreviation | Term |
|---|---|
| MR | Magic ring |
| sc | single crochet |
| inc | increase (2 sc in same stitch) |
| dec | decrease (single crochet decrease) |
| sl st | slip stitch |
| ch | chain |
| hdc | half double crochet |
| dc | double crochet |
Special Stitches
- Magic Ring (MR): Forming a tight adjustable circle for starting in the round.
- Invisible Decrease: Insert hook into front loops of next 2 sts, yarn over, pull through, yarn over, pull through all.
- Increase (inc): 2 sc in the same stitch.
Pattern
Head
With light pink yarn:
- Round 1: MR, 6 sc in ring. (6)
- Round 2: Inc in each st around. (12)
- Round 3: Sc, inc six times. (18)
- Round 4: 2 sc, inc six times. (24)
- Round 5: 3 sc, inc six times. (30)
- Rounds 6–8: Sc in each st around. (30 per round; 3 rounds)
- Round 9:
- 4 sc,
- (sc, inc) x3,
- 9 sc,
- (sc, inc) x3,
- 5 sc.
(36 sts at end) - Round 10: Sc in each st around. (36)
- Round 11: Sc in each st around. (36)
- Round 12: 4 sc, dec six times. (30)
- Round 13: 3 sc, dec six times. (24)
- Place safety eyes between rounds 9 & 10:
- Locate the central increase on left side, move forward 2 stitches
- Insert eyes across a 6-stitch gap.
- Round 14: 2 sc, dec six times. (18)
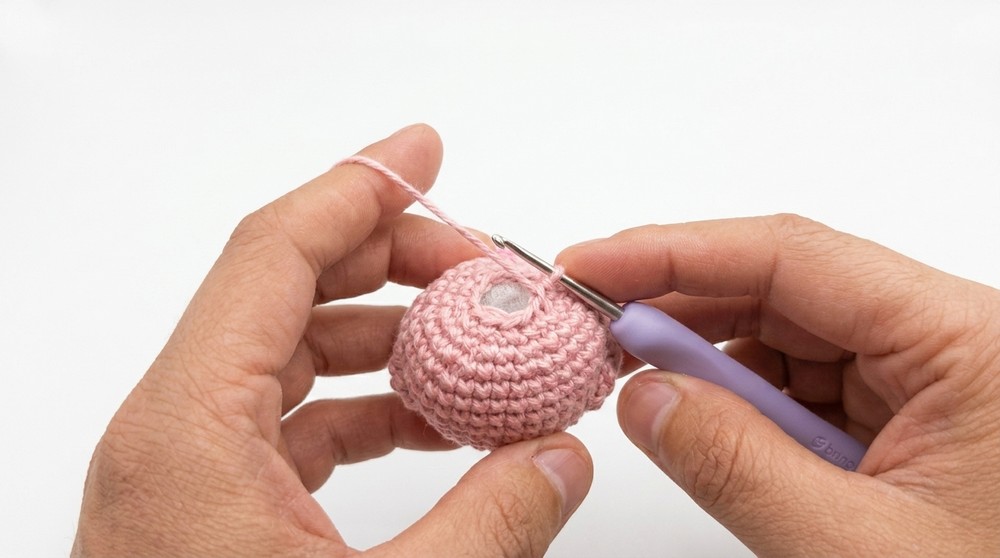
- Begin stuffing the piece firmly.
- Round 15: Sc, dec six times. (12)
- Round 16: 6 dec. (6)
- Gather front loops of final round with tapestry needle, form an inverted magic ring, and secure. Tie off, weave tail in.

Nose
With dark pink yarn:
- Round 1: MR, 5 sc. (5)
- Round 2: Inc in each st around. (10)
- Fasten off, use needle to create an invisible stitch join.
- Shape nose as an oval with your fingers.
- Sew nose to the center of the face.
- Embroidery: Use black thread to embroider two small parallel lines for nostrils.
Ears (Make 2)
With light pink yarn:
- Round 1: MR, 4 sc. (4)
- Round 2: Sc, inc twice. (6)
- Round 3: 2 sc, inc twice. (8)
- Round 4: Sc, inc four times. (12)
- Round 5: Sc in each st around. (12)
- Round 6: 6 dec. (6)
- Sew sides together with a tapestry needle to close into ear shape.
- Sew (or glue) ears to top side of head, approx. 4 rounds apart, centered above eyes, using reference pins.
Bow
With dark pink yarn:
- Ch 17.
- In 2nd ch from hook: sc in next st.
- Next 2 sts: hdc in next 2 ch.
- Next 2 sts: dc in next 2 ch.
- Next 2 sts: hdc in next 2 ch.
- Next 2 sts: sl st in next 2 ch.
- Next 2 sts: hdc in next 2 ch.
- Next 2 sts: dc in next 2 ch.
- Next 2 sts: hdc in next 2 ch.
- In last ch, 3 sc.
- Continue on the other side of foundation chain:
- 2 hdc,
- 2 dc,
- 2 hdc,
- 2 sl st,
- 2 hdc,
- 2 dc,
- 2 hdc.
- In final chain: 2 sc (inc).
- Fasten off, leaving a tail.
Finishing the Bow:
- With a needle, take ends to center of the bow.
- Wrap the same yarn tightly around the center 4–5 times to cinch the bow.
- Sew bow to pig’s head.
Assembly & Finished Size
- Sew nose to front center of head. Secure and weave in ends.
- Embroider nostrils with black thread on the nose.
- Sew or glue ears to head, spaced symmetrically; use pins for accuracy and shape.
- Sew bow at the base of one ear or centered between ears, per preference. Wrap to cinch and secure.
- Hide all thread ends inside the head neatly.
- Attach to a keychain ring or lobster clasp if desired.
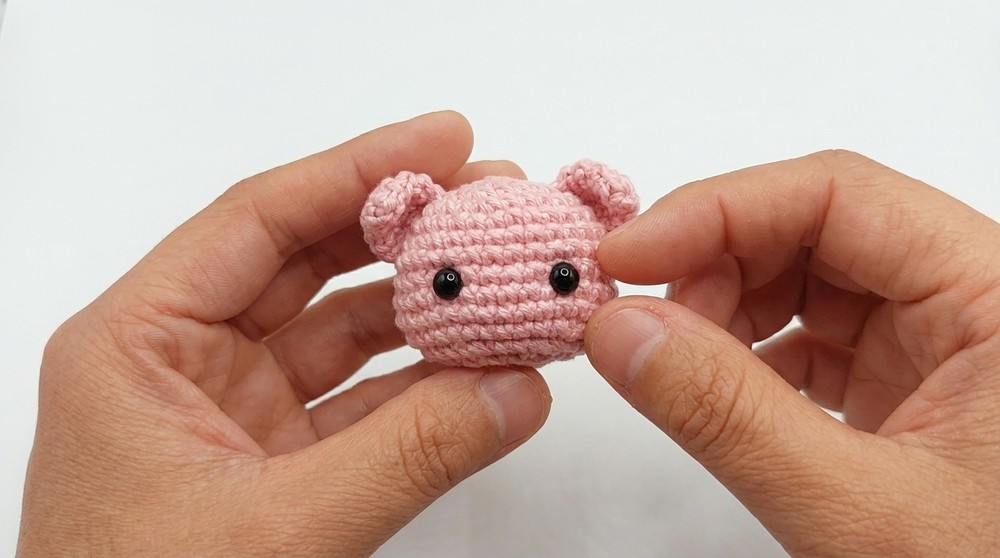
Finished size: 4–5 cm diameter.
Conclusion
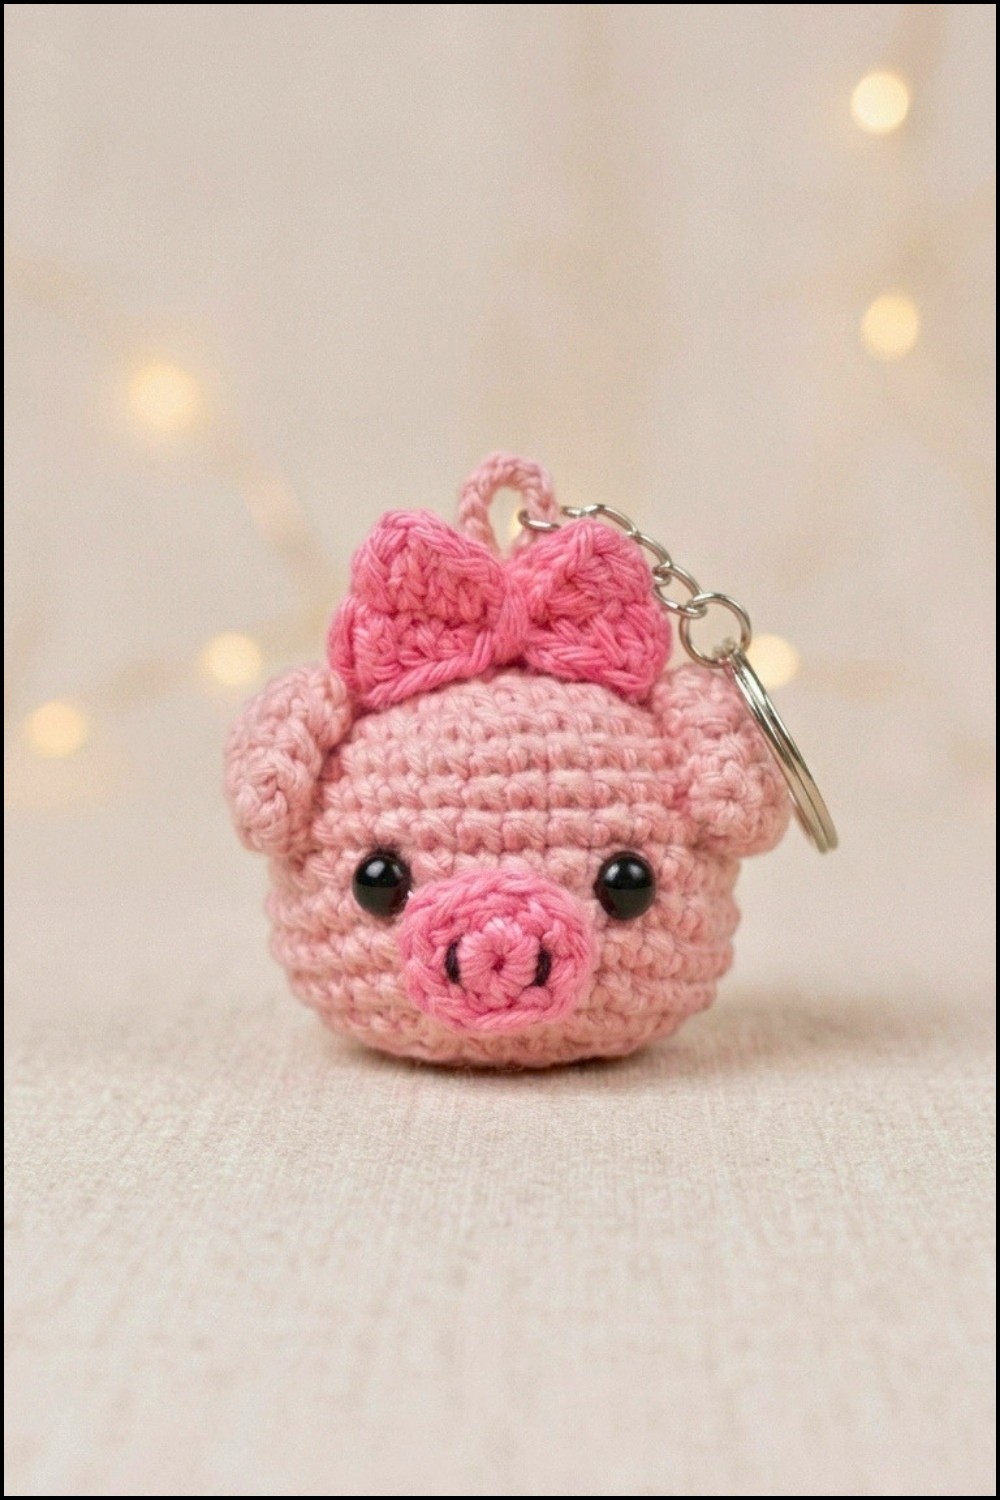
Your mini pig keychain is now complete—a delightful, portable amigurumi perfect for your keys or as a sweet gift. The concise rounds, careful assembly, and embroidered details bring charm and durability to your finished piece. I hope this guide helps you create many more adorable minis! If you enjoyed the project, share pictures and tag me—I'd love to see them.
Leave a Reply