

Make a Crochet Heart Keychain Pattern to create charming handmade keychains ideal for organizing keys, gifting, or adding a personal touch to accessories.
Looking for a small, cute project that’s fun to work on? A crochet heart keychain is just right. This little keychain has a soft, round heart shape with a nice, squishy texture made with simple crochet stitches. It’s worked flat, then two pieces are sewn together and lightly stuffed. A small loop lets you attach it easily to keys, bags, or gifts.
Free Crochet Heart Keychain Pattern for Bag Charm
You can make the heart bigger or smaller by using thicker yarn or changing the number of stitches and rows. It’s a simple project that doesn’t take long and looks sweet when finished. Using soft yarn like cotton or acrylic helps the heart feel nice and keeps its shape well.
The idea behind this heart is to create something small but special that can be given as a gift for occasions like Valentine’s Day, birthdays, or baby showers. You can also add your own touch with different colors or small decorations like beads.

- Uses for the crochet heart keychain:
- Attach to your keys to help identify them and add a cute touch
- Clip onto backpacks, purses, or handbags as a decorative charm
- Use as a zipper pull on jackets or pouches
Give as a handmade gift or party favor for special events
- Add to gift wrapping as a charming, reusable decoration
- Use as a sweet token to brighten someone’s day
This crochet heart keychain is a great way to try out basic crochet skills while making something pretty and useful. It’s easy to customize, and a nice way to add a little handmade charm to everyday things.
Crochet Heart Keychain Pattern
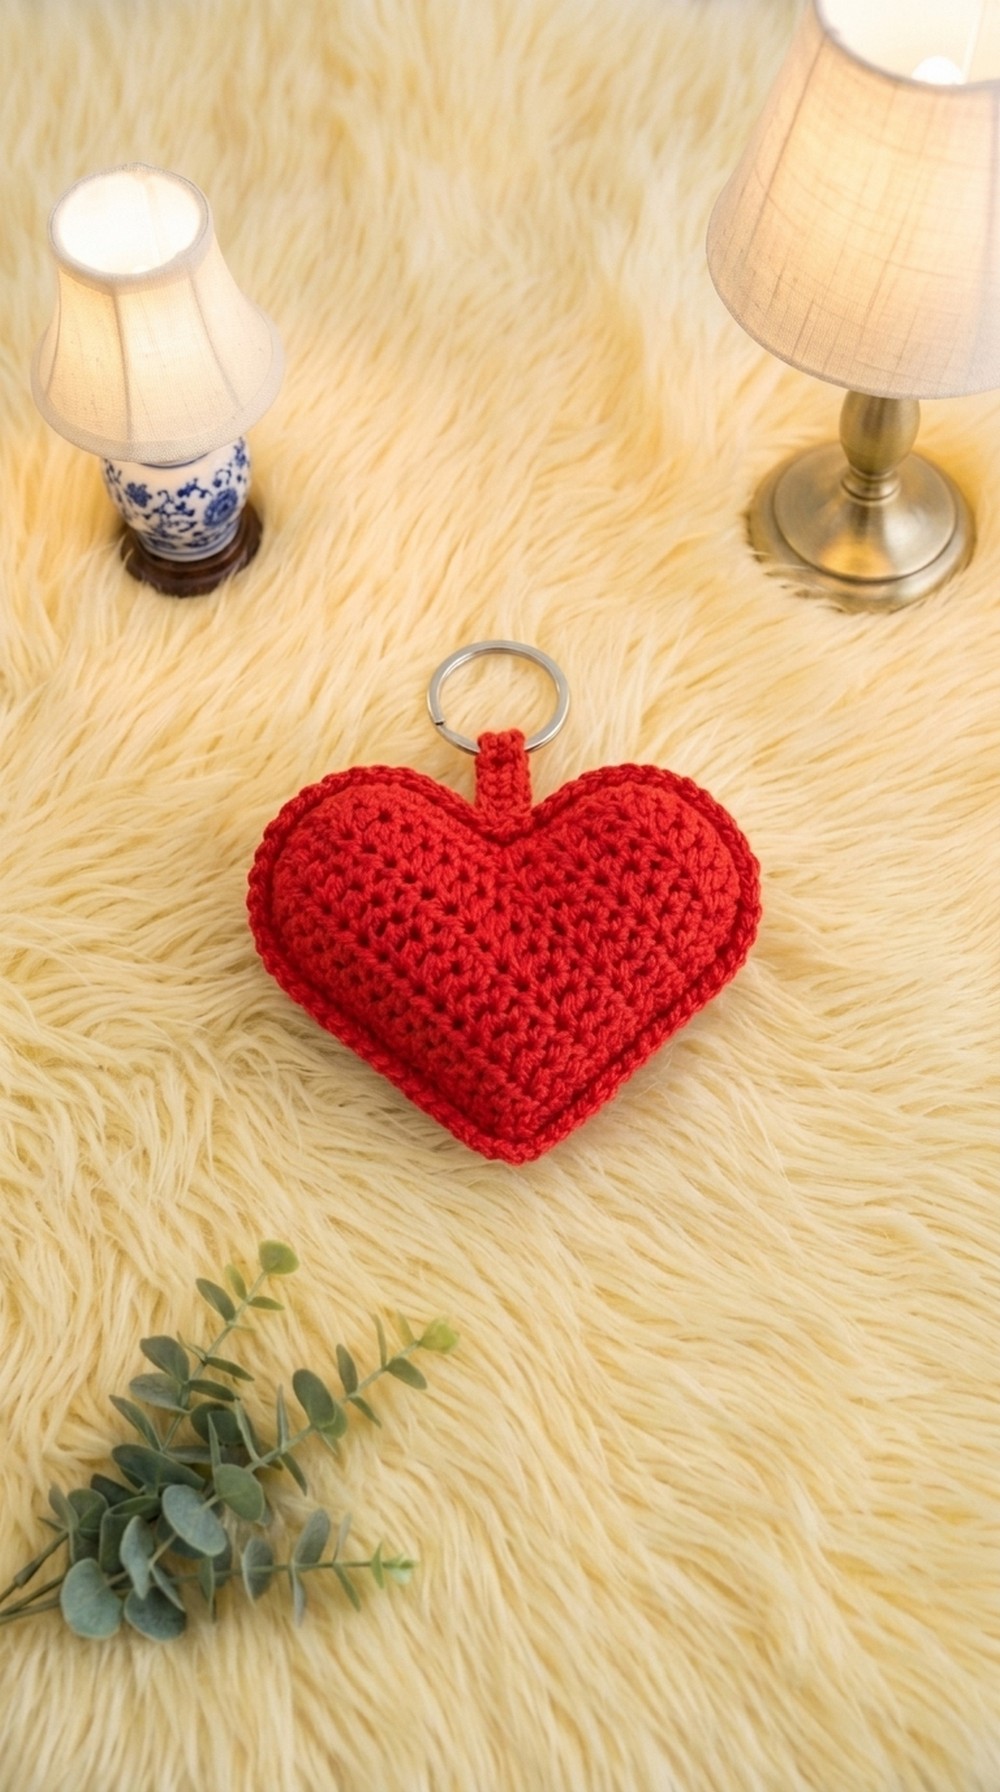
Simple Crochet Heart Keyring Pattern
This crochet heart keychain is a simple and adorable craft you can make quickly using basic stitches. It’s ideal for beginners wanting to try out crochet or for those who want a sweet gift or decoration for Valentine’s Day, Christmas, or any occasion. The pattern uses a 3 mm crochet hook, single crochet stitches, and basic shaping through chain foundations and layering rows to form a lovely, puffy heart. You can make these hearts as big or small as you like and even add accessories like key rings for a functional keepsake.
Quick Overview Of Pattern
- The heart is made by crocheting a rectangle base with rows of single crochet.
- The base is divided and shaped into two "lobes" to form the heart top.
- Two hearts are crocheted, then joined and stuffed to make a 3D heart.
- Slip stitch edging finishes the shape and adds a neat border.
- Add a chain loop or attach a ring for keychain use.
Notes
- Pattern uses US crochet terminology.
- Adjust the starting chain for a larger heart.
- Leave a long tail for joining and attaching keyring if needed.
- Stuff firmly for a good shape.
Skill Level
Beginner
Basic knowledge of single crochet, slip stitch, chaining, and working back and forth in rows.
Materials
- Yarn (any color – cotton or acrylic recommended)
- 3 mm crochet hook
- Scissors
- Yarn/tapestry needle
- Fiberfill/stuffing (for 3D hearts)
- Keyring or chain (optional)
Measurements / Sizing
- The example uses a starting chain of 11, making a small heart.
- Increase the starting chain (21, 31, 41, etc.) for larger hearts.
Gauge
- Gauge is not crucial. Adjust the heart by increasing/reducing starting chains or rows.
Stitch Abbreviations
- ch = chain
- sc = single crochet
- sl st = slip stitch
Special Stitches
- None.
All stitches are basic single crochet and slip stitch.
The Crochet Pattern
A. Heart Base
- Foundation:
- Make a slip knot.
- Chain 11 (or more for a larger heart).
- Row 1:
- Begin in the second chain from the hook.
- Make sc in each chain (total 10 sc).
- Finish the row.
- Row 2:
- Turn, chain 1.
- Make sc in each stitch across (10 sc).
- Row 3:
- Turn, chain 1.
- Make sc in each stitch across (10 sc).
- Row 4:
- Turn, chain 1.
- Make sc in each stitch across (10 sc).
- You will now have a rectangle with four rows.

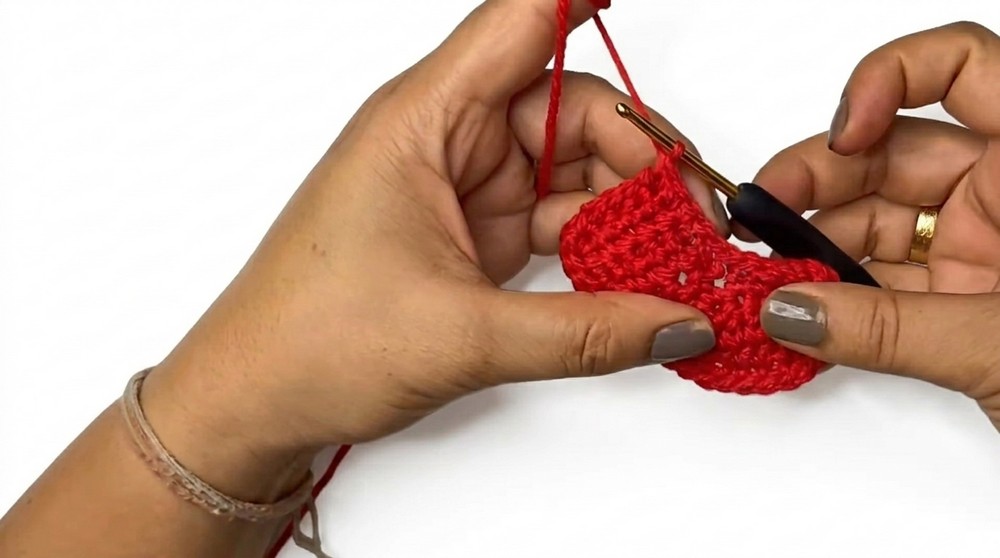
B. Heart Shaping (Creating the Lobes)
- Divide for Lobes:
- Chain 1, turn.
- Work sc into the first 5 stitches only (half the row).
- Turn, chain 1.
- Work sc into those 5 stitches.
- Repeat until you have four rows for the lobe.
- Fasten off.
- Repeat for Second Lobe:
- Attach yarn to the 6th stitch of the base row (the other half).
- Chain 1, work sc over 5 stitches.
- Turn, chain 1, sc across.
- Repeat until you have four rows.
- Fasten off.
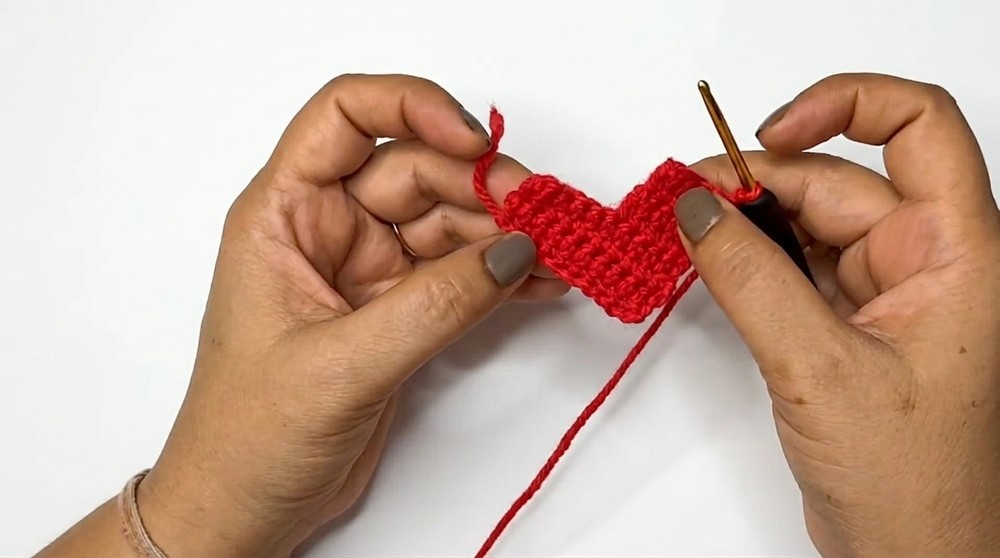
C. Make Second Heart
- Repeat Steps 1–7 to make a second heart identical to the first.
D. Joining and Stuffing
- Joining Two Hearts:
- Place the two hearts together, wrong sides facing each other.
- Using a new strand of yarn, begin joining with sc around the edge.
- Insert hook through both layers; make sc evenly around.
- Stuff lightly with fiberfill before closing.
- Continue sc to close the remaining gap.
- Tidy Up Edges:
- Hide or tuck extra yarn ends inside the heart.
- Cut yarn and weave in the ends for a clean finish.
E. Border and Loop
- Finishing Edging (Slip Stitch Border):
- Work sl st around all single crochet stitches for a tidy edge.
- Chain as needed to create a loop for keyring.
- Attach ring or chain to your loop.
Assembly & Finished Size
- Finished heart is small and puffy, perfect for a keyring or cute embellishment.
- For larger hearts, increase your starting chain as desired.
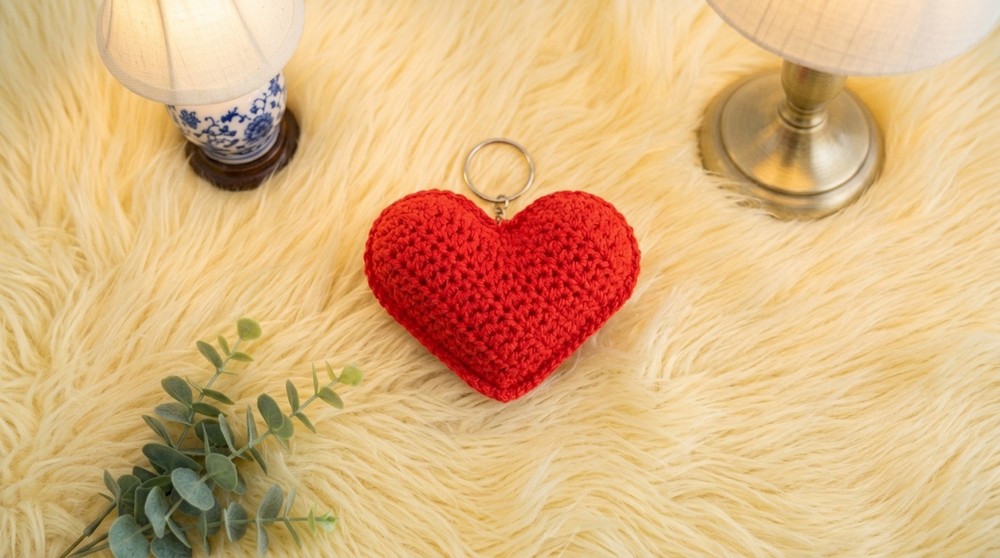
Conclusion
Your crochet heart is now complete! Use it as a keyring, decor, or attach it to bags and projects. Thank you for following this step-by-step pattern. If you enjoyed making this heart, please like, subscribe, and share. Happy crocheting, and thank you for watching and supporting my art!

Leave a Reply