

Spark elegance with timeless crochet AG doll dress pattern design beautifully stylish outfits that showcase your doll's sophistication.
There’s something truly rewarding about working on small crochet projects, especially ones that combine charm and practicality. "Mini Crochet AG Doll Dress Patterns" bring a sense of joy and accomplishment as you weave tiny outfits designed to make American Girl dolls stand out. This pattern is thoughtfully designed to be beginner-friendly while offering enough detail to excite seasoned crochet enthusiasts. With clear instructions, each project allows for creativity in design, encouraging combinations of colors, textures, and even decorative touches.
Miniature Fashion Crochet AG Dolls Dress Pattern
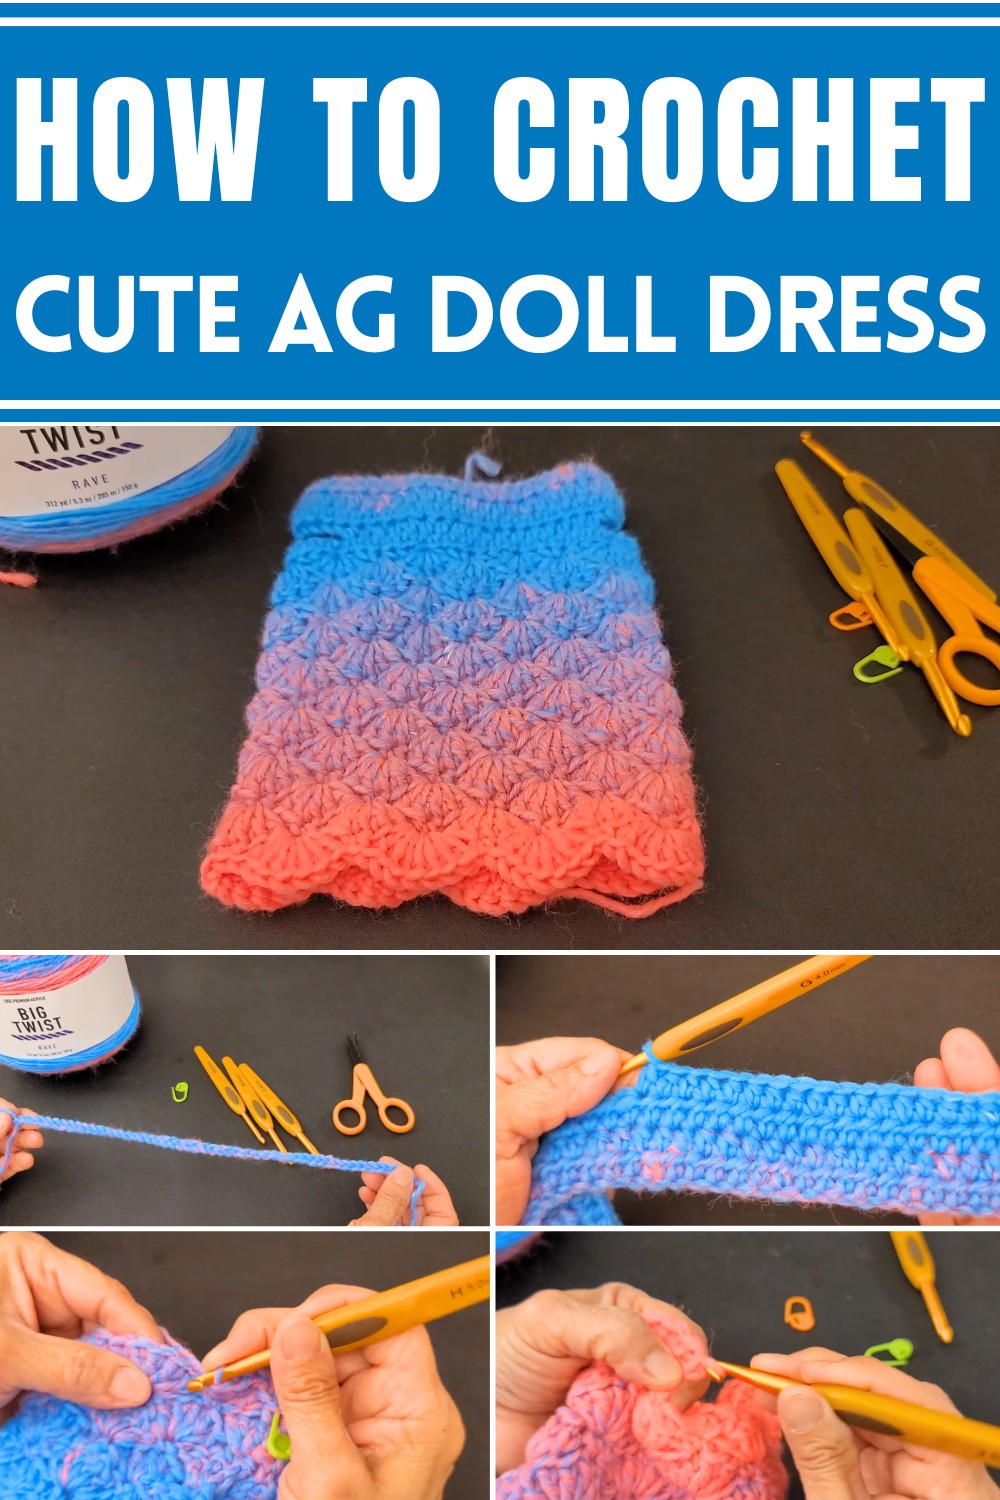
The benefits go beyond aesthetic appeal. Crocheting not only hones your motor skills but also promotes mindfulness through its repetitive, soothing motions. These miniature dresses make perfect gifts, collectibles, or even a fun outlet for personal creativity. Their small size ensures that they are manageable and quick to complete, making each finished piece an instant source of pride.
Whether it’s a delicate dress for casual wear or an intricate outfit for a special occasion, the pattern offer versatility to suit any doll’s wardrobe. Perfect for anyone looking to blend relaxation with productivity, this pattern is a celebration of artistry and practicality, highlighting how small-scale projects can carry big rewards for both the crafter and the recipient.
Introduction
The dress is simple, elegant, and beginner-friendly, making it a delightful project for crochet enthusiasts. Using basic stitches, the process of creating a lightweight and customizable crochet dress that can later be accessorized with buttons. Let's jump into the detailed step-by-step instructions.
Materials Needed
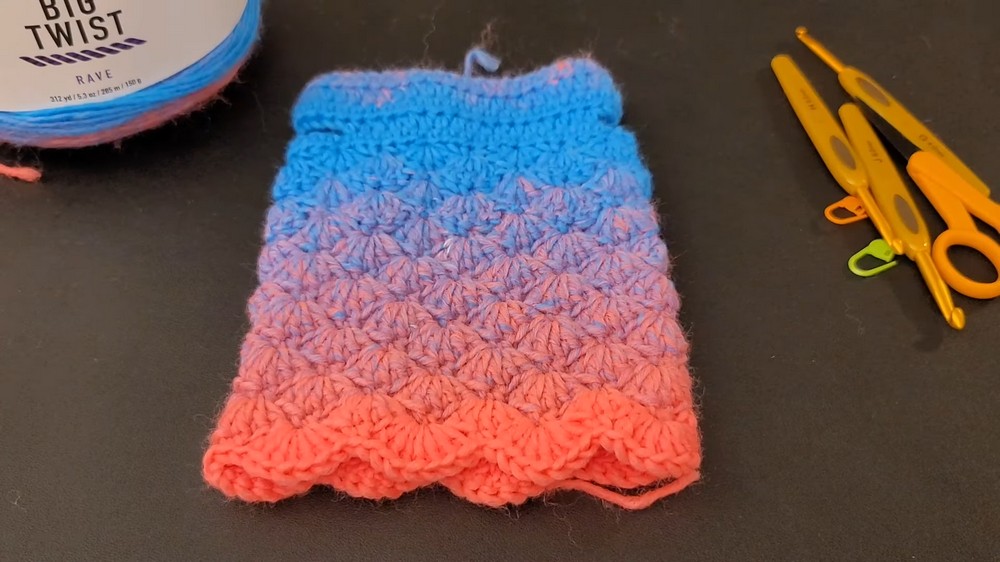
- Yarn: Big Twist Rave, medium-weight size 4.
- Crochet Hooks:
- G Hook (4 mm) for Rows 1–5
- H Hook (5 mm) for Rows 6 onward
- J Hook (6 mm) for final rows
- Tools:
- Stitch markers (2 initially, and 1 for later rows)
- Scissors
Step-by-Step Instructions
Step 1: Start with the Base Chain
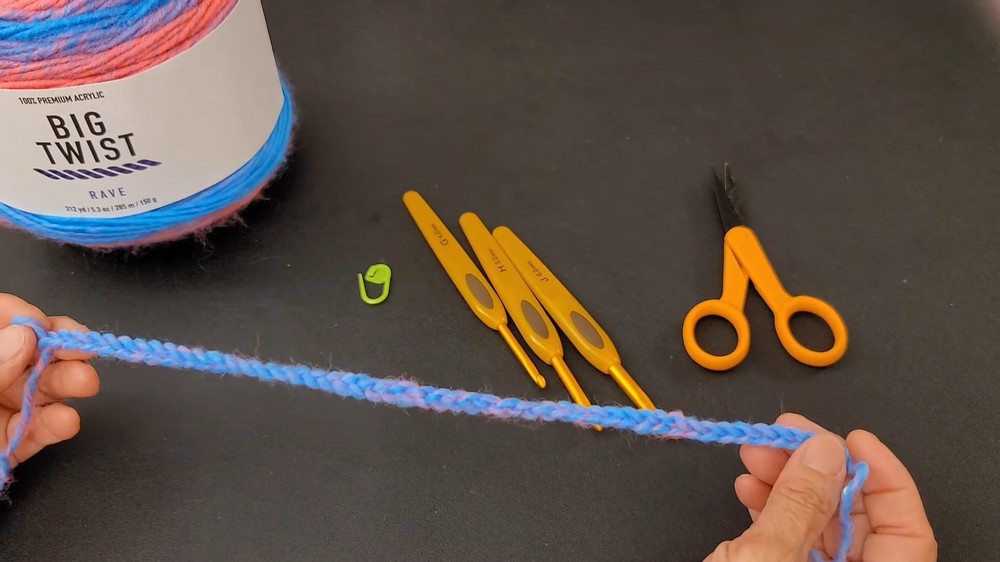
- Create a chain of 50 stitches using the G hook (4 mm).
- Skip the first stitch on the chain.
- Begin Row 1 by creating a half double crochet (HDC) into the second stitch and all subsequent stitches until the end of the row.
- Total stitches in Row 1: 49 HDCs
- Place a stitch marker in the first stitch of Row 1.
Step 2: Rows 2 and 3 (Foundation Rows)
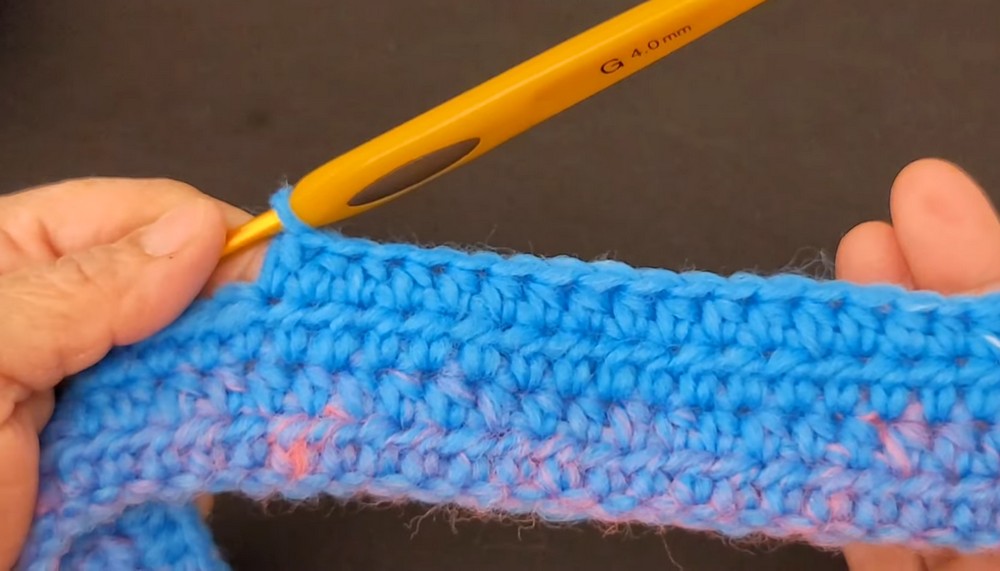
- Chain 1, turn your work, and start Row 2.
- Perform HDC across all 49 stitches using the G hook.
- Repeat this process for Row 3.
- By the end of Row 3, you should still have 49 HDCs, forming the base structure for the dress.
Step 3: Row 4 (Forming the Armholes)
- Begin Row 4 with a chain of 1 and turn your work.
- Create 9 HDCs at the start of the row.
- Chain 7 stitches to form the armhole.
- Skip the next 7 stitches on the base, then create a HDC in the next stitch.
- Perform 17 HDCs for the middle section of the dress.
- Chain 7 stitches, skip 7 stitches, and create 9 HDCs to complete the row.
Tip: Ensure you have 49 total stitches, including new chains for the armholes.
Step 4: Row 5 (Preparing Armhole Base)
- Chain 1, turn your work, and begin Row 5.
- Perform HDC across all stitches (including chains created for armholes in Row 4).
- By the end of Row 5, you should still have 49 HDCs.
Step 5: Row 6 (Begin the Two-Row Repeat Pattern)
- Switch to the H hook (5 mm).
- Start the row with a chain of 1, turn your work, and create:
- Single crochet (SC) in the first stitch (place a stitch marker).
- Skip 2 stitches and perform 5 double crochets (DC) into the next stitch.
- Skip 2 stitches again and perform a SC.
- Repeat this sequence to the end of the row.
- Ensure you end the row with SC.
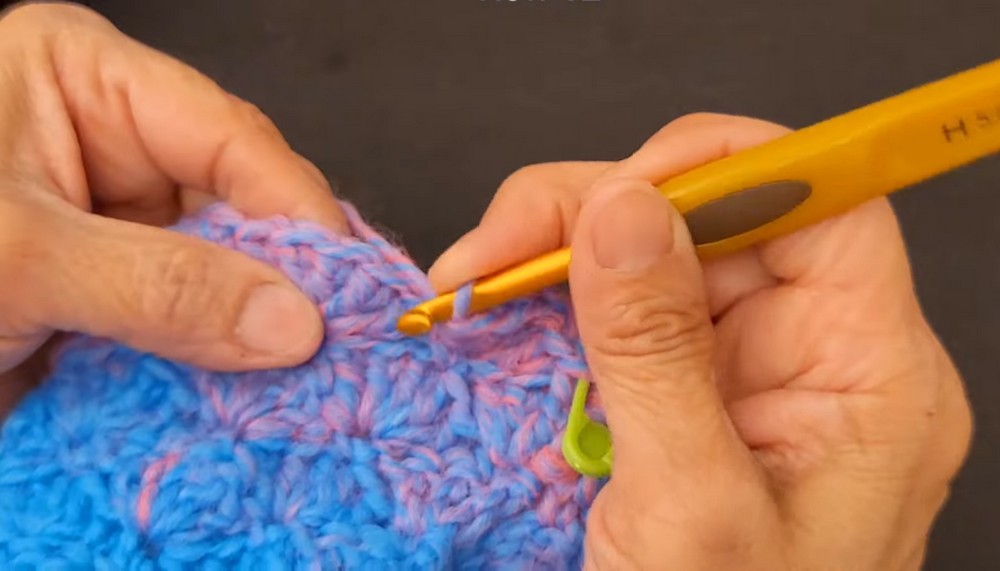
Step 6: Row 7 (Alternate Pattern Row)
- Chain 1, turn your work, and perform:
- 2 DC at the start of the row in the first stitch (place a stitch marker).
- Skip 2 stitches and perform SC in the middle stitch of the 5 DCs from the previous row.
- Skip 2 stitches and perform 5 DCs in the SC from the previous row.
- Repeat this sequence across the row.
- End the row with 3 DCs in the last stitch.
Step 7: Continue the Two-Row Repeat
- Follow the alternate patterns from Rows 6 and 7 to create the dress body.
- Repeat as needed until the desired length is achieved, noting:
- Odd rows (e.g., Row 7, Row 9, etc.) start with 2 DCs at the beginning and end with 3 DCs.
- Even rows (e.g., Row 6, Row 8, etc.) begin with SC and end with SC.
Step 8: Switching to the J Hook (Final Rows)
- Use the J Hook (6 mm) starting at Row 13 for a slight flare in the dress.
- Repeat the same two-row pattern (Rows 6 and 7) until the dress is almost complete.
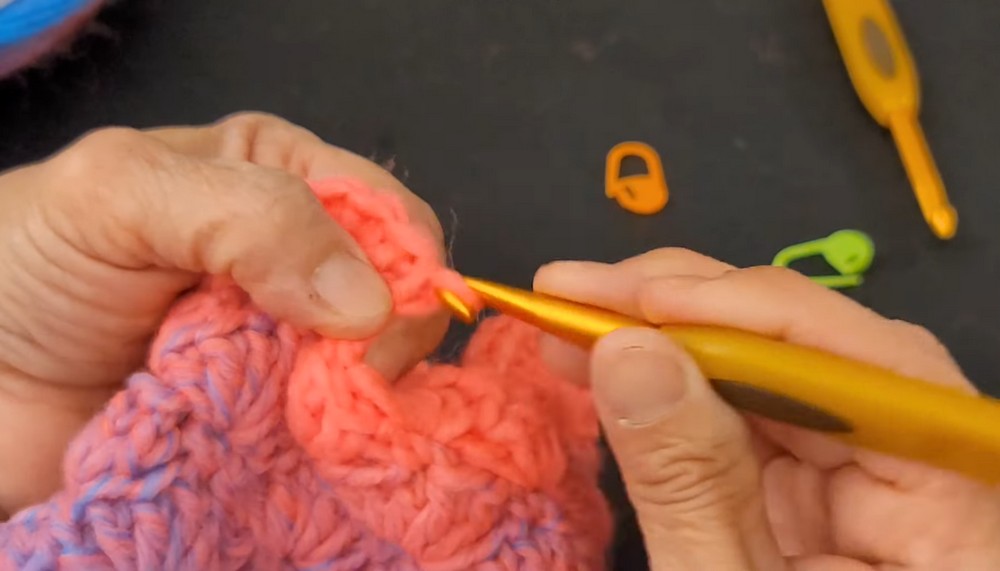
Step 9: Final Row (Adding Flare)
- For the last row, replace groups of 5 DCs with 7 DCs to add a decorative flare to the hem.
- Close the row with a slip stitch into the beginning stitch.
Step 10: Finishing Touches
- Weave in loose ends using scissors to cut off extra yarn.
- Add buttons to the back closure for fastening.
Conclusion
The crochet Ag Doll dress is an elegant piece that combines simplicity and creativity. Its unique armhole formation and two-row repeat pattern make it a fun and customizable project for a variety of yarns and colors. With its easy-to-follow design, you can modify the number of rows or flare at the hem to suit your preferences.
Leave a Reply