

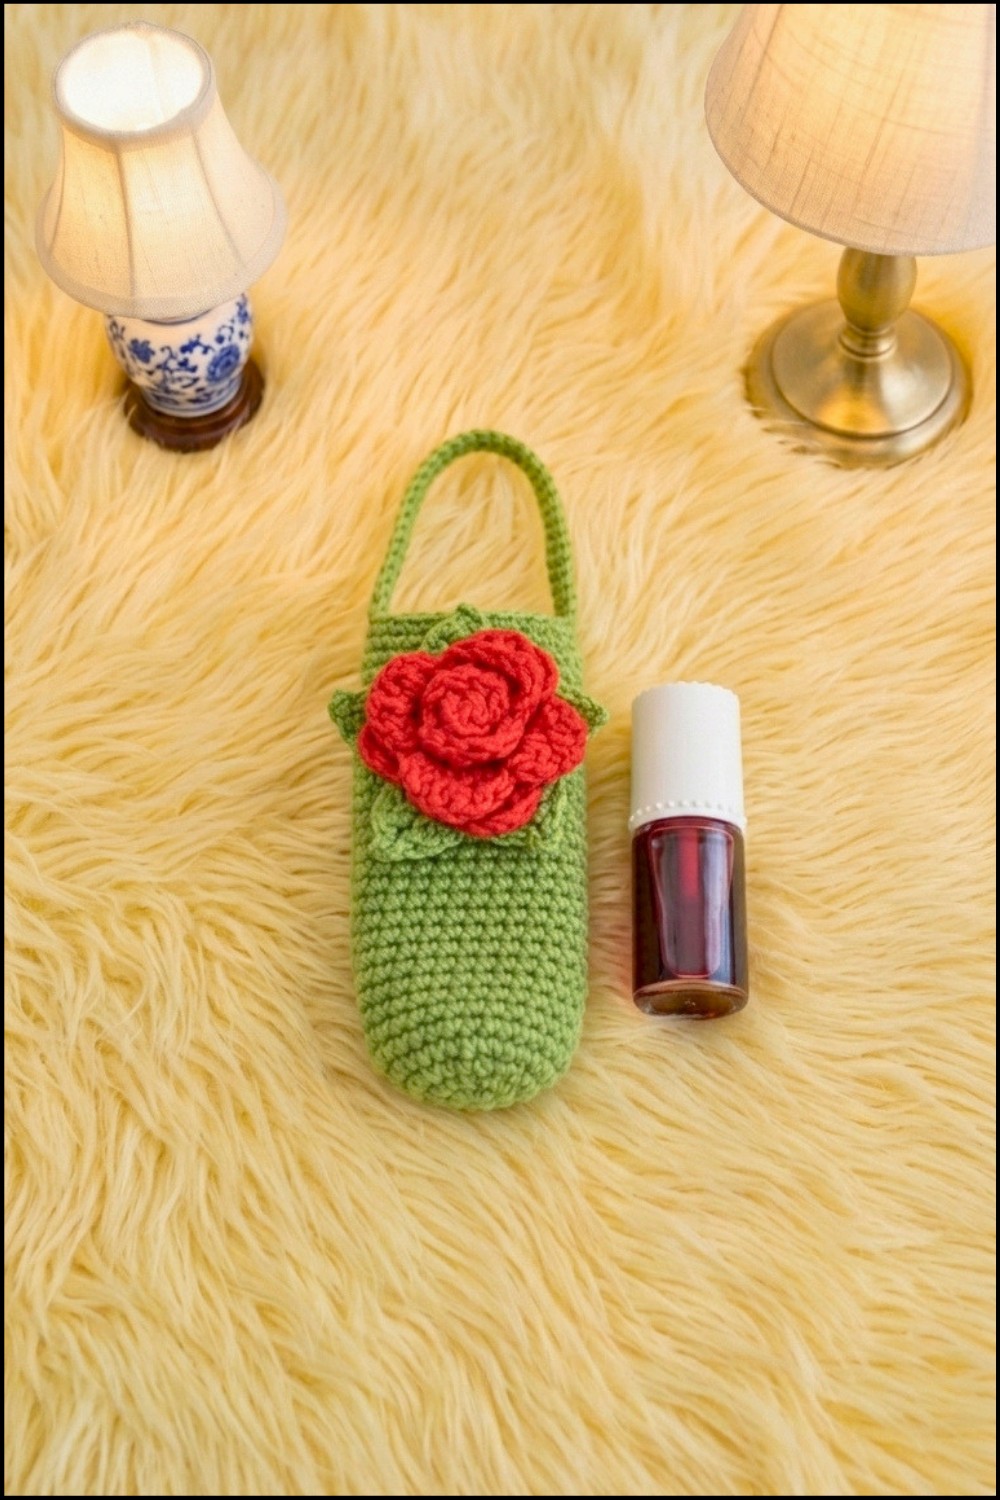
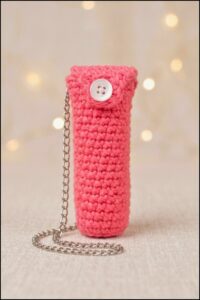
Keep your lip balm safe and close with this cute Crochet Rose Lip Balm Holder that makes it easy to carry and adds a lovely touch to your daily routine.
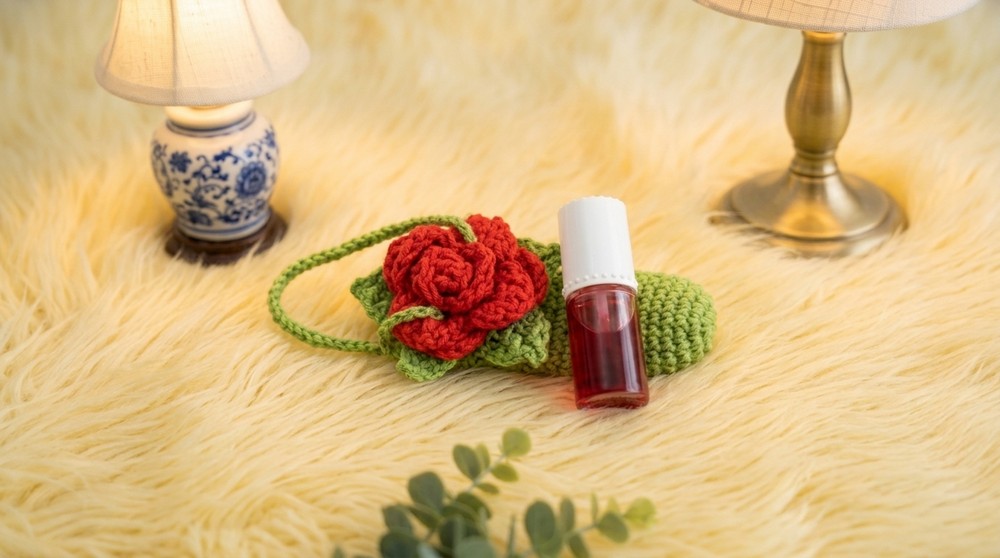
This cute little project is a fun way to keep your lip balm safe and close. The Crochet Rose Lip Balm Holder like a small rose with soft petals, making it a sweet gift or a nice decoration. It’s also great to add to a collection of handmade items.
Beautiful Crochet Rose Lip Balm Holder Free Pattern for Keychains and Bags
The Crochet Rose Lip Balm Holder is small and fits most regular lip balm tubes perfectly. Its round shape and flower details are simple but charming. You can carry it in your bag or pocket without any trouble.
This project is good for beginners and those with a bit of crochet experience. You’ll use easy stitches like single crochet, working in the round, and some increases and decreases for shaping. These basic skills help you make a neat and strong holder.
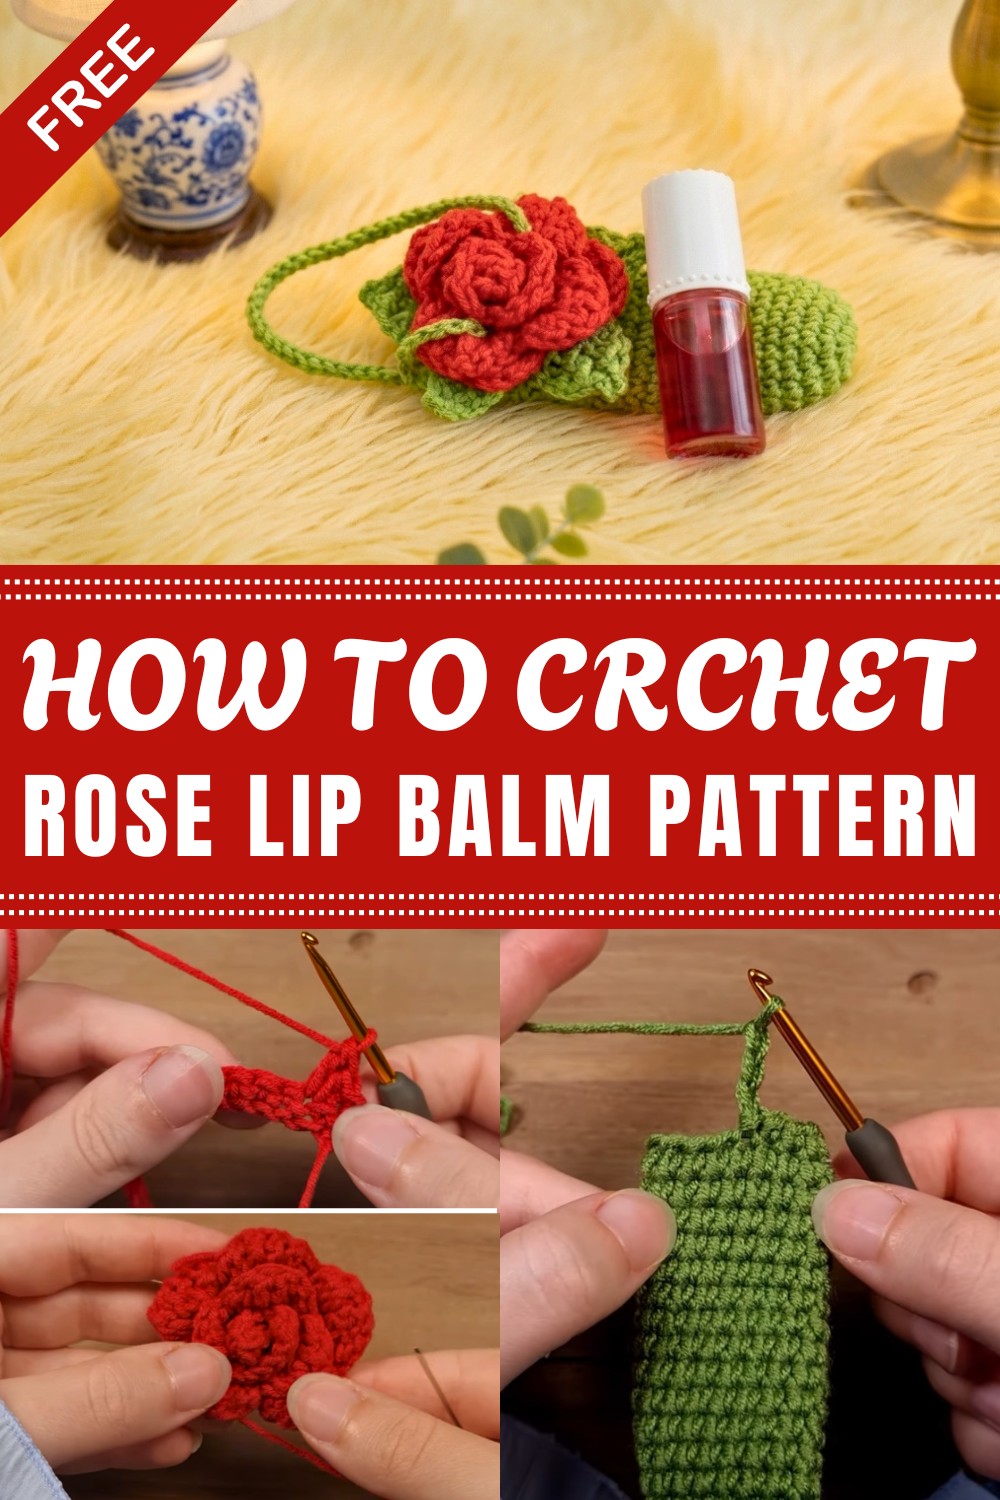
This lip balm holder is both useful and pretty, giving a little joy to daily routines. Plus, it’s a nice way to practice crochet without being too hard or taking too long.
Keep reading for tips on picking yarn, choosing the right hook, and mixing colors to make your own special lip balm holder. It’s a simple and fun way to add a personal touch to your things.
Rose Lip Balm Holder Crochet Pattern
In this pattern, we're going to make a rose lip balm holder. It's a super practical and cute crochet project, and a beginner-friendly tutorial. I'll walk you through all the steps for crocheting the rose, leaves, stem, and band, and joining them together. You could also make this project as a backdrop or bookmark. Hope you enjoy this pattern!
Pattern Highlights
Versatile Functionality
- Can be used as a lip balm holder, bookmark, or decorative accessory.
- Practical design with stretchy band to fit most lip balm tubes.
Beginner Friendly
- Basic stitches and clear construction steps, ideal for those new to crochet.
- Straightforward, step-by-step instructions.
Customizable Features
- Adjust length of the band for different uses.
- Make the rose and leaves in any color you like.
- Use the band as a loop for hanging on bags or backpacks.
Beautiful Detail
- Realistic rose with rolled petals.
- Leaf cluster for a botanical touch.
- Sturdy stem forms the holder.
Notes
- The band can be made longer or shorter depending on your preference.
- All parts use simple stitches, with clear directions to achieve rose and leaf shapes.
- This pattern uses “triple crochet”; if you’re unfamiliar, see “Special Stitches.”
- Gauge is not critical, as the project is adaptable and designed for a snug fit.
- Leave long tails wherever sewing or joining is needed.
Skill Level
Beginner to Advanced Beginner
Familiarity with basic crochet techniques such as chaining, single crochet, slip stitching, and working in the round recommended.
Materials
- Yarn: Medium (worsted) weight or light DK yarn in rose color (main), green (leaf/stem), and any accent colors of your choice.
- Crochet Hook: Size suited to yarn (Recommended: 3.5 mm / E-4 or similar)
- Tapestry Needle: For sewing/joining parts and weaving in ends.
- Scissors
- Stitch Marker: Optional, for marking stitches in the leaf and stem sections.
- Lip Balm Tube: For checking fit during the stem construction.
Measurements / Sizing
- Rose: About 3-4 cm wide, depending on yarn and tension.
- Leaves: About 6-8 cm wide collectively.
- Stem: Customizable—to fit most standard lip balm tubes (around 5-6 cm long).
- Band: Adjustable—make as long as needed, can stretch for a snug fit.
Schematic:
[Rose]---[Stem]---[Band]---[Leaves]Rose sits at the top, stem forms the pocket for the lip balm, leaves are attached at the side or base, band forms a loop or holder.
Gauge
Gauge is not crucial for this pattern—use a hook that gives a firm finish.
For reference: About 6 sc x 6 rows measures 2 cm x 2 cm in your chosen yarn.
Stitch Abbreviations
| Abbreviation | Meaning |
|---|---|
| ch | chain |
| sc | single crochet |
| hdc | half double crochet |
| dc | double crochet |
| tr | triple (treble) crochet |
| sl st | slip stitch |
| MR | magic ring |
| st(s) | stitch(es) |
Special Stitches
- Triple (Treble) Crochet (tr): Yarn over twice, insert hook into stitch, yarn over, pull through (4 loops), yarn over, pull through 2 (three times).
- Magic Ring (MR): Wrap yarn into a loop. Insert hook under loop, yarn over, pull up loop, ch one, then begin working into ring.
- Slip Stitch (sl st): Insert hook into stitch, yarn over, pull through both loops.
- Petal Cluster: As used in rose—combining hdc, dc, and tr into a single stitch for petal shaping.
Step-by-Step Crochet Pattern
1. Rose
- Step 1:
- Make a slip knot and chain 31.
- Step 2:
- Skip the first ch from hook. Work 1 sc in each of the next 29 chains. (30 sc in total.)
- Step 3:
- Turn your work for the petal row.
- Step 4:
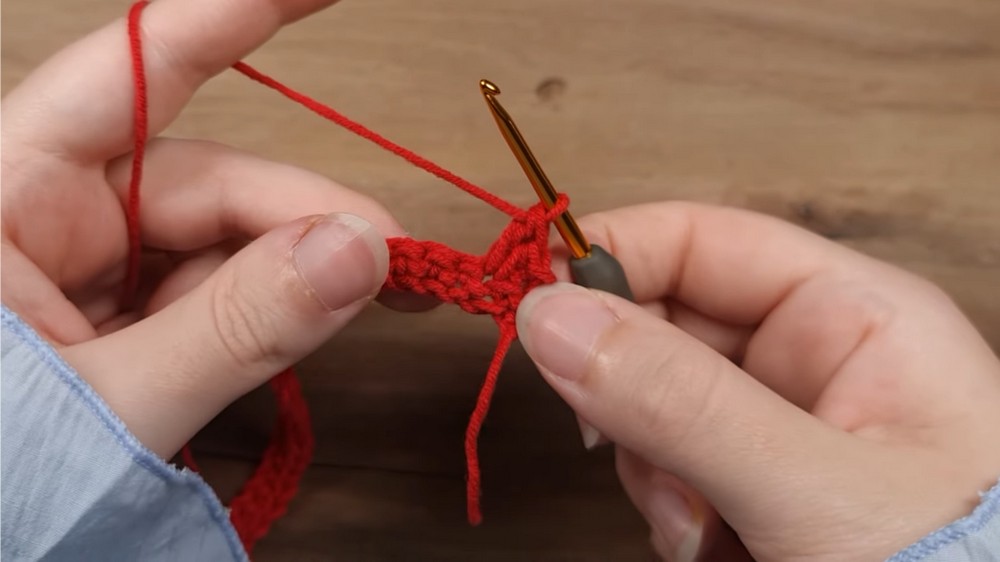
- Petal Sequence (10 Petals in total):
- In the first stitch: sl st.
- In the next stitch: hdc, dc, tr (all in same stitch).
- In the following stitch: tr, dc, hdc (same stitch).
- Repeat: Slip stitch in next, then continue petal pattern for remaining stitches. You should have 10 petals.
- In final stitch, after last petal, slip stitch again to finish.
- Step 5:
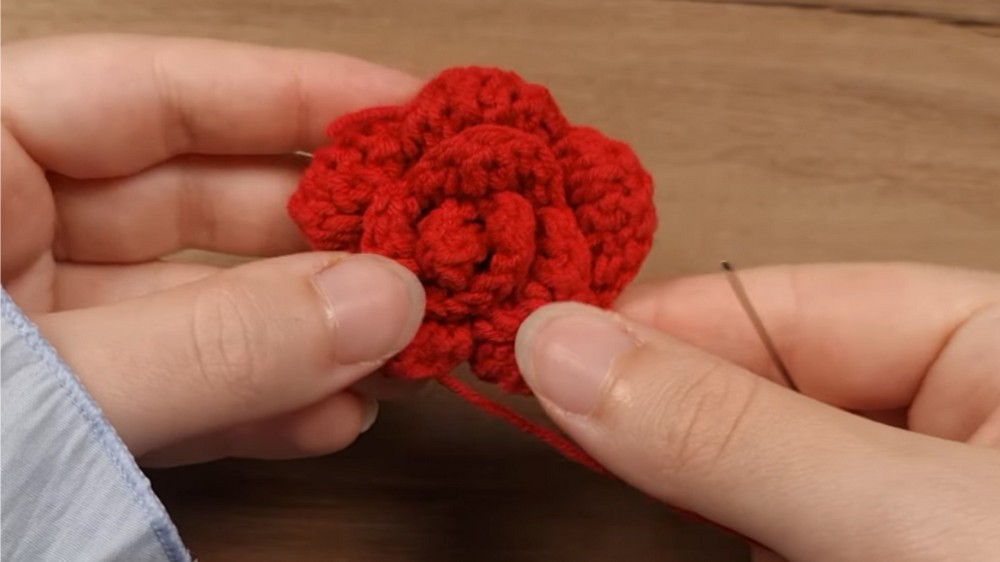
- Leave a long tail and cut yarn.
- Thread needle with tail and roll the petals backwards so the front of your work always faces you.
- Sew through all petals from several directions to secure shape.
2. Leaves
- Step 1:
- Make a magic ring.
- Step 2:
- Work 1 sc into the magic ring.
- Go into the second loop of this sc, make another sc, then once again, make another sc in the second loop (for forming the central vein and marking the top).
- Step 3:
- Work 14 tr into the ring (for a total of 15 tr), mark the first tr.
- Step 4:
- Pull tail to close magic ring. Slip stitch in the marked stitch.
- Step 5: Leaf Points and Sides (5 leaves total):
- Leaf Sequence:
- Chain 2.
- Work dc in first stitch below chain.
- In next stitch: tr, chain 2.
- Slip stitch in loop at top of tr.
- Work another tr in same stitch.
- Next stitch: dc, chain 2, sl st in same stitch.
- Repeat this sequence for the remaining stitches (five times in total) to create 5 leaves.
- Finish off.
- Leaf Sequence:
3. Stem
- Step 1:
- Make a magic ring.
- Step 2:
- Insert 8 sc into ring.
- Step 3:
- Pull tail to close ring.
- Step 4:
- Increase round:
- Work 2 sc in each stitch (skip starting chain), for a total of 16 sc.
- Use stitch marker to keep track.
- Increase round:
- Step 5:
- Continue working 1 sc in each stitch in rounds to create a tube.
- Work until the height fits your lip balm tube (usually about 5-6 cm).
- Check by inserting tube periodically for proper fit.
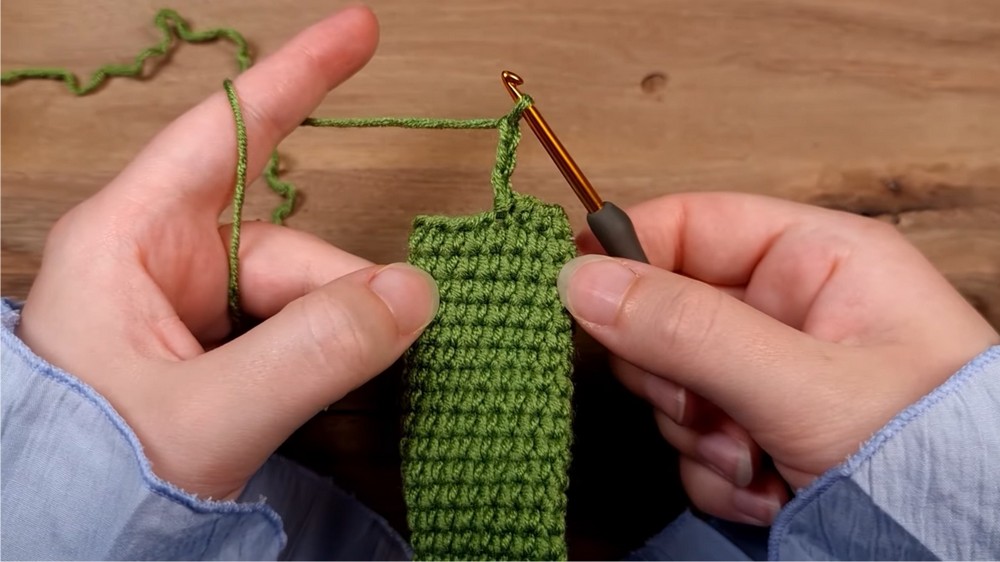
4. Band
- Step 1:
- Slip stitch at side/top of stem.
- Step 2:
- Chain as many as desired for your band (length depends on use: holder, bookmark, etc.).
- Step 3:
- Leave a long tail and cut yarn; do not close last loop.
Assembly & Finished Size
- Attaching the Rose:
- Grab hook, insert through the rose, catch the chain band loop, and pull through gently to join the rose and band.
- Insert hook through the back of the rose, grab band loop, and pull chain string through to join.
- Joining Band and Stem:
- Slip stitch across to join band to stem where you began the chains. Add several slip stitches for security or weave in small tail through the stem.
- Finishing Touches:
- Attach leaf cluster by sewing/anchoring at base or side of stem or rose.
- Weave in all remaining tails.
- Insert lip balm into stem pocket.
- The band can be looped for hanging or used as a bookmark.
Finished Size:
- Rose: 3-4 cm; stem: 5-6 cm; leaves: 6-8 cm; band: custom length for holder or bookmark.
Conclusion
Your rose lip balm holder crochet project is now complete! This practical, beautiful piece is beginner-friendly and easily adaptable as an accessory, bookmark, or thoughtful gift. With realistic rose petals, botanical leaves, and a handy band, it brings both function and charm to your daily routine. Thank you for following this tutorial; please leave any questions or feedback in the comments. For more creative lip balm holder ideas, visit the channel for additional patterns. Enjoy your new crochet creation and happy crocheting!
Leave a Reply