

Hang a little harvest charm from your backpack zip using the Crochet Corn Amigurumi Keychain Free Pattern and show off its rows of kernels and tiny leaves.
Would you hang a tiny ear of corn from your keys or school bag? The Crochet Corn Amigurumi Keychain turns a familiar market vegetable into something small enough to hold in your palm.
Design by Hobihobiku.
The cob has a long shape and a soft feel. For a version that looks like fresh corn, choose golden yellow yarn for the center and leafy green for the husk. Crocheting the two parts in different shades helps you see where the leaves end and the cob begins. The colors also stand out nicely against a plain brown tote or a dark lunch bag.
Free Crochet Corn Amigurumi Keychain Pattern For Your Spare Keys
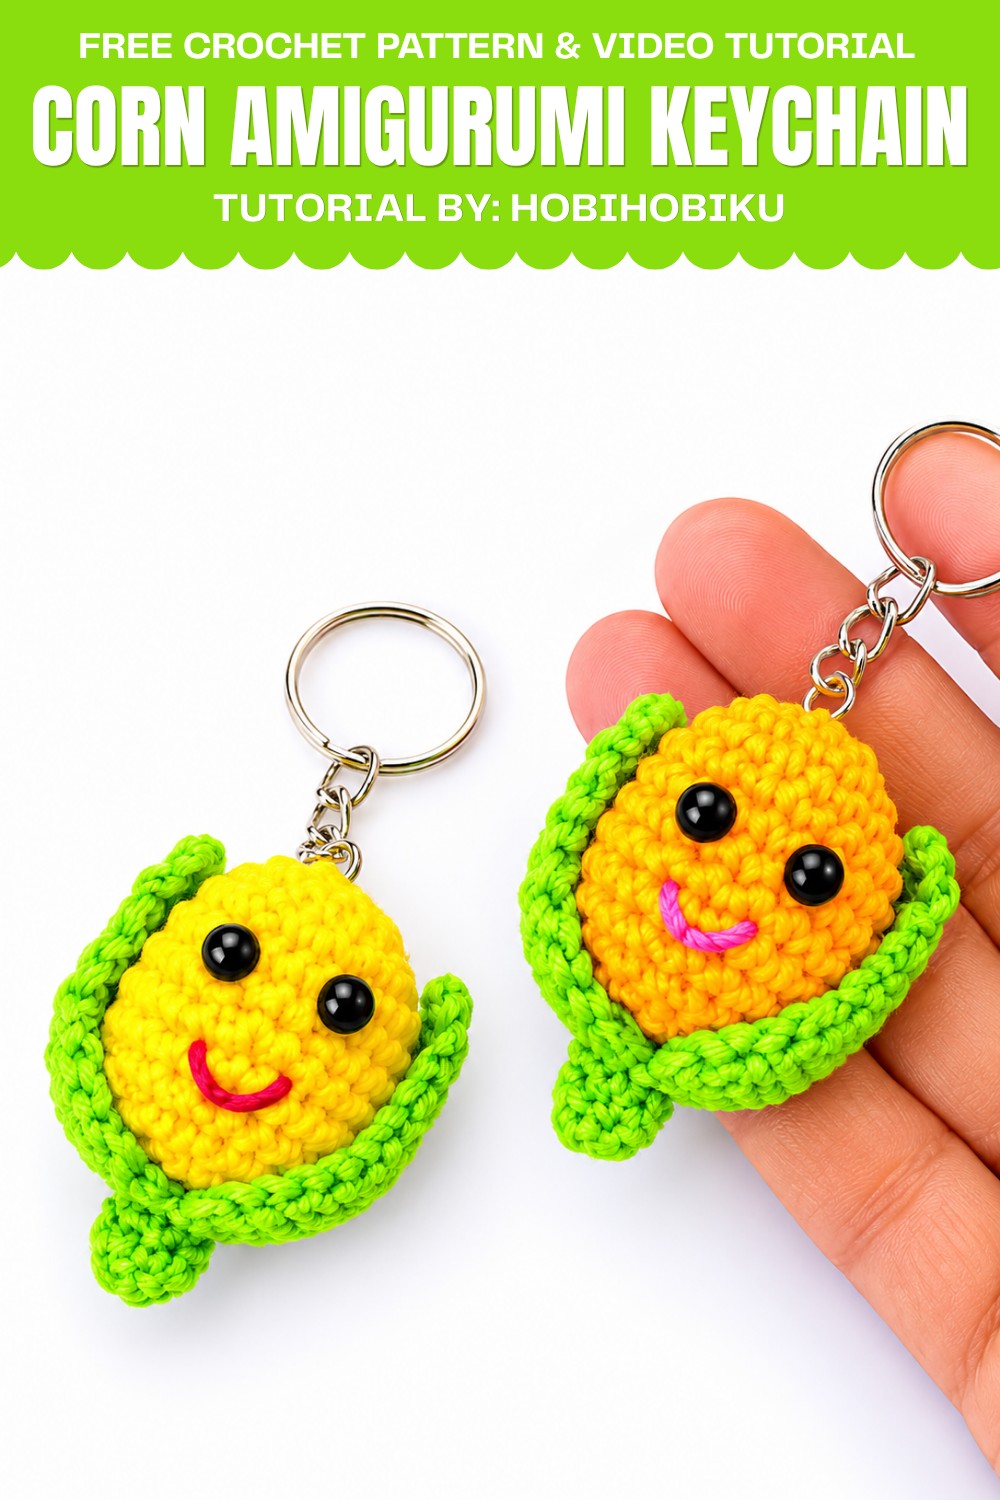
The original uses Polycherry yarn. A little stuffing fills out the body and gives it a rounded look. Once the crochet is finished, a ring at the top lets the piece hang with its full shape on display. You can slip the ring onto your keys so the soft charm is easy to feel when you reach into a pocket.
Hang the keychain piece beside an apron for a small kitchen decoration, or clip it to the basket you take to the market. It also makes a fun birthday gift for a friend who grows vegetables. Place it inside a card with a packet of seeds they can plant when the weather warms up.
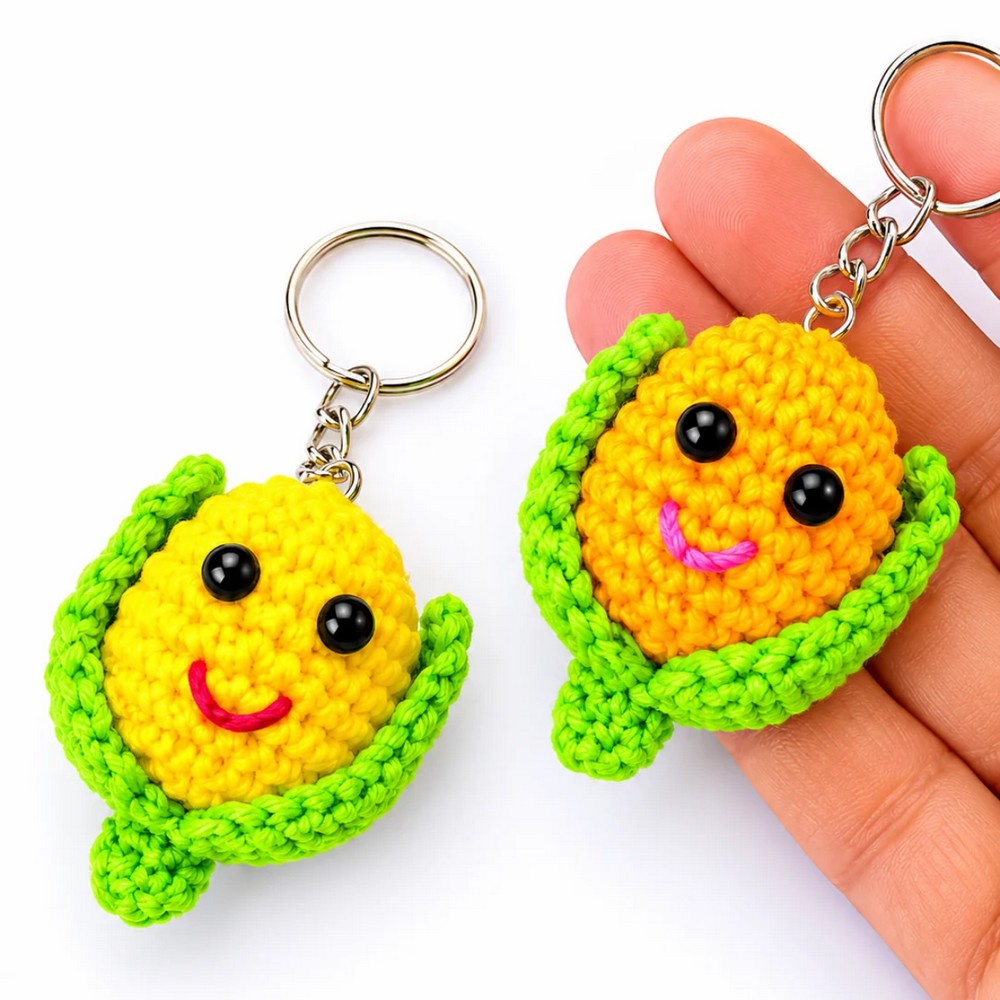
For a family picnic, hang it from the handle of the bag that holds the snacks so everyone knows where to find them. It fits right in beside sandwiches, fruit, and ears of grilled corn.
Crochet Corn Keychain Pattern
Pattern Overview
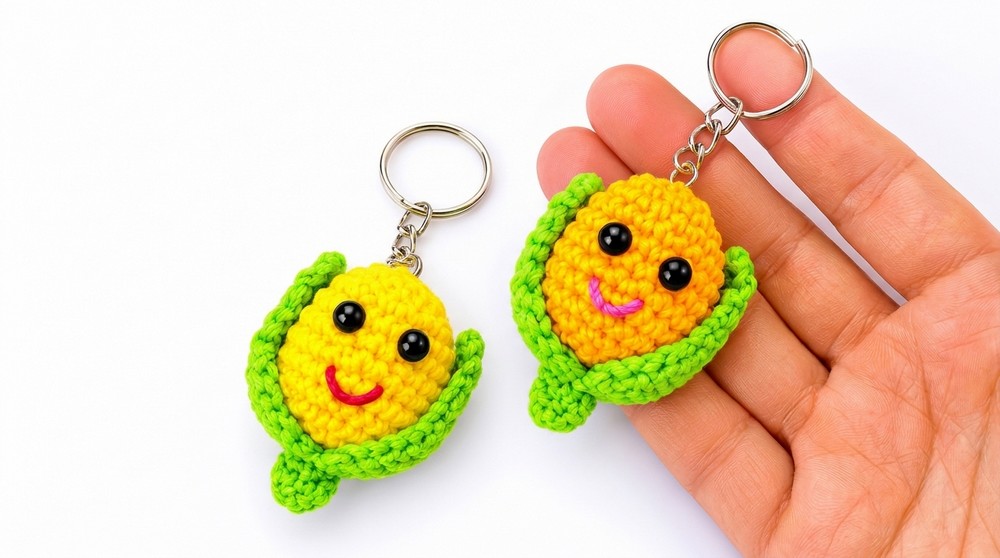
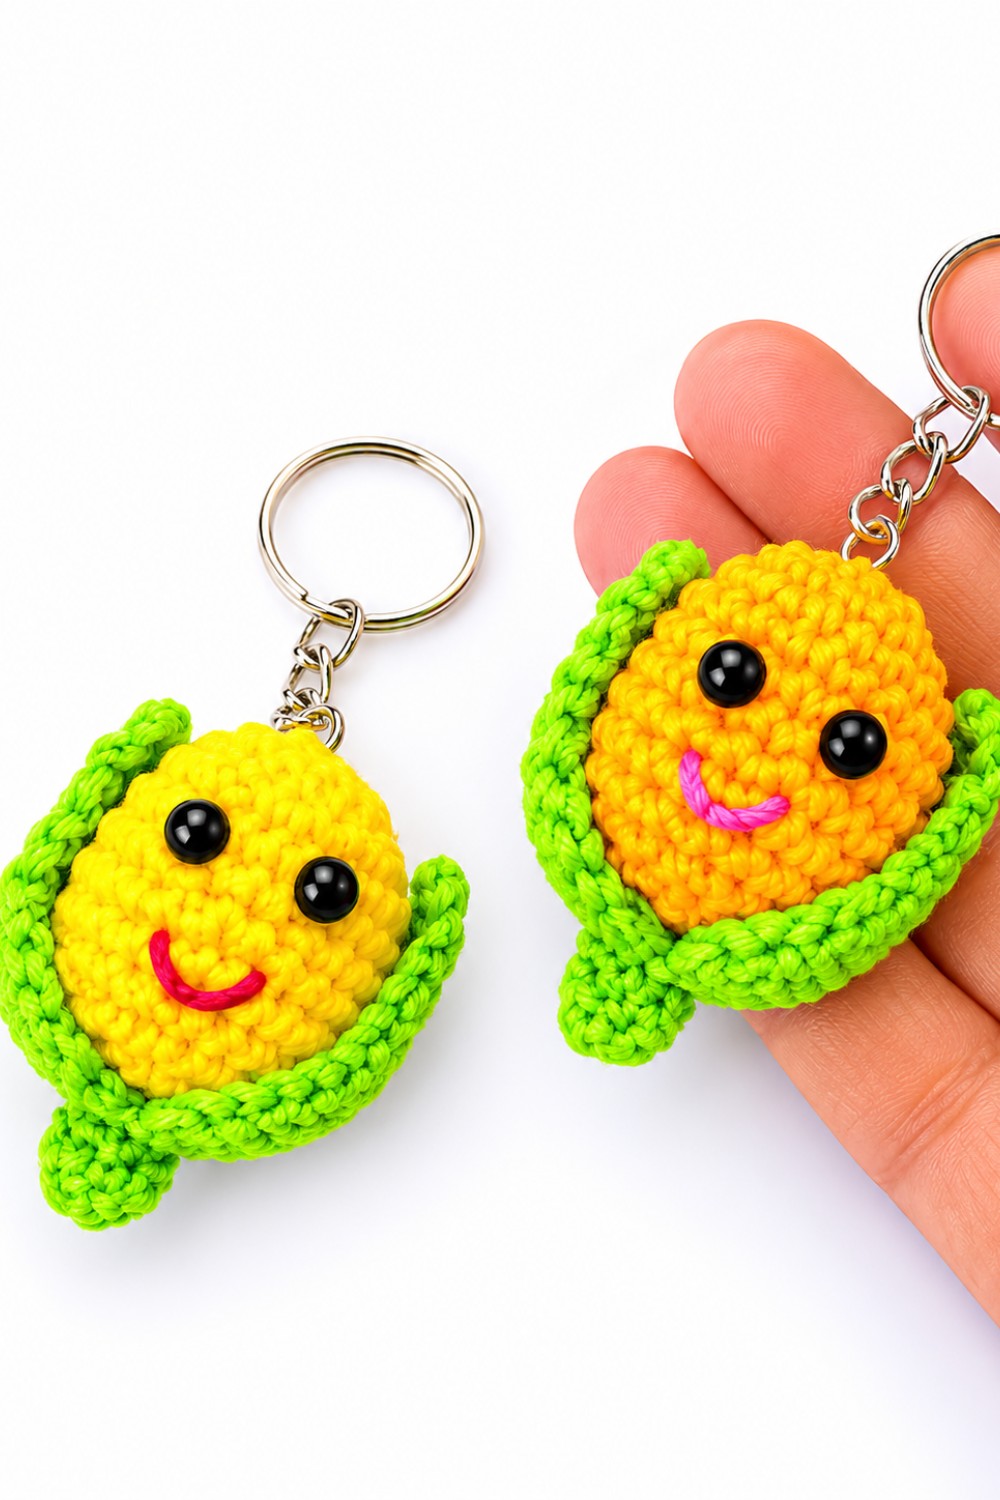
This crochet corn keychain is a delightful miniature featuring a plump yellow corn body surrounded by two textured green leaves. The keychain is assembled from three main components: the main corn body, the leaf base, and optional facial details. Simple amigurumi and motif techniques are used throughout, making it ideal for beginners and experienced crafters alike. The finished piece is a whimsical accessory perfect for gifting, selling, or adding a playful touch to bags and keys.
Quick Details
- Sections: Corn body (yellow), Leaf base (green), Optional facial features
- Construction: Amigurumi and motif crochet
- Assembly: Sew, glue, and attach components for stability and final look
- Finish: Sturdy, suited for keychains
Important Tips
- Use a stitch marker to track rounds.
- Stuff the corn body firmly while closing.
- Work leaves with even tension for clean edges.
- Securely sew and glue parts for durability.
- Add facial details after assembly for easy placement.
Skill Level
- Beginner to Easy
Materials
- Yellow yarn (corn body)
- Green yarn (leaves/stem)
- 3 mm crochet hook
- Stuffing (dacron)
- Keychain ring
- Glue (for attachment)
- Doll eyes (optional)
- Black yarn or embroidery thread for smile
- Scissors
- Tapestry needle
Measurements
- Finished size: Small, suitable for keychains; actual size depends on yarn and tension
Gauge
- Gauge is not critical; ensure tight, even stitches so stuffing is secure
Abbreviations
- MR – Magic Ring
- SC – Single Crochet
- INC – Increase (2 SC in same stitch)
- DEC – Decrease (SC two stitches together)
- CH – Chain
- SL ST – Slip Stitch
- Cluster – Three stitches crocheted together
Special Stitches
- Magic Ring (MR): Make a loop, insert hook, pull up a loop, and crochet stitches into ring; pull tail to close.
- Increase (INC): Work 2 SC in the same stitch.
- Decrease (DEC): Crochet 2 stitches together into 1 SC.
- Slip Stitch (SL ST): Insert hook, pull up a loop, then pull through both loops on hook.
- Cluster: Yarn over, insert hook, pull up loop, repeat for each stitch, then yarn over and pull through all loops.
Step-by-Step Instructions
Corn Body (Yellow Yarn)
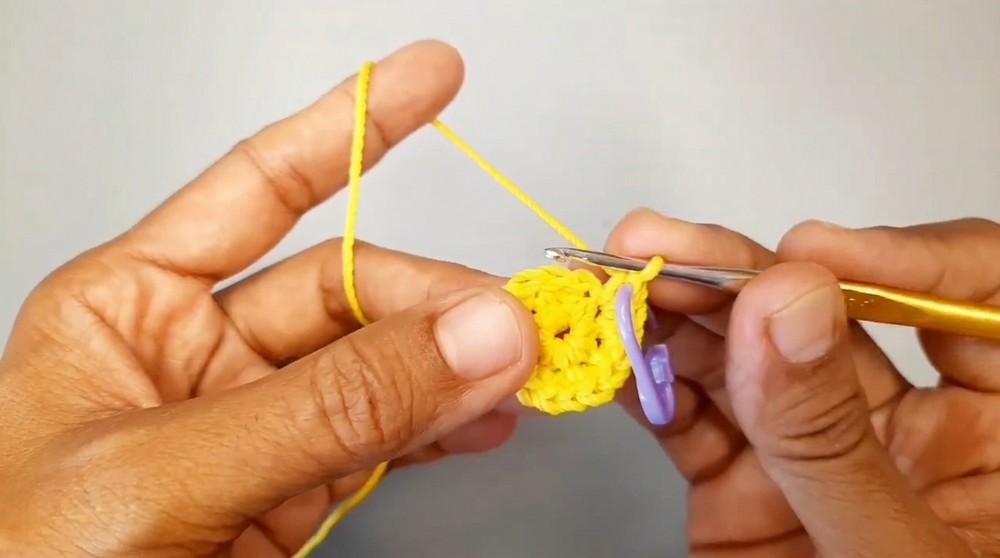
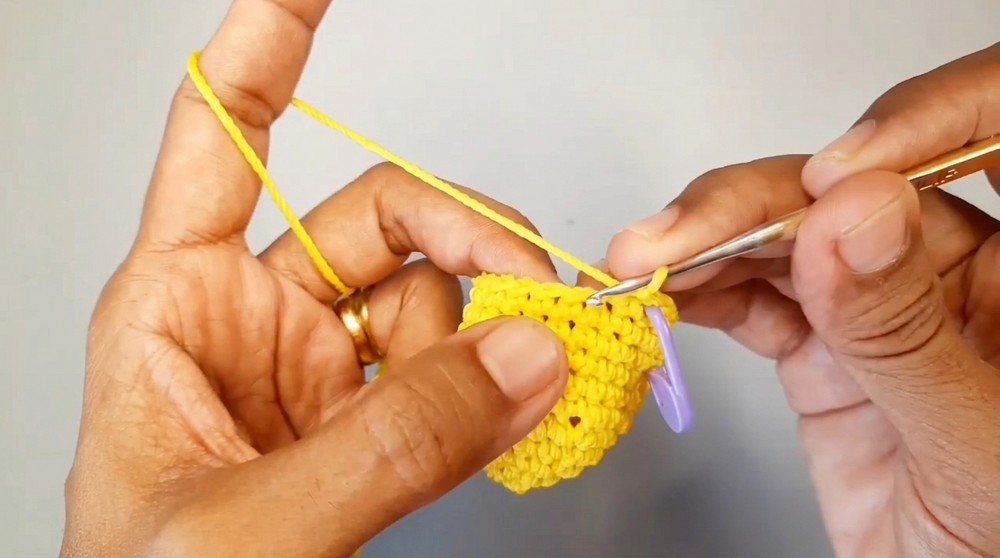
- Magic Ring: Create a magic ring and work 8 SC into the ring.
- Increase Round: Work 2 SC in each stitch around (16 SC).
- Next Round: 1 SC, then INC; repeat around.
- Alternate single crochet and increase for a rounded shape.
- Body: Work 6 rounds of 1 SC in each stitch (keep the stitch count steady).
- Use stitch marker to track start of each round.
- Maintain tension and stitch count for a uniform corn body.
- Decrease Round: 1 SC, 1 DEC; repeat around.
- Begin tapering the corn for final shape.
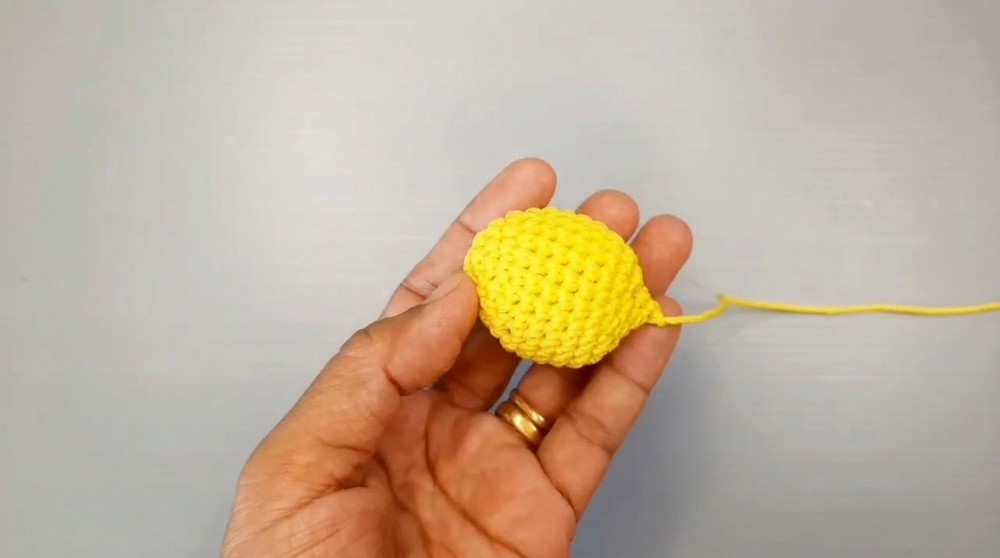
- Final Closure: Perform 10 consecutive decreases while stuffing firmly with dacron as you go.
- Use the tapestry needle to finish closing if needed.
- End with a slip stitch and cut yarn.
Leaves/Stem (Green Yarn)
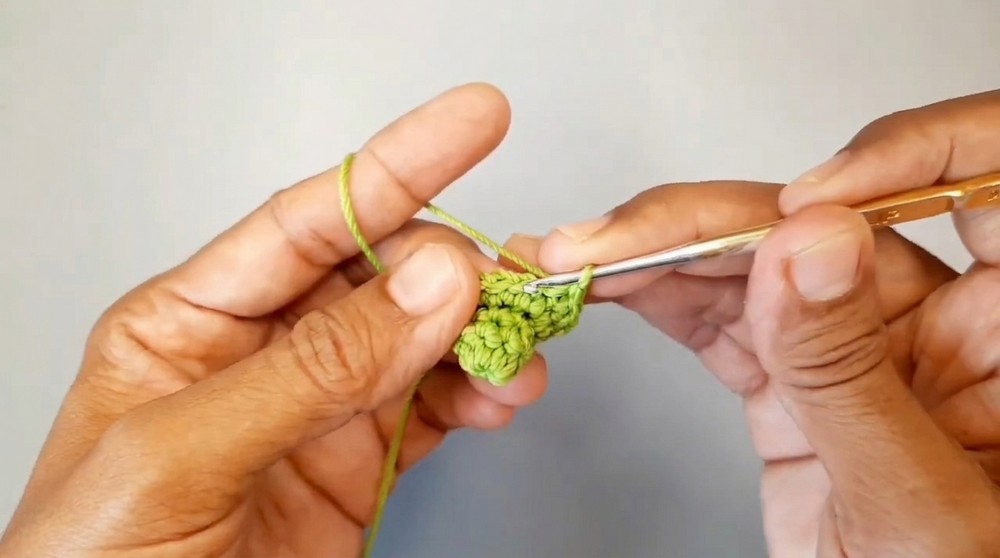
- Magic Ring: Start with a magic ring and work 8 SC into the ring.
- Rounds 1-2: Work 1 SC in each stitch around for two rounds.
- Front Loop Round: Work 2 SC in each front loop around.
- Only insert hook into front loops for extra texture and leaf shaping.
- Leaf 1:
- Row 1: CH 1, work 7 SC across, turn.
- Rows 2-5: Work 7 SC back and forth for four more rows, turning after each row.
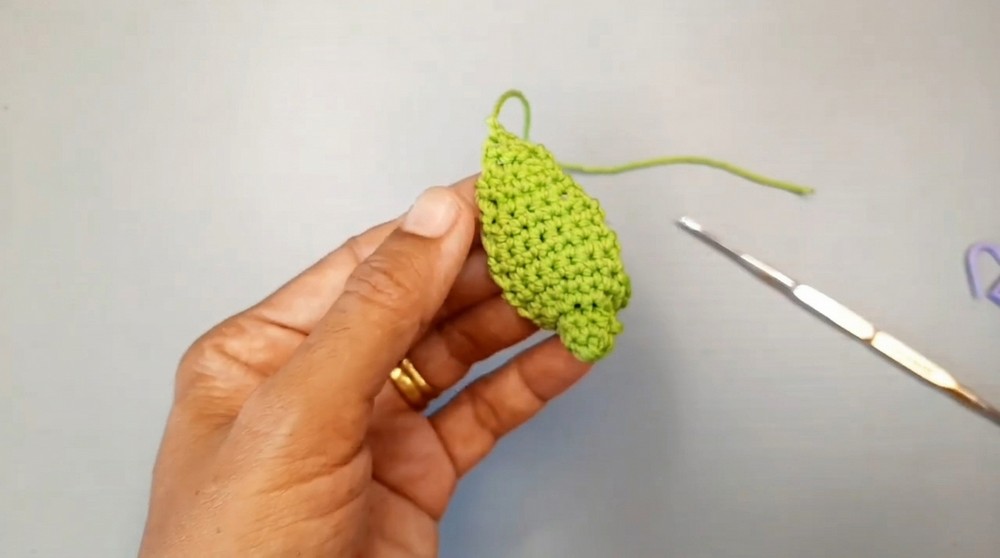
- Row 6: Work a decrease (SC 2 together), 3 SC, then another decrease (SC 2 together).
- Row 7 and 8: Work 5 SC for each row, turning after each row.
- Row 9: Decrease at both ends, finishing with a 3-stitch cluster.
- Fasten off and weave in ends.
- Leaf 2:
- Attach a new slip knot to the opposite side of the main stem base.
- Repeat the same steps as Leaf 1 to create a mirror image.
- Fasten off and weave in ends.
Assembly
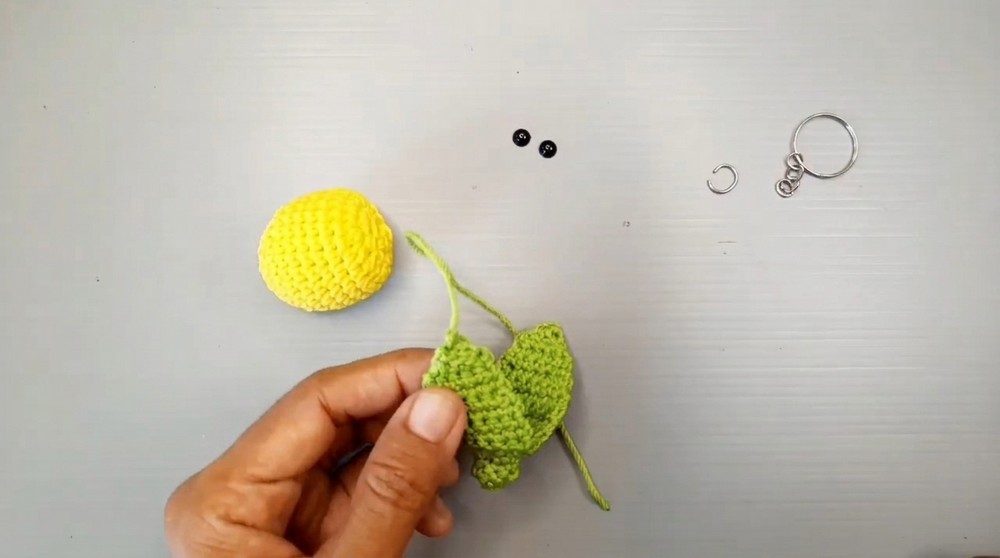
- Weave in loose ends from leaves and corn body.
- Turn the leaves inward to hug the corn body, shaping as desired.
- Attach the keychain ring to the top of the corn body.
- Sew or glue for added security.
- Glue the corn body onto the center of the leaf base using craft glue.
- Hold or press gently until firmly attached.
- Add doll eyes to the corn with glue.
- Place evenly for a cute expression.
- Stitch a small smile with black yarn or embroidery thread.
- Use tapestry needle to embroider between the eyes.
Final Notes
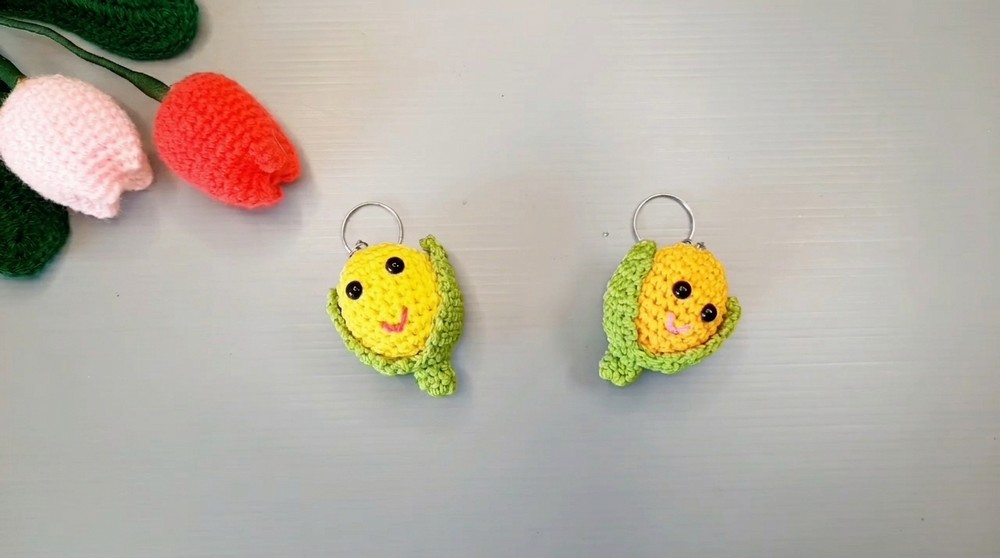
- This corn keychain pattern produces a fun, tactile mini corn with realistic leaves and whimsical facial features.
- Adjust leaf size or corn shape for personalized variations.
- Ensure all glued parts fully set before use.
- Change yarn colors or add beads for creative effects.
- The finished keychain is sturdy, lightweight, and suitable for gifting or selling.
Leave a Reply