

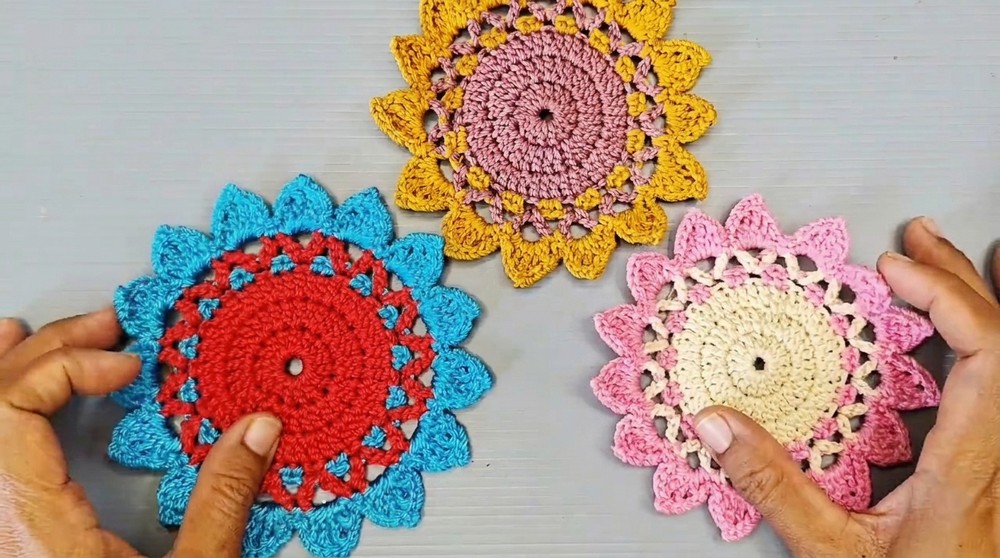
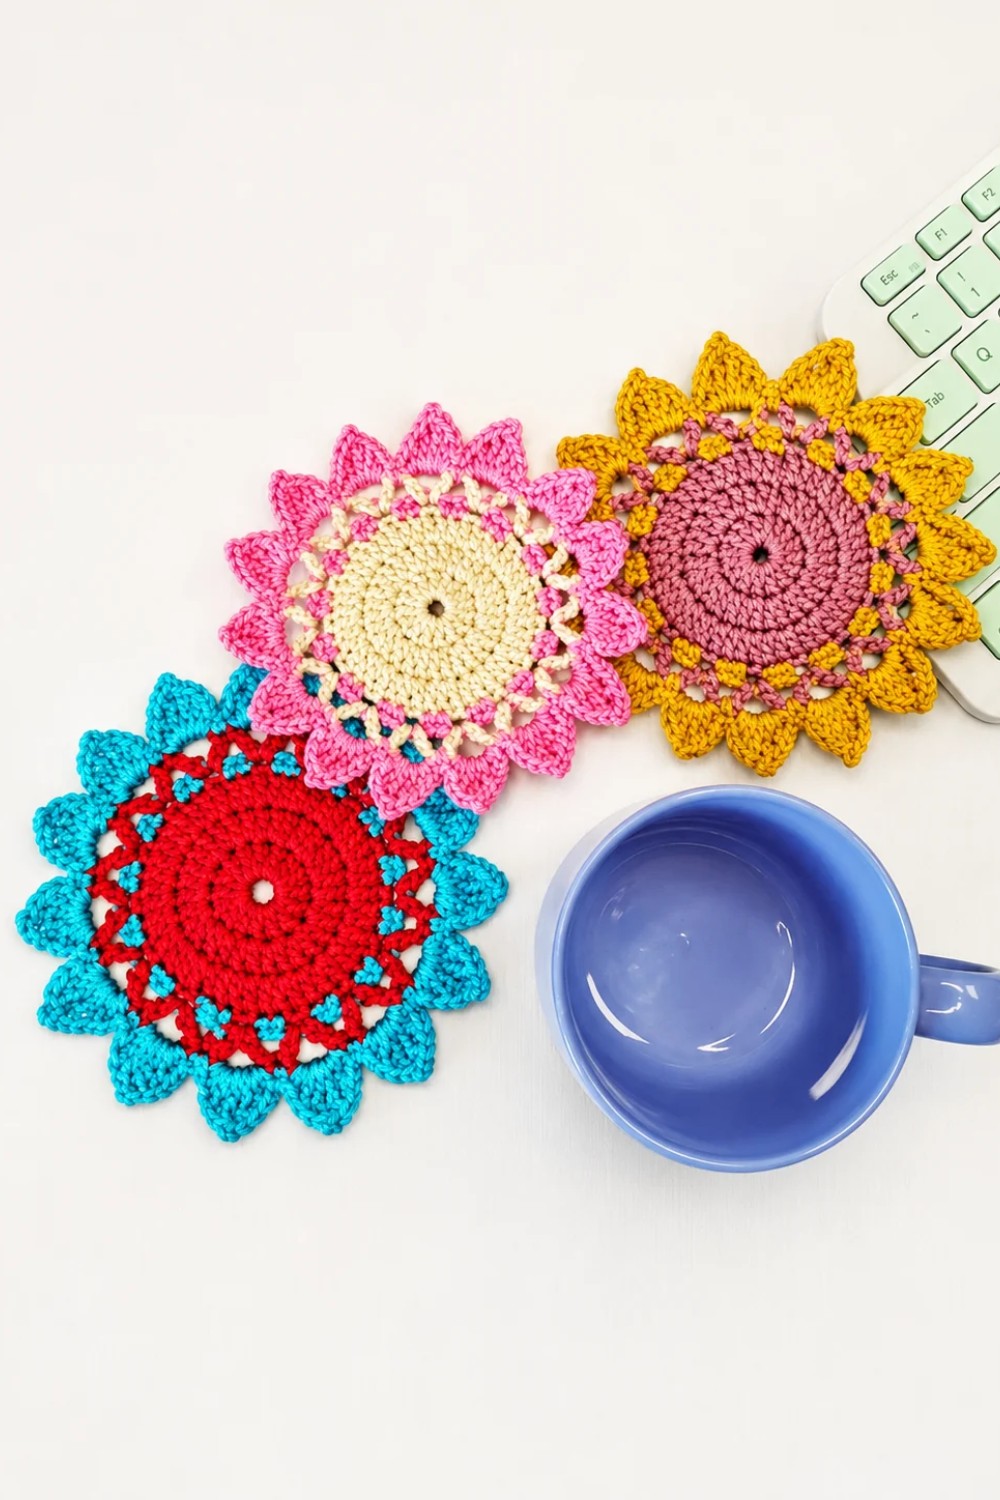
Style your bedside table with this Crochet Coaster Free Pattern and give your evening glass of water a soft spot to rest beside your favorite bedtime book.
Hobihobiku is the creator of this small table mat. A Crochet Coaster gives your cup a place to sit and helps keep water rings off the table. When you pour a cold drink, drops of water can form on the outside of the glass and run down to the bottom. The coaster catches some of those drops. It also gives you a soft spot to set down your mug without a loud tap.
Simple Crochet Coaster Free Pattern For Coffee Mugs
Keep one beside your laptop for your morning coffee, or put one on your bedside table for a glass of water. At dinner, place one at each seat. Different colors can help everyone remember which glass is theirs. You can keep the set in a small stack near the cups, so it’s easy to grab one when you pour a drink.
The loops give the coaster a soft, stitched look. One color keeps it simple, while a second color around the edge can match your cups or plates. When choosing yarn for a coaster, cotton is a good option because it can soak up small drops. Hang it up to dry when it feels damp.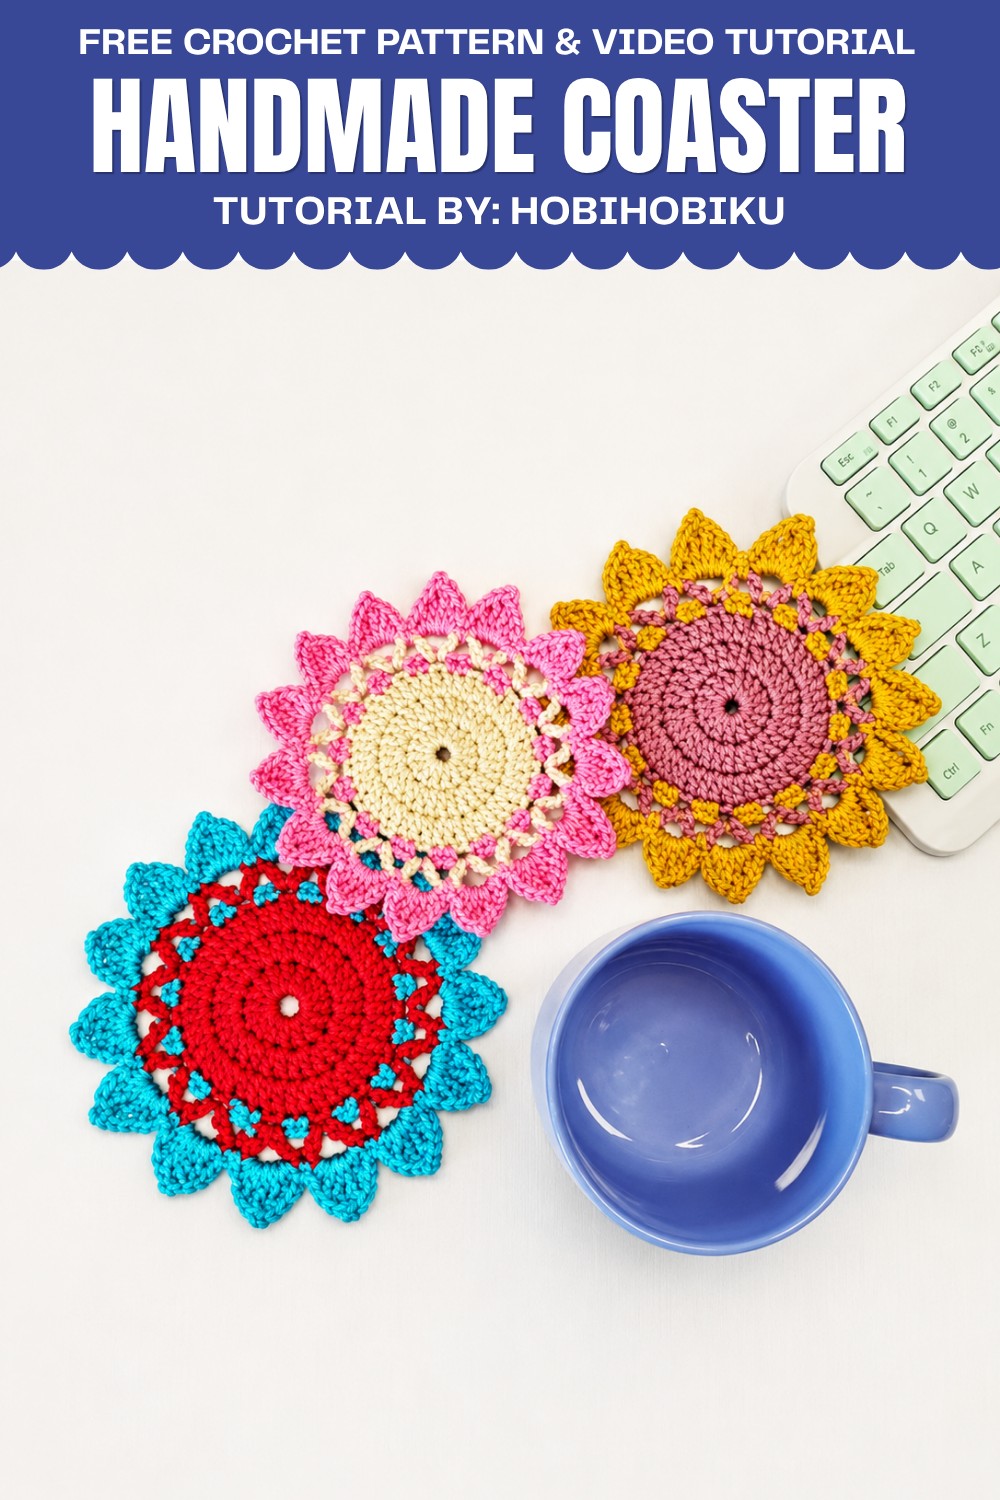
A small project like this can suit someone who knows a few basic stitches and wants to practice keeping them even. The middle should sit flat so a cup rests firmly on it. Before you finish the edge, place your usual mug on top to check that the whole base fits. That way, you’ll have a coaster sized for the cup you use most.
Pattern Overview
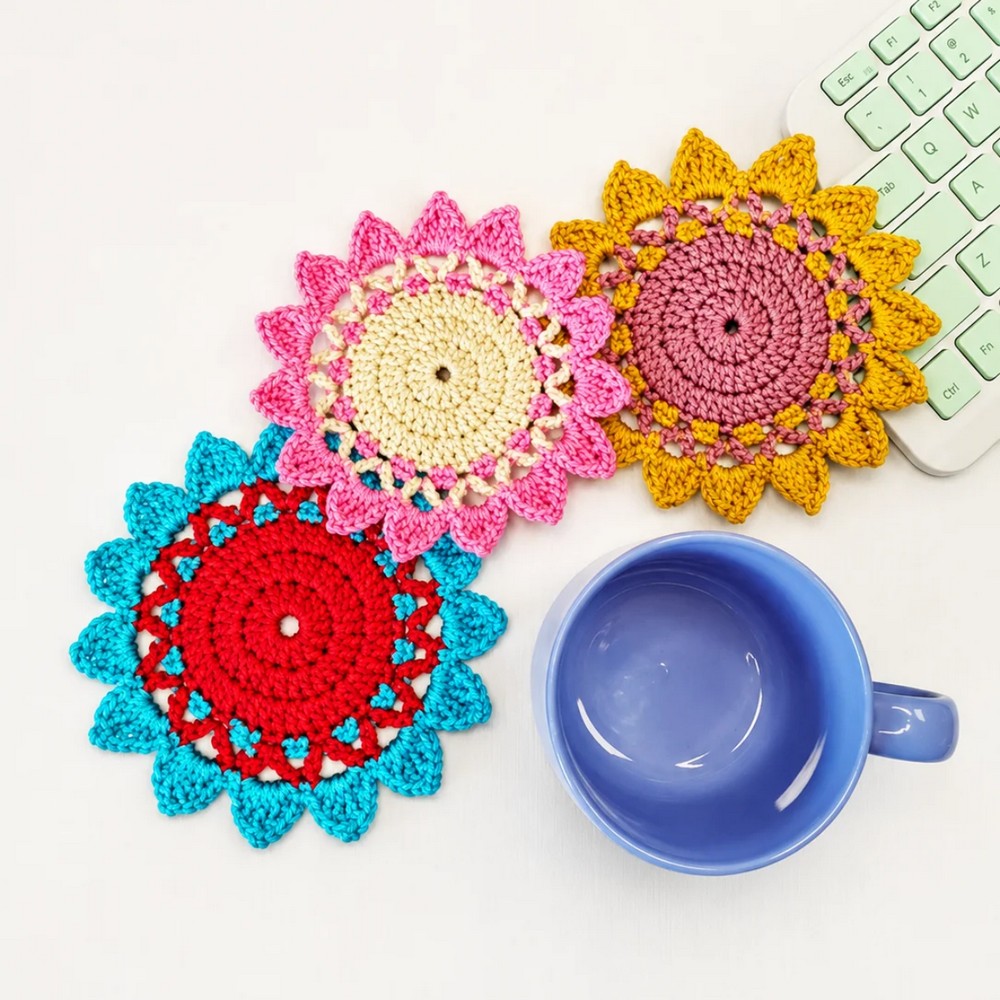
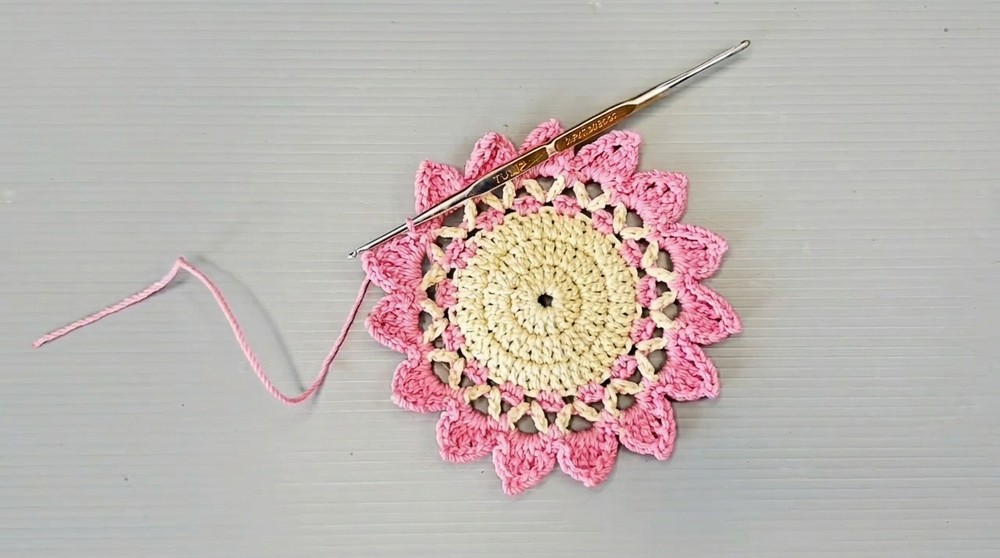
This round crochet coaster features a solid base with an ornate, textured edge for visual appeal and durability. It begins with a magic ring foundation, then is built up using rounds of double crochet and increases. After creating a sturdy base, color changes mark the transition to a lacy, decorative edge, with unique stitching sequences and picot details in the final round. The result is a colorful, functional, and attractive coaster for daily use.
Quick Details
- Pattern Type: Circular coaster
- Construction: In the round, worked outward from the center
- Foundation: Magic ring with increasing rounds
- Techniques: Double crochet, single crochet, treble crochet, chain, slip stitch, picot
Important Tips
- Keep your tension even for a flat, smooth coaster.
- Always join rounds with a slip stitch into the correct stitch for a neat, seamless look.
- Use clearly contrasting yarn colors for the decorative edge if preferred.
- Secure the magic ring tightly after round 1 to avoid a hole in the center.
- When repeating stitch patterns, count carefully to avoid shifting stitch placement around the circle.
- Weave in all yarn ends thoroughly for durability and neatness.
Skill Level
- Confident Beginner to Intermediate
- Skills required: Working in the round, color changes, increasing, and picot formation.
Materials
- Worsted or DK weight cotton yarn in 2-3 colors (base + 2 contrasting for edge, if desired)
- 3.5mm–4mm crochet hook (US E or G), or size suitable for your yarn choice
- Yarn needle for weaving in ends
- Scissors
Measurements
- Finished Diameter: Approximately 10–12 cm (4–4.75 inches), depending on yarn weight and tension.
Gauge
- Gauge is not critical. After completing the first three rounds, the circle should measure around 6–7 cm (2.5–2.75 inches) in diameter.
Abbreviations
- MR – Magic ring
- CH – Chain
- SC – Single crochet
- DC – Double crochet
- TR – Treble crochet
- SL ST – Slip stitch
- ST – Stitch
- Picot – Chain 1, slip stitch into top of previous stitch (for decorative point)
Special Stitches
Magic Ring (MR):
Make a loop, work stitches as directed into the ring, then pull the yarn tail to close the center tightly.
Picot:
Chain 1, slip stitch into the top of the previous treble crochet to form a small point.
Step-by-Step Instructions
Phase 1: Foundation and Base
Magic Ring Start
- Chain 2 (counts as the first stitch of the round).
Round 1
- Work 15 double crochet (DC) into the magic ring.
- Pull the tail to close the ring tightly.
- Join with a slip stitch (SL ST) into the first DC (not the chains).
Round 2
- Chain 2 (counts as 1 DC).
- Work 2 DC in each stitch around (increase in every stitch).
- Total: 16 stitches × 2 = 32 DC.
- Join with a slip stitch to the top of the beginning chain 2.
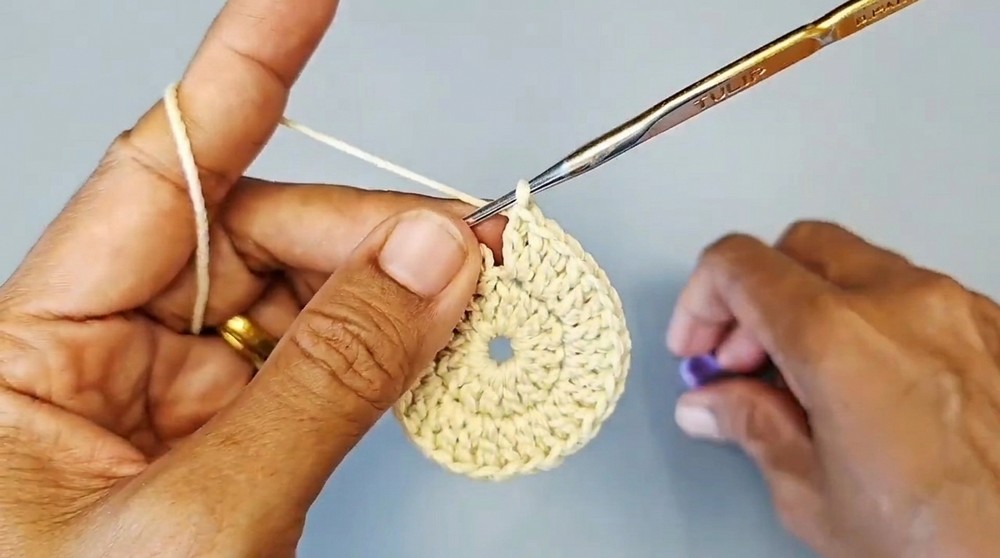
Round 3
- Chain 2 (counts as 1 DC).
- Work the following pattern around:
- 1 DC in next stitch,
- 2 DC in the following stitch (increase).
- Repeat (1 DC, increase) around the circle.
- Join with a slip stitch to the top of the beginning chain 2.
Phase 2: Transition and Edge
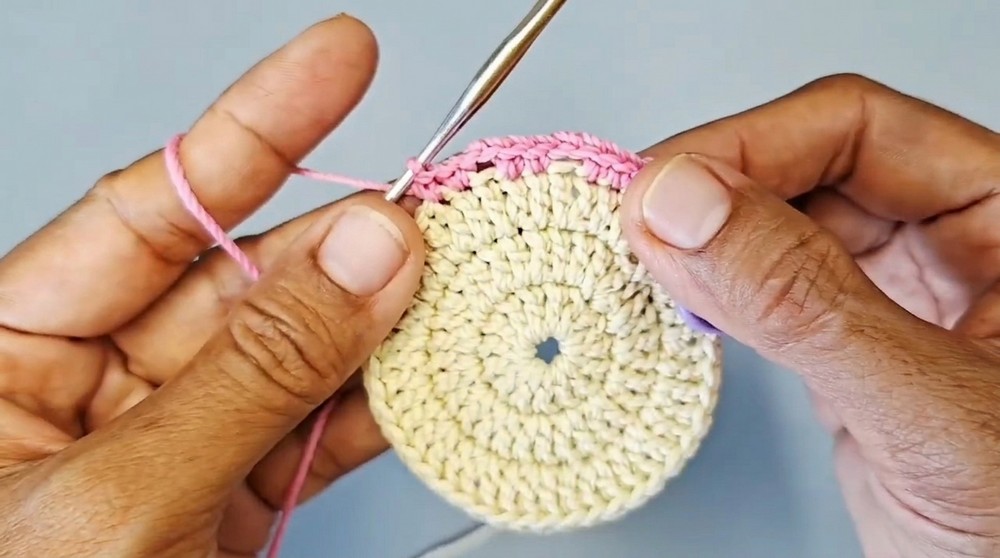
Round 4
- Change yarn color.
- Chain 1.
- Work the following sequence around:
- 2 single crochets (SC) in the next 2 stitches,
- Chain 2, skip 1 stitch.
- Repeat (2 SC, CH 2, skip 1) all the way around.
- Join with a slip stitch to the first SC.
Round 5
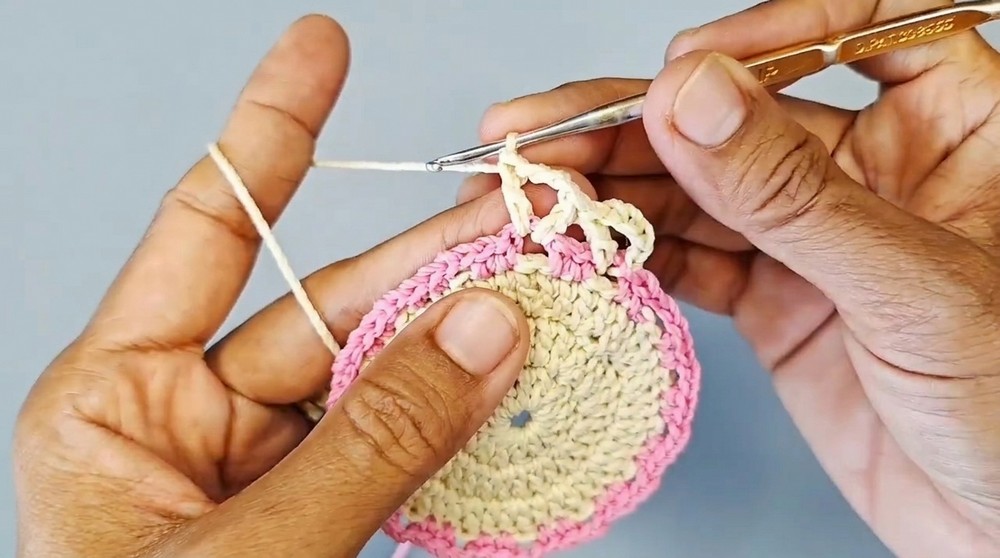
- Slip stitch to the next chain space.
- Change color if desired.
- Chain 2 (counts as 1 DC), chain 3, and 1 DC in the same chain space.
- Skip 2 SC, then in the next chain space, work:
- 1 DC, chain 3, 1 DC
- Repeat this (1 DC, CH 3, 1 DC) in every chain space around.
- Join with a slip stitch to the top of the beginning chain 2.
Round 6: Final Decorative Edging
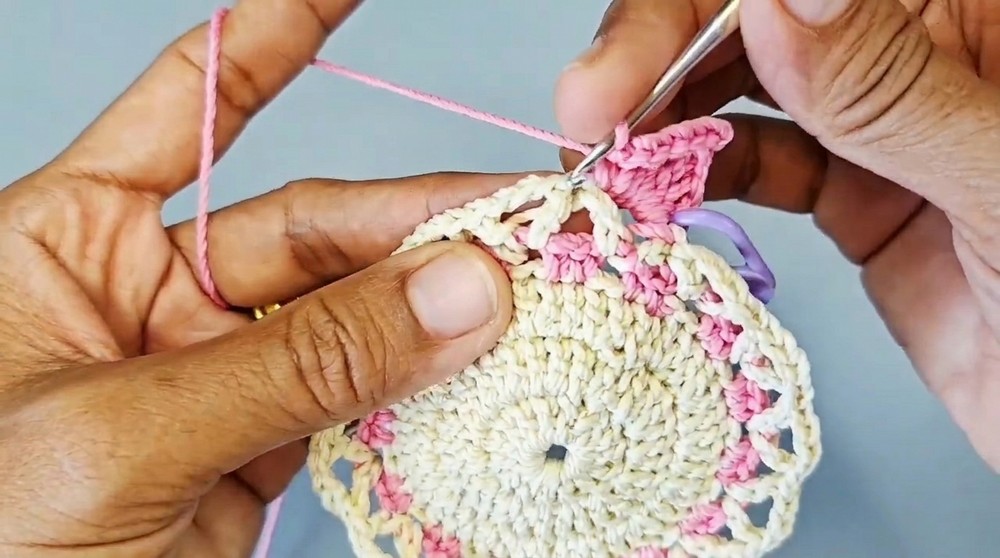
- Change yarn color.
- In any 3-chain space, work the following sequence:
- 1 single crochet (SC)
- Chain 1
- 1 double crochet (DC)
- Chain 1
- 1 treble crochet (TR)
- Chain 1
- Slip stitch into the TR just made (forms a picot)
- 1 treble crochet (TR)
- Chain 1
- 1 double crochet (DC)
- Chain 1
- 1 single crochet (SC)
- Between the 2 DCs from the previous round, work:
- 1 SC
- Continue working this full sequence in every 3-chain space around.
- Join with a slip stitch to the first SC of the round.
Fasten Off and Finishing
- Cut the yarn, fasten off.
- Weave in all yarn ends securely with a yarn needle.
Assembly
- There is no extra assembly; the coaster is worked entirely in the round.
- Block the completed coaster if desired for a flat, polished appearance.
Final Notes
- Be sure to close the magic ring tightly at the start for a neat center.
- Count your increases; correct stitch numbers are important for a flat circle.
- Make color changes at the start of rounds for clean transitions.
- Blocking can help the coaster maintain its shape and highlight the decorative edge.
- Repeat the pattern for sets of matching coasters, switching colors for variety.
- Keep all joins and ends on the same side (wrong side) for a tidy finish.
Leave a Reply