

Stitch a tiny surprise with this Crochet Mini Bear Keychain Free Pattern and tie it to a birthday gift so your friend has a keepsake to carry every day.
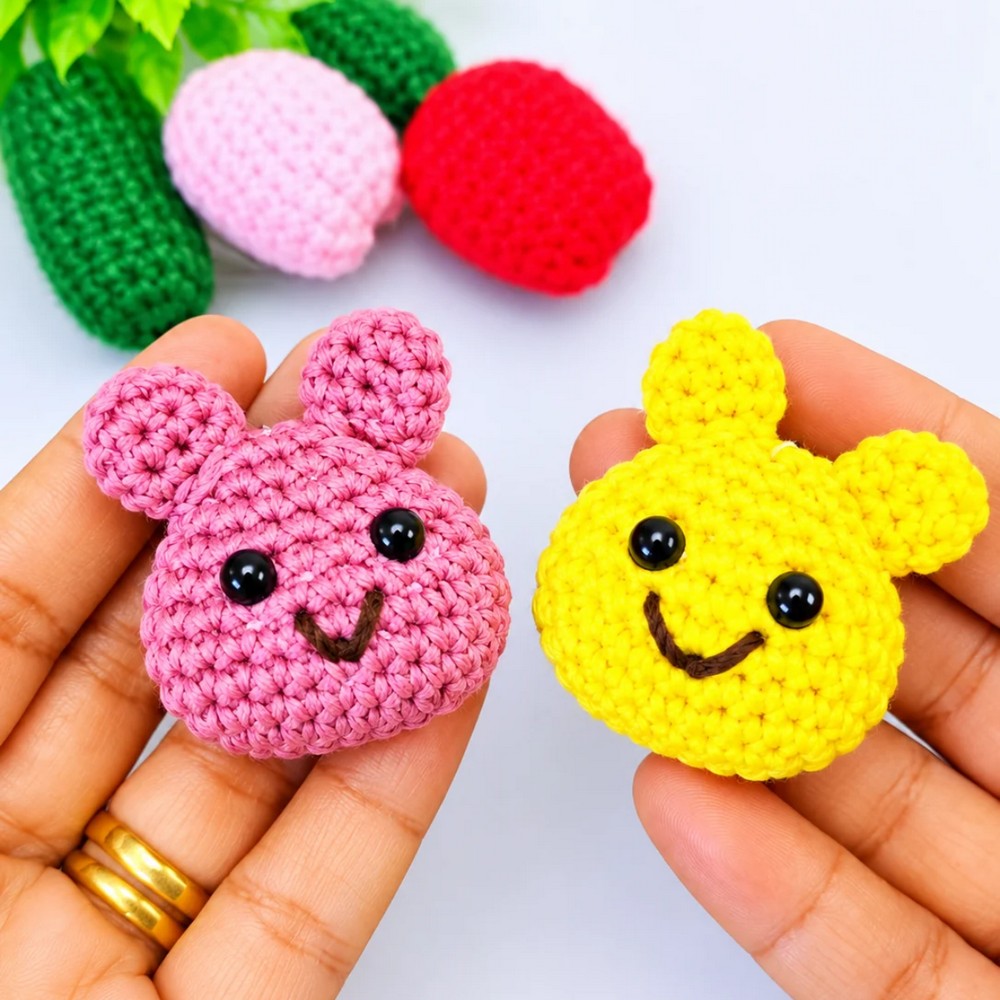
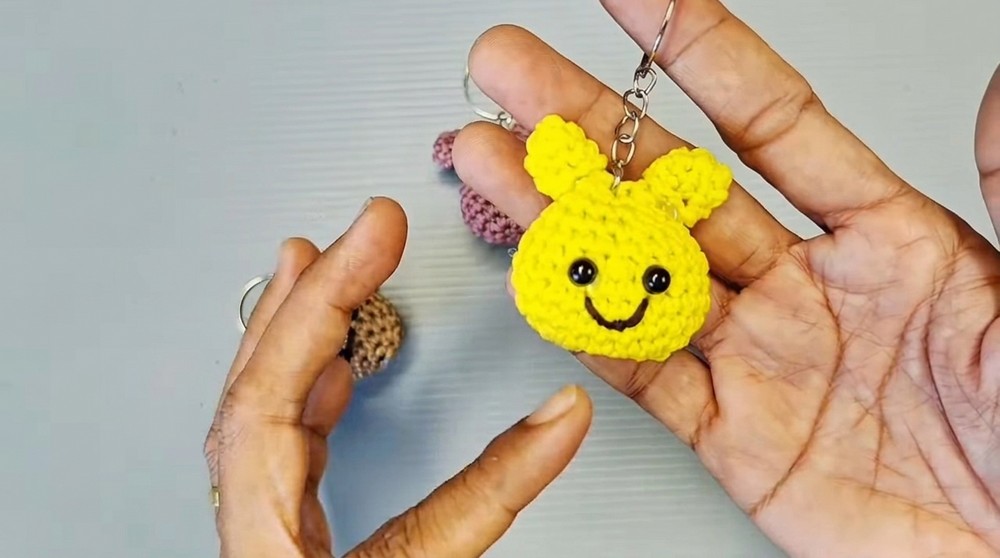
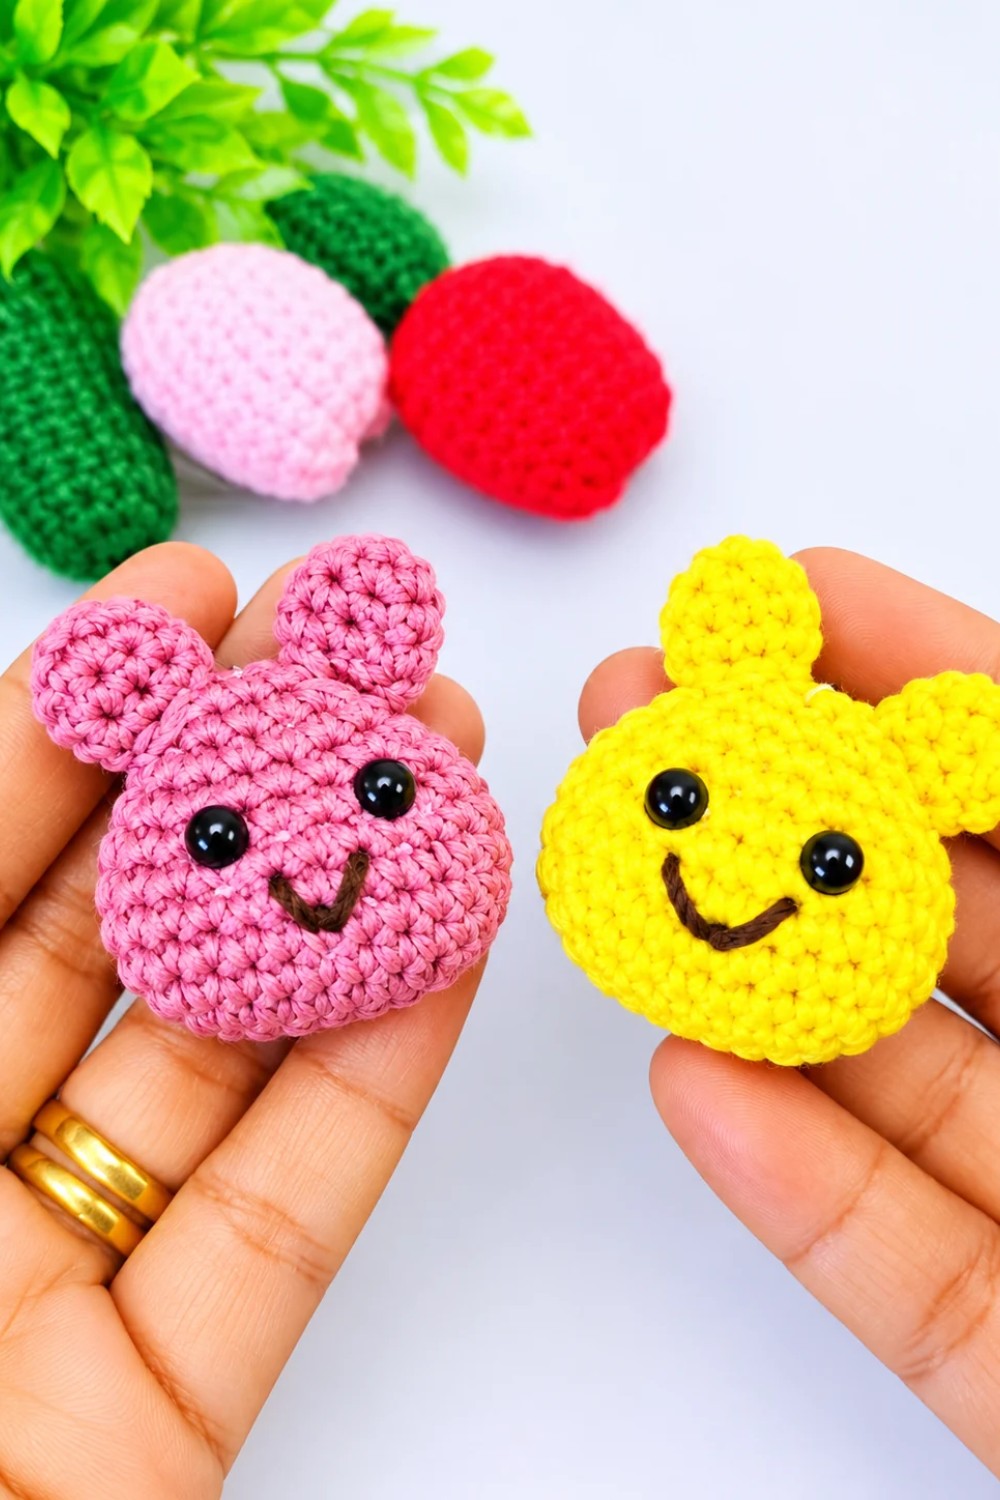
Would you carry a tiny teddy bear on your keys?A Crochet Mini Bear Keychain gives you a soft charm with round ears and a little nose. The design comes from Hobihobiku. The ears are the first thing you notice. They sit like two little bumps at the top, so the bear is easy to recognize even from the back. Up close, the small stitches give the face a texture you can feel with your thumb. A light brown shade gives it the look of an old teddy bear, while cream or gray can work well with a bag you already carry.
Fun Crochet Mini Bear Keychain Free Pattern for Picnic Party Favors
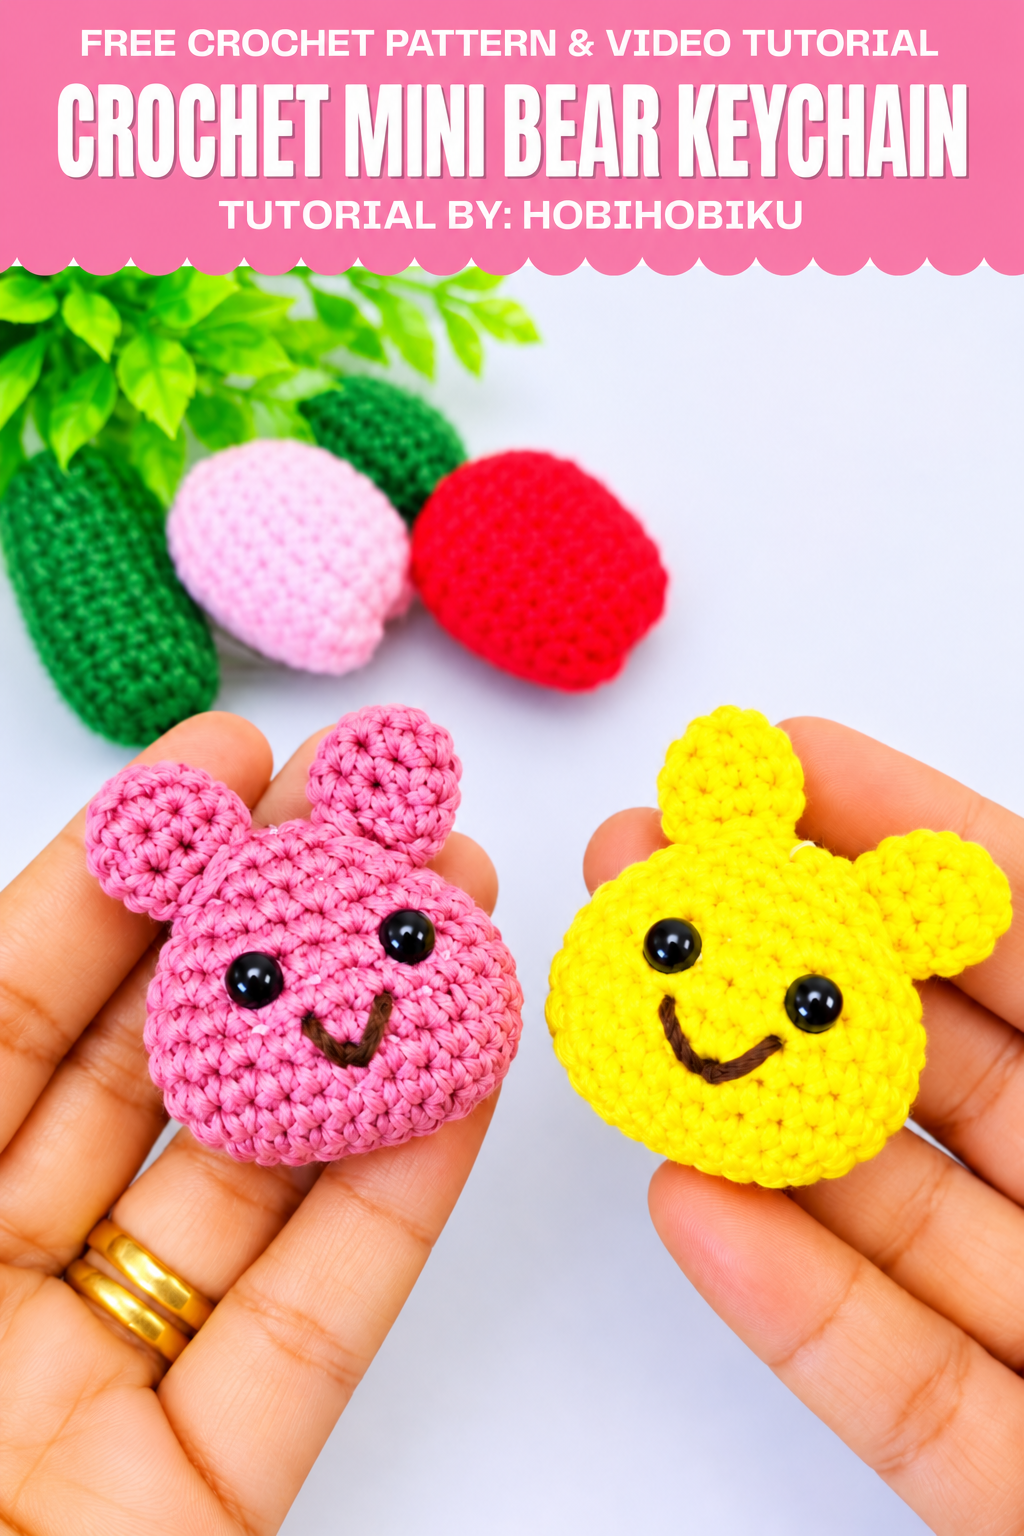
The original uses Polycherry yarn and a little stuffing. The filling helps the bear keep its shape when it’s pressed between keys in a pocket. When you attach the hanging loop, hold the bear up by it to see how it sits. Placing the loop near the middle helps the face hang straight. This could be a good next project for someone who has crocheted a small stuffed piece and wants to try finishing one with a key ring.
You can keep it on the key you use for your bike lock so it’s easy to tell apart from your house key. It also works as a pull on a jacket zipper with a small tab. For a friend who had a favorite teddy growing up, you could use the same color as their old toy. They might spot the match before you tell them why you chose it.
Pattern Overview
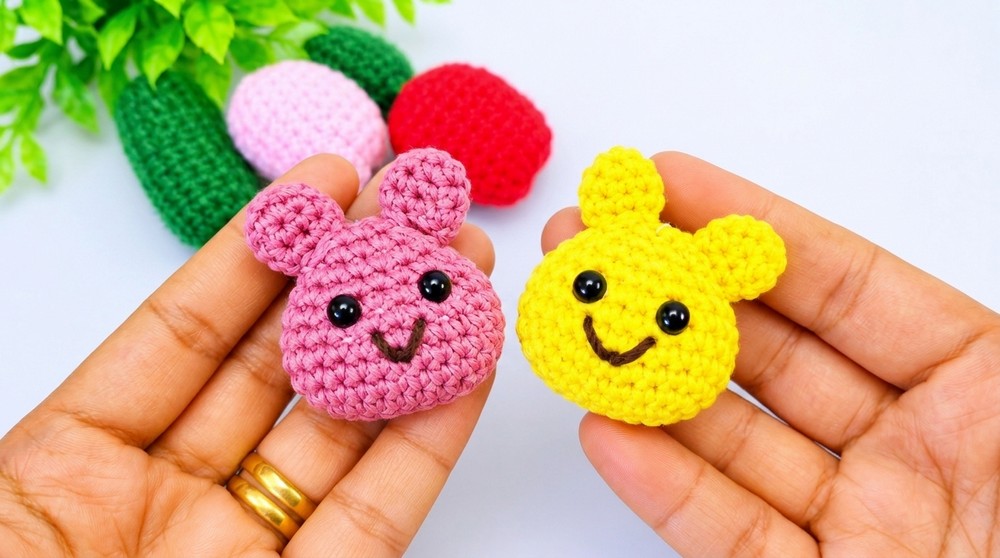
Create a cute mini bear keychain with this easy-to-follow crochet pattern. The bear is crocheted in two parts—the head and the ears—then assembled, decorated with eyes and a stitched mouth, and finished with your choice of keychain hardware. This simple project can use any standard amigurumi yarn. The clear, step-by-step instructions are perfect for crafters with basic crochet experience and are also approachable for new stitchers.
Quick Details
- Project: Mini Bear Keychain
- Parts: Head, 2 Ears
- Techniques: Single crochet, increasing, decreasing, working in rounds, magic ring, assembly, basic embroidery
Important Tips
- Use stitch markers to make rounds easier to count.
- Stuff the head firmly but gently for a smooth shape.
- Make stitches tight to prevent stuffing from showing.
- Always start new sections with a slip knot.
- Use same yarn type for all body parts for consistency.
- Adjust hook size to control the firmness and size.
- Secure all knots and tails inside the piece.
Skill Level
- Beginner to Easy
Familiarity with single crochet, increases, decreases, and sewing is helpful but not required.
Materials
- Crochet yarn in desired bear color (e.g., brown or tan)
- Small amount of black or dark thread (for mouth)
- Small amount of white, black, or safety eyes for face
- Polyester stuffing or dakron
- 2.5mm–3.5mm crochet hook (adjust based on yarn)
- Yarn needles for sewing and embroidery
- Scissors
- Keychain hardware (split ring or clip)
- Stitch marker
Measurements
- Size will vary based on yarn, but approximate finished size:
2.5–3.5 cm (1–1.5") across head
Gauge
Gauge is not critical for this project. Adjust hook size to achieve a firm, non-gappy fabric so stuffing will not show through.
Abbreviations
- ch – chain
- SC – single crochet
- st(s) – stitch(es)
- inc – increase (2 SC in one stitch)
- dec – decrease (single crochet two together)
- sl st – slip stitch
- MR – magic ring
- rep – repeat
Special Stitches
Magic Ring (MR):
Wrap yarn around finger to form a loop. Insert hook, draw up a loop, yarn over, pull through, and work stitches as instructed into the ring. Pull yarn tail to close ring tightly.
Single Crochet Decrease (sc dec):
Insert hook into next st, yarn over and pull up a loop, insert hook into next st, yarn over, pull up a loop (3 loops on hook), yarn over and pull through all three loops.
Step-by-Step Instructions
Head
Foundation:
Chain 5, then chain 1 more (total 6 chains).
Begin working in the fifth chain from your hook.
Round 1:
Work 3 SC in the last chain (furthest from the hook).
Work 3 SC evenly along the next 3 chains (one SC per chain).
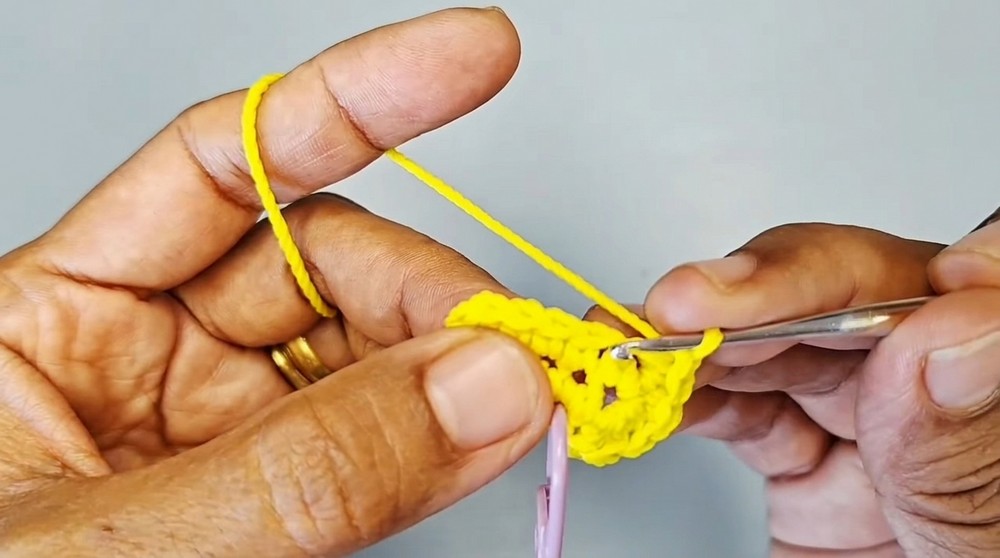
In the final stitch (the starting chain), work 3 more SC.
Turn and work along the opposite side of the chain, making 3 SC.
You should now be at the end of the oval.
Place a stitch marker at the last stitch.
Round 2:
Work as follows:
- Make 3 increases (2 SC in each of the next 3 stitches—total of 6 SC).
- 3 SC in the next 3 stitches.
- 3 increases (2 SC in each of the next 3 stitches—total of 6 SC).
- 3 SC in the last 3 stitches.
Move your stitch marker to the end of round.
Round 3:
(1 SC, 1 increase) repeat 3 times
- (SC in the next stitch, 2 SC in the next stitch); do this three times (total 9 SC).
- 3 SC in the next 3 stitches.
- Repeat (1 SC, 1 increase) three times again.
- 3 SC to finish the round.
Rounds 4-5:
SC in every stitch. Do this for two full rounds.
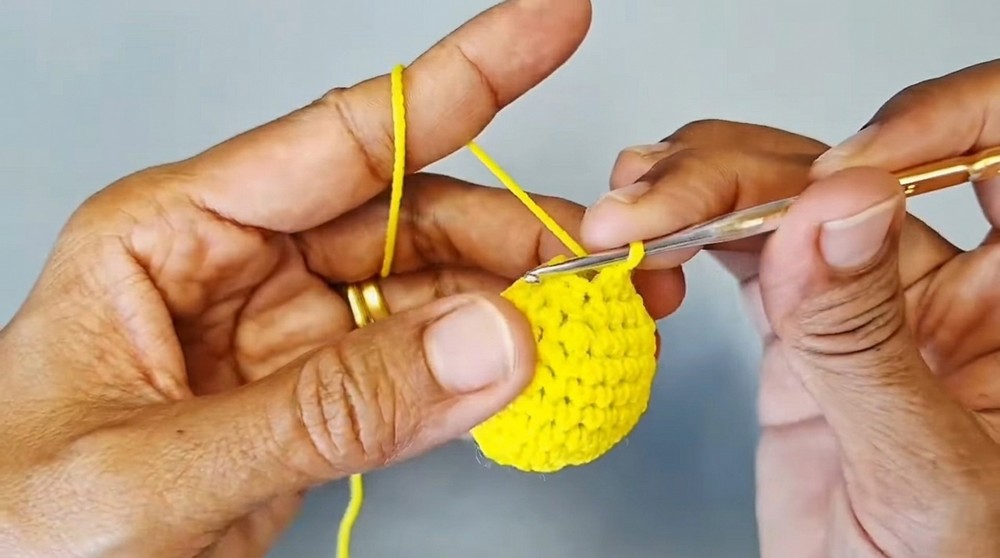
Be sure to move your stitch marker up at the end of each round.
Round 6:
(4 SC, 1 decrease) repeat 4 times
- Work 4 SC, then 1 decrease; repeat this sequence a total of 4 times around.
Round 7:
SC in every stitch around.
Round 8:
(3 SC, 1 decrease) repeat 4 times
- Work 3 SC, then 1 decrease; repeat 4 times.
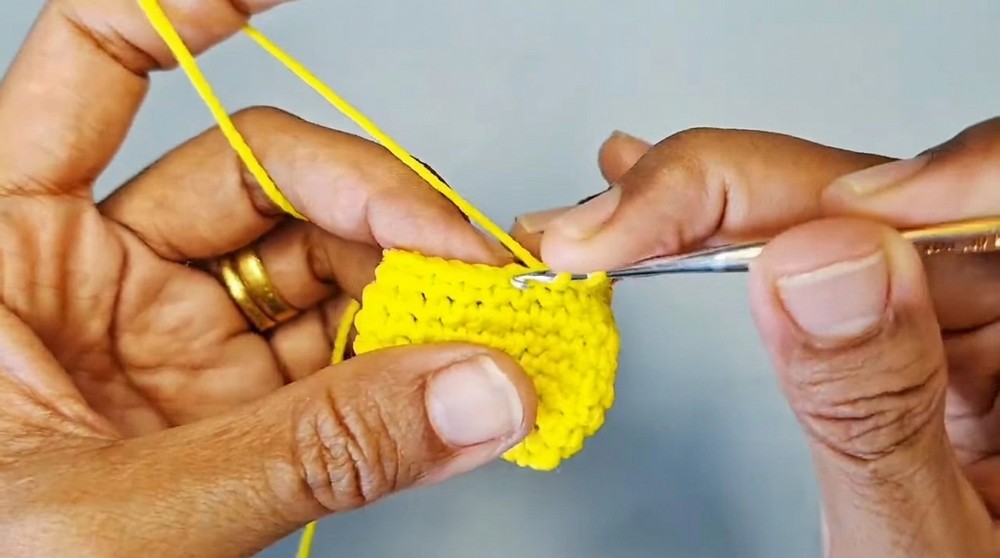
Round 9:
(2 SC, 1 decrease) repeat 4 times
- Work 2 SC, then 1 decrease; repeat sequence 4 times.
Stuffing:
Add stuffing (dakron or similar). Push small amounts in at a time. Stuff head firmly, but do not overfill.
Round 10:
(1 SC, 1 decrease) repeat 4 times
- Work 1 SC, then 1 decrease; repeat sequence 4 times.
Finish:
Make a slip stitch into the next stitch. Cut yarn, leaving a short tail. Pull through and fasten off. Weave in the tail to secure the shape. The head is now done.
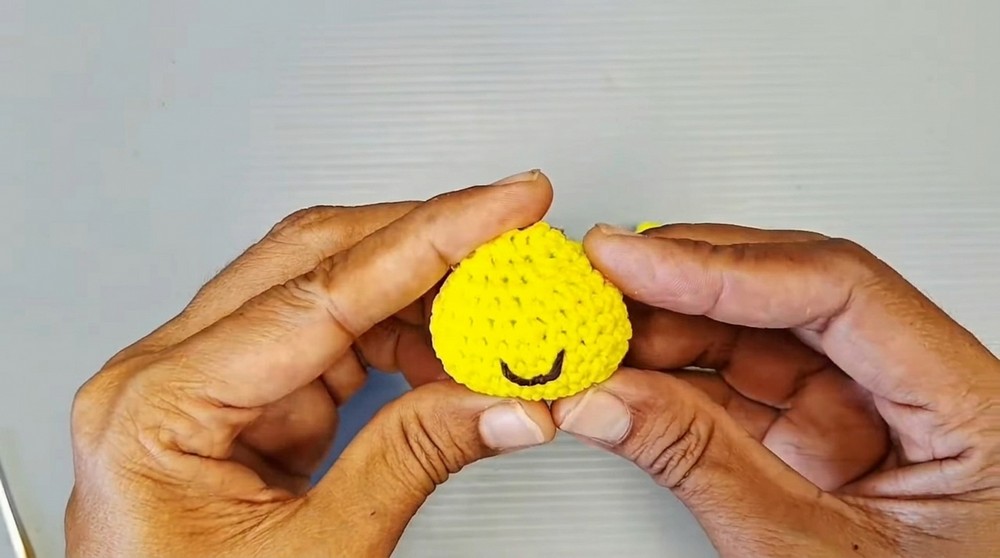
Ear (Make 2)
Foundation:
Make a magic ring.
Round 1:
Work 7 SC into the ring. Pull tail tightly to close the ring.
Round 2:
SC in every stitch around (7 SC total).
Finish:
Make a slip stitch into the next stitch. Cut yarn, leaving a tail long enough for sewing. Pull through and fasten off.
Assembly
Attaching Ears to Head:
- Use yarn needle and tail to sew each ear to the top of the bear's head. Position ears symmetrically so they look cute and balanced.
- Secure each ear by sewing around base, passing through both ear and head.
- Weave in ends inside the head to hide the yarn.
Facial Features:
- Glue or sew the eyes onto the head, slightly under the ears and spaced evenly apart.
- Using a needle and dark-colored thread, stitch a small semi-circle as the mouth between and just under the eyes.
Attach Keychain:
- Using a sturdy yarn tail or jump ring, secure keychain hardware at center top of the head.
Final Notes
- Count your stitches after every round to keep the shape correct.
- If ear placement seems off, pin them in place before sewing.
- If desired, embroider a tiny nose above the mouth.
- Use safety eyes for children under 3 only if you secure them very tightly.
- Experiment with different yarn colors or sizes for a custom look.
- This bear can be finished in under an hour for a quick, adorable gift or decoration.
- Always weave in all ends and trim excess yarn for a neat appearance.
- To clean, spot-wash only with mild soap and dry flat.
Leave a Reply