

Create Lion Teddy Bear with this free Crochet Pattern that's a cute and cuddly handmade stuffed toy ideal for playtime or thoughtful gifting occasions.
Soft, squishy, and full of charm, the Free Crochet Lion Teddy Bear Pattern brings together the gentle hug of a teddy and the playful look of a lion. This cuddly friend is made with bright yarn and a fuzzy, fluffy mane that kids and grown-ups will love.
Use cotton yarn for a smooth, soft feel, or try chunky yarn for an extra cozy bear. The recommended hook size is a 3.5mm or 4mm crochet hook, perfect for making neat stitches. The most important stitch in this pattern is the single crochet, which makes the bear’s body strong and plump. For the mane, clever loop stitches or fringe techniques help create the lion’s wild hair.
Adorable Crochet Lion Teddy Bear Pattern for Kids
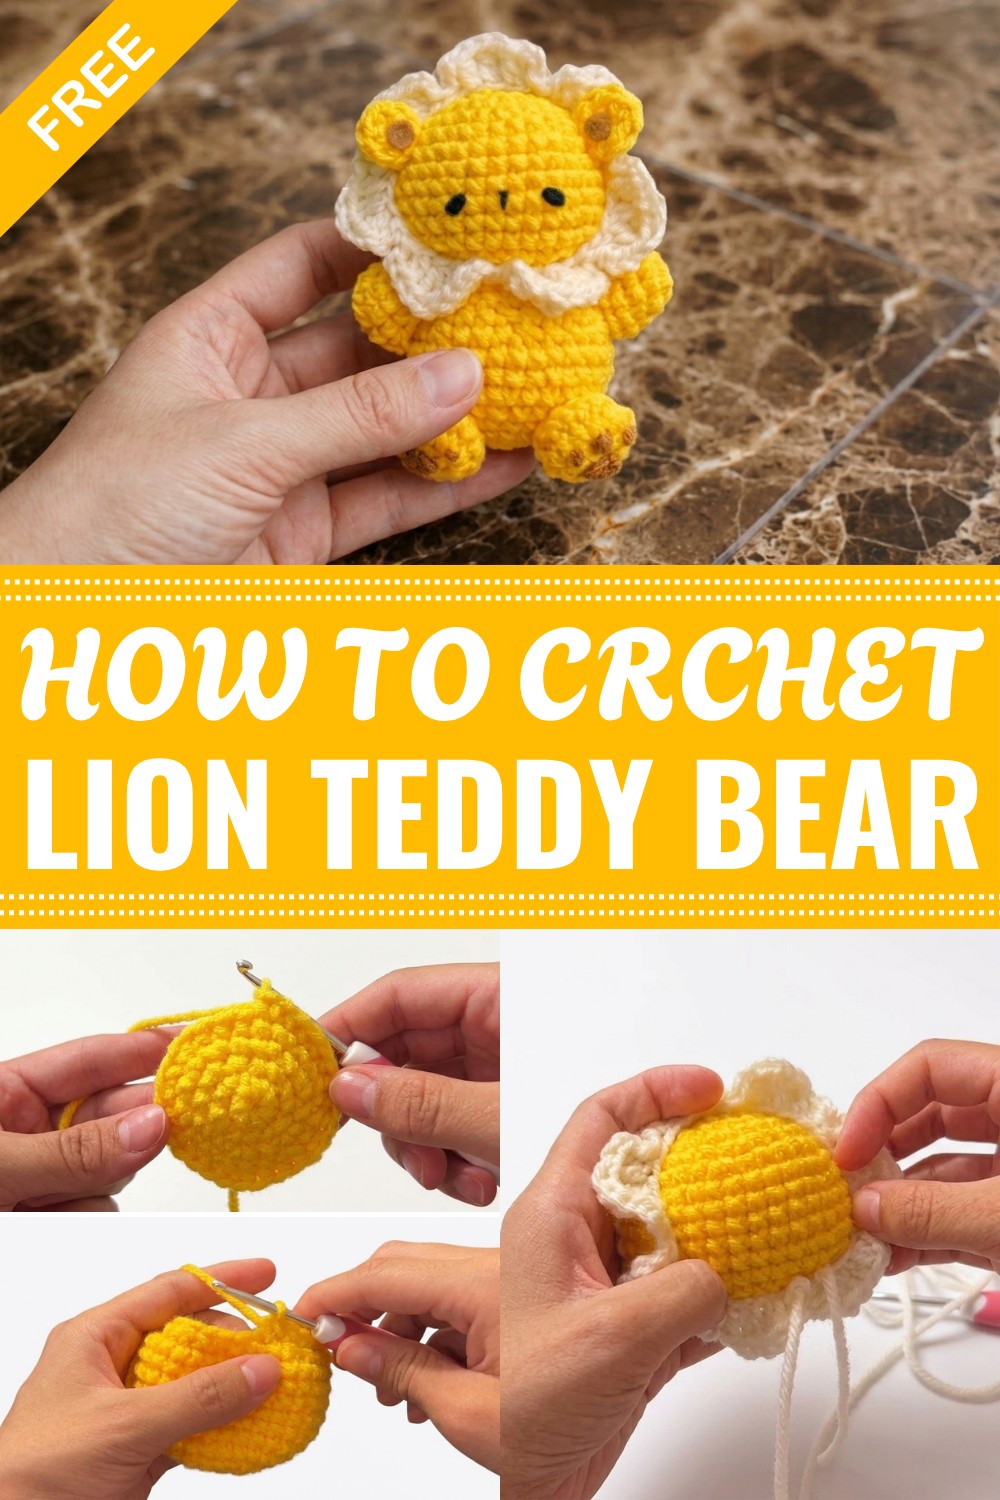
Customize your lion with every color you like! Classic gold and brown make a real lion look, but you can also try fun colors like blue, pink, or even rainbow. Add a bow, crochet a tiny crown, or sew on a heart for extra cuteness. The finished teddy is usually 18–25cm tall—easy to hold, hug, and carry everywhere. Want a bigger or smaller lion? Just use thicker or thinner yarn and change the number of rows.
This crochet Lion Teddy Bear is more than just a soft toy. It can be a bedtime buddy, a sweet birthday gift, a nursery decoration, or a special handmade friend for any child. Many crafters also like to make matching mini lions for keychains, bag charms, or party favors.
Bring your lion to life with a friendly face—embroider a smile, sew on safety eyes, or use buttons for a unique touch. Every lion teddy is full of personality and warmth, showing off your own creativity in every stitch. This pattern is fun for both beginners and experienced crafters, and each finished teddy shows how much you care.
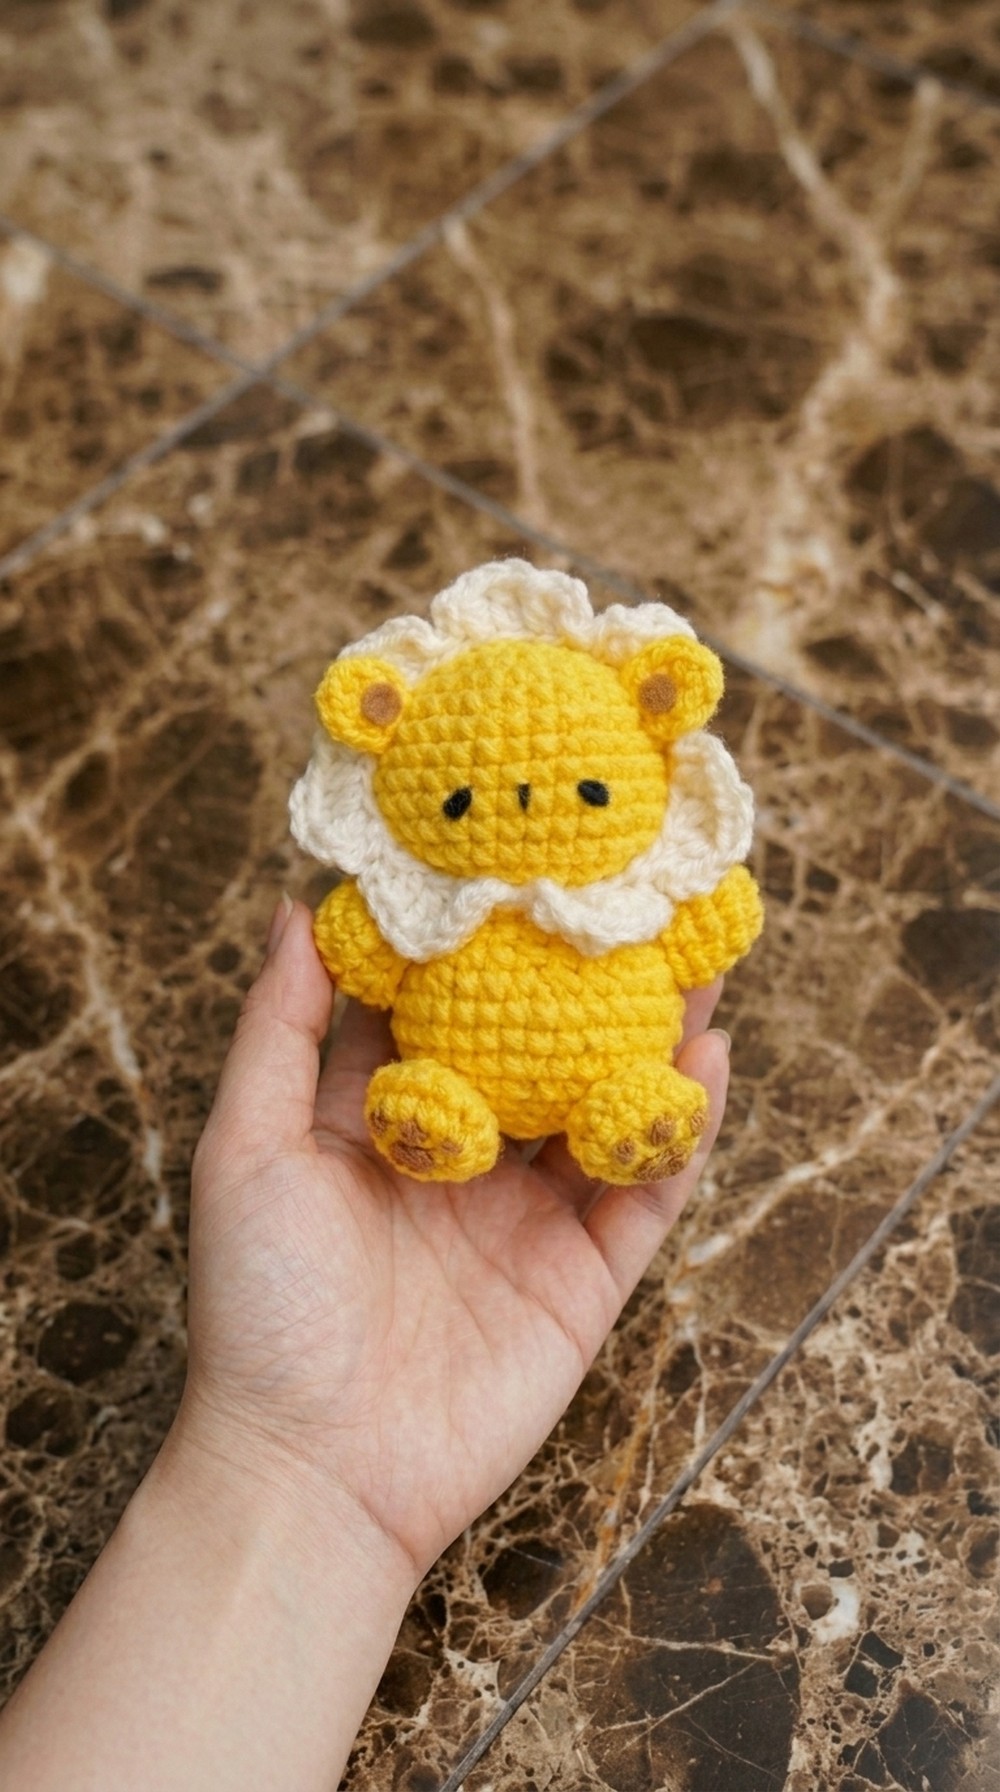
Lion (or Teddy/Flower Lion) – Crochet Pattern
This adorable 3-in-1 amigurumi pattern creates a sweet lion named D (or a teddy/friend with color adjustments). The design features a crocheted flower mane, rounded head, body, limbs, and options for customization. Follow this step-by-step pattern for a lovable plush toy!
Before You Start
- Familiarize yourself with magic ring, single crochet, increase, decrease, and basic amigurumi shaping.
- Read through the pattern before beginning to understand assembly.
- Prepare all your colors if making lion/flower mane or teddy bear.
- Work in continuous rounds unless otherwise noted.
- A stitch marker is recommended for tracking rounds.
Pattern Notes
- The toy is worked in pieces (head, body, limbs, flower, ears, tail) and sewn together.
- The rounds are worked in a spiral; do not join at the end of each round unless stated.
- Use safety eyes or felt/embroidery for features.
- Stuff as you go, especially the head and body.
- Use tight stitches for sturdy fabric.
- For a classic lion: yellow/gold body + orange/brown flower. For teddy: one color + petal mane.
How I Made the Crochet Pattern
- Created the head and body with standard amigurumi increases/decreases.
- Made limbs, ears, and tail as small spheres/tubes.
- Designed a flower in the round for the mane.
- Assembled pieces and decorated with embroidery and felt.
Skill Level
Advanced Beginner / Intermediate
Should be comfortable with amigurumi, magic ring, sewing, and basic shaping.
Finished Size
- Height: ~15-20 cm (6–8 inches), depending on yarn and tension.
- Customizable by changing hook/yarn weight.
Materials
- Light worsted or DK acrylic or cotton yarn (yellow, brown, pink, white, green, or as desired)
- 2.5mm–3mm crochet hook
- Toy stuffing (polyfill)
- Yarn needle
- Stitch marker
- Scissors
- Felt/floss for features OR safety eyes (2)
- (Optional) Floral wire for flower balloon decoration
Measurements / Sizing
- Head: ~7-8 cm diameter
- Body: ~7-8 cm long
- Arms/legs: ~5-6 cm each
- Flower: fits around head circumference
Gauge
- Not crucial, but stitches should be tight so stuffing does not show.
- ~6 sc = 2 cm.
Stitch Abbreviations
| Abbrev. | Meaning |
|---|---|
| mr | magic ring |
| ch | chain |
| sc | single crochet |
| inc | increase (2 sc in one st) |
| dec | decrease (sc2tog) |
| hdc | half double crochet |
| dc | double crochet |
| tr | treble crochet |
| sl st | slip stitch |
Special Stitches
- Invisible decrease: Insert hook in front loop of next two sts, yarn over, pull through two, yarn over, pull through two again.
- Magic ring: Wrap yarn into a ring, work stitches into center, pull tail to tighten.
The Pattern!
Head
Round 1: Magic ring, 6 sc in mr. (6)
Create a tight ring for a neat start to the head.
Round 2: Inc in every st (2 sc in each). (12)
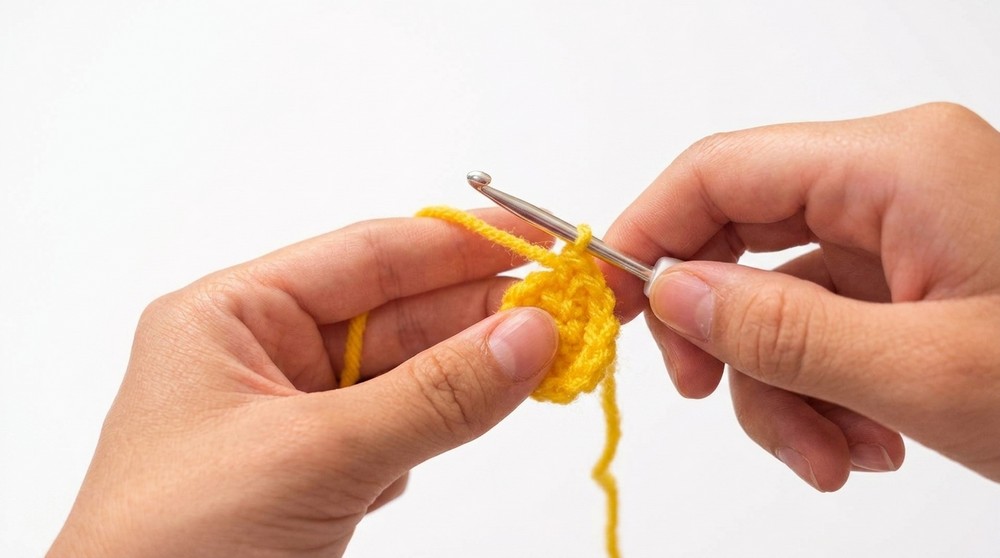
You are doubling the stitch count for a smooth dome.
Round 3: (sc in next st, inc in next st) x6. (18)
Repeat: one normal stitch, then two in the next.
Round 4: (sc in next st, inc, sc in next st) x6. (24)
Repeat a pattern of single-increase-single for a rounded head.
Round 5: (sc in next 3, inc) x6. (30)
Gradually increasing to create more width.
Round 6: (sc in next 2, inc, sc in next 2) x6. (36)
Continue steady growth for a nice head shape.
Rounds 7–12: Sc all around (36 per round, 6 rounds).
This forms the height and creates a ball shape.
Round 13: (sc in next st, dec) x12. (24)
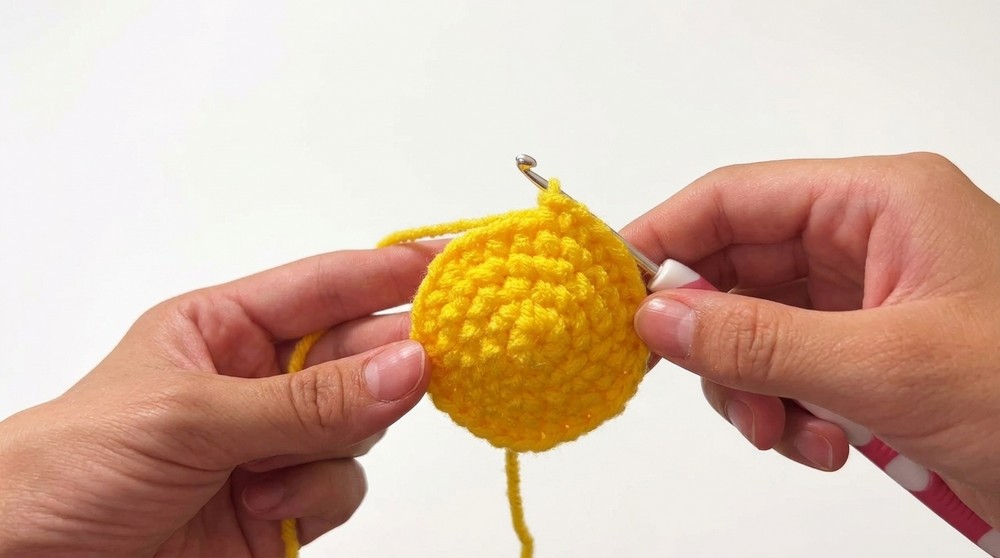
Begin decreasing for the bottom curve.
Round 14: (sc in next 2, dec) x6. (18)
Shape close to base, insert eyes or felt face, stuff.
Fasten off, leaving a tail for sewing. Stuff head.
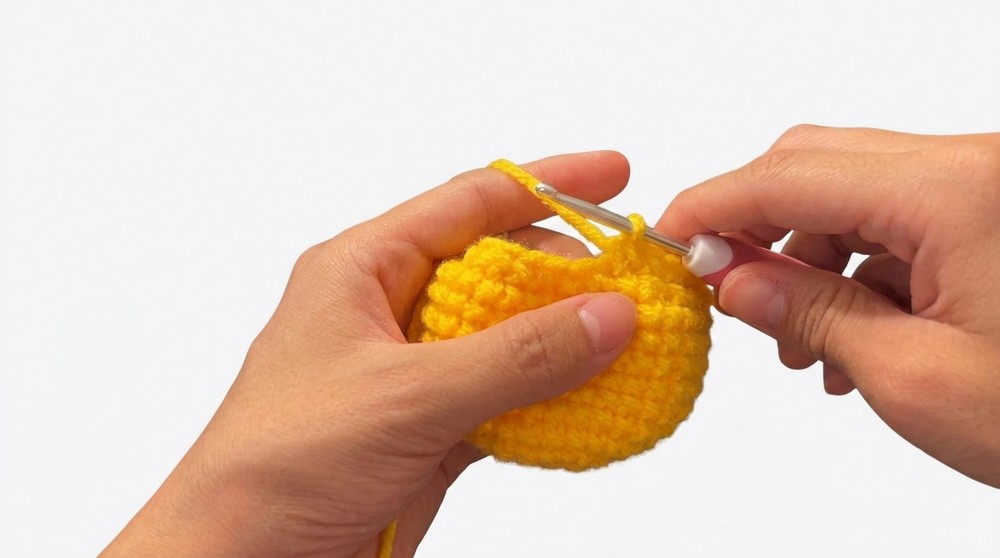
At this point, the head is a rounded, closed ball. Eyes/nose can be added with felt, embroidery, or safety pieces.
Body
Rounds 1–5: Repeat head rounds 1–5.
Form a flat circle, then begin walls of the body.
Round 6: Sc all around (30).
Height for torso.
Round 7: (sc in next 5, inc) x5. (35)
Widen up for the belly.
Round 8: Sc all around (35).
Body height.
Round 9: (sc in next 3, dec) x7. (28)
Shape for base.
Round 10: Sc all around (28).
Round 11: (sc in next 5, dec) x4. (24)
Decreasing for bottom closure.
Round 12: (sc in next 2, dec) x6. (18)
Stuff before fully closed. Fasten off leaving tail for sewing.
Now you have a matching ball for the body. Stuff firmly before closing.
Flower (Mane)
Foundation: Ch 36, join with sl st to first ch — ring made.
Petal (repeat 7 times around the ring):
- Sl st to first ch after join.
- (Ch 2, hdc in same ch),
- (dc, tr) in next ch,
- (tr, dc) in next ch,
- hdc in next ch, ch 2, sl st in same ch,
- Move to next starting ch.
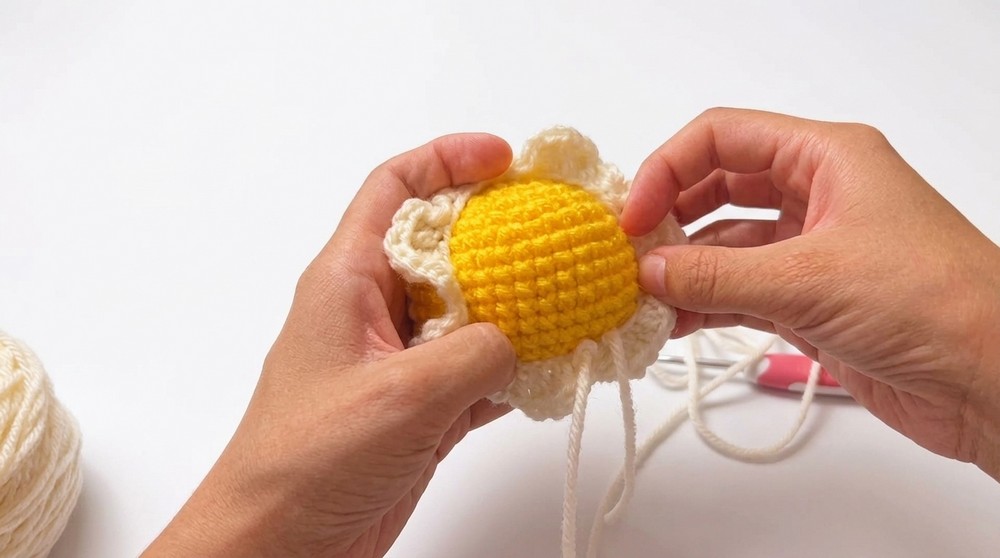
Work this sequence around, making 7 petals. Fasten off and leave long tail for sewing.
The flower grows flat and gathers into a perfect mane around the head.
Ears (make 2)
Round 1: Magic ring, 7 sc in mr, sl st to join.
Leave tail for sewing. Makes a soft ear for lion or teddy.
Legs (make 2)
Round 1: Magic ring, 8 sc in mr. (8)
Round 2: Inc in each st. (16)
Round 3: Sc all around. (16)
Round 4: Sc 4, dec x4, sc 4. (12)
Fasten off, leaving a tail for sewing.
Arms (make 2)
Round 1: Magic ring, 8 sc in mr.
Round 2: (sc in next, inc) x4. (12)
Rounds 3–4: Sc all around.
Fasten off, leave long tail.
Tail
Round 1: Magic ring, 6 sc in mr.
Round 2: (sc in next 2, inc) x2 (8)
Round 3: (sc in next 3, dec, sc in next 3) (7)
Round 4: (sc, dec, 2 sc, dec) (5)
Fasten off, leave brown fluff at end, or embroider.
Assembly & Finishing
- Stitch head and body together securely.
- Wrap and sew flower around head, balancing petals.
- Sew ears between rounds 5–7 of head.
- Place arms beneath head and flower, sew.
- Attach legs to lower body (from round 2 to 6).
- Add tail at back (using felt/floral wire if needed).
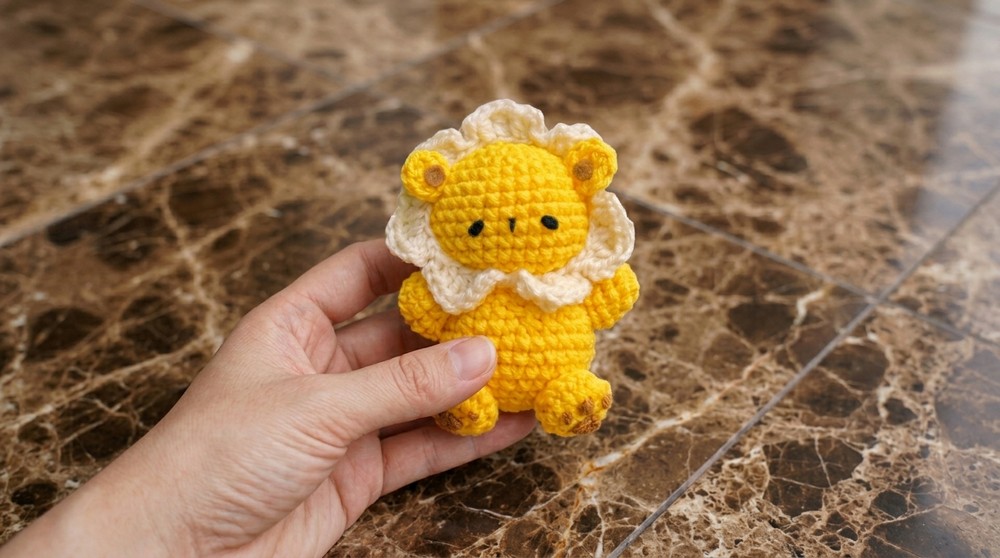
- Embroider face, add eyes, nose, and paw details.
- Add decorations (felt hearts etc) as desired.
Solution of Problem
Problem: Parts look uneven, flower won’t lay flat, or face is lopsided.
Solution:
Stuff pieces firmly before sewing. Use pins to place flower and limbs before attaching. Adjust petal count or shaping for different head sizes. Embroider after main assembly so you can re-position if needed.
What you can make by using these stitches
- Lions, teddy bears, or other animals by changing ears and colors
- “Flower bear” or “flower cat” with the mane/flower base
- Amigurumi bouquet with multiple flowers & animals
- Keychains and gifts by adjusting size
Summary for non-pattern readers:
Make two ball shapes for head and body, then crochet a flower and stitch around the head like a mane. Add small round ears, long arms/legs, and a cute tail. Sew everything together and decorate as you wish. Alternate colors for a lion, teddy, or fantasy animal.
Leave a Reply