

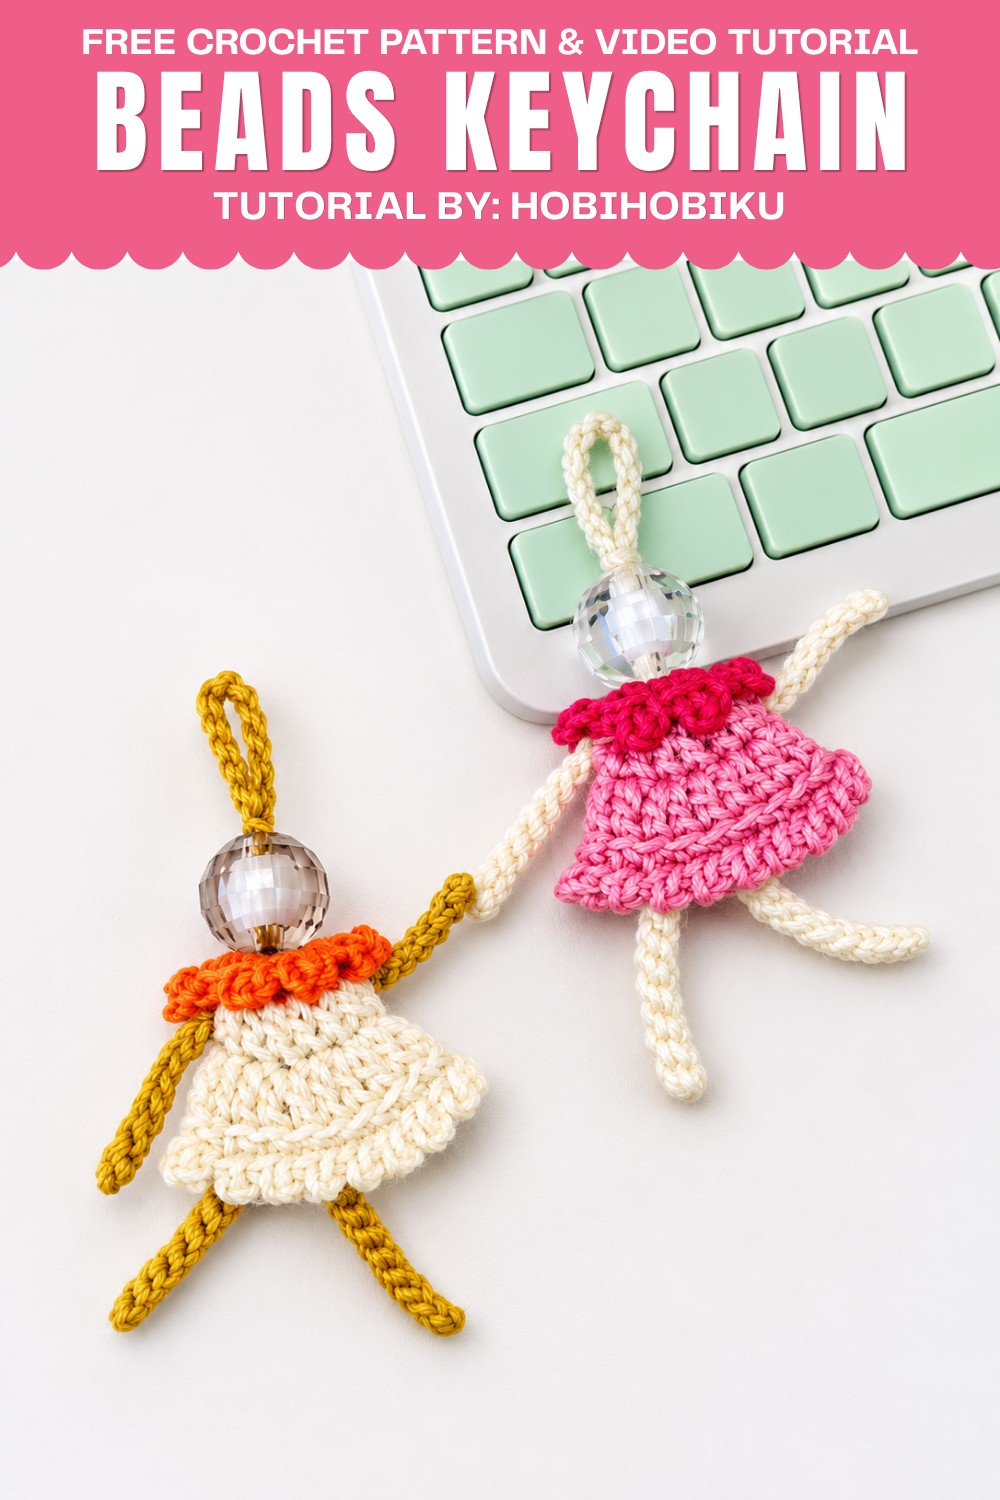
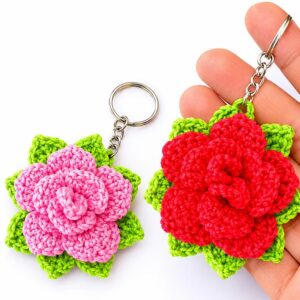
Dress up a wrapped gift with this Crochet Beads Keychain Free Pattern and tie the charm onto the ribbon as a small keepsake for someone special.
Hobihobiku has brought a fresh and creative twist to small accessories with a brilliant tutorial that makes crocheting a Crochet Beads Keychain both enjoyable and straightforward. Big kudos to the creator for designing a simple yet charming project that anyone can try.
Quick Crochet Beads Keychain Free Pattern For Last-Minute Gifts
The Crochet Beads Keychain is a tiny, decorative piece perfect for attaching to keys, bags, or even wallet. Although the finished size is compact, it packs a lot of personality and color, often featuring a combination of soft crochet stitches and carefully integrated beads. This blend creates a playful texture and an eye-catching design that stands out.
Ideal for beginners and those looking for a quick project, this keychain incorporates basic crochet stitches such as single crochet and slip stitch. The addition of beads requires a bit of patience but adds a unique flair, making the piece more interesting and tactile. It’s a brilliant way to practice bead insertion techniques while working on small-scale projects.
Perfect as a thoughtful gift or a personal accessory, this project not only helps organize your keys but also adds a handmade touch to everyday items. Its small size means it can be completed quickly, giving a fast sense of accomplishment.
Eager to add a splash of handmade charm to your keys? Jump into this creative journey and stitch your own Crochet Beads Keychain with this easy and free pattern!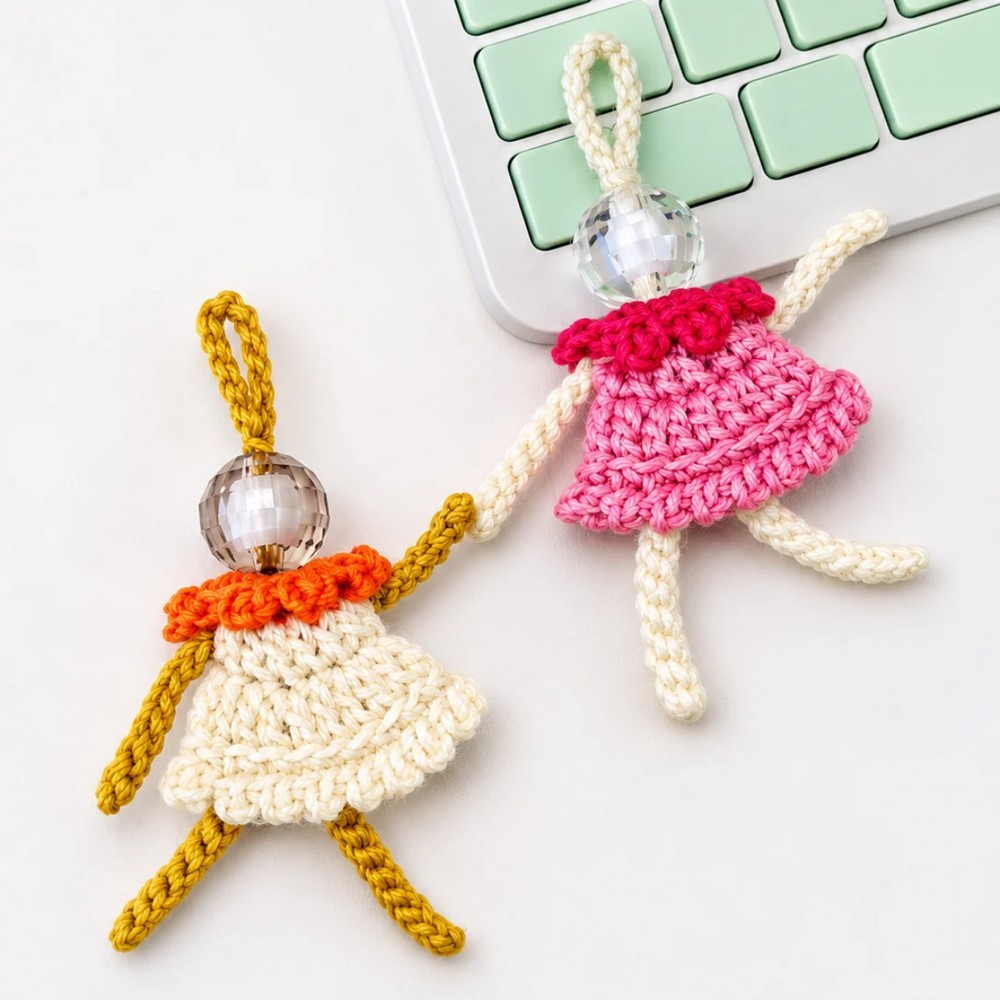
Crochet Keychain with Bead Head and Dress
Pattern Overview
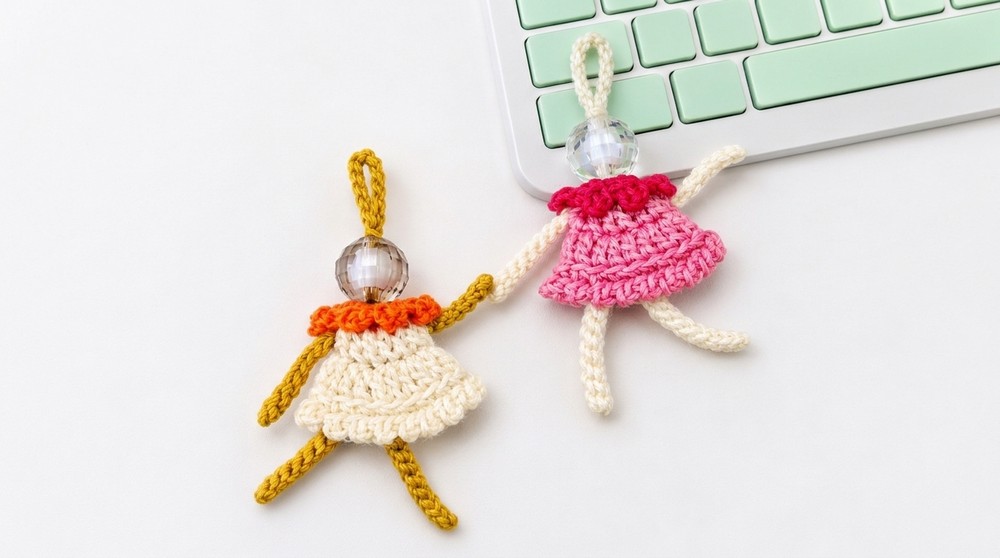
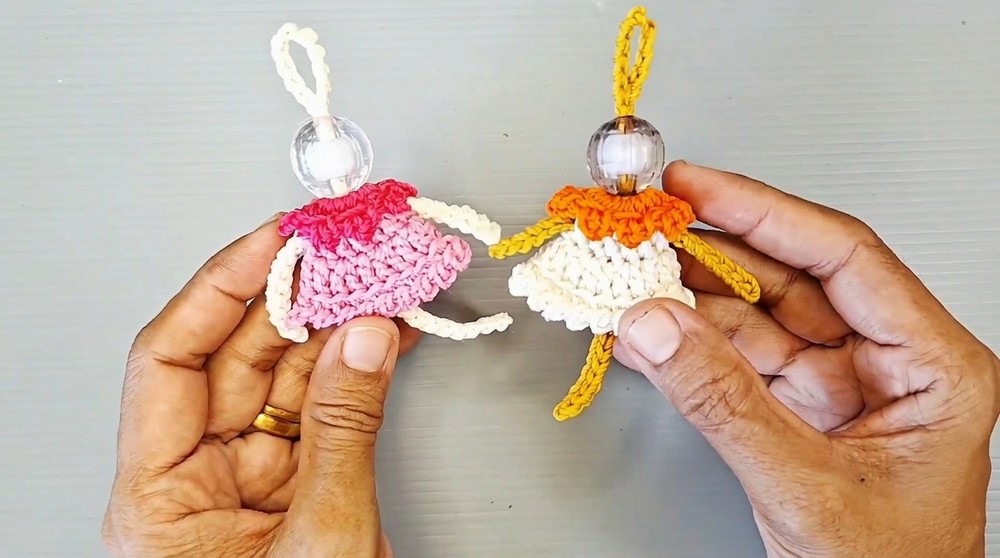
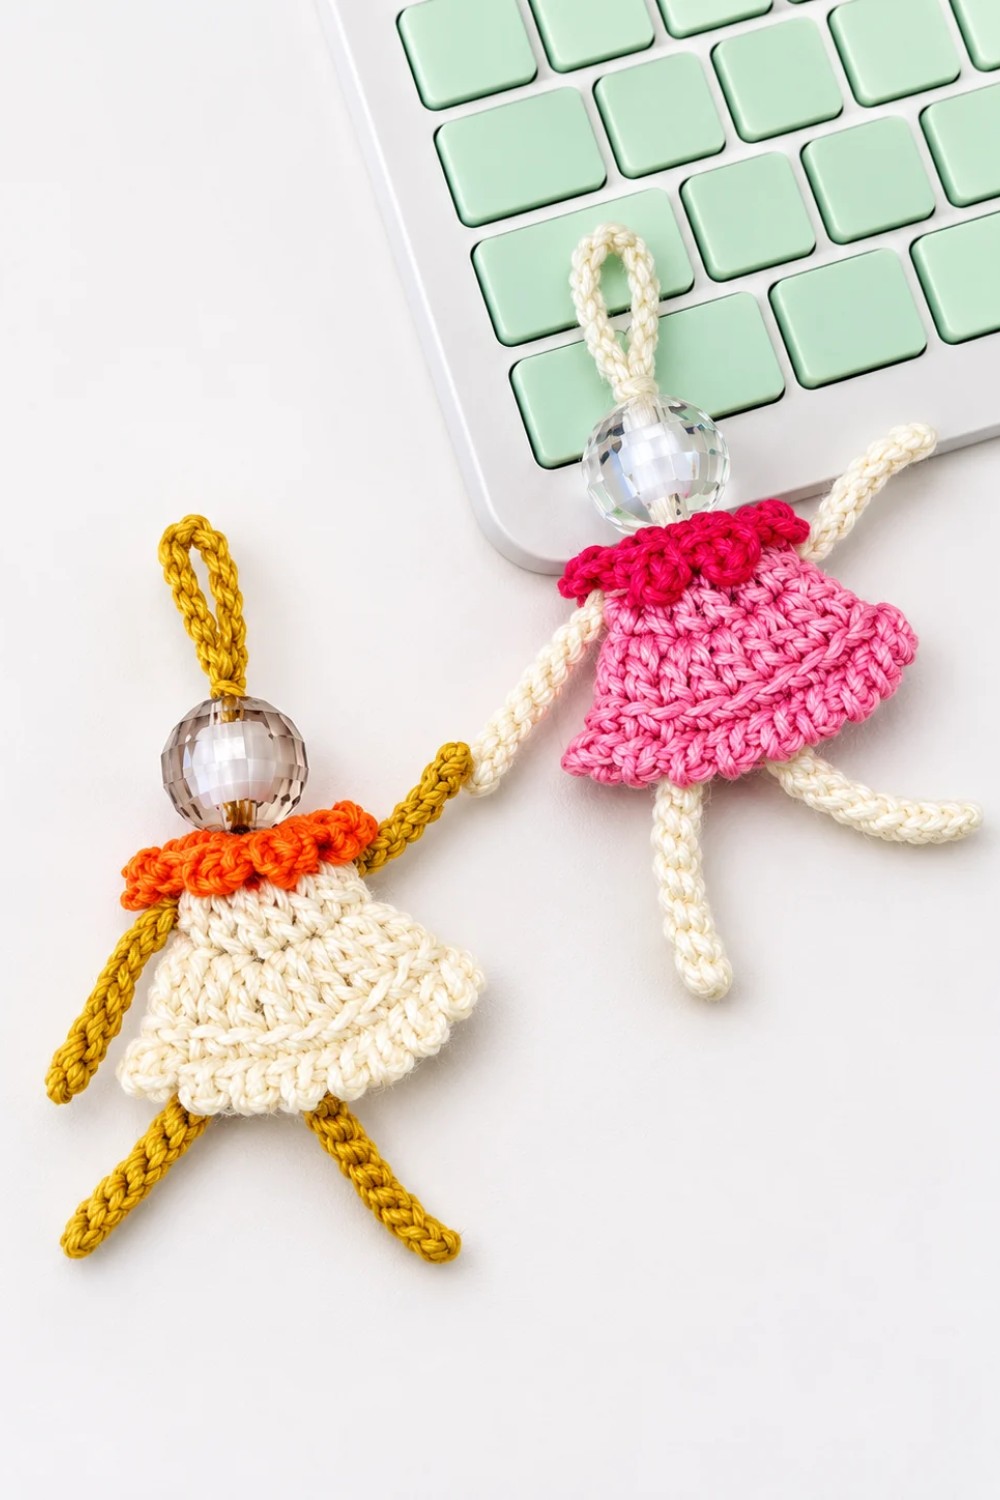
This crochet keychain is a whimsical figure with a bead head, arms, legs, and a little flared dress. The dress features textured layers with playful edging created by working in front and back loops, while the body and limbs are formed with simple chains and slip stitches. A sturdy hanging loop and a 16mm bead for the head complete the assembly.
Quick Details
- Item: Keychain figure with bead head and ruffled dress
- Structure: Crocheted dress (top and skirt), chain-formed arms and legs, hanging loop
- Head: 16mm bead
- Join: Elements assembled through the dress center and bead head
Important Tips
- Keep chains even and slip stitches snug for sturdy arms and legs.
- Use a smooth, strong yarn that won’t easily fray, especially for the hanger.
- Ensure your 16mm bead fits snugly atop the figure and does not fall off the chains.
- If using different yarn or hooks, check the fit through the dress center hole.
- Work in front and back loops where specified for layered, dimensional dress effect.
Skill Level
Confident Beginner/Easy
- Skills: Magic ring, single crochet, double crochet, working in front or back loops, chains, slip stitch, basic assembly.
Materials
- Small amount of smooth yarn (cotton or acrylic; color for dress and body)
- Crochet hook sized for yarn (suggested: 2.5mm–3.5mm)
- 16mm wooden or plastic bead (head)
- Keychain ring or clip
- Yarn needle
- Scissors
Measurements
- Dress diameter: approx. 4–5 cm
- Total height with hanger: 8–10 cm
- Bead head: 16mm
Gauge
- Not critical. Finished figure must fit through the dress opening and look proportional.
Abbreviations
- mr – magic ring
- sc – single crochet
- dc – double crochet
- sl st – slip stitch
- ch – chain
- st – stitch
- rep – repeat
- FL – front loop
- BL – back loop
Special Stitches
- Front Loop/Back Loop: Insert hook into only the front or back half of the top loops of a stitch (to create layered depth).
- Increase in dc: Work 2 double crochet in the same stitch.
Step-by-Step Instructions
1. Dress Foundation
Magic Ring
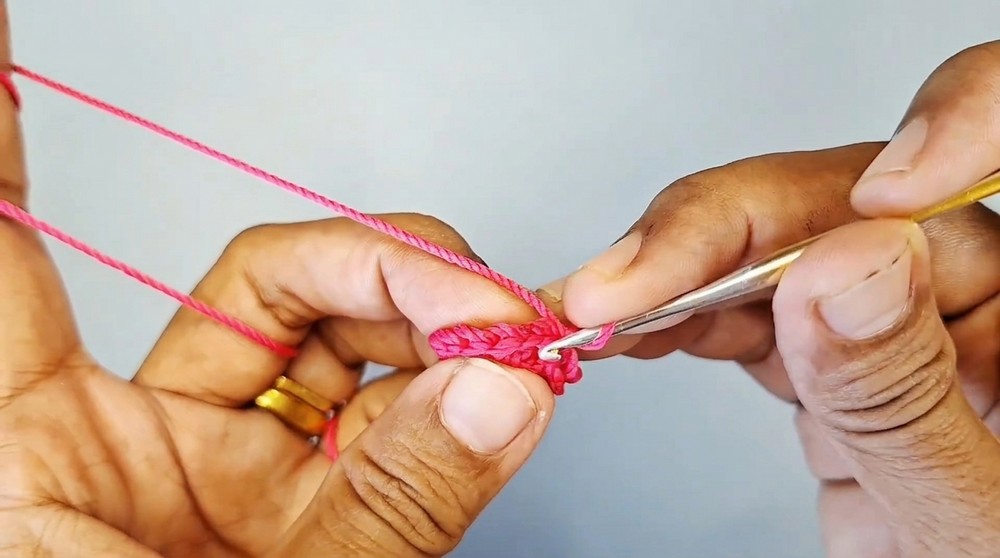
- Begin with a magic ring (mr).
- Work 16 single crochet (sc) into the ring.
- Pull ring closed.
- Slip stitch (sl st) into the first sc to close the round.
- Chain 1.
Front Loop Round
- Work in front loops only:
- [1 sc in FL, ch 2, sl st in the same sc, skip next loop] – rep 8 times (creates 8 scallops around).
- Finish off round.
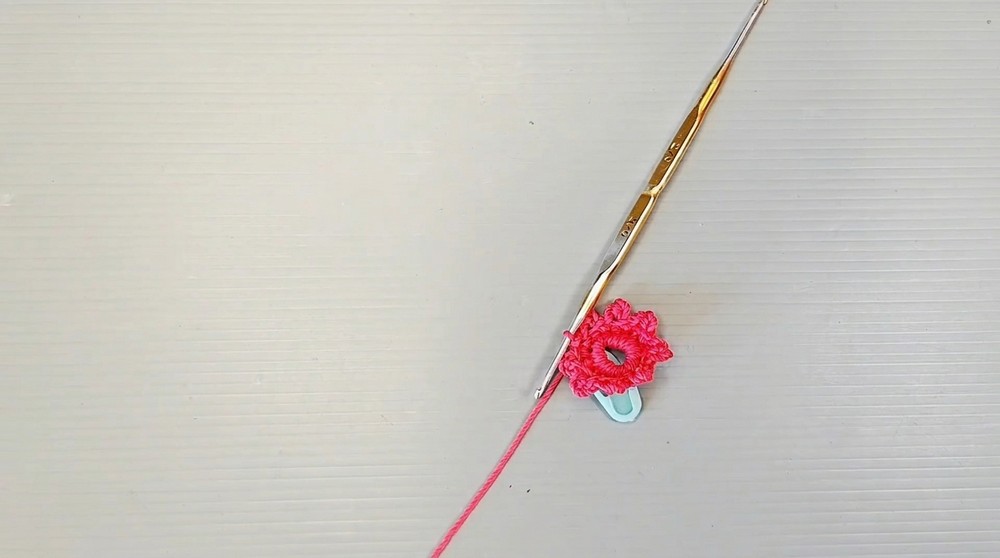
2. Dress Lower Section
Attachment to Back Loop
- Join new yarn color, or continue, by attaching yarn to any back loop from the foundation round.
Double Crochet Round
- Chain 2 (counts as start of round).
- In the same BL, work 6 double crochet (dc).
- Skip the next 2 stitches.
- Rep around: (6 dc in BL, skip 2 stitches) until end of round.
- Join with sl st at start of round.
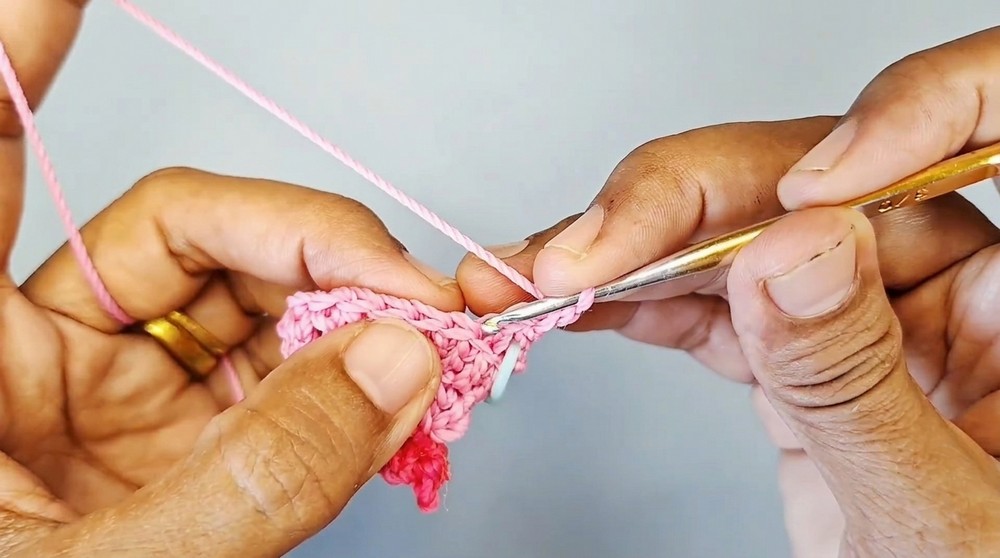
Increase Round
- In next round, work in each stitch as follows:
- 1 dc in first st, then 2 dc (increase) in next st.
- Rep around (alternating 1 dc, then 2 dc) to end of round.
Final Border
- Work in back loops only:
- [1 sc, ch 1, sl st in the same sc] in each loop around for a final scalloped edging.
- Fasten off and weave in ends.
3. Body and Arms
Legs
- Take new yarn for limbs.
- Chain 10 for first leg, ch 1 more.
- Sl st back along the 10 chains to form the leg. Fasten off.
- Repeat for the second leg.
Torso and Arms
- Find the approximate center of the top for body attachment.
- Chain 5 for the torso upwards.
- At the fifth chain, chain 10 for the first arm.
- Ch 1 more, then sl st back down the 10 chain to the arm base.
- Return to torso chain, then chain 10 for the other arm, ch 1 extra, sl st back along 10 chain for other arm.
- Fasten off.
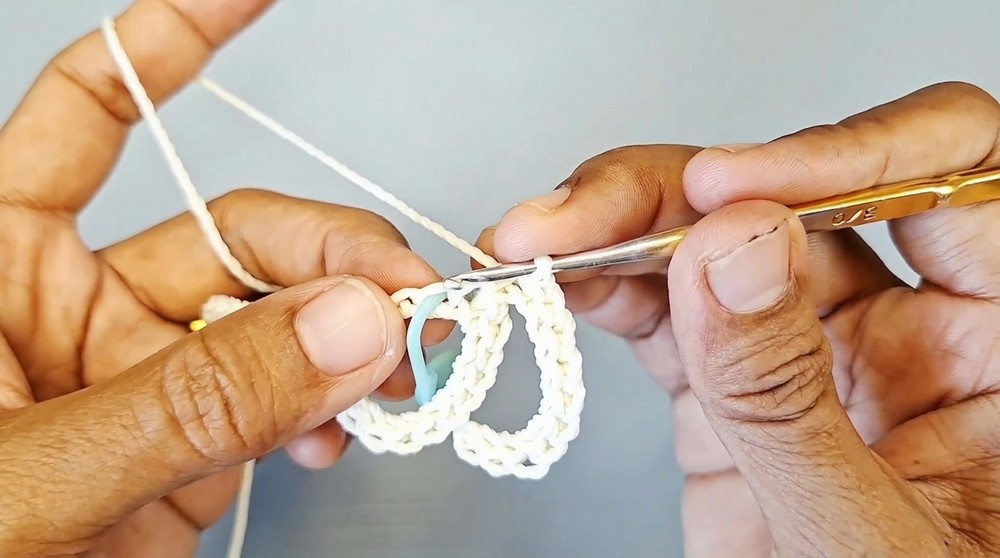
Hanger
- At the top of the torso center, chain 5.
- From there, chain 10 more to form the keyring loop.
- Sl st back to the base of the 10th chain to form the loop.
- Continue slip stitching down the chain (center back down) to secure the hanger.
- Fasten off.
4. Final Assembly
- Pass the torso/arm/leg/hanger piece up through the center of the dress (from bottom to top).
- Pull the arms through the side openings at the dress waist so they stick out.
- Pull the legs so they dangle freely beneath the dress.
- Position the hanging loop at the top.
- Attach the 16mm bead at the top, threading the hanger and top of torso through the bead’s hole so that the bead sits firmly atop the dress. Knot securely if necessary.
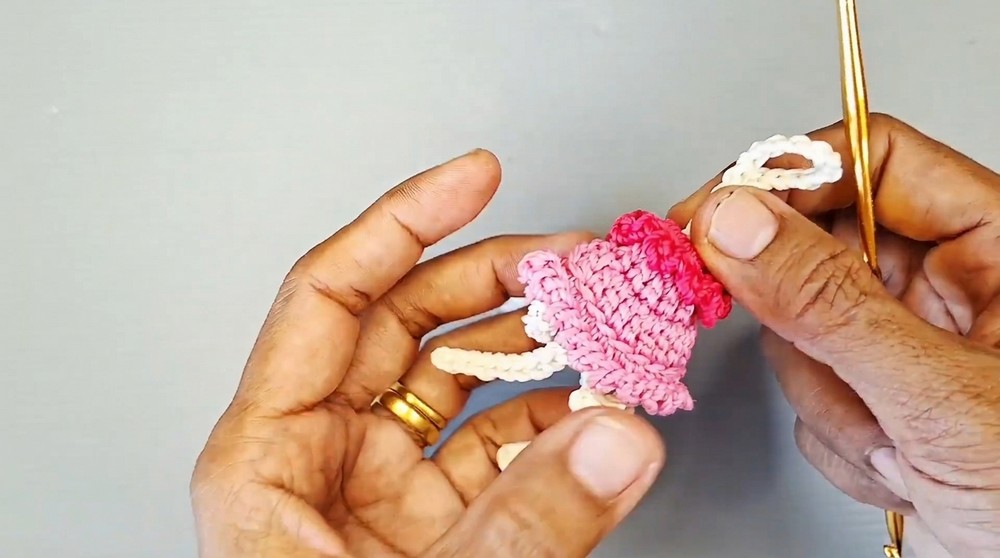
Assembly
- If the bead head is loose, use a knot, glue, or stitch to keep it stable.
- If desired, embroider or paint a face on the bead.
- Ensure all ends are woven, and the keychain ring or clip is attached to the loop securely.
Final Notes
This project makes a charming, customizable figure that brings together basic crochet techniques (magic ring, front/back loop work, increases) with simple assembly. The layered dress, long arms/legs, and bead head combine for a playful effect. You can easily vary dress and body colors, bead shapes, or even add embellishments for different "characters." Attach to bags, keys, or gift as a handmade keepsake. Keep your stitches firm, check proportions as you work, and enjoy creating your own crochet keychain figure.
Leave a Reply