

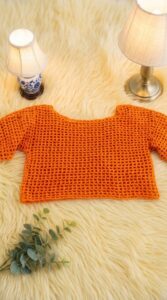
Style your next weekend outfit with the Crochet Blouse Free Pattern, a light-looking top that goes nicely with sandals and casual pants.
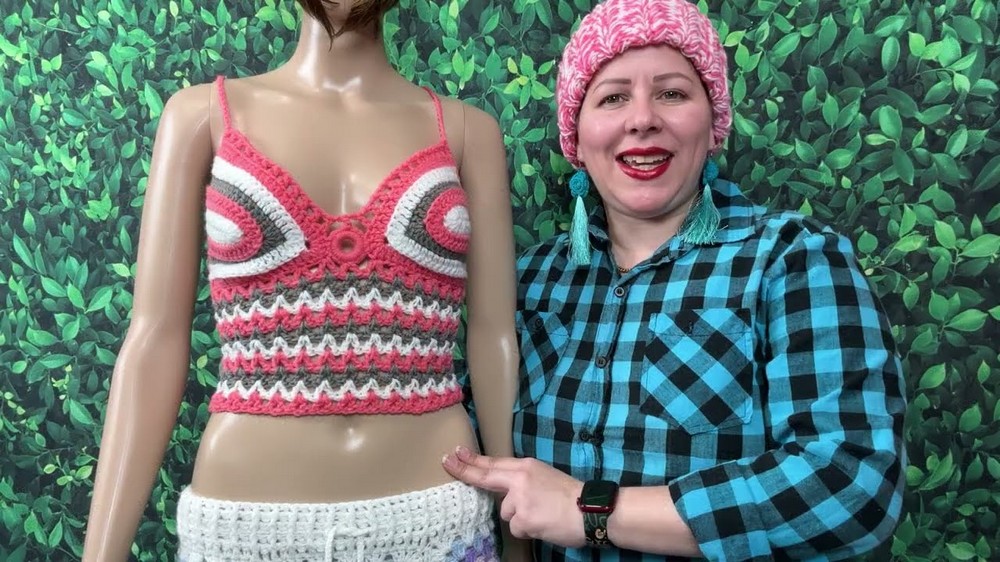
The original YouTube tutorial by Yanet Pupo Crochet offers a clear and detailed guide to making a lovely Crochet Blouse, giving full credit to Yanet for sharing this beautiful project. This blouse is a stylish, lightweight piece of clothing that you can wear during warm weather or layer over your favorite tops. Its airy design and delicate stitches make it both comfortable and elegant.
Lightweight Crochet Blouse Free Pattern For Warm Weather
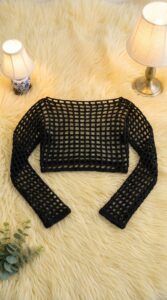
The main features of this Crochet Blouse include an openwork pattern that creates pretty lace-like textures, perfect for adding a feminine touch to your outfit. It usually has short sleeves and a slightly loose fit, making it easy to move in while looking fashionable. This blouse works great for casual outings, beach days, or even summer parties where you want to feel breezy but put-together.
One of the best parts is how customizable this project is. You can choose different yarn colors to match your style or pick a yarn weight that makes the blouse lighter or warmer. The size can be adjusted by changing the number of stitches and rows, so it fits you just right.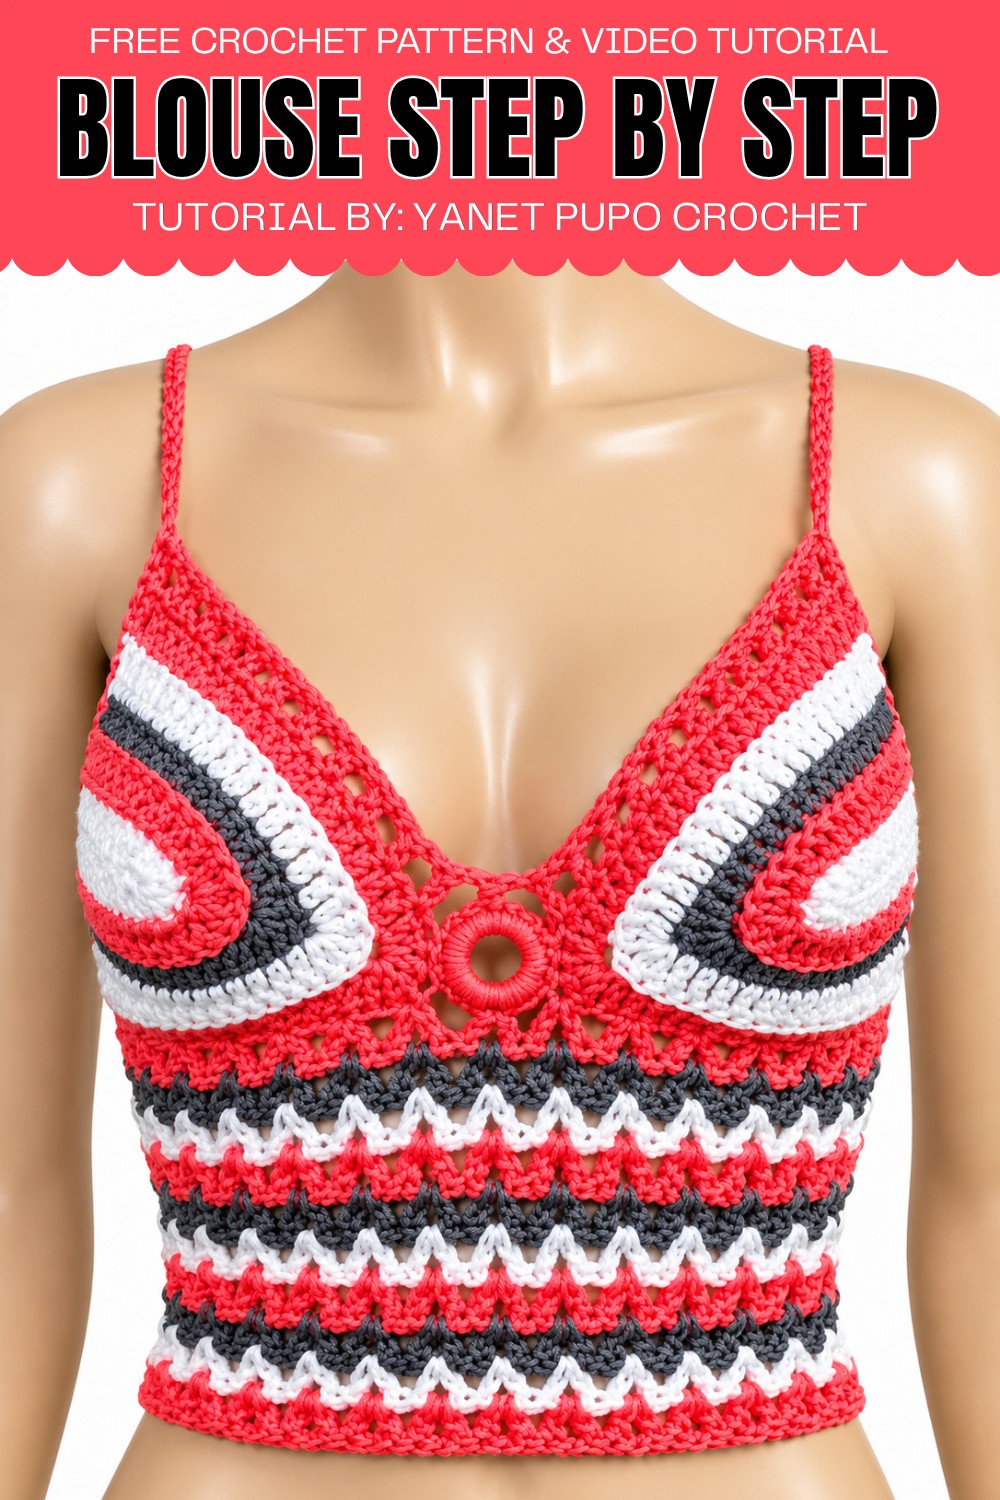
Crochet steps mainly involve basic stitches like chains, single and double crochets, combined to form the beautiful open patterns. Yanet’s tutorial guides you gently through each step, making it accessible for both beginners and more experienced crocheters. This blouse is a wonderful way to enjoy making something functional and pretty with your own hands.
About the Pattern
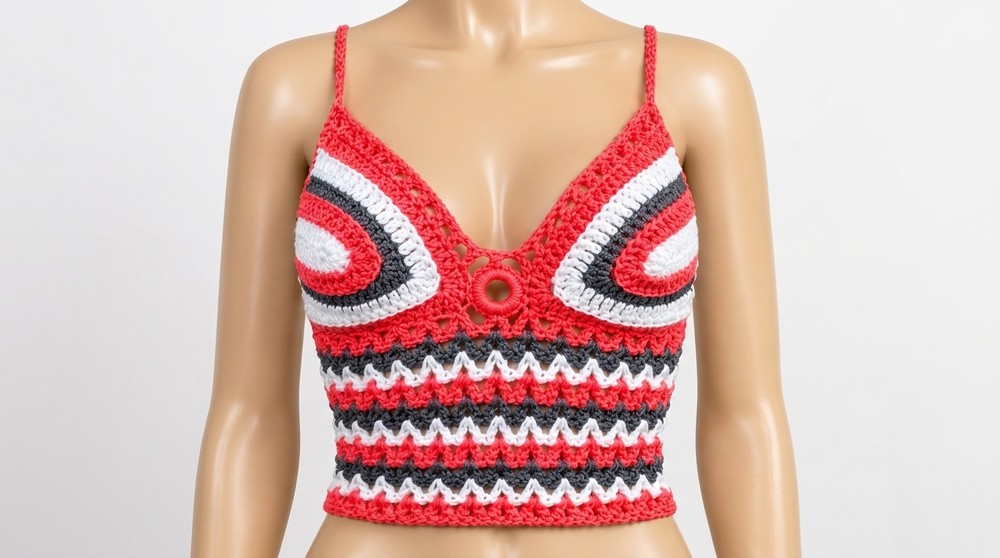
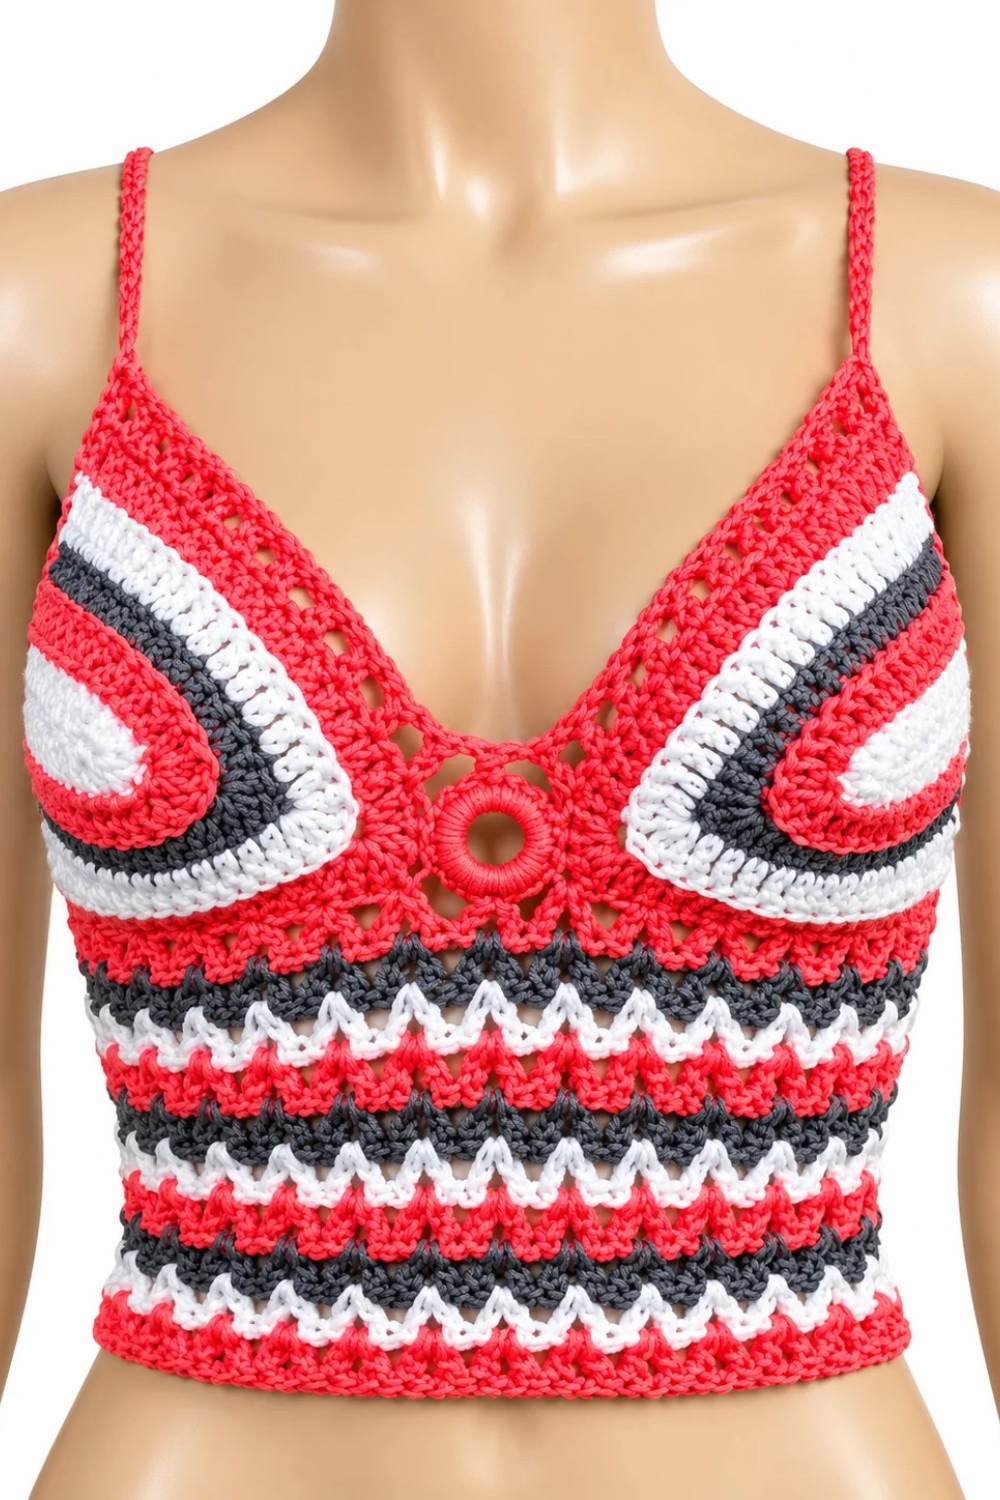
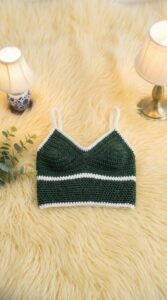
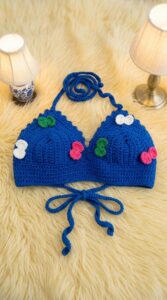
This stylish crochet blouse is designed to feature a unique, feminine silhouette using cup motifs, a decorative central ring, and alternating color stripes. The blouse is shown in a small size but can easily be adjusted for any size by changing the number of rows worked on the lower body. Versatile and open to customization, it allows crocheters to play with color patterns and finishing details for a truly personal garment.
Pattern at a Glance
- Constructed from cup motifs, a central covered ring, and rows of “V-stitches” for the lower part.
- Two side cup pieces are joined to a center ring, providing both structural interest and support.
- The lower part is worked in color sequence stripes, easily customized for desired length or fit.
- Finished with a sturdy decorative edging and long chain straps that cross at the back.
Important Notes
- Always ensure all parts are facing the right way while joining and adding rows, as tops and bottoms may look similar.
- Adjust the number of rows for length and overall size.
- Long, securely-made chains serve as ties for an adjustable fit.
- All color changes are made cleanly with invisible knots to achieve professional results.
Difficulty Level
This project is suitable for confident beginners to intermediate crocheters. It uses simple techniques but benefits from careful counting and tidy finishing.
Supplies Needed
- Approx. 150 g of worsted weight (#4) yarn in three colors (sample uses pink, gray, and white)
- 3.75 mm aluminum crochet hook
- Wooden or plastic ring for the center, or several strands of thick thread to form your own ring
- Yarn needle (wool needle) for joining and sewing in ends
- Scissors
Size & Measurements
- Designed for small size (S) – easily adjustable for all sizes by increasing the length of the lower rows or the size of the cups.
- Finished length from top to bottom after 10 color rounds: approx. 30 cm; width approx. 33 cm.
Gauge & Stitch Details
- Gauge is not critical provided your cups and lower part are to your desired fit.
- Main stitches: Chain (ch), single crochet (sc), double crochet (dc), slip stitch (sl st), V-stitch (made of dc, ch, dc).
- The edge is reinforced with two sc in each stitch for a thicker border.
Crochet Abbreviations
- ch – chain
- sc – single crochet
- dc – double crochet
- sl st – slip stitch
Special Stitch Guide
- V-Stitch: (dc, ch 1, dc) all in the same stitch.
- Invisible Knot Color Join: Method where the new color is tied close and excess trimmed for seamless color changes.
Complete Crochet Pattern
Center Ring
Round 1
- Take your wooden or plastic ring. Attach yarn (last used color, e.g., pink) with a knot.
- Work sc around the entire ring, “point by point,” as many as needed to cover completely.
- Do not count stitches; just ensure the ring is covered and no gaps remain.
- Close with a sl st to first sc.
- Cut yarn leaving a long tail (for sewing) and fasten off.
Join Cups to Center Ring
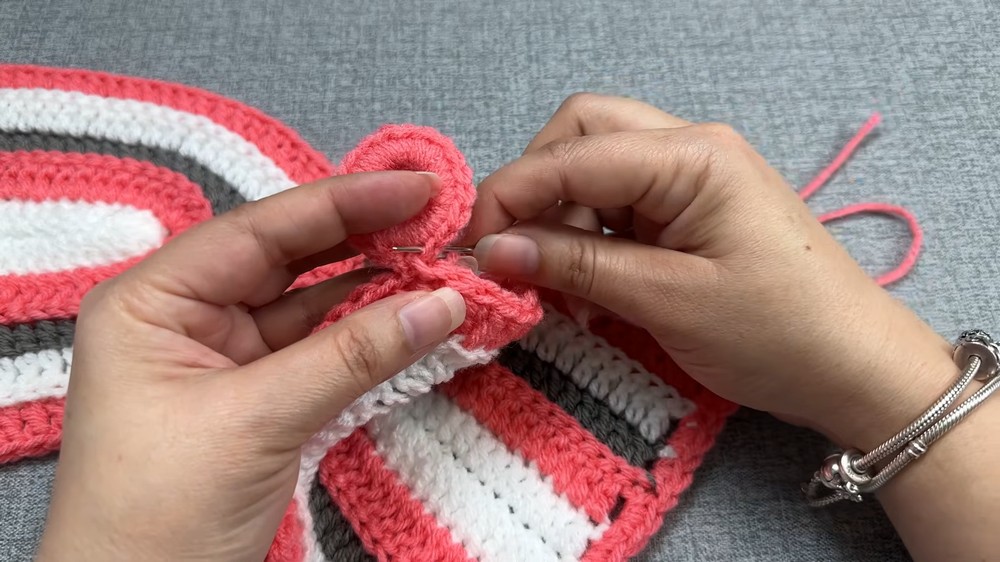
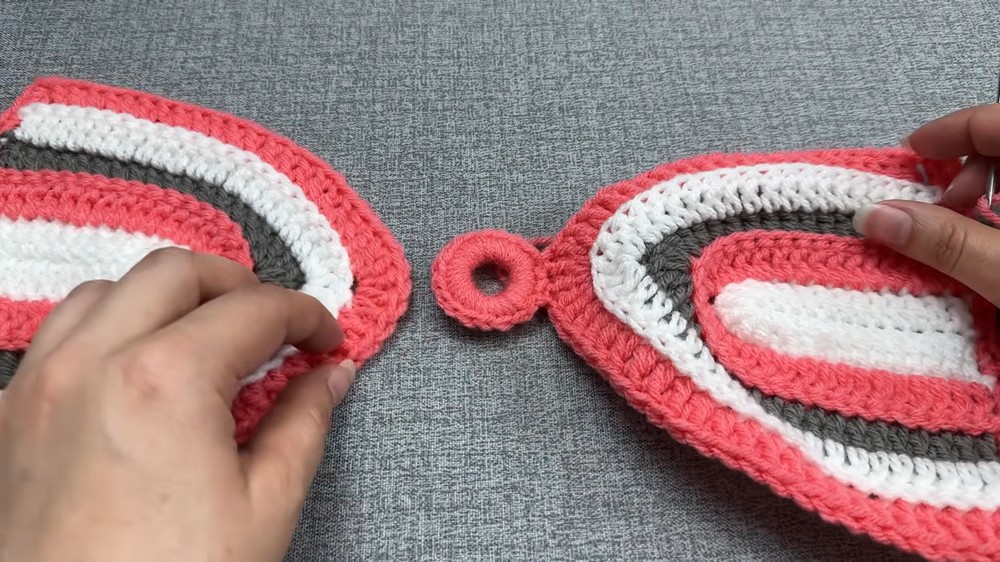
- With yarn needle, use the tail to sew the ring to the base of each cup motif you’ve previously made.
- Join at three points: one at the cup center and one on each side where the five-increase is visible, securing with 2–3 stitches at each location. Give an extra pass to reinforce if needed.
- Repeat for both cups, ensuring the distance and alignment are even.
- Weave in tails and trim excess as needed.
Upper Part of Blouse
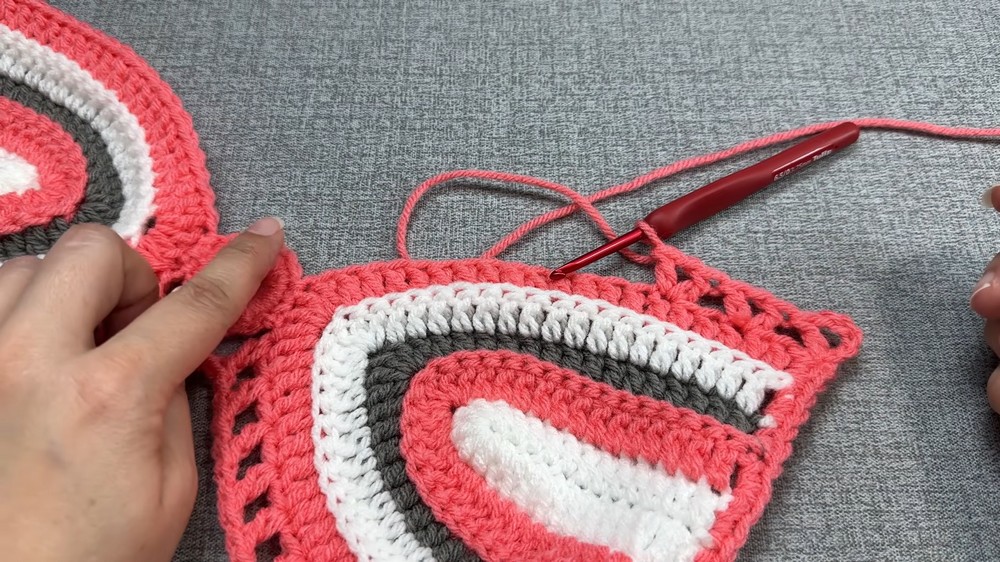
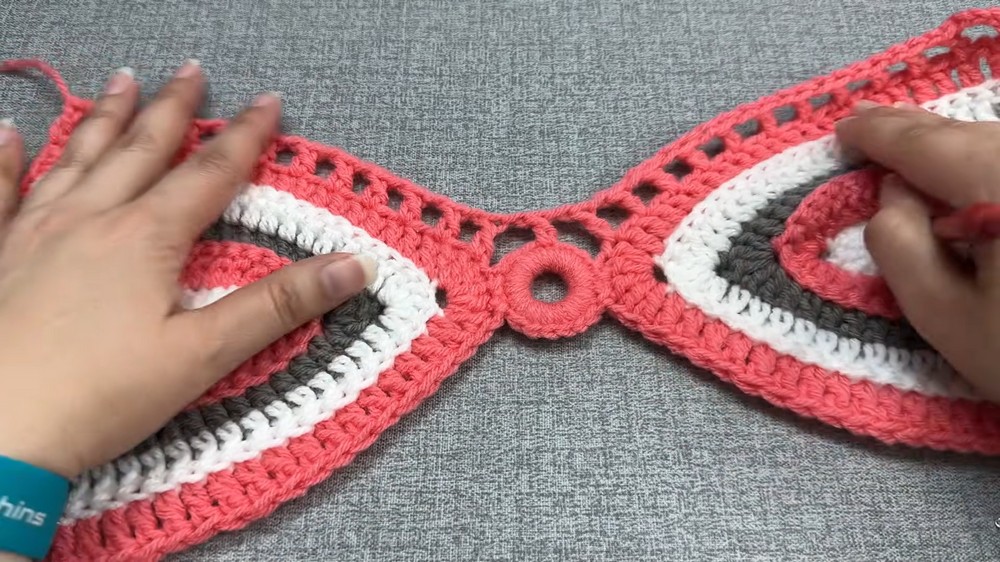
Round 2:
- Attach matching yarn at the upper right-hand corner.
- Ch 4 (counts as dc + ch 1), skip 1 st, dc in next st. Creates a square (dc, ch 1, dc).
- Ch 1, skip 1, dc in the following st.
- Repeat: (ch 1, skip 1, dc in next) until 1–2 stitches before the ring.
- Ch 1, skip to approx. center of ring, dc into the ring.
- Ch 1, and mirror pattern: skip 1, dc in next st, repeat to the next upper corner.
- At corner, fasten off. (Later, sew in and hide the tail.)
Lower (Bottom) Part of Blouse
Round 3:
- With right side facing, attach yarn to the lower left corner.
- Ch 4 (counts as dc + ch 1), dc in same space. (First V-stitch.)
- Skip 2 stitches, in stitch 3: (dc, ch 1, dc) all in same space (the V-stitch).
- Repeat this pattern: **Skip 2, V-stitch in next stitch) up to ring.
- In the ring: (dc, ch 1, dc) into the center of ring.
- Continue across the bottom, always skipping 2 stitches and placing V-stitch in the third.
- At the end, fasten off and hide the ends.
Add Striped Lower Body
Rounds 4 and Onward:
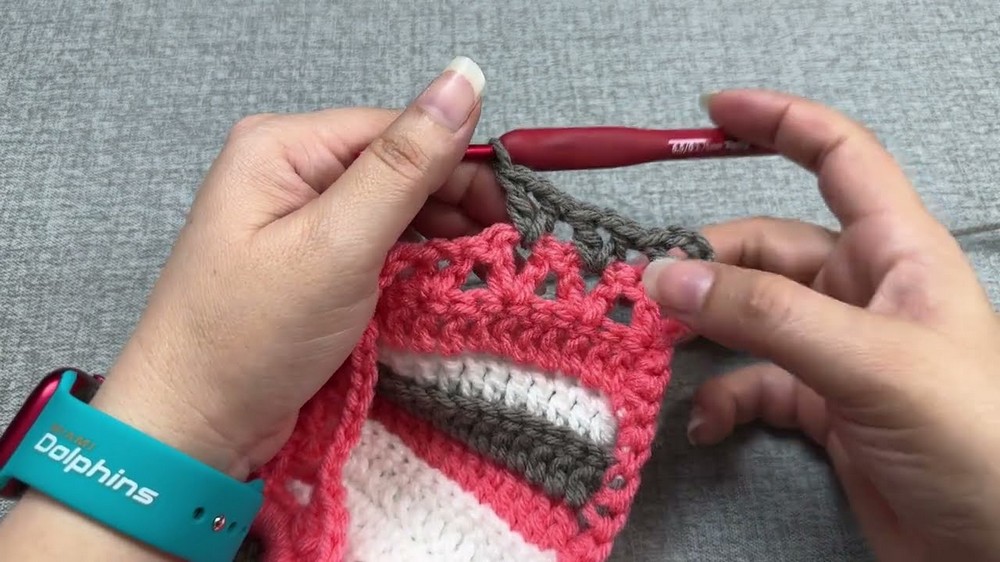
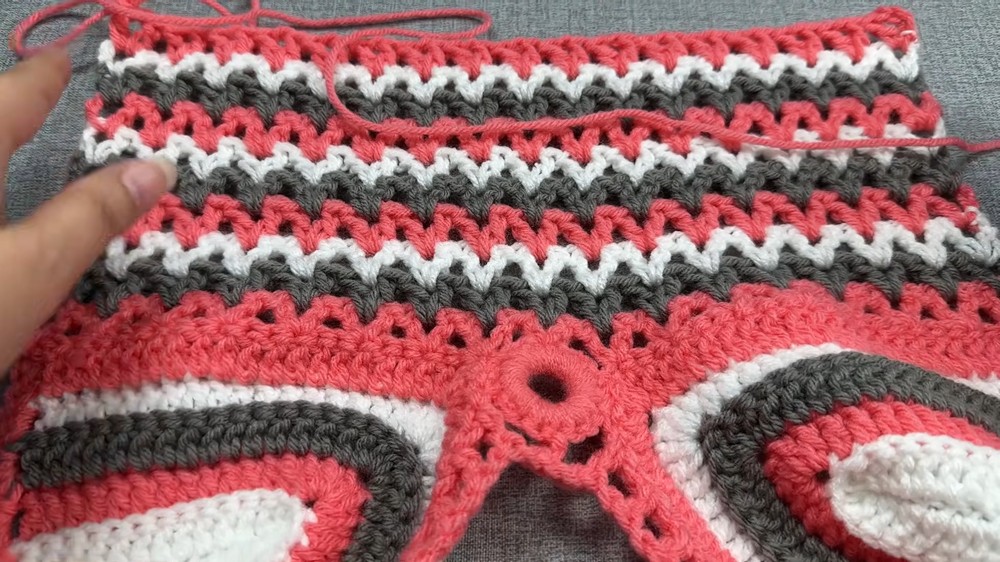
- Change to new color (e.g., gray) using the invisible knot.
- (Slide into center of first V with sl st), ch 4 (dc + ch 1) in V-space, dc in same V-space to make new V-stitch.
- Continue placing V-stitch into each V-space below (not into chain spaces between Vs).
- Repeat one stripe per color: pink, gray, white, or as desired.
- Continue for a total of 10 rounds (or until preferred length), changing color each row.
- For best results, ensure all V-stitches are directly on top of Vs from previous row, including in the ring space.
Finishing Edges
Edging Rounds (optional but recommended):
- With yarn (matching or contrasting), work 2 sc into each stitch around the edges (including cups, sides, and lower edge) for a pronounced, thicker border.
- Continue point by point, working evenly to the bottom and around, joining with sl st where needed.
Make and Attach Straps
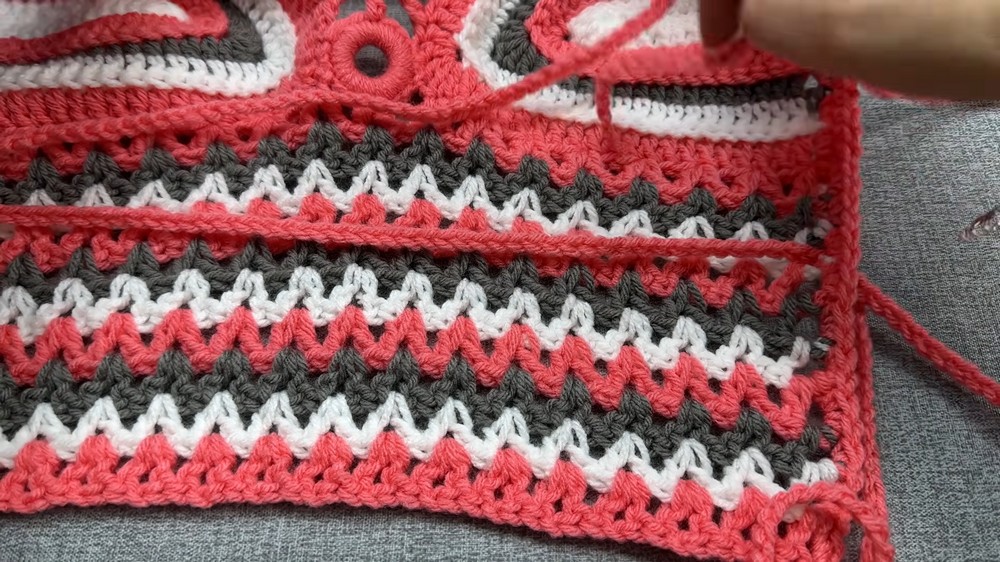
- With matching yarn, ch to 1.5–2 meters (for long chain straps).
- Make a regular chain, not too loose, not too tight.
- Test length by holding it up; cross in the back and bring around to tie.
- Make a second long chain as described.
- Attach each chain securely at front cup corners.
Final Chain Edging and Arrangement
- After the edges are completed and the straps attached, thread them as follows:
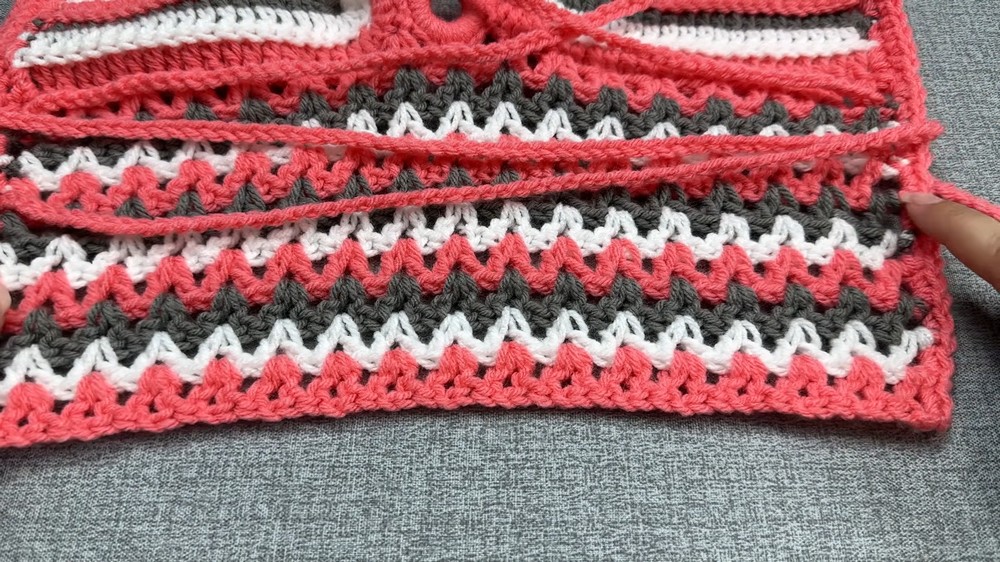
- Start at one front upper corner, pass chain across back to the opposite side.
- Cross chains at the back for a secure fit.
- Adjust and skip a space or two between insertion points along the back edge, so the chains are exposed and create a lattice look.
- Continue threading and adjusting, then tie at the base in a bow for closure.
- Adjust size as needed by changing how chains are threaded or crossing.
Assembly & Finished Size
Arrange all pieces so the center ring is secure, the cups are evenly joined, and the lower part flows evenly with your stripes. Finished blouse measures approx. 30 cm long x 33 cm wide for size S; size up by adding rows or bigger cups.
Conclusion
This blouse pattern combines foundational crochet skills with creative assembly. Using sturdy cup shapes, a unique covered ring, and rows of “V-stitches,” it offers an elegant, adjustable fit. Striped colors and a doubled edge add a modern, handmade finish, while long chain straps allow for a comfortable and customizable silhouette. Adjust the row counts and cups for a personalized fit
Leave a Reply