

Celebrate the holiday season with a Crochet Christmas Tree that adds warmth, color and a cozy feel to any room in a simple and charming way.
This holiday season, adding a soft and colorful touch to your home is simple. A Crochet Christmas Tree, made from yarn, brings a cozy and warm feeling to any room. It looks nice without the mess of a real tree.
Elegant Crochet Christmas Tree Pattern for Your Holiday Décor
The tree looks like a real pine tree, with soft branches you can touch. Usually, it is green, but it can be made in red, white, or gold too. These colors can look like little decorations and help the tree match your holiday style.
The Crochet Christmas Tree is light and lasts a long time. It does not drop needles or dry out, so it’s easy to take care of. It is also safe for kids and pets.
You can use a Crochet Christmas Tree in many ways. It makes a lovely centerpiece on your table, adds charm when placed on a shelf or mantel, and even makes gifts extra special when used as a unique gift topper. Additionally, it can be included in festive wreaths or holiday displays to bring a handmade touch to your decorations.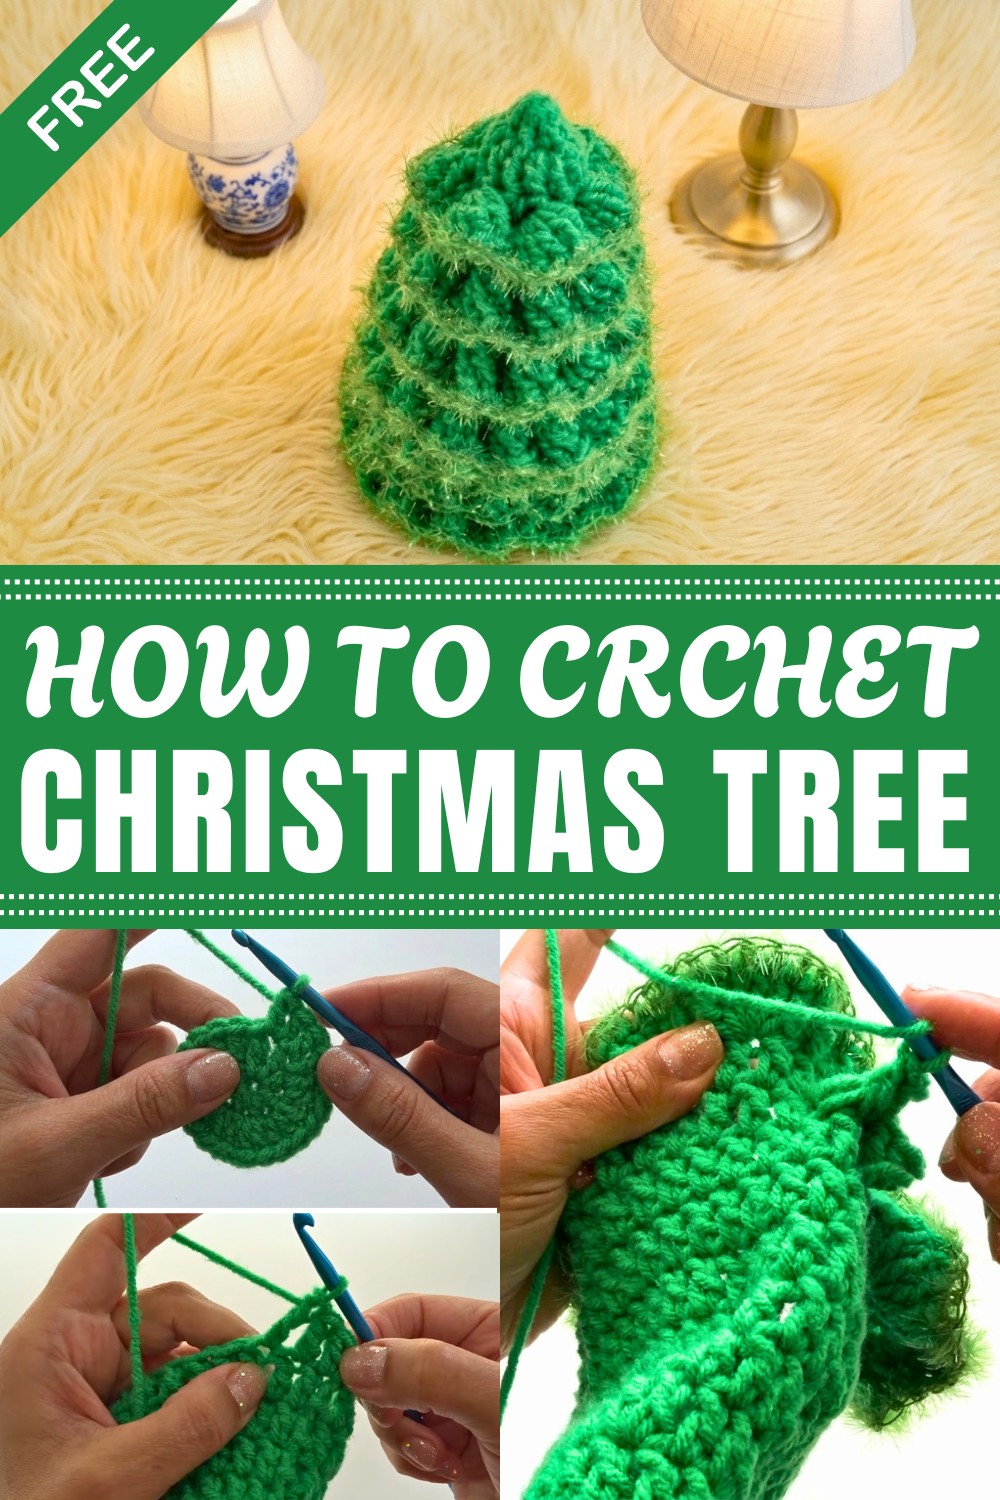
Overall, this soft, colorful tree adds a happy and warm feeling to your holiday space. It’s an easy and nice way to decorate for the season.
Elegant Crocheted Christmas Tree Pattern
My name is Kya, and this is an in-depth written guide, based on my video tutorial, for making a beautiful crochet Christmas tree. This lovely tree can be displayed as is, affixed to a base, or placed over a foam cone for a finished, professional look. Throughout this pattern, we will use structured rounds, a combination of standard and novelty yarns, and creative textural techniques to achieve an eye-catching, festive project. Let’s get started with the details, so you can confidently craft your very own holiday centerpiece!

Quick Overview Of Pattern
- Tree is worked in the round, from base to tip, using double crochet and increasing rounds
- Each round adds height and width, with set increase rounds as detailed below
- Textured ruffles are crocheted into the body and surface of the tree, for a lush, layered look
- Optional sparkle or eyelash yarn is used for additional shimmer and highlight
- Project can be used standalone or over a foam cone or candle holder base
Notes
- Entire tree is worked with double crochet stitches except for ruffle and finishing edges.
- Eyelash or sparkle yarn is used for optional accent rounds.
- Ruffles are added every other round or as desired for a full effect.
- The project is highly customizable with different yarns or heights.
- Slip stitches are always worked into the first double crochet (not into the chain).
Skill Level
Advanced Beginner
Familiarity with working in the round, recognizing stitches, and post stitches (for ruffles) is required. Ruffles need some patience, but are repetitive once started.
Materials
- Medium (worsted) weight yarn (#4), green for tree body; approx. 80–100g
- Shimmery or eyelash yarn for accents (optional; use any festive color)
- 5 mm crochet hook
- Yarn needle for weaving in ends
- Scissors
- Polyester fiberfill for stuffing (optional)
- Foam cone or candle holder base (optional for display)
- Multipurpose glue (optional for fixing tree on base)
Measurements / Sizing
- Height: Approximately 9–12 inches (23–30 cm) using a 5 mm hook and #4 yarn.
- Base diameter: ~6 inches (15 cm) after ruffles are added.
- Fits most small foam cones (7–9 inches tall).
Gauge & Stitch Pattern
Gauge not critical, but 6 dc = 2 in (5 cm) after Round 1.
Stitch pattern predominantly double crochet, with ruffles and single crochet edge rounds.
Stitch Abbreviations
- ch: chain
- dc: double crochet
- sc: single crochet
- sl st: slip stitch
- st(s): stitch(es)
- MR: magic ring
Special Stitches
- Magic Ring (MR): Form a loop, work required stitches into the ring, pull tail to close.
- Ruffle (Post) Stitch: Working around the post (stem) of a double crochet in a previous round, instead of into the top loops, creates deep, bold ruffles.
Instructions
Tree Body (Rounds 1–15)
- Round 1:
Begin with a magic ring (MR).
Ch 2 (does NOT count as dc here and throughout).
Work 6 dc into ring. Pull tail to close.
Join with sl st into first dc. (6 dc) - Round 2:
Ch 1, work 2 dc in each st around.
Join with sl st into first dc. (12 dc) - Round 3:
Ch 1, 1 dc in each st around.
Join with sl st into first dc. (12 dc) - Round 4:
Ch 1, (1 dc in next st, 2 dc in next st) repeat around.
Join with sl st into first dc. (18 dc) - Round 5:
Ch 1, 1 dc in each st around.
Join with sl st into first dc. (18 dc) - Round 6:
Ch 1, (1 dc in next 2 sts, 2 dc in next st) repeat around.
Join with sl st into first dc. (24 dc) - Round 7:
Ch 1, 1 dc in each st around.
Join with sl st into first dc. (24 dc) - Round 8:
Ch 1, (1 dc in next 3 sts, 2 dc in next st) repeat around.
Join with sl st into first dc. (30 dc) - Rounds 9–13:
Ch 1, 1 dc in each st around.
Join with sl st into first dc. (30 dc)

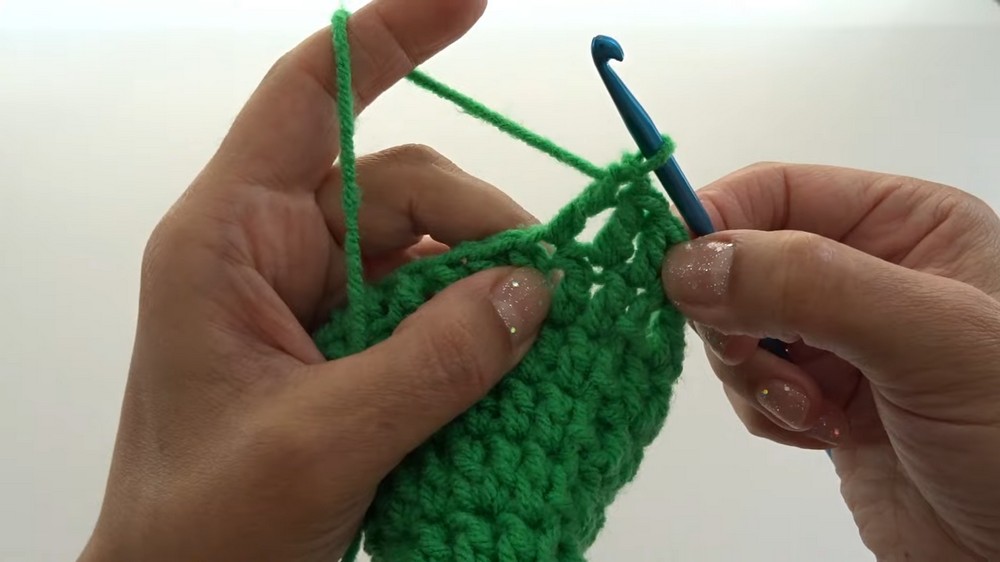
(At this stage, your tree body should fit over a cone or be ready for light stuffing.)
Ruffle Round 1 (Round 14)
Ch 1, (6 dc in next st, skip 1 st) repeat across.
At the end, you’ll have 15 sets of ruffles (6 dc each). After last ruffle, skip the remaining st, join to first dc of ruffle round, fasten off.

Finishing: Weave end through the back loops of a ruffle set and pull through.
Surface Sparkle Edge (Eyelash Yarn) (Round 15)
With eyelash or sparkle yarn, join in any stitch of ruffle round with sl st.
Ch 1, work 1 sc in each st around.
Join with sl st into first sc, fasten off, and weave in ends.
Layered Ruffles (Optional for Extra Fullness)
For additional ruffles, skip the next round of double crochets from the previous ruffle round and work as before using the post of the double crochet in that round:
- Attach yarn around the post of any dc in skipped round.
- Ch 1, 6 dc around the post of same dc, skip next st, 6 dc around the next post, continue around, join with slst, fasten off.
- Weave in each yarn tail by grabbing back loops and pulling through.
- You may add a single crochet edge in eyelash yarn around each ruffle layer as desired.
Repeat this process, skipping a round each time, moving up the tree toward the tip, for as many ruffle layers as you want.
Assembly & Finished Size
- Stuffing: If you choose to stuff your tree, lightly fill before working the last round.
- Cone Base: If using a foam cone, insert it before closing the tree top.
- Display: Affix tree to a base or stand with multipurpose glue for extra stability, or simply sit the tree upright for a soft-sculpture look.
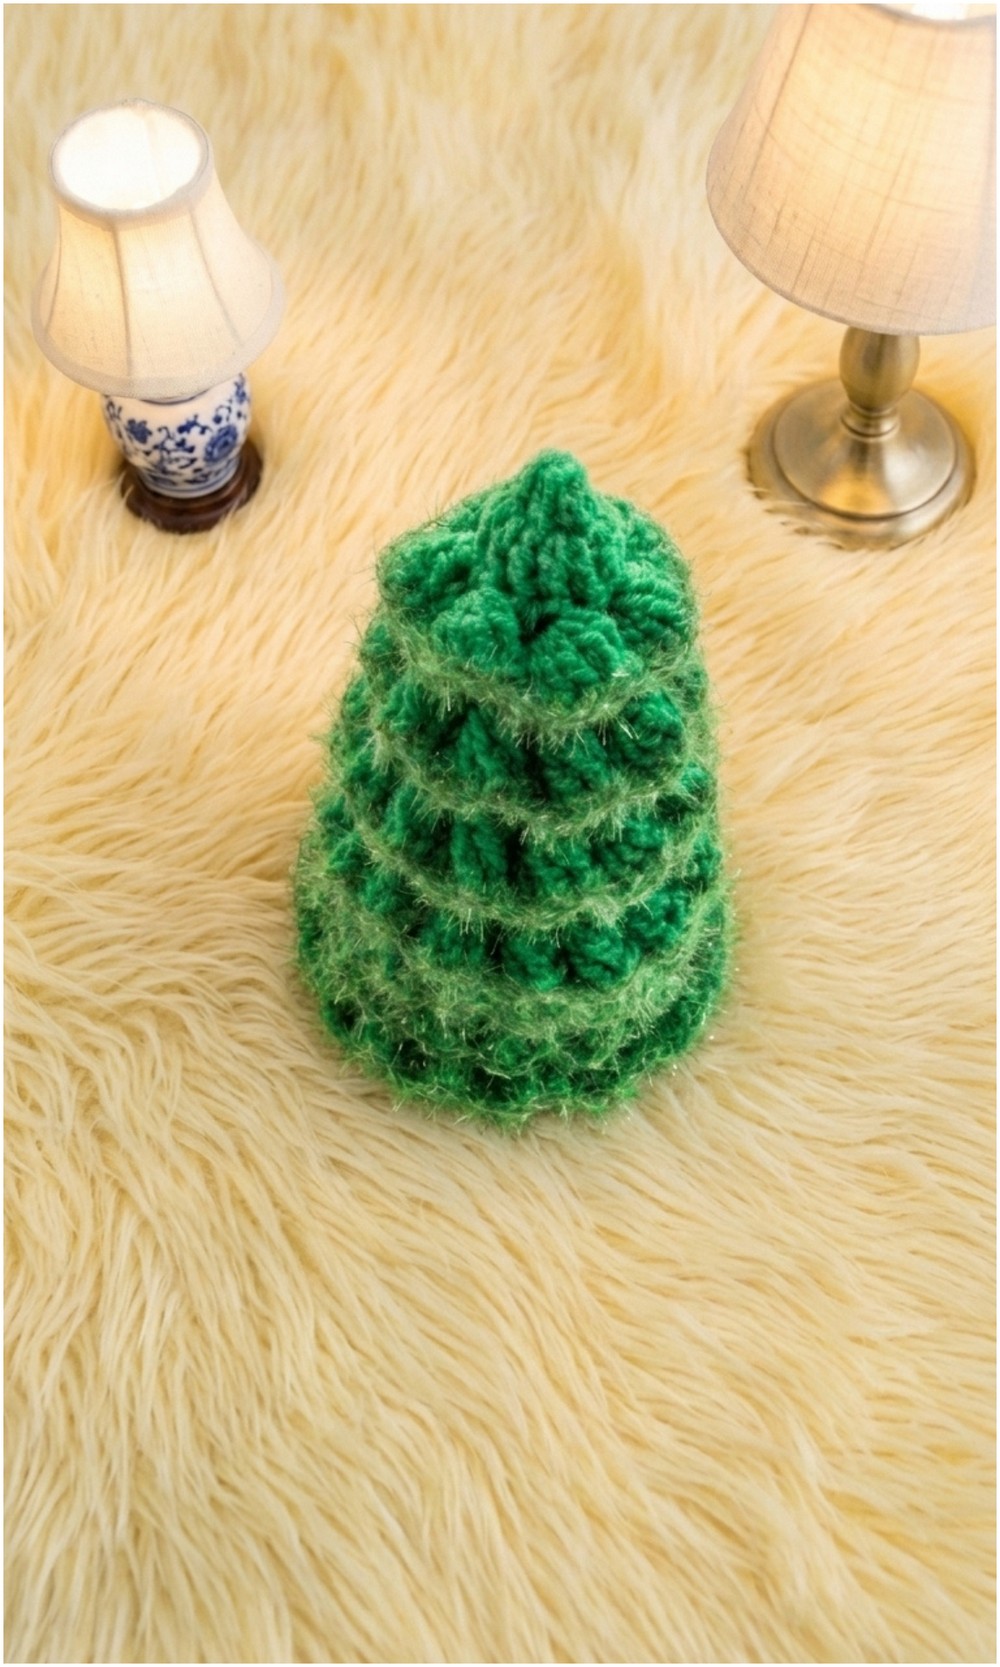
- Final Smoothing: Gently pull and arrange ruffles for extra fullness. Weave in all yarn tails.
Conclusion and Ending Words
Congratulations! You’ve completed a detailed, layered crochet Christmas tree with textured ruffle branches and optional sparkle accents. This project, rich with ruffles and versatility, stands beautifully as a festive centerpiece, mantelpiece, or joyful gift. Whether displayed on its own, fitted to a foam cone, or set atop a candle holder, your tree is sure to bring warmth and handmade holiday cheer to any space.
Thank you for working through this pattern. Please like, share, or subscribe for more creative tutorials. Happy holidays, and enjoy your stunning handmade décor!




Leave a Reply