

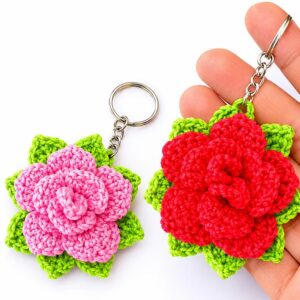
Brighten your key ring with this Crochet Tulip Keychain Free Pattern and use a bold pink shade so your house keys are easier to spot in a cluttered drawer.
Adding a handmade touch to everyday items can be both fun and rewarding. The Crochet Tulip Keychain is a perfect example of this, offering a charming accessory that brightens up keys, bags, or gifts. Hobihobiku’s video tutorial provides clear and friendly instructions to help you create this delightful piece with ease.
Free Crochet Tulip Keychain Pattern In Soft Lilac
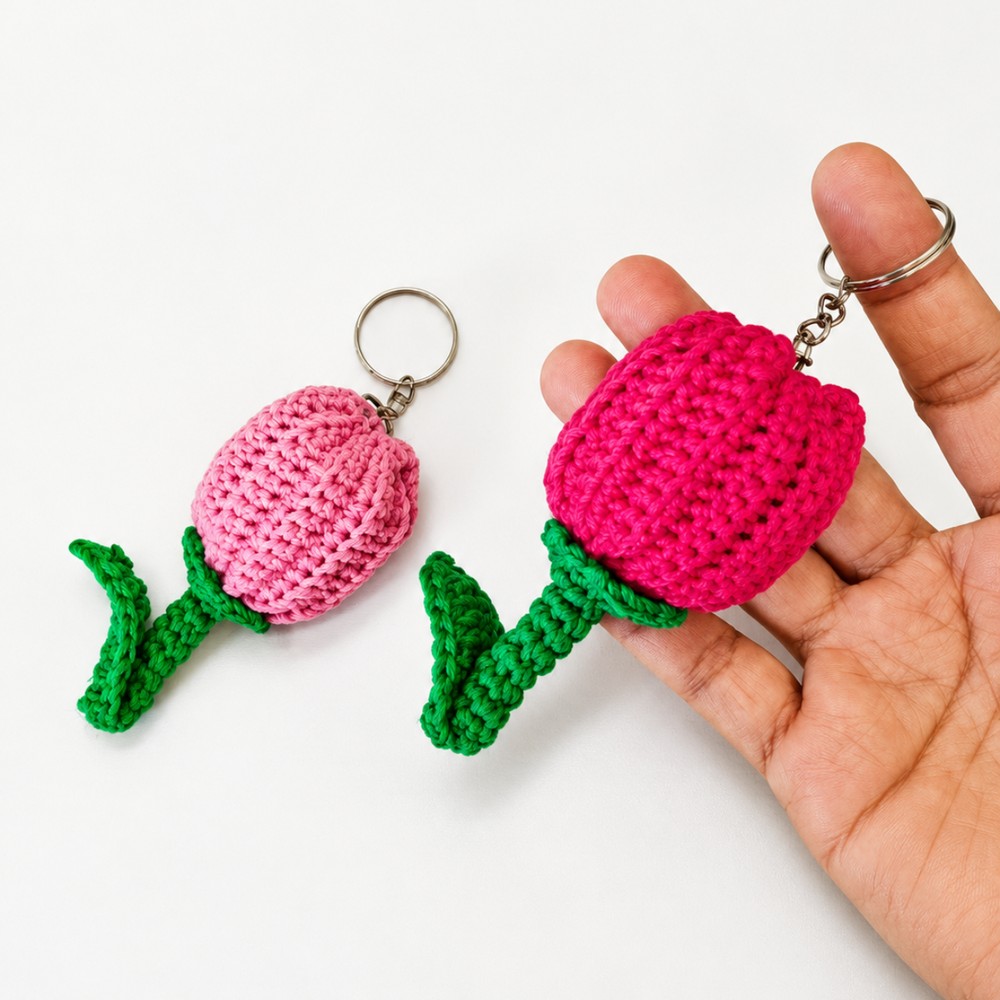
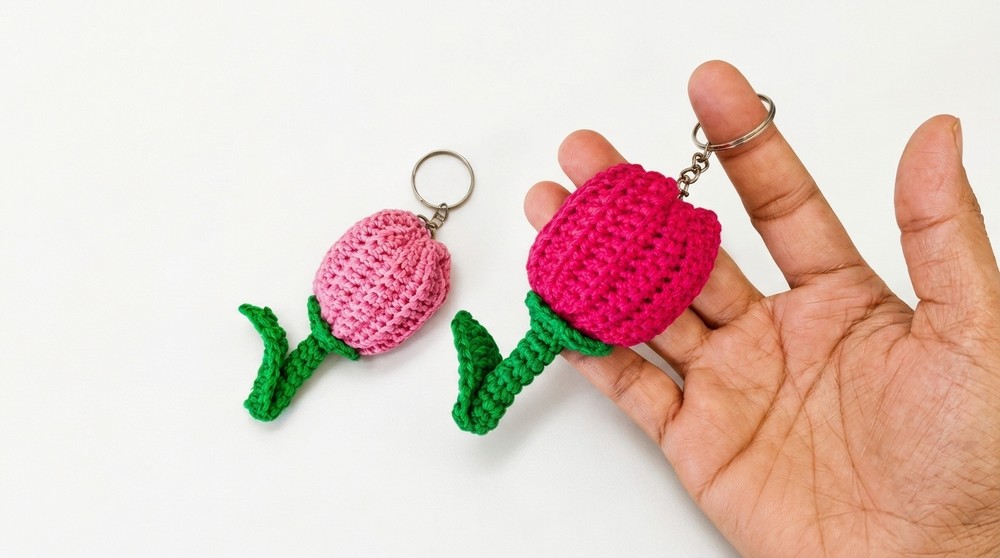
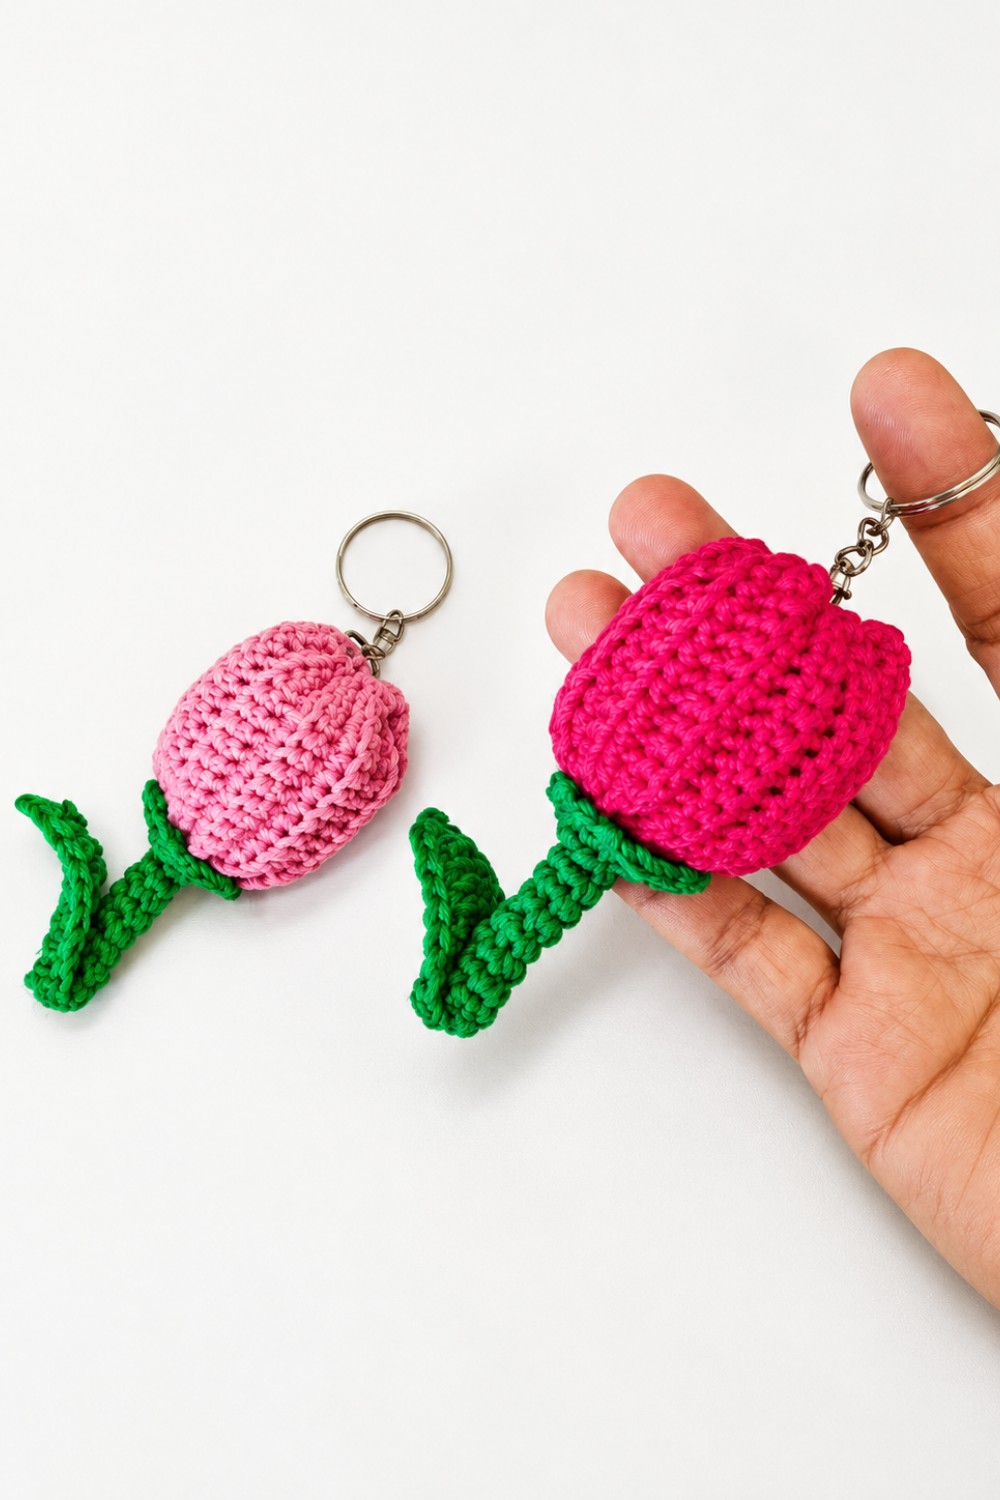
The Crochet Tulip Keychain shows off the simple beauty of a tulip flower through soft, rounded petals and a slender stem. Its compact shape and smooth, textured yarn make it both attractive and practical. The vibrant colors and delicate design bring a fresh, cheerful feel to any item it adorns, making it a standout decoration for all seasons.
This project is great for beginners, involving basic crochet stitches to form the petals and stem, which are then carefully assembled. The finished keychain is sturdy enough for everyday use while remaining light and easy to carry.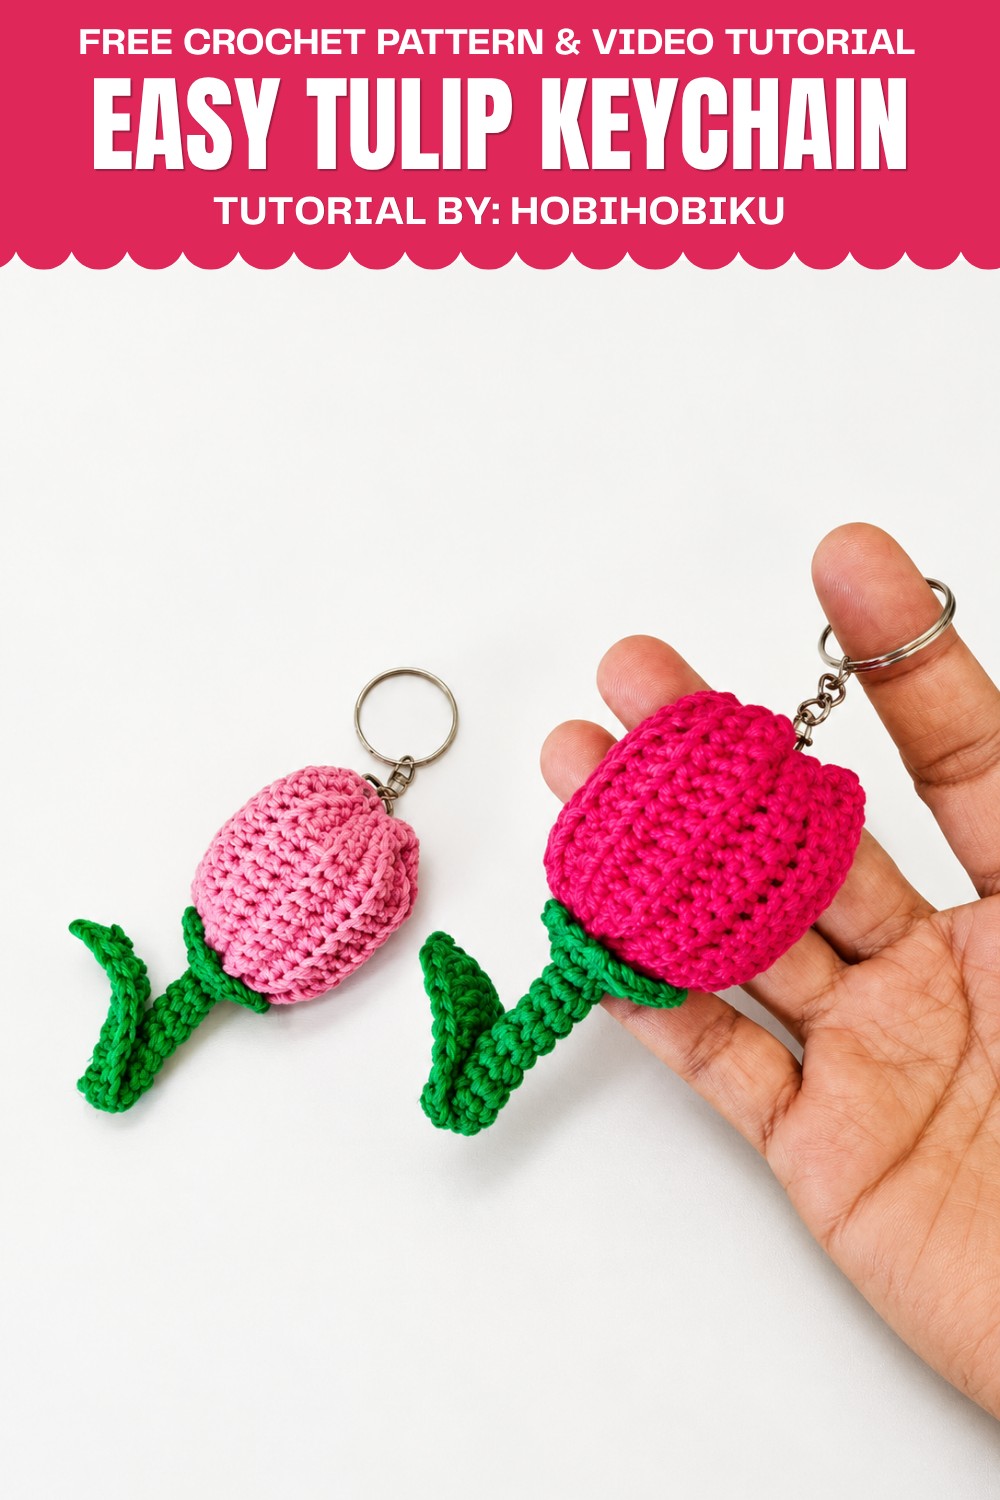
Beyond being just a pretty item, this keychain also makes a thoughtful, handmade gift that shows care and creativity. It’s a lovely way to practice crochet skills while making something both beautiful and functional. Try this free pattern and enjoy crocheting a sweet little bloom that adds charm wherever you go.
Pattern Overview
This crochet tulip keychain creates a charming three-dimensional miniature tulip using only basic crochet stitches and simple shaping techniques. The pattern includes three components: the ribbed petal flower, a sturdy stalk, and a shaped leaf supported by thin wire. The project is worked in rows and rounds, assembled with basic sewing, and finished by attaching keychain hardware—making a delightful and giftable accessory.
Quick Details
- Sections: Ribbed flower, tubular stalk, wired leaf
- Construction: Flower is crocheted flat and sewn, stalk and leaf are crocheted in the round and with rows, assembled and lightly stuffed
- Finishing: Keychain ring is attached to the top for use
Important Tips
- Keep stitches consistent and tight to maintain neat shape and ensure stuffing does not show.
- Use thin wire in the leaf to help it hold its curl and maintain shape after assembly.
- Fasten off with long tails for sewing parts together securely.
- Shape the flower after assembly by sculpting petals with stitches at the top.
- Reinforce all joins for durability, especially the spot where the keyring is attached.
- Use hot glue only if suitable for your yarn and hardware.
Skill Level
Easy to Confident Beginner. You must be able to work basic stitches, crocheting flat and in the round, and do simple sewing for assembly.
Materials
- Yarn: Small amounts of light or medium weight yarn in tulip, green, and leaf colors
- Crochet hook: Size suitable for yarn (e.g., 2.5–3.5 mm for amigurumi effect)
- Thin floral wire for leaf shaping
- Dacron or other soft stuffing
- Scissors
- Yarn/tapestry needle for seaming and assembly
- Keychain hardware (keyring)
- Hot glue gun (optional)
Measurements
- Flower height: approximately 3.5–4 cm
- Stalk length: about 6 cm
- Leaf length: about 6 cm
- Finished keychain: 10–12 cm from base of stalk to top of keyring
Gauge
Gauge is not critical but aim for firm, dense stitches suitable for stuffing and small size.
Abbreviations
- ch – chain
- sl st – slip stitch
- sc – single crochet
- dc – double crochet
- rnd(s) – round(s)
- st(s) – stitch(es)
- BL – back loop only
- MR – magic ring
Special Stitches
- Back Loop Single Crochet (BL sc): Insert hook into back loop only, work sc as usual.
- Magic Ring (MR): Adjustable ring used to start work in the round.
Step-by-Step Instructions
1. Flower Pattern
Foundation:
- Start with a slip knot.
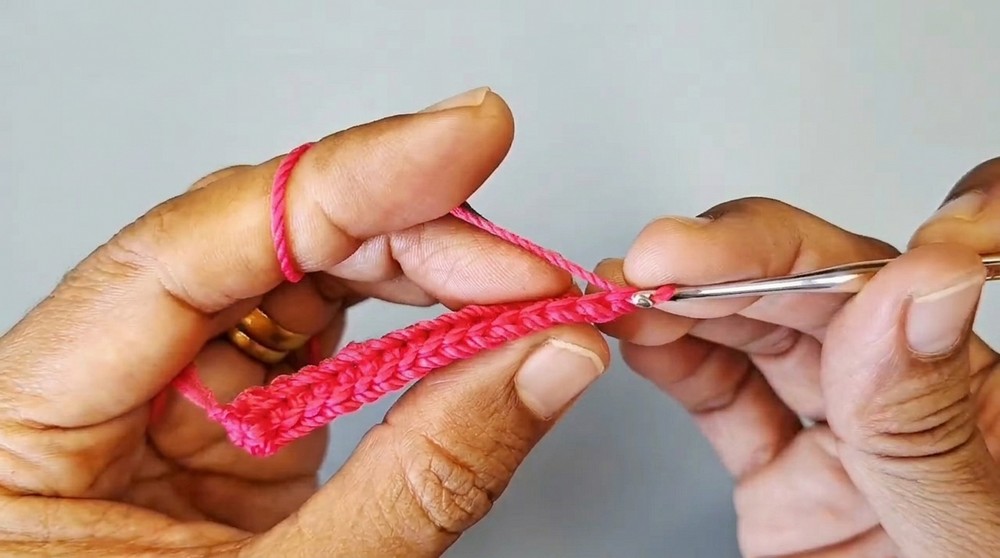
- Ch 15.
Row 1:
- Ch 1 (acts as turning chain).
- Sc in each of the 15 ch across.
Rows 2–24:
- Ch 1, turn.
- Sc in the BL of each st across (15 sc per row).
- Repeat for a total of 24 rows.
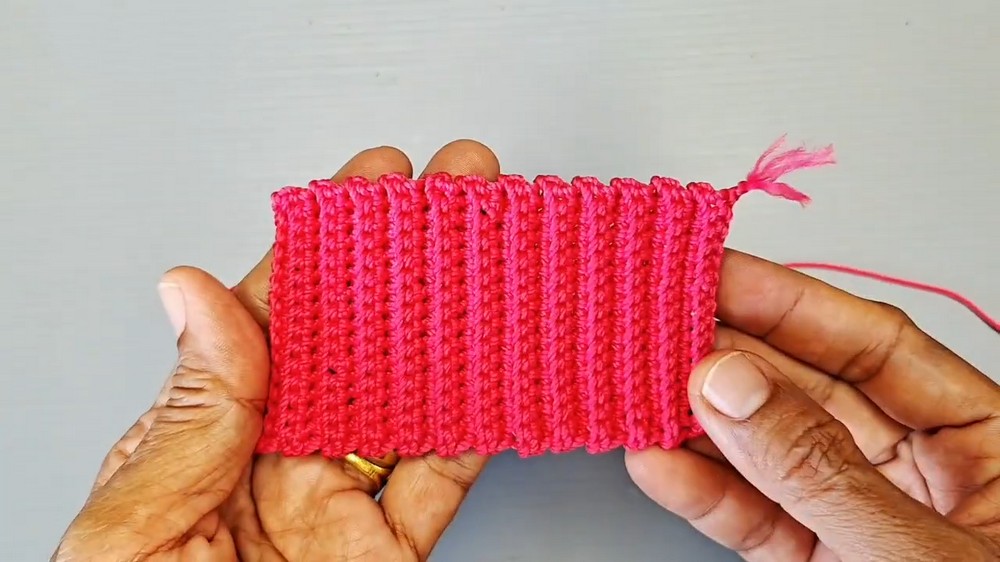
Finishing Flower Piece:
- Fasten off, leaving a long tail for sewing.
2. Stalk Pattern
Magic Ring:
- Start with a MR.
- 6 sc into ring.
Rounds 1–8:
- Work in a spiral with 6 sc in each round. (No joining; use marker if helpful.)
Round 9:
- Work 2 sc in each front loop around (12 sts total).
Round 10:
- 2 sc in each st around (24 sts).
- Then, ch 2, sl st in first ch to create a ruffled edge detail.
- Fasten off.
3. Leaf Pattern
Foundation:
- Ch 8 + 2 extra chains for turning (10 ch total).
- As you work the foundation, incorporate thin wire by holding it along the chain and working stitches over it.
Row 1:
- 7 dc into first 7 ch.
- In the last chain:
- 2 dc, ch 2, sl st in first of these ch, 2 more dc (for leaf tip and shaping).
Row 2:
- Working along the other side of chain foundation:
- 7 dc back toward the base to complete the leaf shape.
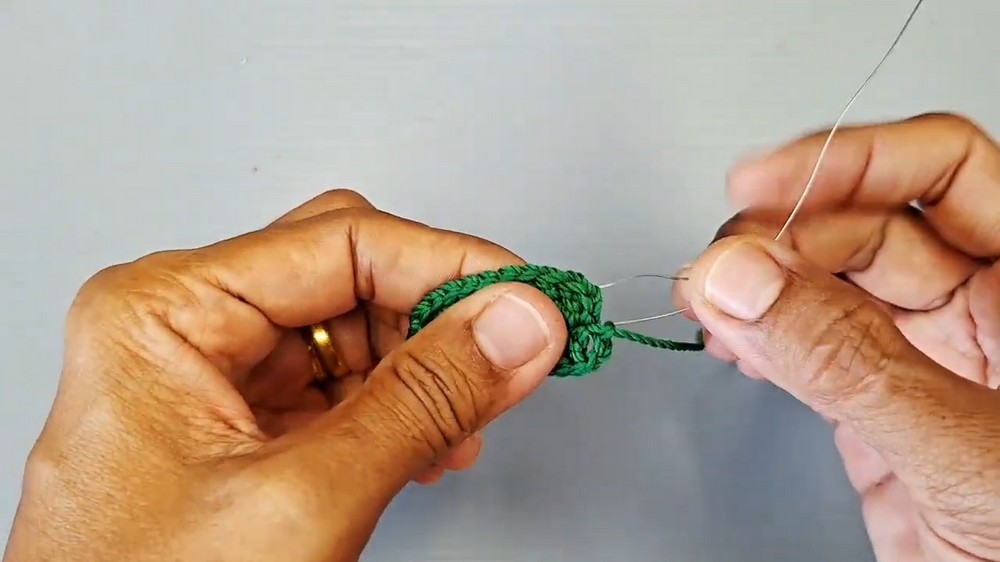
Finish Leaf:
- Fasten off, leaving a long tail for sewing.
Assembly
- Shaping the Flower:
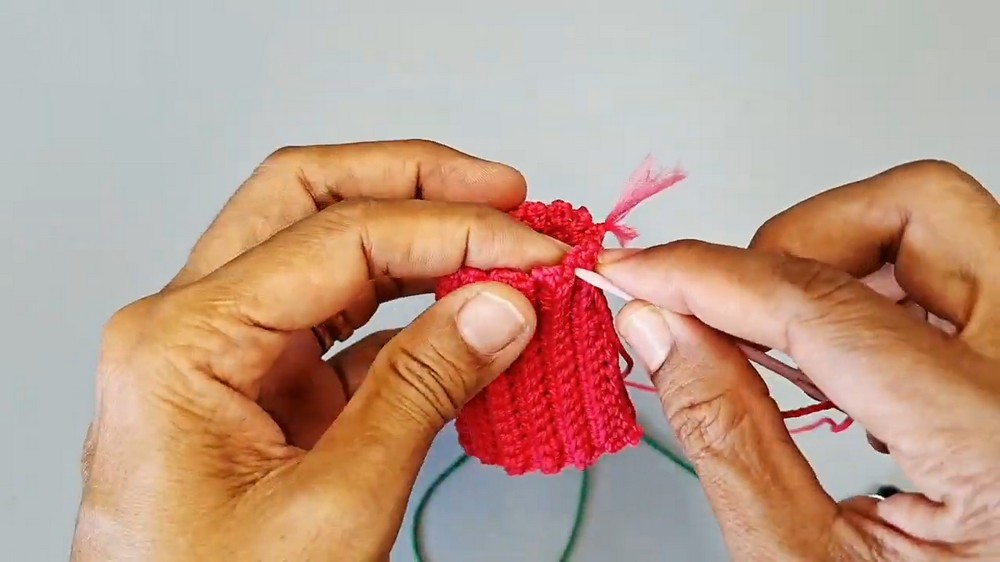
- Fold the ribbed flower piece in half so that the short ends meet.
- Sew along the short side seam using the long yarn tail to form a tube.
- Closing the Flower Base:
- Use a running stitch (basting) along the bottom edge of the tube.
- Pull the running stitch tight to gather and close the bottom.
- Stuff lightly with dacron or other soft fiberfill.
- Forming Tulip Petals:
- Use sewing stitches at the top of the tube to divide the open edge into four petal sections, shaping the tulip look.
- Leaf and Stalk Attachment:
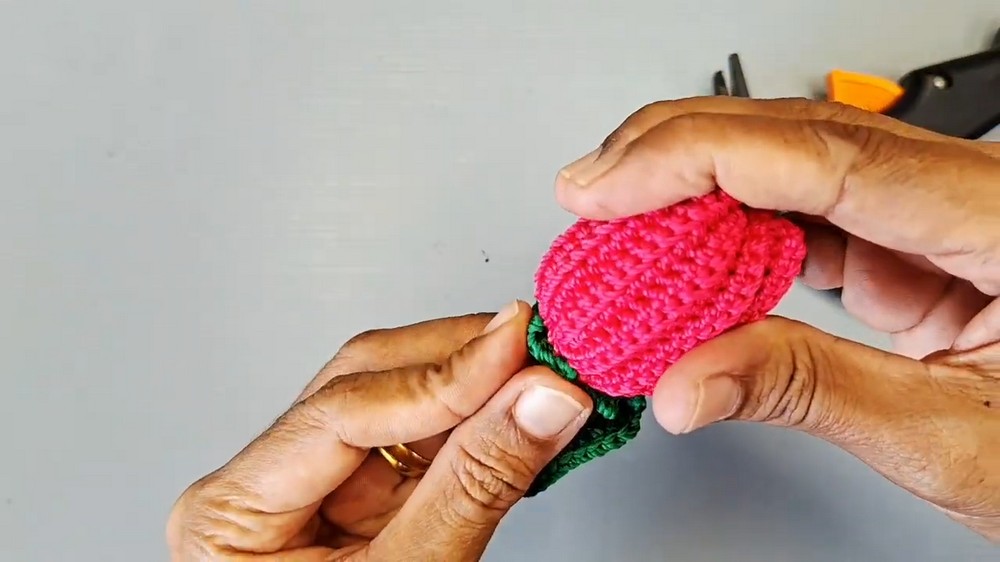
- Using the yarn tail, sew the leaf securely to the base of the stalk. The wire should help the leaf to curl naturally.
- Position the leaf so it sits flat or curls gently to one side as in a tulip.
- Final Assembly:
- Sew or glue the closed base of the flower onto the top of the stalk so the flower sits securely upright.
- Attach the keychain hardware: Insert a jump ring or keyring through the top of the flower, or use hot glue to attach the hardware to the top center, ensuring it is firmly secured.
- Finishing Touches:
- Check joins and ends; reinforce with additional stitching or glue if needed.
- Weave in and trim all loose ends.
- Shape the flower, stalk, and leaf as desired for a natural appearance.
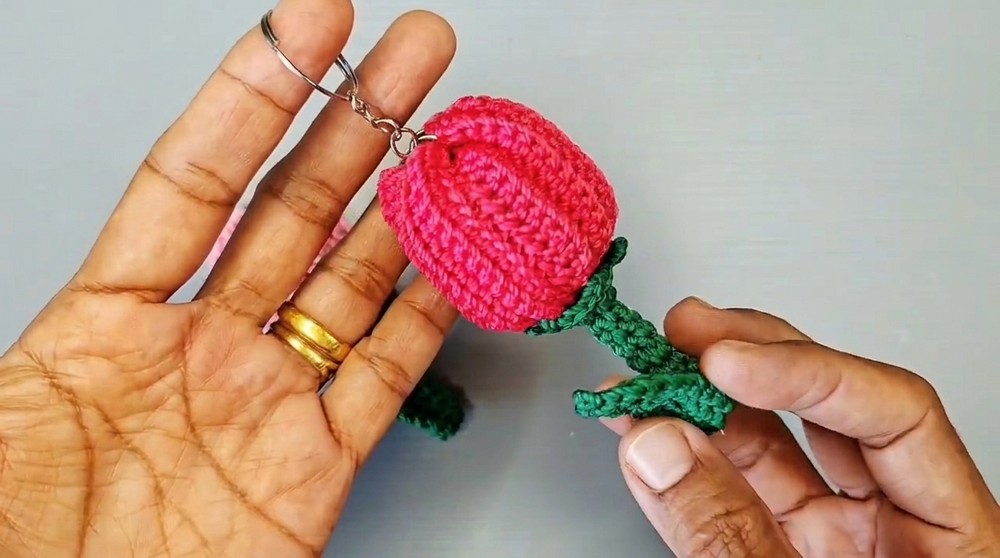
Final Notes
This crochet tulip keychain is a delightful, quick project suitable for confident beginners and makes a perfect gift or cheerful accessory. The ribbing on the flower forms realistic tulip petals, and the wired leaf holds its shape over time. For best results, select strong yarn and firm tension throughout. Personalize by making tulips in different colors or by adjusting the leaf’s curl. Reinforce every seam and the attachment to the keyring for durability in everyday use. This pattern uses only basic stitches and assembly, making it approachable and satisfying for crafters of all levels.
Leave a Reply