

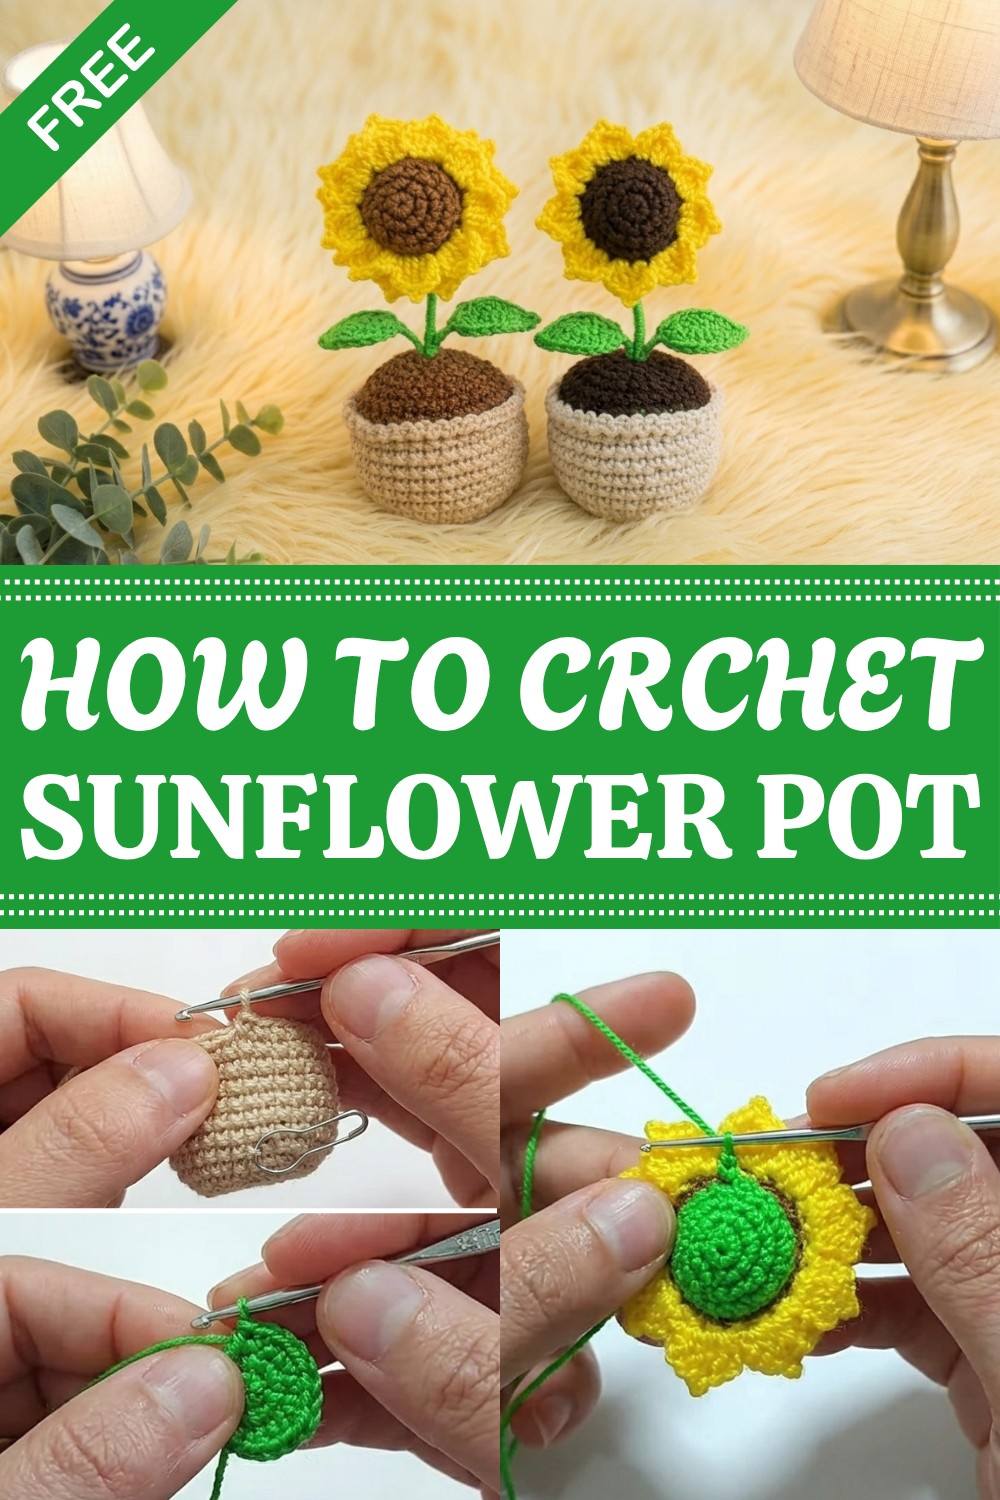
Take fresh vibe in your room with this free crochet sunflower pot pattern with simple steps that's a unique home decor or handmade gifts for sunflower lovers.
If you love bright and cheerful flowers, you’ll enjoy making the Free Crochet Sunflower Pot Pattern! This fun project lets you create a lovely sunflower pot that looks just like a real flower in a pot but made out of soft yarn. The great thing about this pattern is that you can change the colors to make sunflowers, daisies, or any flower you like. You can also make the pot bigger or smaller depending on how much yarn you have and where you want to display it.
Fresh Free Crochet Sunflower Pot Pattern For Desk
The finished sunflower pot is both pretty and useful. It can be a beautiful decoration on your table, desk, or windowsill. Some people like to use it as a small holder for pens, keys, or even tiny plants! The sunflower has bright yellow petals and a brown center, which makes it stand out and bring a sunny feeling to any room. Plus, you can mix different shades of yarn to create your own special flower style.
To make this project, you’ll mostly use the single crochet stitch, which is easy for beginners to learn. The pattern is worked in rounds to shape the flower and the pot perfectly. You’ll need a 4mm hook and cotton yarn is best because it holds the shape well and feels nice. When finished, the sunflower pot is about 6 inches tall, perfect for small spaces.
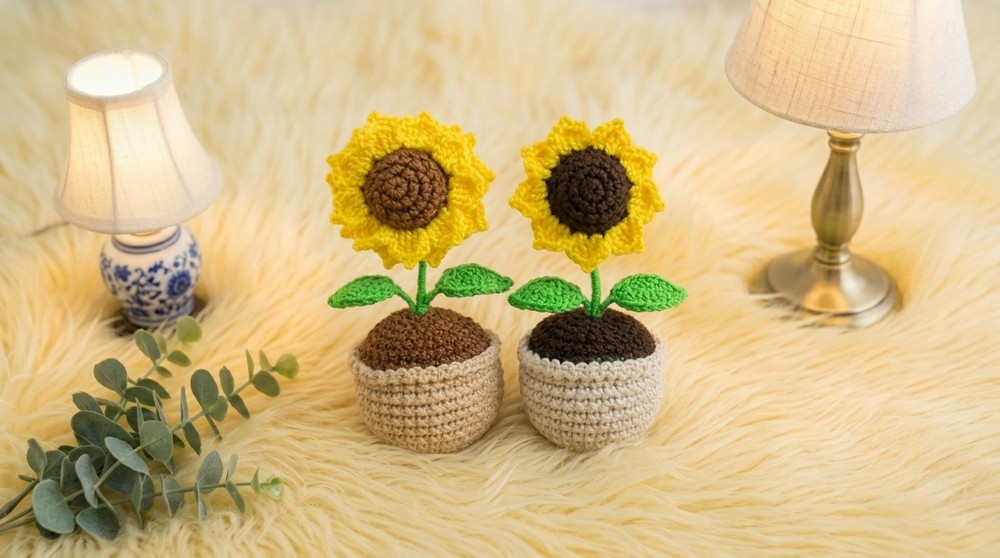
This Free Crochet Sunflower Pot Pattern is great for kids and adults alike. It’s a cheerful, colorful project that adds happiness wherever you put it. Give it a try and soon you’ll have your own bright flower pot, or maybe even a set of flowers in different colors! It’s a wonderful way to practice your crochet skills and spread some sunshine.
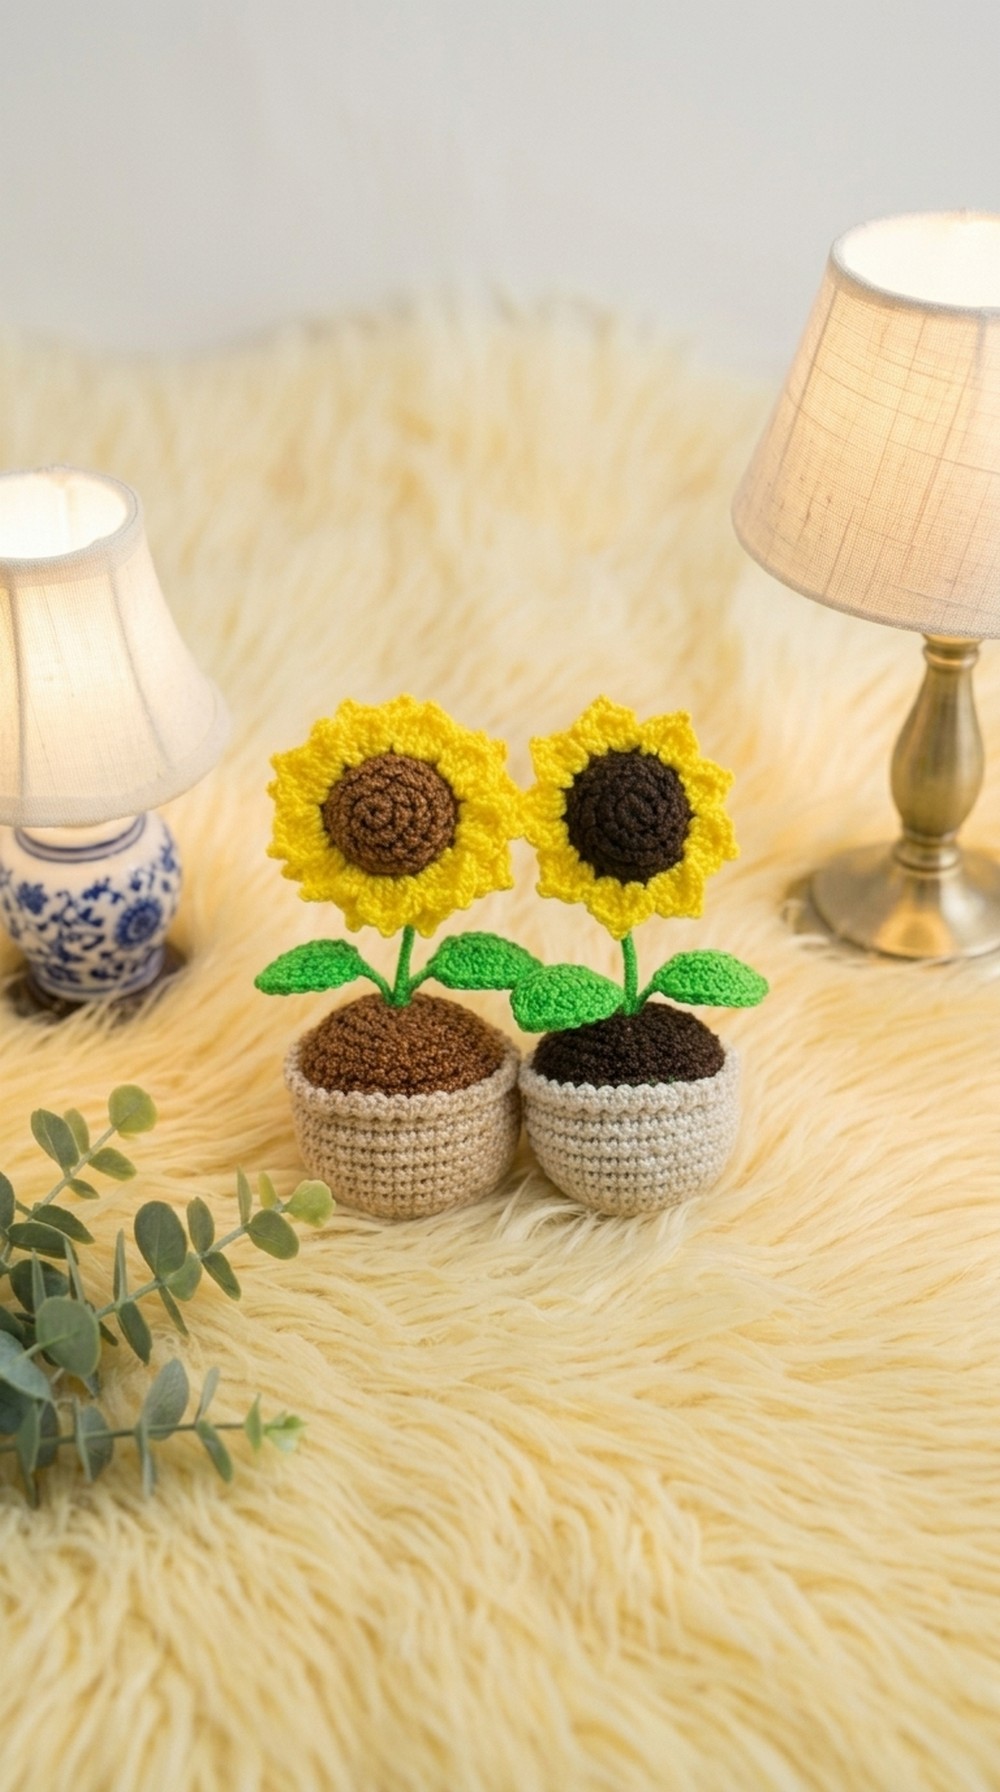
Mini Crochet Sunflower Pot Pattern
Before You Start
- This adorably tiny sunflower in a pot is a perfect project for advanced beginners or intermediate crocheters.
- You’ll practice amigurumi techniques, joining, simple wiring, and decorative picot/chain stitches.
- The pot and flower have lots of customizable options — try single or double petals, varied colors, or more leaves.
Pattern Notes
- Work amigurumi (in the round) unless otherwise noted.
- Use a stitch marker to keep track of the first stitch of each round.
- The flower stem and leaves include thin craft wire for shaping and support.
- Use tight, consistent tension for a neat, sturdy project.
- The “soil” and flower center begin with a magic ring and are sewn into the pot to finish.
- The pattern explains the double-petal sunflower, but you may work just one layer for a simple look.
How I Made the Crochet Pattern
- Based on a step-by-step video tutorial, re-written for clarity and concise instructions.
- Converted Spanish instructions to standard English crochet terms.
- Combined both simple and double-petal options for maximum versatility.
- Added tips for wire work and neat sewing of small parts.
Skill Level
Intermediate (Confident Beginner if you’re familiar with magic ring, working in rounds, simple sewing, and wiring)
Finished Size
- Pot and flower together stand about 4" (10 cm) high.
- The sunflower head is about 1.25" (3 cm) wide; pot approx. 1.5" (4 cm) wide.
Materials
- 1mm acrylic yarn (thread-weight) in beige, yellow, brown, and green
- 1mm (US 12 steel) crochet hook
- Slim craft wire (for stem and leaves)
- Scissors
- Stitch marker
- Yarn (tapestry) needle
- Plastic lid (for the template; optional)
- Hot glue and/or instant glue (superglue)
- Polyester or fiberfill stuffing
Measurements / Sizing (Optional Schematic)
- Pot Final Diameter: About 4 cm (1.5”)
- Flower: Head diameter about 3 cm (1.25”)
- Stem: 10–20 cm wire, adjust as desired
Gauge
- Gauge is not essential. Tight amigurumi gauge preferred—no stuffing should show.
- Use yarn, hook, and tension yielding a firm, sculptural result.
Stitch Abbreviations
- ch = chain
- sc = single crochet
- inc = increase (2 sc in same st)
- dec = decrease (2 sc together)
- sl st = slip stitch
- dc = double crochet (US)
- st(s) = stitch(es)
- BLO = back loop only
- FLO = front loop only
- MR = magic ring
Special Stitches
- Magic Ring (MR): Wrap yarn into a loop, work stitches in ring, pull tail to close.
- Picot: Ch 1, insert hook in previous dc, sl st to close.
- Invisible Join: (used for closing rounds) – Seamlessly join the end of a round with a yarn needle for a neat finish.
The Pattern
Pot (Beige/Light Yarn)
Work in a spiral unless noted.
Round 1: MR, 6 sc in ring (6)
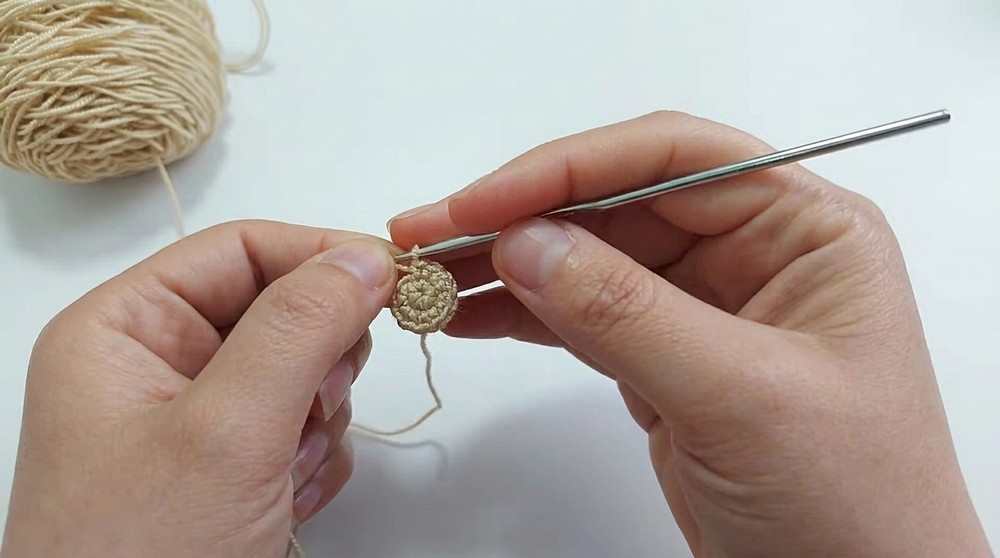
Round 2: Inc in each st (12)
Round 3: Sc, inc around (18)
Round 4: 2 sc, inc around (24)
Now, optionally flatten your work and use it as a template to cut a plastic circle that’s slightly smaller than your crocheted base. This strengthens your tiny pot.
Round 5: BLO, 3 sc, inc around (30)
Round 6: 4 sc, inc around (36)
Rounds 7–13: Sc in each st around (36) for 7 rounds.
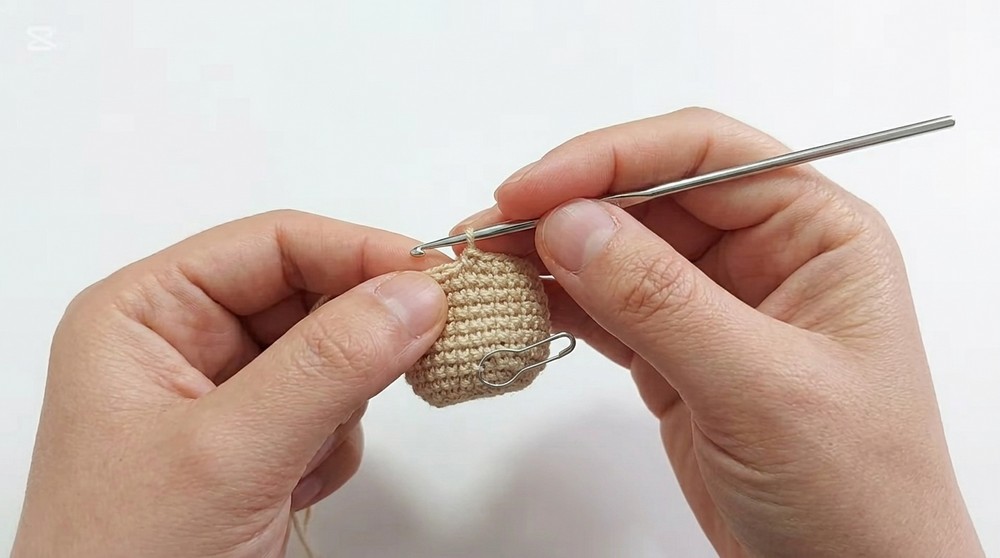
Round 14: FLO, sl st in next st, ch 1, sl st in next st, ch 1, repeat around for decorative edge. Fasten off, leave a tail to hide inside the pot.
Bottom finishing: Weave starting thread into the inside; slip stitch around the exposed back loops on the bottom. Use invisible join for neatness and weave end into pot.
Paragraph for beginners: The pot is built with a classic amigurumi flat base, increased gradually, then a series of plain rounds create the walls. Back loop-only stitches create a crisp edge, and an easy “scallop” with slip stitch and chains trims the top. The base is optionally reinforced with a plastic disk.
Soil (Brown)
Round 1: MR, 6 sc (6)
Round 2: Inc in each st (12)
Round 3: Sc, inc around (18)
Round 4: 2 sc, inc around (24)
Round 5: 3 sc, inc around (30)
Round 6: 4 sc, inc around, then add 2 sc (36)
Important: Leave the magic ring at the center slightly open for inserting the flower stem and leaves!
Fasten off, leaving a long tail for sewing.
This is another amigurumi circle. The central opening is used for plant assembly.
Leaves (Make 2, Green, with Wire)
Round 1: MR, 6 sc in ring (6)
Do not close too tightly; sl st to first sc.
Cut a 7 cm length of wire, insert through center as you close the MR.
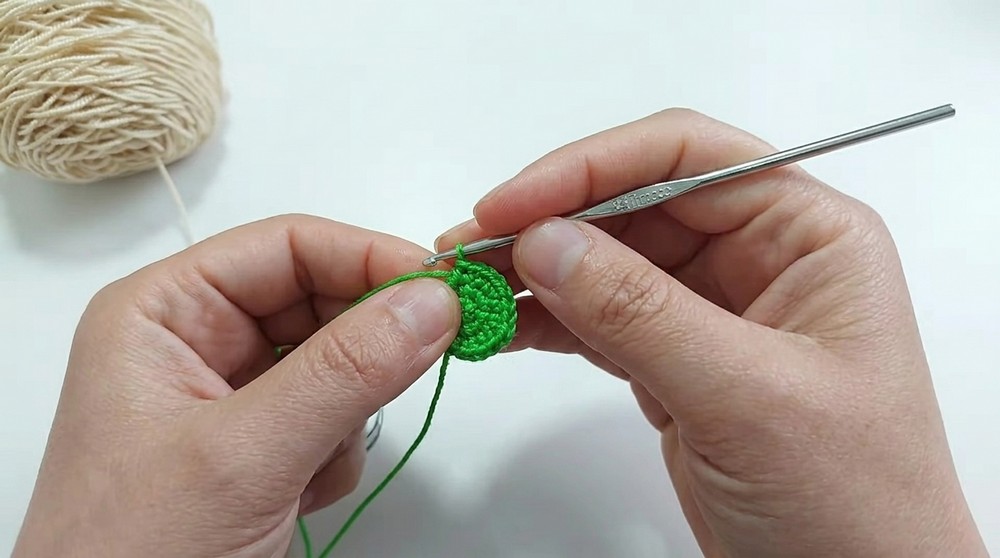
Round 2: Inc in each st around (12)
Sl st to first st, ch 1.
- Work around the wire!
- Row: Sc in next st, inc in next, sc, inc, hdc, dc, ch 1, hdc in same, hdc, inc, sc, inc, sc, sl st to join.
Cut yarn leaving a tail for wrapping/running down the wire. Weave in ends/hide wire tip.
These stitches create a little leaf shape outlined by wire for easy posing.
Flower Stem
- Double 20 cm of wire (or use one thick 10 cm piece).
- Coat with a small amount of instant glue and wrap with green yarn until fully covered.
- Secure ends carefully with more glue.
Sunflower Center (Green & Brown)
Green piece:
Repeat Soil Rounds 1–3 but with green yarn.
- Leave the center hole loose.
Brown piece:
Repeat Soil Rounds 1–3 with brown yarn, but do not fasten off.
- Take green piece. Insert stem into green center and twist below.
- Secure with hot glue to the green circle’s back.
- Attach brown piece to green: Insert hook into brown, pick up one loop only from green per stitch, sc around (18 sc). Before fully closing, stuff lightly for a puffy center.
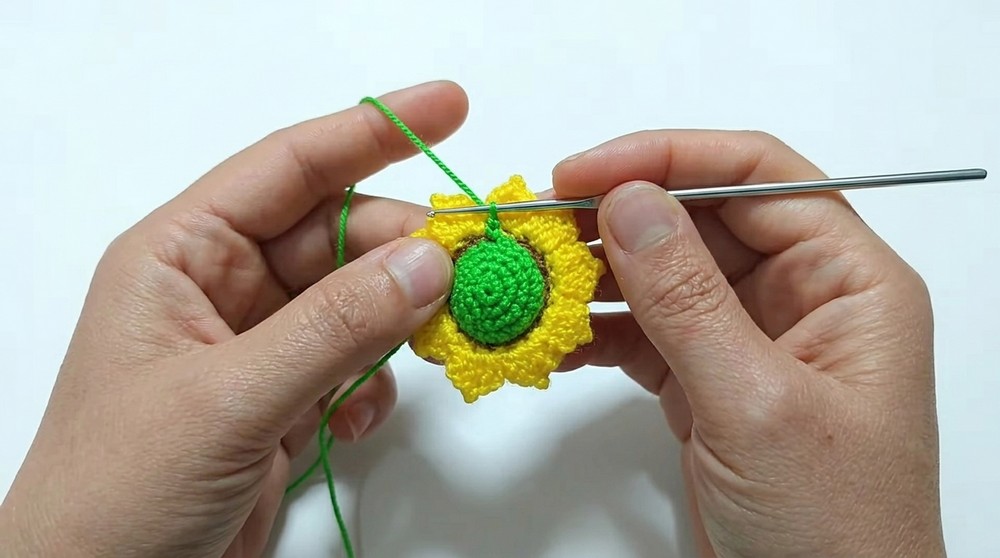
You can use invisible seam for a perfect finish, and then knot and hide the ends.
Petals (Yellow, Double Layer for Realism)
First round (front petals):
- Attach yellow to FLO of any stitch on brown sunflower center.
- [Ch 2, 2 dc in same st, ch 1 (picot), sl st in same st]
- 2 dc in next st, ch 2, sl st in next st repeat around to make 9 petals.
Second round (back petals):
- Attach yellow to remaining back loops of the flower center, repeat [ch 2, 2 dc in same st, picot, sl st], and regular petals as before for a second round of petals.
For single-petal sunflowers, only work the front round into both loops.
Assembly & Finishing
- Insert the flower stem through the center of the soil piece.
- Attach leaves, one on each side: twist wires around the main stem; trim excess.
- Secure the underside of the soil and leaves with hot glue.
- Place the reinforced soil into the pot, glue if desired for stability.
- Stuff pot firmly with filling, shaping roundness with your hands.
- Sew or glue the soil circle snugly to the top of the pot.
- Shape and bend leaves and stem as desired for realism.
- Tidy all yarn ends; knot and hide inside the stuffing.
Solution of Problem
- Petals floppy or flower won’t stand: Use stiff wire for the stem and wrap tightly with yarn. Add instant glue to leaf/stem joins if needed.
- Pot is misshapen: Be sure to stuff evenly; press into shape with your fingers.
- Loose petals: Use smaller hook or tighter tension with thin yarn for more defined, perky petals.
What You Can Make by Using These Stitches
- Mini cacti, tulips, or daisy pots (just change center and petal colors)
- Amigurumi succulents for desk décor
- Decorative pincushions
- Classroom or office gifts
- Bag charms and brooches
This delightful sunflower-in-pot uses compact stitches, simple embroidery, and cheerful, bright colors to create a desk-size floral friend. The double-petal adaptation gives it extra charm, while the flexible leaves and stem make it lively and durable. Join the amigurumi fun and create sunflowers for yourself and friends—a perfect way to bring sunshine indoors all year round!

Leave a Reply