

Learn how to crochet an adorable Valentine’s-themed bee with this free crochet bee pattern, featuring step-by-step instructions for beginners and experts alike.
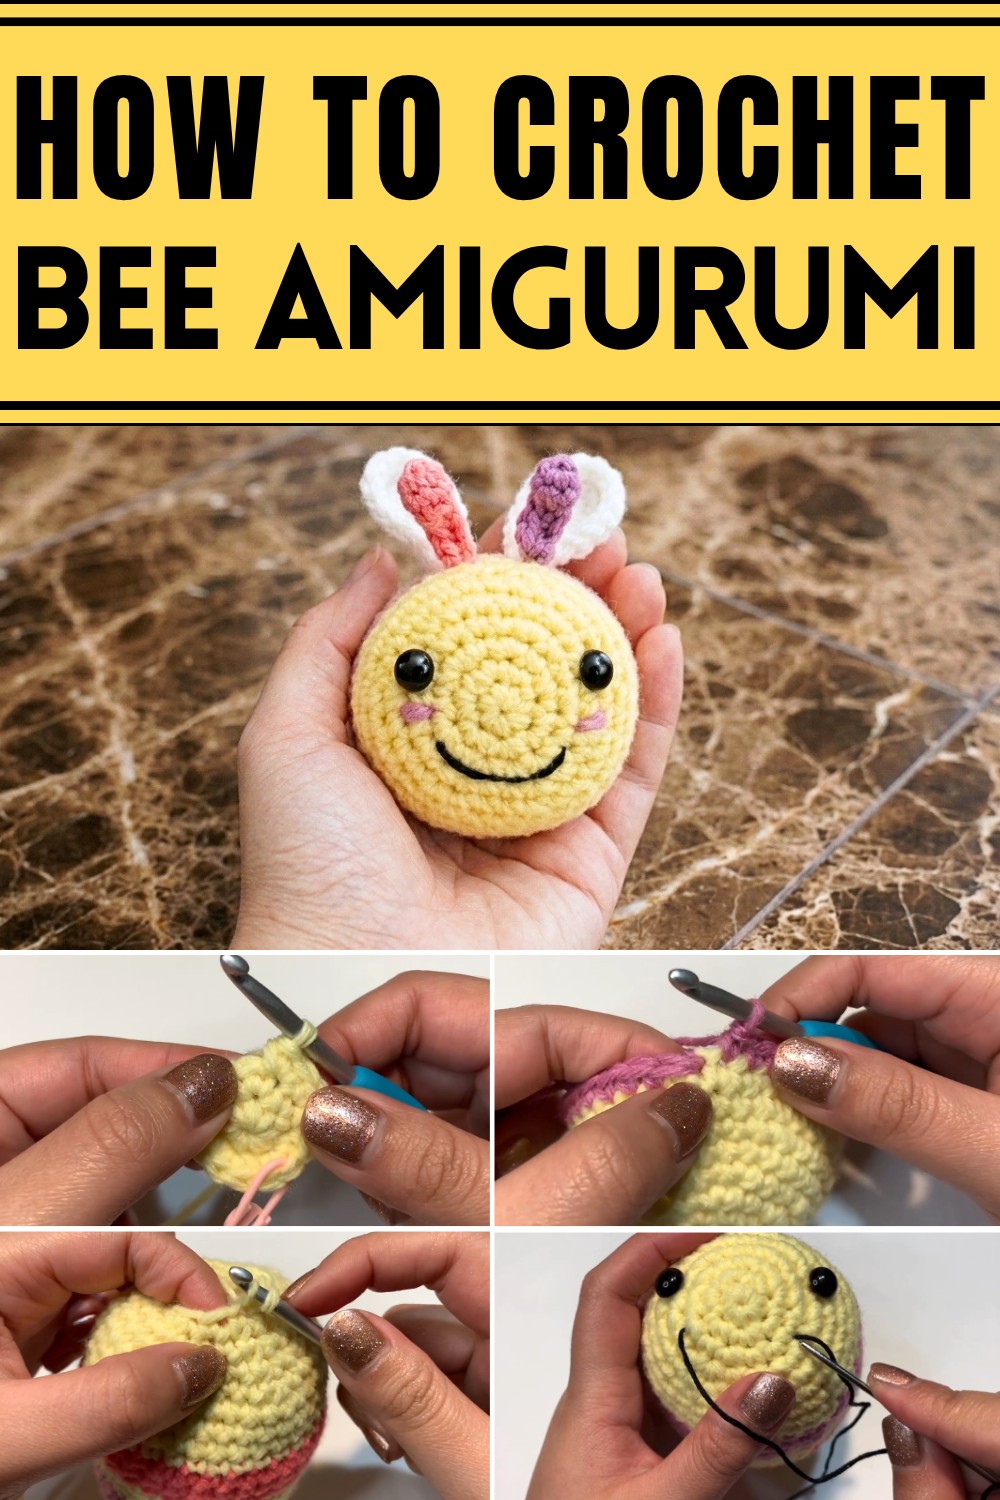
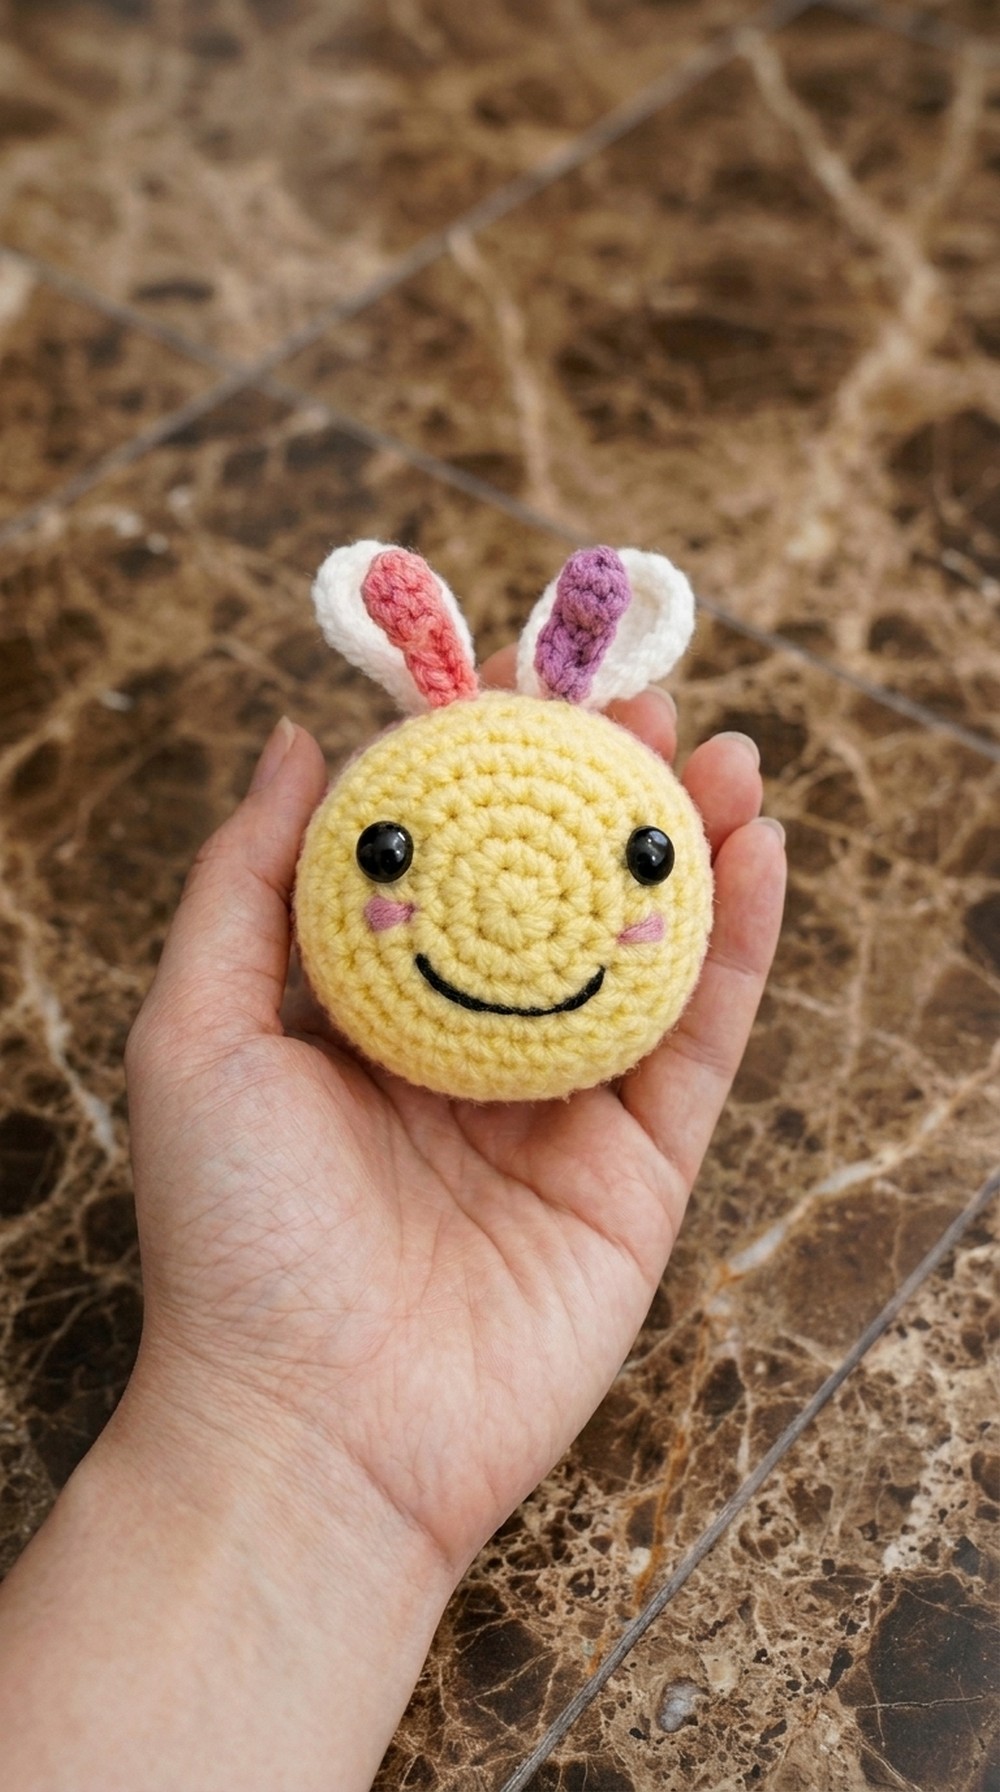
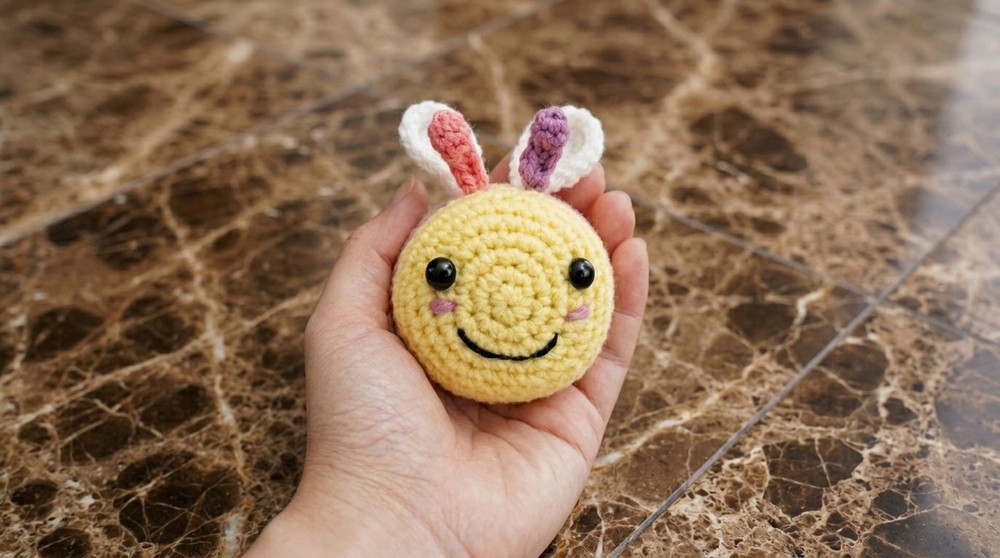
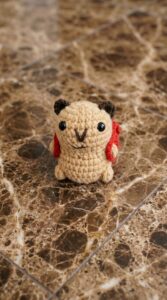
This crochet pattern creates a beautiful project that is both practical and enjoyable to make. With this Free Crochet Bee Pattern, you can make an adorable, stuffed bumblebee that features bright yellow and pink stripes. Its round, squishy body is soft to hold, and the overall design is easy for anyone who likes crocheting.
The bee stands out with its playful details. The white wings curve gently from its sides, and the cute antennas add a fun touch to its head. The sweet face, made with big safety eyes, a sewn smile, and a little pink blush, gives the bee plenty of character. The small felt heart adds a special detail, making this bee perfect for gifts, especially for occasions like Valentine’s Day.
Free Crochet Bee Pattern for Fun
This project is enjoyable to make because it uses simple stitches and clear steps. Basic techniques like magic circles and single crochets are all you need, making it a quick and rewarding pattern. You also have the chance to get creative by switching out colors, adjusting the size, or adding extra stripes. You can easily turn your bee into a smaller toy or even a fun keychain by making a few easy changes.
The finished bee is a lovely choice for all sorts of uses. It’s a great gift for kids, friends, or anyone who appreciates cute, handmade items. It looks adorable sitting on a shelf or desk, or you can use it as a soft, cheerful decoration around your home. However you use it, this crochet bee is sure to bring happiness and a smile wherever it goes.
Valentine’s Day Themed Bumblebee - Crochet Pattern
Bring some extra sweetness to Valentine’s Day with this adorable bumblebee plush. Designed to be larger and extra cuddly, this bee features cheerful stripes, blushing cheeks, a heart accent, and expressive antennae. Whether made for a loved one or for yourself, it’s sure to bring a smile.
Skill Level & Terminology
- Skill Level: Advanced Beginner
- Terminology: Written with US crochet terms
Materials & Tools
- Worsted weight (#4) acrylic yarn: Yellow, two shades of Pink, and White
- 4.5 mm crochet hook
- 10 mm safety eyes
- Scissors
- Yarn/tapestry needle
- Black embroidery thread or black yarn (for mouth)
- Red felt (for heart; any color can be used)
- Hot glue gun (for attaching eyes/heart)
- Stitch marker
- Stuffing
Gauge
Exact gauge is not critical for this plush. For reference, after Round 7 of the bee’s body, your work should measure approximately 2.75–3" (7–7.5 cm) in diameter. Adjust your hook size if needed to maintain a firm, tight fabric.
Abbreviations
| Abbreviation | Meaning |
|---|---|
| mc | Magic Circle |
| ch | Chain |
| sc | Single Crochet |
| st | Stitch |
| inc | Increase (2 sc in same st) |
| dec | Decrease (see “Special Stitch”) |
| sl st | Slip Stitch |
| (…) x n | Repeat sequence in brackets n times |
Special Stitch Instructions
- Magic Circle (mc): Loop yarn around fingers to form a circle, insert hook, pull up a loop, ch 1 to secure, and work stitches into ring.
- Invisible Decrease (inv dec): Insert hook into front loop of each of next 2 sts, yarn over, pull through both loops (2 loops on hook), yarn over, pull through 2 loops.
Finished Size
Approx. 6–8" / 15–20 cm long (from nose to tail including wings)
Width may vary according to stuffing and yarn.
The Pattern
Bee Body
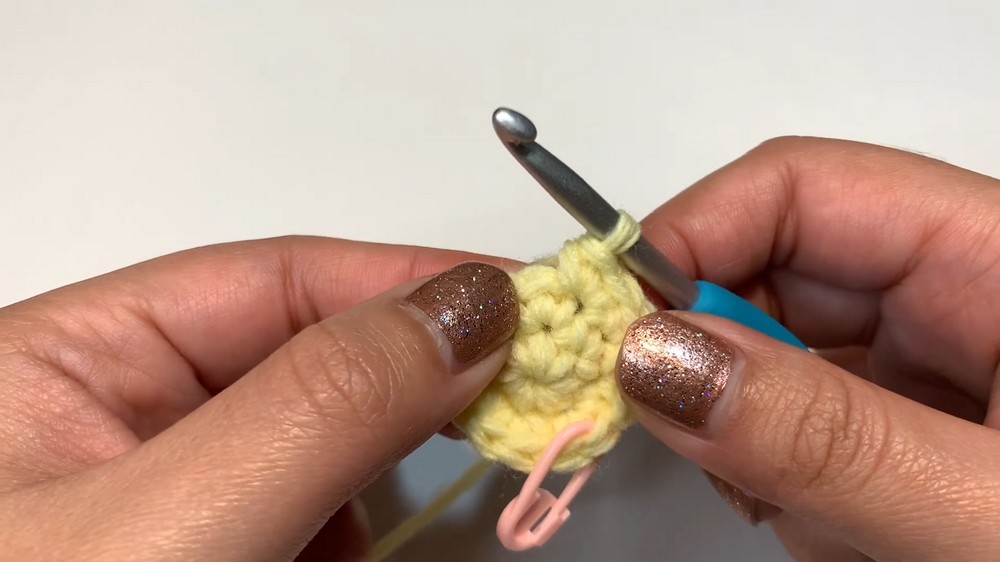
Start with Yellow
Round 1:
- Make a magic circle.
- Work 6 sc in mc. (6)
- Tighten circle. Place marker in last stitch.
Round 2:
- Inc in each st around. (12)
Round 3:
- (Inc, sc in next st) x 6. (18)
Round 4:
- (Inc, sc in next 2 sts) x 6. (24)
Round 5:
- (Inc, sc in next 3 sts) x 6. (30)
Round 6:
- Sc in each st around. (30)
Round 7:
- (Inc, sc in next 4 sts) x 6. (36)
Rounds 8–9:
- Sc in each st around. (36 each round)
You just finished the main yellow section and are ready for the first pink stripe!
First Pink Stripe (Color Change):
- Fasten off yellow using a needle join for a neat finish.
- Attach pink yarn to the last st using a knot.
- Round 10:
Sc in each st around, making sure your color join is tidy. (36) - Rounds 11–12:
Sc in each st around. (36)
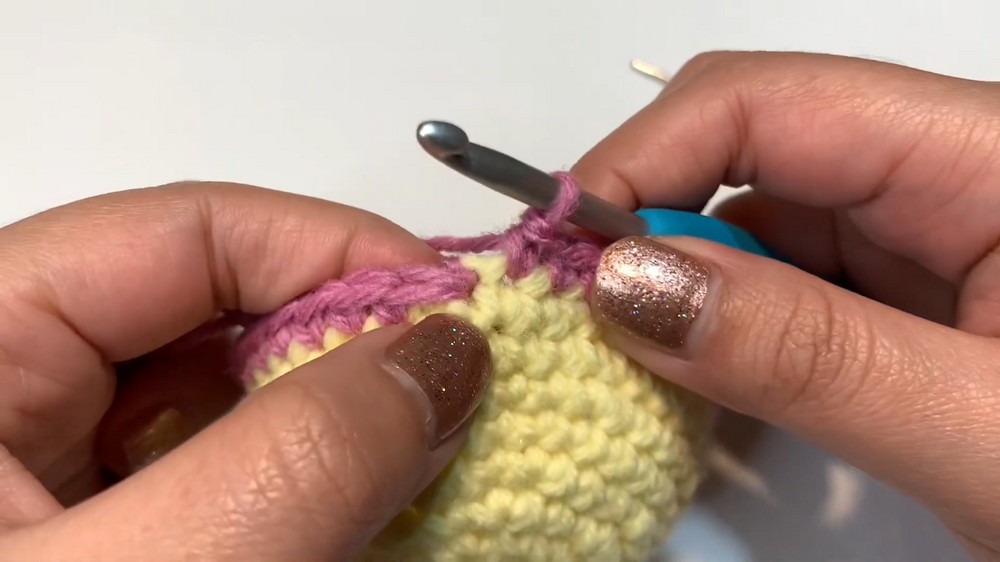
You made the first pink band – the adorable bumblebee stripe! Repeat the color change process as described earlier to alternate yellow and pink.
Second Yellow Stripe (Color Change Back):
- Fasten off pink using the needle join.
- Attach yellow.
- Rounds 13–15:
Sc in each st around. (36 per round)
Second Pink Stripe:
- Fasten off yellow, attach pink.
- Rounds 16–18:
Sc in each st around. (36 per round)
Tail Yellow Section:
- Fasten off pink, attach yellow.
- Rounds 19–22:
Sc in each st around. (36 per round)
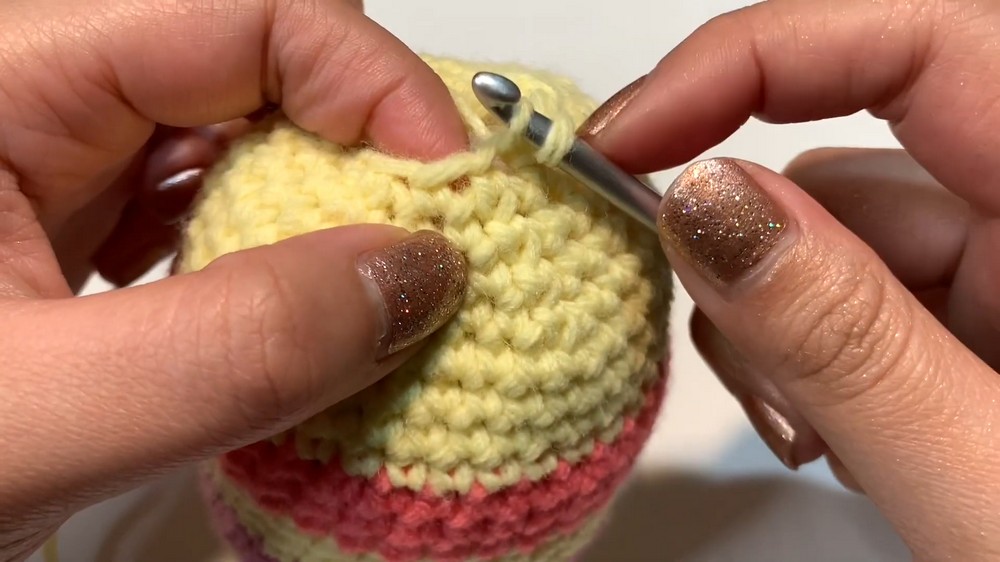
Your basic bee cylinder should now be complete with alternating color stripes! If you prefer more or fewer stripes, simply adjust the number of rounds per color.
Shaping & Closing (Decreases & Stuffing)
Round 23: (Inv dec, sc in next 4 sts) x 6. (30)
Round 24: (Inv dec, sc in next 3 sts) x 6. (24)
Round 25: (Inv dec, sc in next 2 sts) x 6. (18)
Round 26: (Inv dec, sc in next st) x 6. (12)
Now is a good time to firmly stuff your bee and shape it as you like.
Round 27:
- (sc2tog) x 6 (or until closed) (6 or fewer)
- Fasten off, leaving a yarn tail.
- Use your hook or needle to weave through the remaining stitches, pull to close, weave in end.
For those who do not follow patterns: Make a round tube shape by starting with a small magic circle, increasing until wide enough, work stripes in color, then decrease and stuff as you get toward the back.
Wings (Make 2)
With White Yarn:
Round 1:
- 6 sc in mc. (6)
Round 2:
- Inc in each st. (12)
Round 3:
- (Inc, sc in next st) x 6. (18)
Rounds 4–5:
- Sc in each st around. (18)
Round 6:
- (Inv dec, sc in next st) x 6. (12)
Round 7:
- (Inv dec) x 4. (8)
- Fasten off, leaving long tail for sewing.
You have made one wing! Make one more for a pair. For those who do not read patterns: Start with a small circle, add more stitches, then single crochet a few rounds, and decrease to make a mini oval dome.
Antennae (Make 2, in Pink)
- Ch 7.
- Sl st in 2nd ch from hook, sc in next 5 ch.
- Fasten off, leaving tail.
- Tie off and weave in or leave yarn for sewing.
Make a slipknot, chain a short length, slip stitch at tip, work sc back down – now you have a thin wiggly antenna!
Heart Accent (Felt or Crochet)
- Option 1 (Recommended):
Cut a heart shape from red (or pink) felt. - Option 2 (Crochet, Optional):
With red yarn, ch 2, work 6 sc in 2nd ch from hook, ch 1, (in next st: hdc, dc, ch 1, sl st, ch 1, dc, hdc), repeat in all sts to form a tiny heart. Fasten off.
Assembly & Finishing
- Wings:
- Place wings evenly on the bee’s back (center, sides, or close together as preferred).
- Sew in place using yarn tail and tapestry needle.
- Antennae:
- Attach to the top of the head with the yarn end and secure.
- Bend gently to shape.
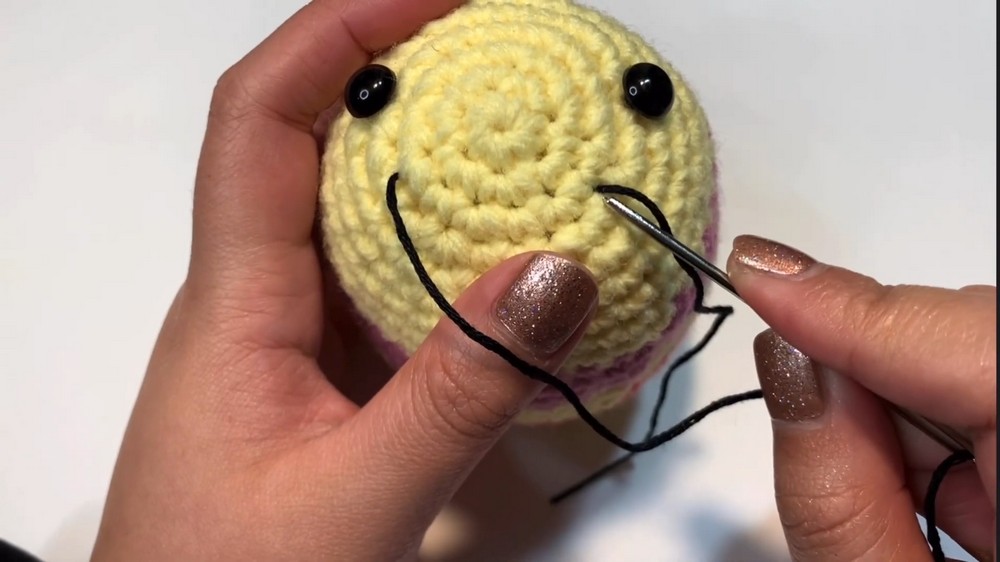
- Eyes & Face:
- Position safety eyes (use glue gun for secure attachment).
- With black embroidery thread or yarn, embroider the mouth between eyes in a ‘smile’ shape.
- Use a blunt needle to sew or glue on blush with pink yarn or thread for cheeks.
- Heart:
- Glue (or sew) felt heart onto the bee’s side or place it in the bee’s “hands.”
- Final Details:
- Weave in all ends and reshape as needed.
If you are not comfortable following each section, simply make a tube with stripes, stuff firmly, add wings and antennae, sew or glue on the face, and add details as you like!
Pattern Overview
You begin with the magic circle and basic increases to form the bee’s round body, alternate yellow and pink for stripes, and work even rounds between increases. The rest is just single crochet, invisible decreases for shaping, and color changes for the stripes. The wings repeat the same techniques on a smaller scale. The antennae are simple: a chain with single crochet, and the heart is an easy felt cut-out. You just need single crochet (sc), slip stitch (sl st), and invisible decreases (inv dec).
Leave a Reply