

Make your accessories stand out with this free crochet pencil keychain pattern, a charming and easy project that's perfect for adding a touch of personality.
When I first tried making tiny crochet accessories, I was amazed at how something small could be so charming and useful. One of my favorites to make is a little pencil-shaped keychain, it’s super cute and practical. This is exactly what you get with the free crochet pencil keychain pattern, a fun project that turns simple yarn into a handy everyday item.
Colorful Free Crochet Pencil Keychain Pattern You’ll Love
The pencil keychain is bright and colorful, usually featuring the classic yellow body, pink eraser, and gray tip, just like a real pencil! Its small size makes it perfect to attach to your keys, backpack, or even a pencil case. The texture feels soft but sturdy because of tight crochet stitches, and the shape is long and slim, so it fits perfectly in your hand or bag. What really stands out is the attention to detail; you’ll notice little lines and color changes that make the pencil look very real but still playful and fun.
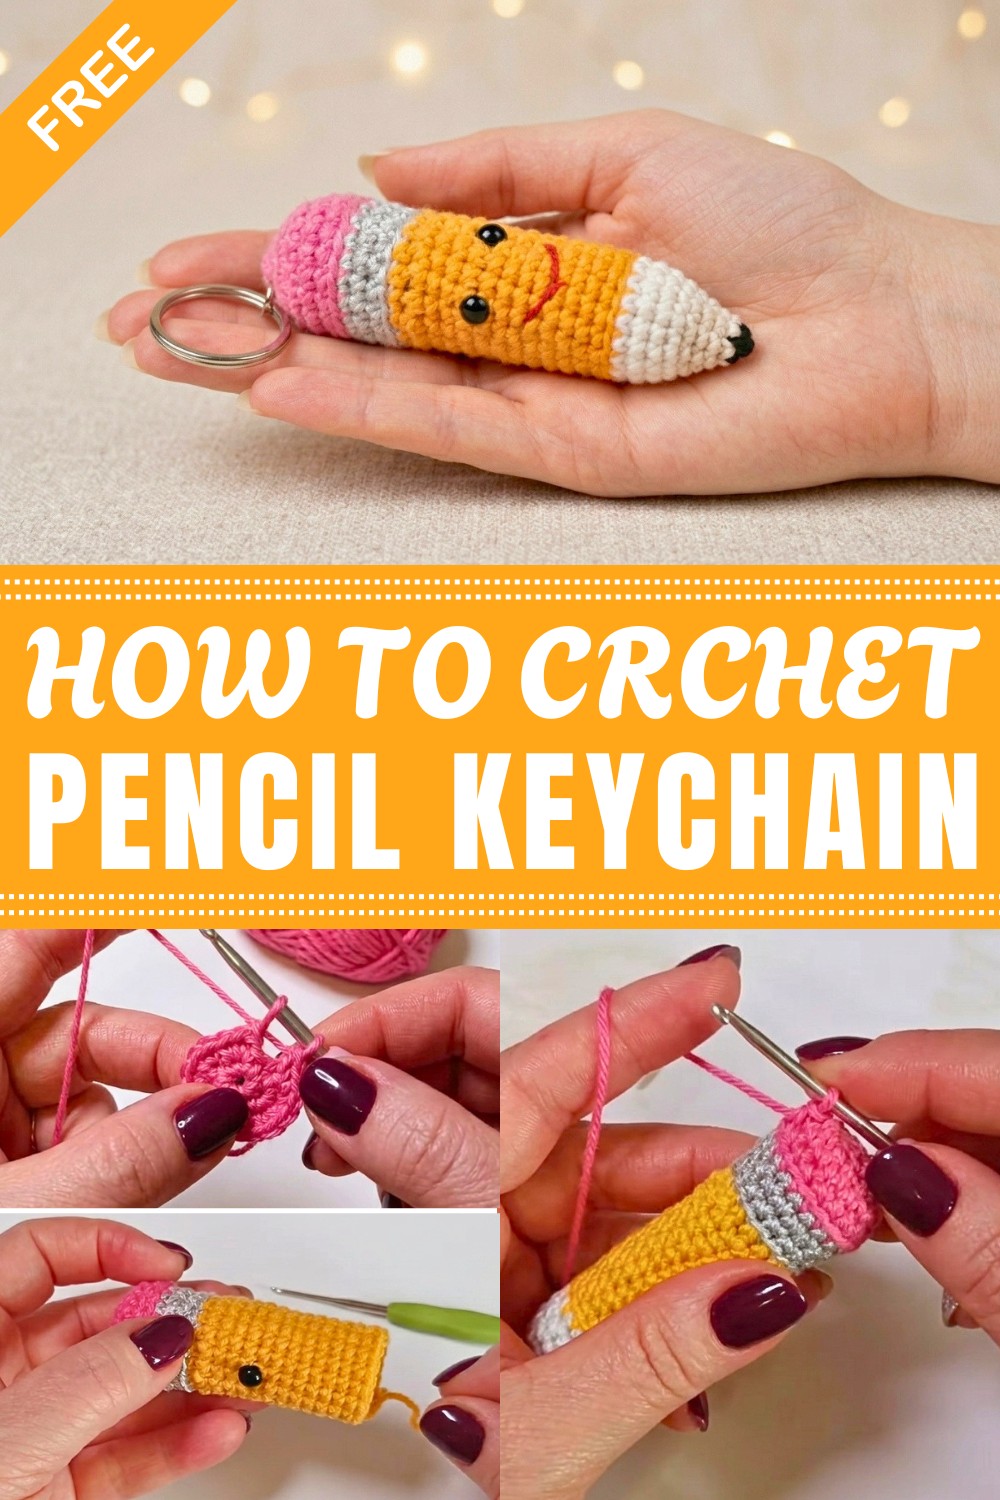
This project is great for beginners since it mainly uses the single crochet stitch, which is simple to learn and easy to work with. You’ll also practice basic shaping techniques like increasing and decreasing stitches to get that pencil form just right. It’s quick to make, so you get a rewarding finished piece in no time!
This free crochet pencil keychain pattern makes a lovely gift for friends, teachers, or anyone who loves stationery. It’s perfect as a little decorative accessory that’s wearable and useful. Plus, making a set of different keychains can turn into a fun collectible hobby, brightening up your everyday items with handmade charm.
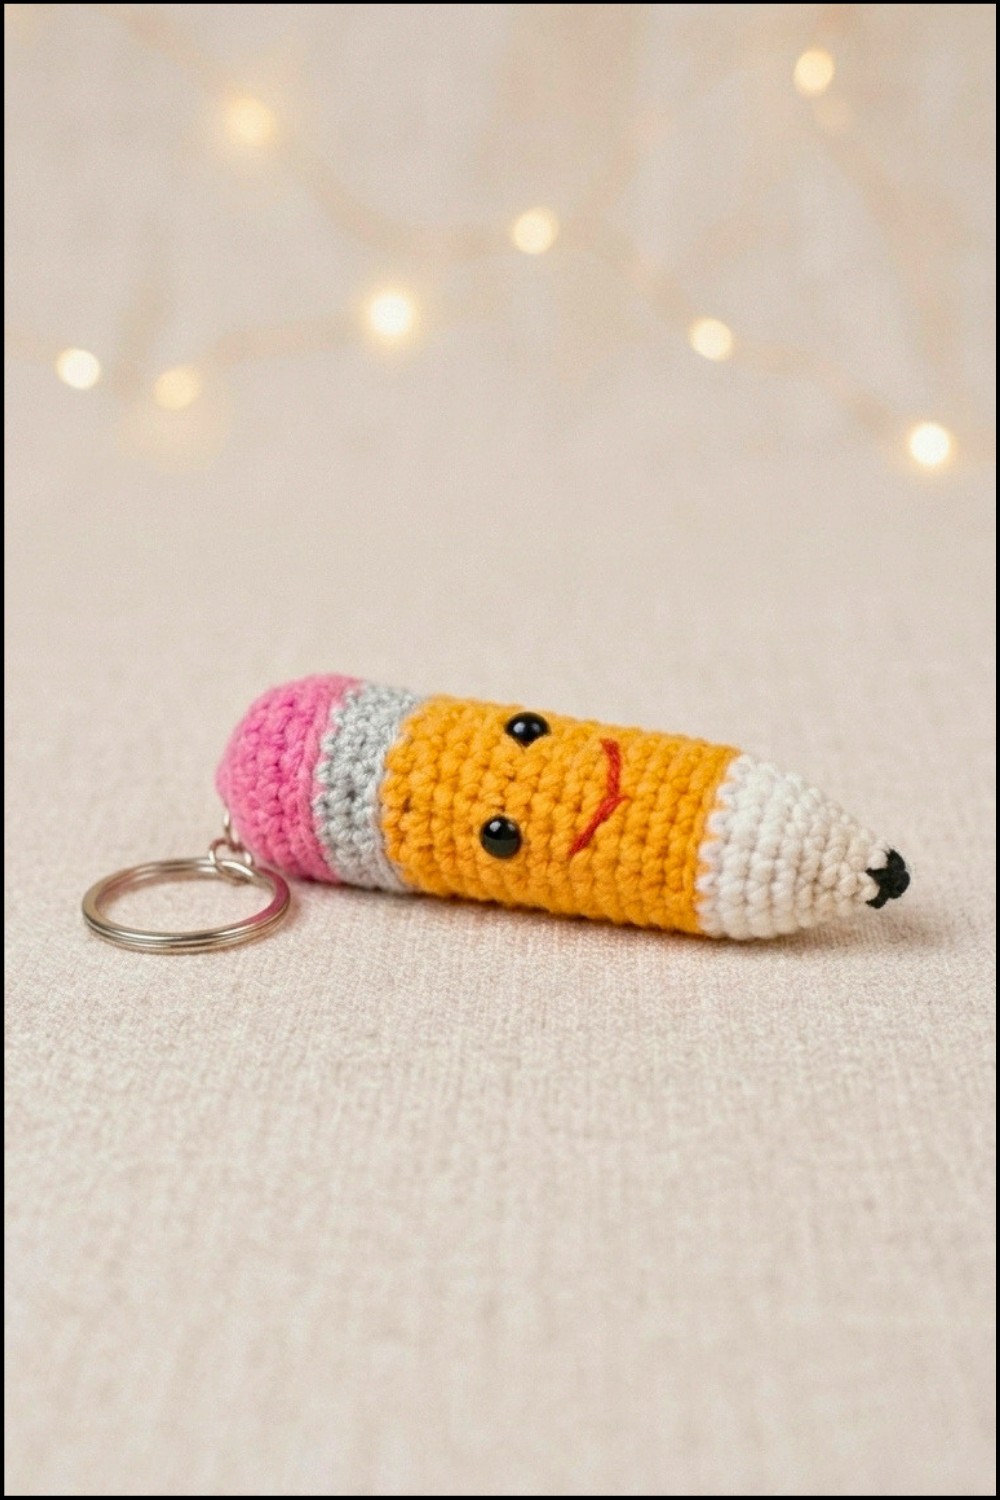
Crochet Pencil Keychain Amigurumi Pattern
This charming and practical project is perfect for back-to-school gifts, a teacher’s desk, or adding playful style to your keys or bag. By combining basic stitches, simple shaping, and a few well-placed details (like blushing cheeks and a sweet smile), you will create a pencil that is as functional as it is adorable. Each step is provided with precise stitch sequences and color transitions to give your pencil all its signature features.
Pattern Basic Points
Key Techniques & Project Phases:
- Working in the round: All pieces are made in continuous spirals using the magic ring method.
- Color changes: Pink for eraser, grey for the metal band, yellow for the barrel, white/cream for the tip base, and black for the point/lead.
- Back loop only (BLO): Used for transition rounds to mimic realistic bands and pencil detail.
- Firm stuffing: Maintains a sleek cylindrical shape.
- Attaching safety eyes and embroidery: For a lovely facial expression and blushing cheeks.
- Assembly: Attaching a keychain ring through sturdy stitches at the top.
Special Notes
- Use a stitch marker to track the first stitch of each round, as the pattern is worked in a continuous spiral.
- Color changes are crucial for realism—switch yarns as directed, and always finish the last pull-through of a stitch with the new color.
- Make sure to stuff the pencil firmly as you go, especially before the white tip section and after decreases begin.
- For safety, ensure the eyes are attached securely before stuffing the body closed.
- This tutorial assumes some knowledge of amigurumi—basics like the magic ring, increasing and decreasing, and working into BLO.
Skill Level
Confident Beginner
- Basic crochet in the round, increasing, decreasing, color changes, and very simple embroidery are used.
Materials
- Yarn (cotton or acrylic, light worsted/3 or 4-ply recommended)
- Pink (eraser)
- Grey (metallic band)
- Yellow (pencil body)
- White or cream (pencil tip)
- Black (pencil lead and smile)
- Red (for embroidered smile)
- Crochet hook: 2.5 mm
- Safety eyes: 4-6 mm (pair)
- Fiberfill stuffing
- Tapestry needle (for sewing and embroidery)
- Stitch markers
- Scissors
- Keyring loop
- Optional: Blush or pink crayon/makeup for cheeks
Measurements / Sizing
- Final keychain (excluding hardware): Approx. 8–10 cm (3–4 in) long
- Adjustable by yarn thickness and hook size
Gauge
Not essential, but make sure stitches are tight enough so stuffing does not show through.
Stitch Abbreviations
| Abbreviation | Stitch |
|---|---|
| MR | Magic Ring |
| SC | Single crochet |
| INC | Increase (2 SC in same stitch) |
| DEC | Decrease (SC 2 together) |
| CH | Chain |
| SL ST | Slip stitch |
| BLO | Back loop only |
| FO | Fasten off |
Special Stitches
- Magic Ring (MR): Begin amigurumi with a tight center.
- Increase (INC): Work two single crochet into one stitch.
- Decrease (DEC): Single crochet two stitches together (invisible decrease if preferred).
- Back Loop Only (BLO): Insert hook only in back loop of stitch to create a ridge.
Pattern Instructions
1. Eraser (Pink)
- Round 1:
Make a MR, 6 SC into ring. [6] - Round 2:
INC in each stitch around. [12] - Round 3:
(1 SC, 1 INC) repeat around. [18]

2. Metal Band & Pencil Body
Rounds 4–5:
SC in each stitch around (no increases). [18]
Transition to Metal Band (Grey):
- Round 6:
Change to grey yarn. SC in BLO in each stitch around. [18] - Rounds 7–8:
SC in both loops in each stitch around. [18]
Transition to Pencil Body (Yellow):
- Round 9:
Change to yellow yarn. SC in BLO in each stitch around. [18] - Rounds 10–22:
SC in both loops in each stitch around. [18]
(13 rounds for desired pencil length)
3. Face & White Tip Section
- Round 23:
Change to white/cream yarn. SC in BLO in each stitch around. [18] - Rounds 24–25:
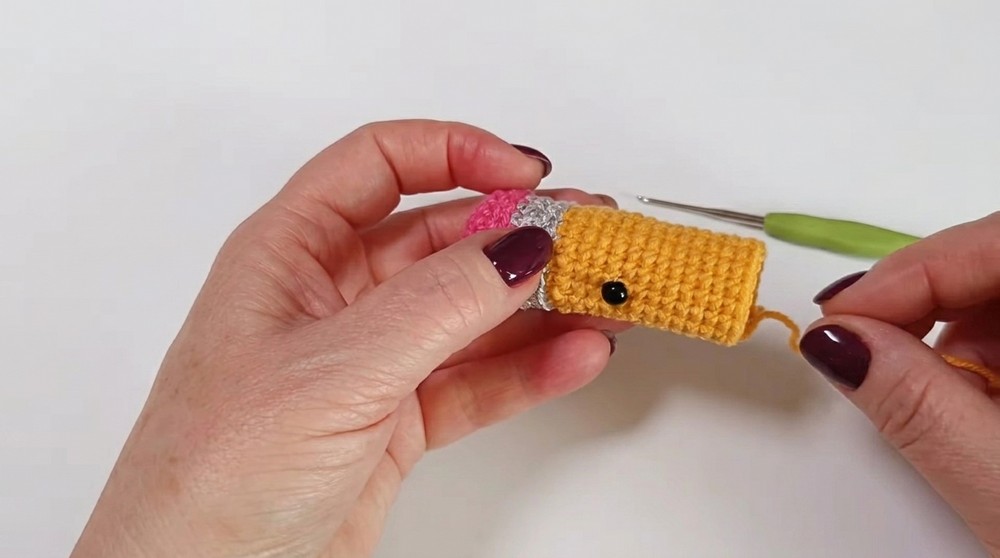
SC in both loops in each stitch around. [18] - Attach Safety Eyes:
Place safety eyes between rounds 1 and 3 of white section, or as preferred. - Stuff Firmly:
Stuff the pencil body thoroughly before opening narrows further—ensure a neat, dense shape.
4. Pencil Tip (Point/Lead)
- Round 26:
(3 SC, 1 DEC), repeat around. [15] - Round 27:
(2 SC, 1 DEC), repeat around. [12] - Round 28:
(1 SC, 1 DEC), repeat around. [8] - Round 29:
Change to black yarn (lead). SC in each stitch around. [8] - Round 30:
(DEC), repeat 4 times. [4] - FO, leaving a long tail. Use tapestry needle to weave tail through front loops of last 4 stitches; pull tight to close. Weave end into tip and trim.

5. Embellishments & Assembly
- Smile:
Thread a tapestry needle with red yarn and embroider a simple smile between the eyes on yellow or white row. - Blush:
Lightly apply pink makeup, blush, or crayon to cheeks just below the eyes for a cute look. - Keychain Loop:
Securely attach a keyring or small lobster clasp through the very top center of the eraser, using a tapestry needle and doubled yarn for durability or through a stitch itself.
Assembly & Finished Size
- Your pencil keychain should measure between 8–10 cm (3–4 in) when crocheted with the stated materials.
- Add the keychain ring through a sturdy top stitch for best results.
- Use makeup/blush or embroidery for a truly kawaii face.

Conclusion
You’ve just created a fun, practical, and perfectly “kawaii” pencil keychain amigurumi. Using clear color changes, textural transitions (thank you, BLO!), and classic amigurumi techniques, your pencil is instantly recognizable and full of personality. This project is ideal for gifts, party favors, or just expressing your love for stationery and crochets.

Leave a Reply