

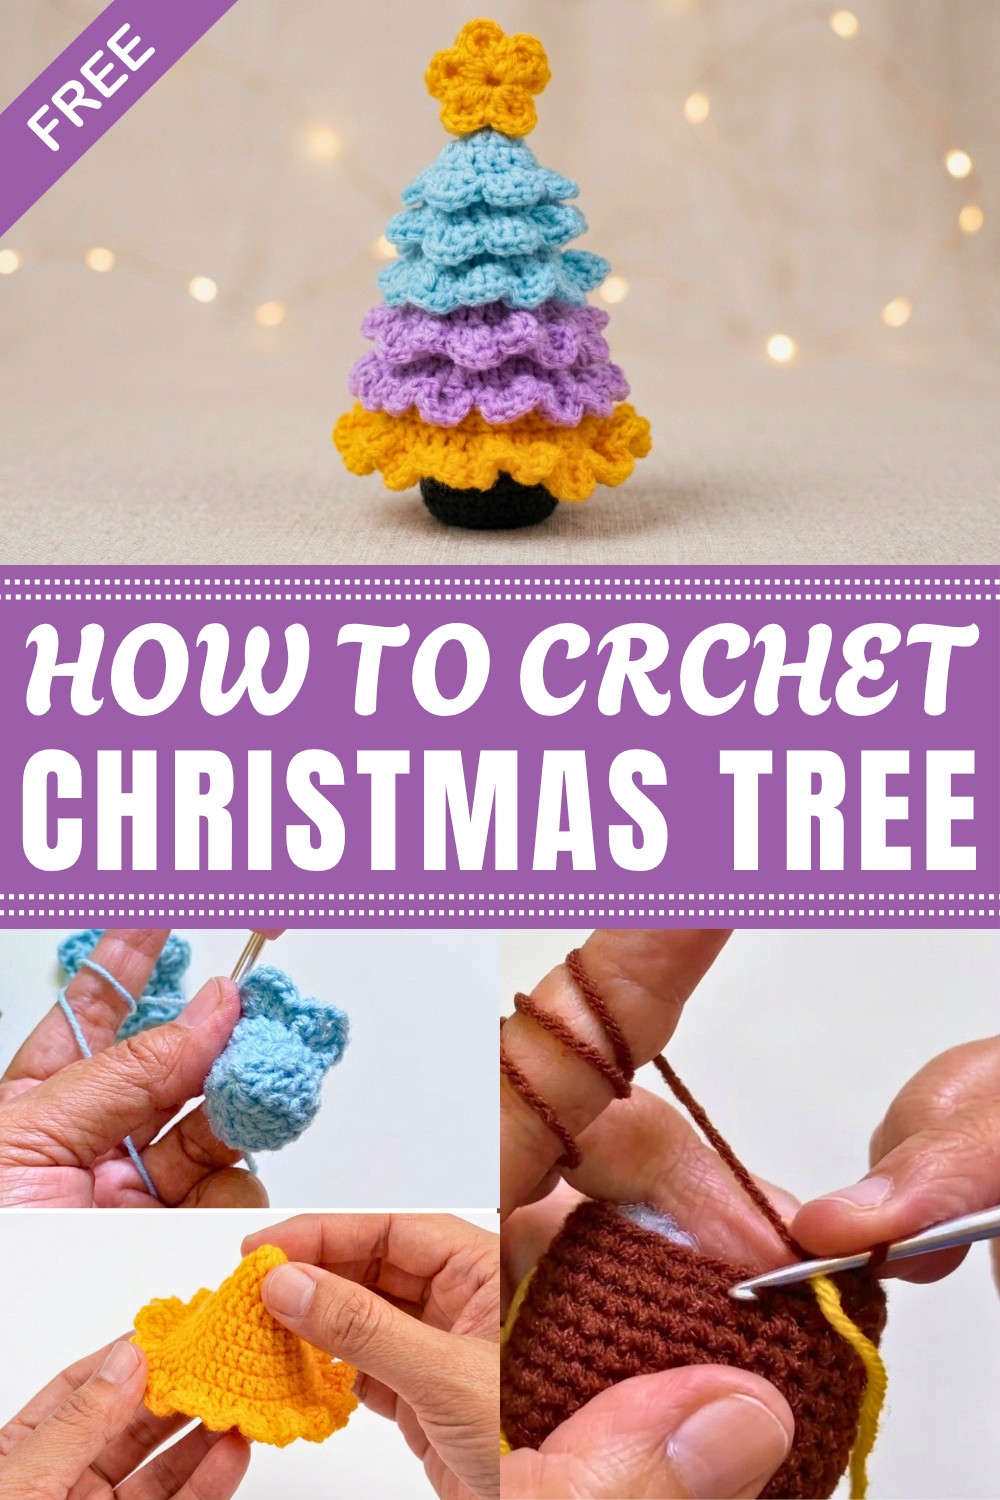
Green is a natural choice for this project, but there is plenty of room for color changes. Try dark green for a traditional style, white for a snowy look, or red and gold for a brighter holiday display. You can also make trees in different sizes and place them together to create a cute little winter scene.
This project can be useful for crocheters who enjoy making seasonal home decor. Beginners with basic crochet skills may find it a comfortable project for practicing simple shaping, while experienced makers can have fun adding their own creative details. Working with the tree shape can also help build confidence with keeping the piece even and well formed.
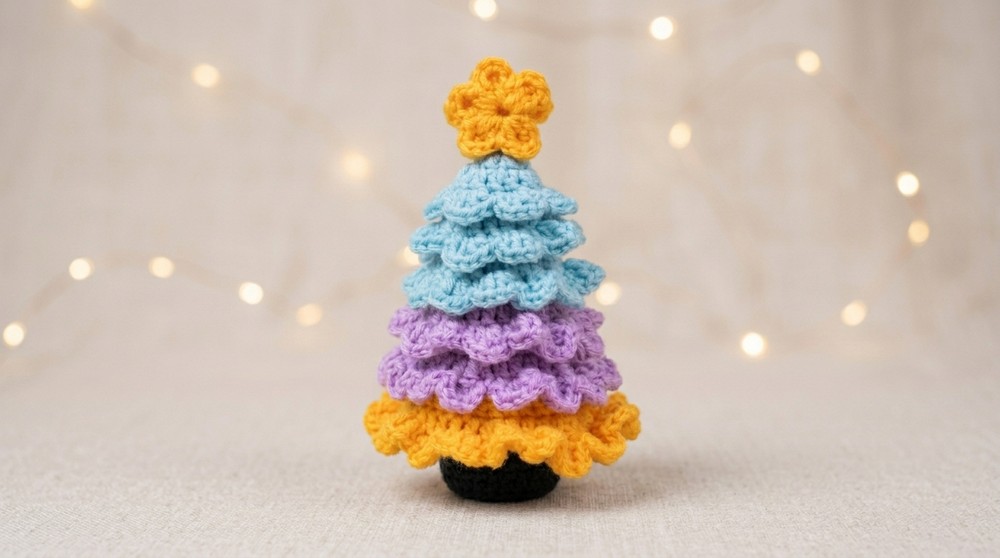
There are many ways to enjoy the finished decoration. Place it beside candles, books, holiday figurines, or other seasonal pieces. A group of small trees can also look lovely across a dining table or shelf. They can be reused every Christmas, making them a decoration you can bring out year after year.
A handmade crochet tree can also make a sweet holiday gift. Give one to a friend, family member, teacher, or someone who enjoys cozy home decorations. With its festive shape, soft texture, and easy customization, this little tree can add a warm handmade feeling to any Christmas setting.
Layered Crochet Christmas Tree Pattern
This tutorial details the creation of a layered crochet Christmas tree, combining vibrant yarn colors and textured stitches to produce a charming and festive ornament. Designed with multiple tiers, a solid pot, and a star topper, this project balances color, dimension, and tactile interest using standard crochet stitches and strategic shaping techniques. The step-by-step instructions are suitable for crafters wishing to enhance their skills with layered construction and decorative frilled edges.
Overview Of Pattern
- Build the Christmas tree by crocheting stacked layers, each increasing in size using double crochet stitches with targeted increases.
- Add a ruffled, frilly effect to the edges of each tier by crocheting into the front loops only, combining chains, single crochets, and double crochets.
- Form a sturdy, circular pot from single crochet rounds with increases and decreases, accentuated by working in back loops only to create texture.
- Craft a delicate star with pointed petals by combining various stitches including single, double, and treble crochets.
- Assemble all elements by gluing the layered tree tiers from smallest to largest on the pot rim, topping with the star.
Notes
- The pattern features continuous rounds using magic rings for tight, gapless starts.
- "Front loops only" (FLO) technique is employed to sculpt ruffled branches on the tree layers.
- Working in the back loops only (BLO) creates a distinctive textured band on the pot base.
- Glue is used for assembly instead of sewing, ensuring firm attachment of layers and star topper.
- Fiberfill stuffing is added inside the pot prior to closing to allow the finished piece to stand upright.
- Colors can be chosen freely; this pattern uses a trio of colors for the tree tiers (like blue, purple, yellow) and brown for the pot.
Skill Level
Intermediate crocheters with skills in:
- Magic ring foundations
- Working in continuous rounds
- Double crochet (dc) and single crochet (sc) stitches
- Working in front loops only (FLO) and back loops only (BLO)
- Increasing and decreasing in the round
- Assembly methods with glue and stuffing
Materials
- Three yarn colors for tree tiers (example: blue, purple, and yellow cotton or acrylic)
- Brown yarn for the pot (cotton or acrylic)
- Size 3 crochet hook
- Scissors
- Tapestry needle
- Craft glue suitable for yarn/glue projects
- Fiberfill stuffing
Measurements / Sizing
- Final tree height approximately 20–25 cm including pot and star, depending on yarn thickness and tension.
- Base diameter of the pot roughly 7–8 cm for stability.
Gauge and Stitch Pattern
- Gauge is adaptable; focus on consistent tension for even layers and color changes.
- Main stitch patterns include:
- Double crochet (dc) for tree layers
- Single crochet (sc) for pot construction
- Ruffling edges use combinations of chain, single, and double crochet stitches, worked in front loops only.
- Pot rounds enhanced by working back loops only for textural flare.
Stitch Abbreviations
| Abbreviation | Term | Description |
|---|---|---|
| ch | Chain | Yarn over, pull loop through hook |
| sl st | Slip Stitch | Insert hook, yarn over, pull through both loops |
| sc | Single Crochet | Insert hook, yarn over, pull through 2 loops |
| dc | Double Crochet | Yarn over, insert hook, yarn over, pull through 2 loops twice |
| FLO | Front Loops Only | Work stitch only through front loop of the stitch |
| BLO | Back Loops Only | Work stitch only through back loop of the stitch |
Special Stitches
- Ruffle / Frill Edge: Worked by chaining 1, then a single crochet, two double crochets in the same stitch, chain 2, two double crochets, and a single crochet in the following stitch; all performed in front loops only to create a wavy, layered “branch” effect.
The Crochet Pattern!
1. Crochet the Tree Layers (Multiple Tiers)
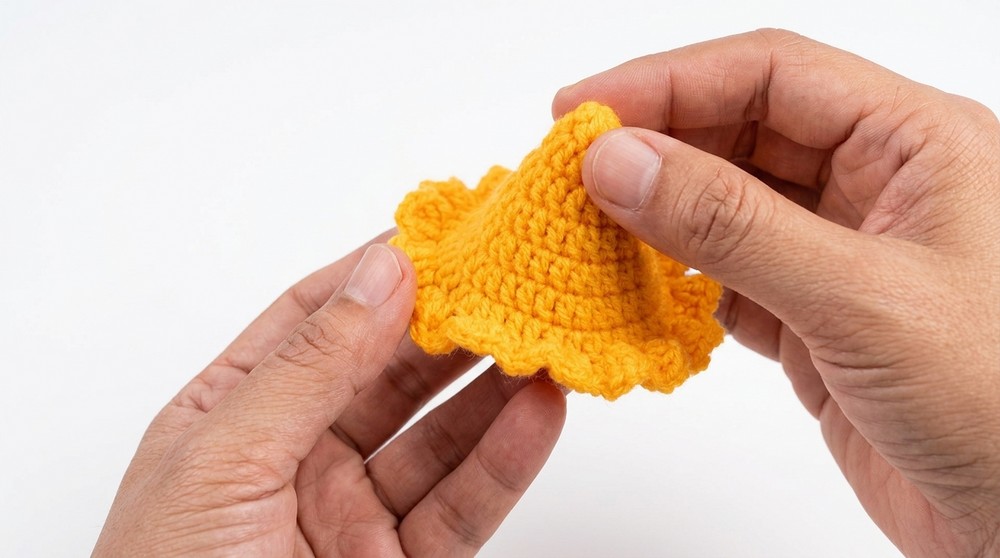
Each tier is crocheted separately, progressively increasing the size to form stacked layers.
Tier General Pattern:
- Row 1: Create a magic ring; work 6 double crochets (6 dc) into the ring.
- Row 2: Increase in every stitch, working 2 double crochets into each stitch (total 12 dc).
- Row 3 and onward: Follow progressive increase patterns escalating as the tier grows. For example:
- One round might be 1 dc, 2 dc in next stitch repeat around.
- Later rounds may be 2 dc, 2 dc in next stitch, or 3 dc, 2 dc in next stitch, etc.
- Continue increasing as necessary based on desired tier size.
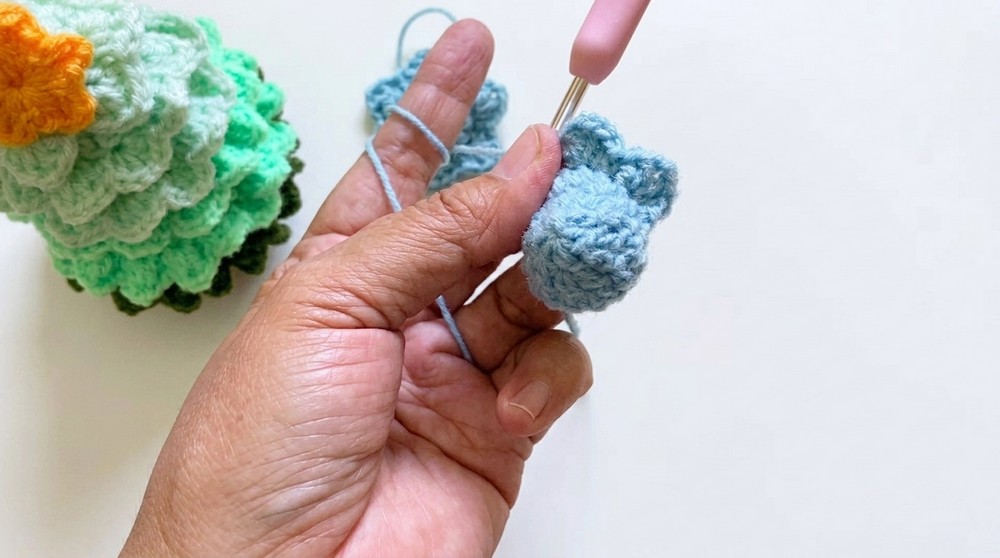
Ruffle / Branch Edge:
- After completing base rounds for a tier, work into the front loops only:
- Chain 1, single crochet (sc) in the stitch,
- Then 2 double crochets (2 dc) into the same stitch,
- Chain 2,
- 2 double crochets (2 dc) again,
- Finish with a single crochet (sc) in the next stitch.
- This sequence creates a frilled, ruffled edge that mimics branches’ shapes.
- Repeat this edging pattern uniformly around the tier perimeter.
Repeat the above for each tree tier using different colors for a vibrant stacked effect.
2. Crochet the Pot
Rows 1-5 (Base and Expanding Circle):
- Begin with a magic ring and work 6 single crochets (6 sc) inside.
- Second round: increase in every stitch: 2 sc in each stitch (12 sc)
- Third round: alternating single crochet and increase (xv sequence), increasing the stitch count accordingly.
- Fourth round: repeat 2 sc, 1 increase (2xv) around.
- Fifth round: repeat 3 sc, 1 increase (3xv) around to reach 30 stitches total.
Row 6 (Base Edge Texture):
- Work a full round of 30 single crochets (30 sc) in the back loops only (BLO).
- This creates a defined base edge that visually separates the pot’s base.
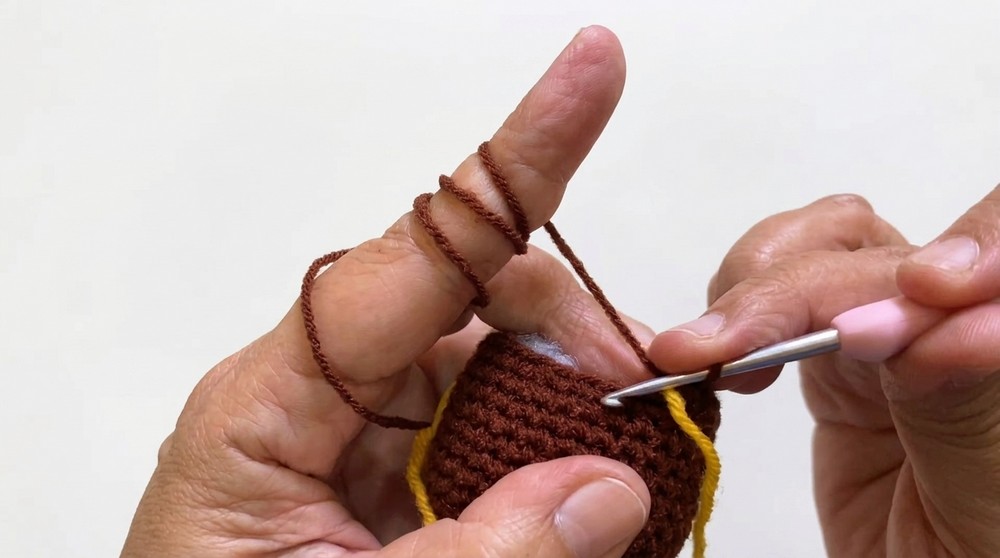
Rows 7-16 (Pot Height):
- Work straight rounds of 30 single crochets (30 sc) each in both loops for the height of the pot.
- Maintain consistency for smooth walls.
Rows 17-20 (Decreases and Closing):
- Begin shaping the pot’s closure using the following decrease pattern across the rounds:
- 3 sc, 1 decrease, repeat around
- 2 sc, 1 decrease, repeat around
- 1 sc, 1 decrease, repeat around
- Finally, 6 decreases to close tightly.
- Add fiberfill stuffing during this closing process to give the pot form and stability.
Finish by sewing the center bottom closed flat so the pot sits evenly.
3. Crochet the Star
Star Points (Make 5):
- Each point consists of the following stitches worked sequentially:
- 1 single crochet (sc),
- 1 double crochet (dc),
- Chain 1 (ch 1),
- 1 treble crochet (or double yarn over stitch),
- Chain 1 (ch 1),
- 1 double crochet (dc),
- Slip stitch to close the point.
Repeat this sequence 5 times around to form a star shape.
4. Assembly
Star:
- Glue two identical star pieces together for strength and dimension.
Tree:
- Stack the crocheted layered tiers from smallest to largest, attaching each to the one below with glue.
- This creates the full layered silhouette of the Christmas tree.
Pot:
- Glue the completed layered tree onto the rim of the pot.
- Secure well and ensure the assembly is stable for display.
Star Topper:
- Attach the star to the very top of the tree with glue.

Assembly & Finished Size
- Allow ample drying time for glued parts before handling.
- The assembled tree stands approximately 20–25 centimeters tall.
- The pot’s diameter ensures stability, making this ideal for tabletop decoration or gifting.
- Stuffing the pot during closing is critical for the tree’s upright posture.
Conclusion
This layered crochet Christmas tree marries delightful color combinations with playful textural stitches, resulting in a piece that embodies festive spirit through handcrafted charm. The use of the front loops only technique to craft ruffled edges brings realism to the tree branches’ silhouette, while the sturdy pot provides a solid base for display. With clear, detailed instructions, this pattern offers crocheters an enchanting seasonal project. Featuring accessible intermediate techniques and thoughtful assembly steps, this Christmas tree will brighten any holiday setting with its tactile beauty and layered elegance.




Leave a Reply