

Buzz into creativity with this free crochet bee amigurumi pattern, where you'll learn to make a chubby, happy bumblebee that's as fun to make as it is to gift.
If you love cute and cuddly crochet projects, you’re going to enjoy making this adorable little bumblebee amigurumi. I had a great time creating this fluffy bee, and I’m excited to share the Free Crochet Bee Amigurumi Pattern with you. This small, charming toy is perfect for anyone who wants to add a sweet handmade friend to their collection or gift something special to a loved one.
This bumblebee is full of character with its plump and round body, soft texture, and bright, cheerful stripes. The combination of yellow and black yarn gives it a classic bee look, while the tiny wings add an extra touch of charm and detail. Its expressive face, which you can customize to look happy or a little grumpy, makes this amigurumi truly unique and playful. The fluffy, squishy style makes it a delight to hold or display on a shelf.
Beginner-Friendly Free Bee Amigurumi Crochet Pattern

The project is made mainly with single crochet stitches worked in continuous rounds to create a tight, dense fabric that keeps the stuffing in well. The pattern also uses clever techniques like “invisible decreases” to shape the body smoothly, plus simple color changes to make the bee’s signature stripes. Wings are crocheted separately and then sewn on carefully for a neat finish.
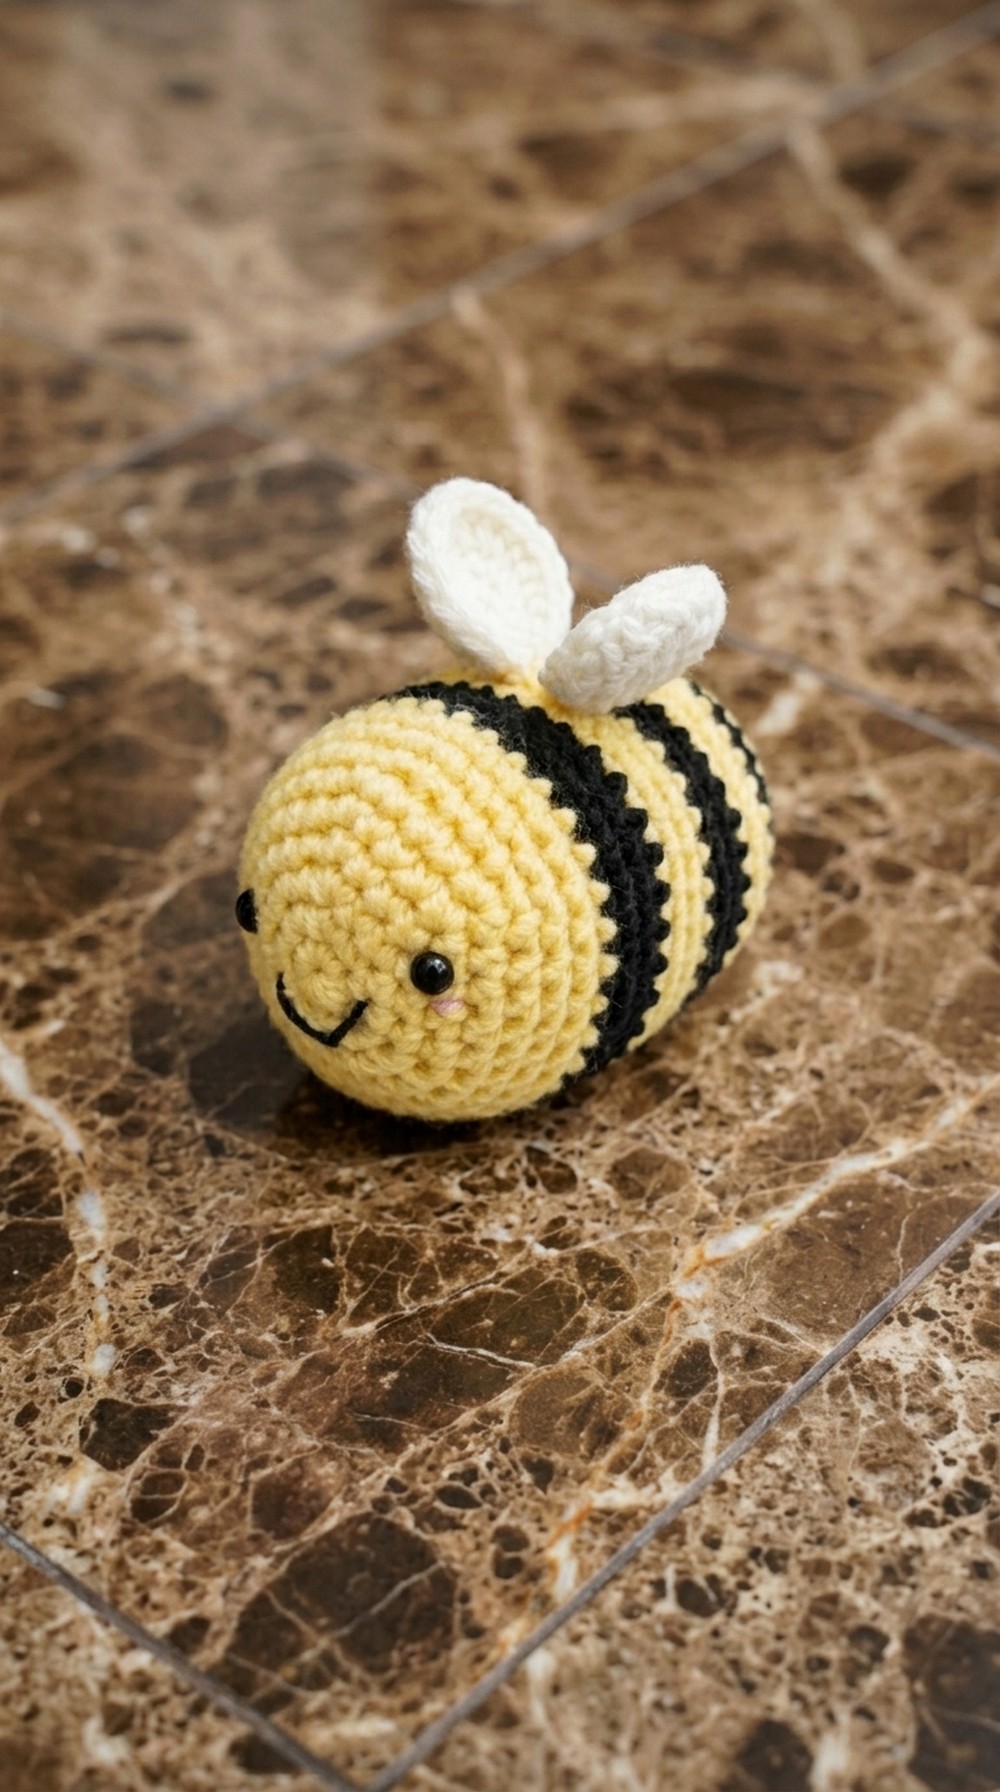
This pattern suits crocheters with a beginner to intermediate skill level, offering a great chance to practice working in the round and managing stitch markers. You can easily personalize it by changing colors, adding different facial expressions, or even creating bee family sets by adjusting sizes.
This crocheted bee makes a perfect gift for kids, a charming decor piece, or a fun collectible for amigurumi lovers. It’s a project that blends creativity with practicality and brings joy through every stitch. If you’re ready to make a delightful little critter that’s both fun to crochet and cute to keep, this free bee amigurumi pattern is an excellent choice to try.
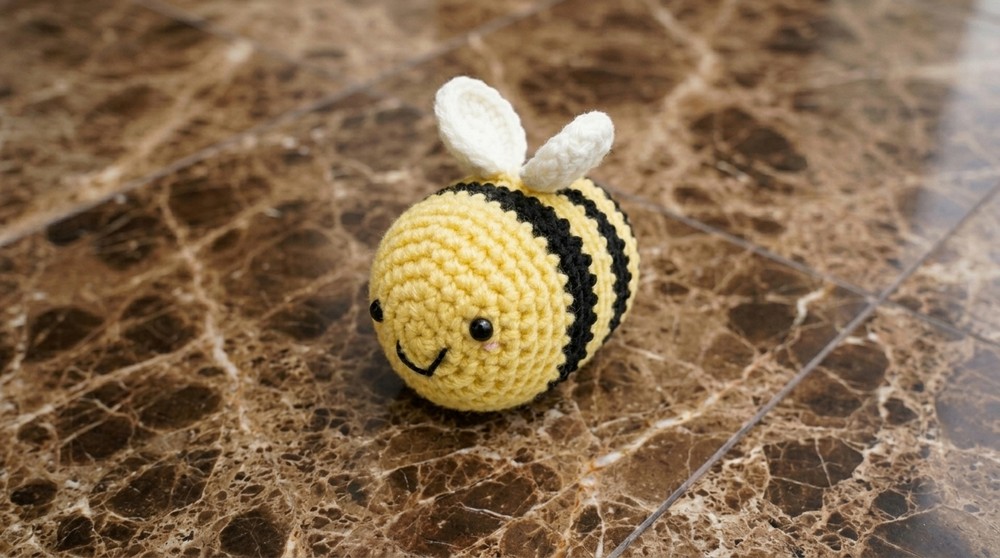
Chubby Fluffy Crochet Bumblebee Pattern
Before You Start
- This bumblebee is an amigurumi plush, perfect for beginners and intermediate crocheters.
- The pattern uses single crochet in the round and simple increase/decrease techniques.
- You’ll switch colors to create the classic bumblebee stripes.
- Safety eyes, sewn facial features, and optional blushing cheeks give your bee personality.
- Minimal sewing—just attach wings at the end.
Pattern Notes
- The bumblebee is worked in continuous rounds; do not join rounds unless specified.
- Use a stitch marker to keep track of the first stitch of each round.
- Switch colors cleanly at the end of a round for clear stripes.
- Wings are made separately and sewn on later.
- Stuff your bee as you go, but don’t overstuff.
How I Made the Crochet Pattern
- Chose bulky yarn for maximum fluff and fast progress.
- Used simple, classic amigurumi techniques for shaping.
- Designed alternating color rounds for strong, bold striping.
- Kept finishing and tail weaving minimal for easy finishing.
- Added expressive face options to customize your bee’s look.
Skill Level
- Advanced Beginner or Intermediate.
- Skills: Magic ring, single crochet, invisible decrease, color changes, sewing parts.
Finished Size
- Using bulky (6) yarn and 7mm hook: about 6" (15 cm) long, wingspan 4.5" (11.5 cm).
- Size will vary if you use different yarn or hook sizes.
Materials
- Bulky weight yarn (category 6) in yellow, black, and ivory (white)
- Small amount of worsted pink and black for cheeks and mouth
- 7 mm crochet hook (use a smaller hook than yarn calls for, to keep stitches tight)
- Yarn needle
- Stitch marker (very important)
- 10 mm safety eyes (or embroider/sew on eyes for child safety)
- Polyester fiber fill / Stuffing
Measurements / Sizing
- Body circumference: ~11" (28 cm)
- Length from tip to tail: ~6" (15 cm)
- Wings: ~2" (5 cm) diameter each
- Placement of facial features: adjust to preference after stuffing
Gauge
- Not critical, but must be tight enough so stuffing doesn't show.
- Typical: 7 sc x 8 rounds = 2" square with bulky yarn and 7mm hook.
- If your bee feels too floppy or see-through, try a smaller hook.
Stitch Abbreviations
- mr = magic ring
- sc = single crochet
- inc = increase (2 sc in one stitch)
- dec = invisible decrease (see “Special Stitches”)
- hdc = half double crochet
- dc = double crochet
- st(s) = stitch(es)
- sl st = slip stitch
Special Stitches
- Invisible Decrease (dec):
Insert hook into front loop of first stitch, insert into front loop of next stitch, yarn over, pull through two loops, yarn over, pull through both stitches. - Magic Ring (mr):
Make a ring, sc stitches into it, pull tight to close. - Color Change:
Insert hook as if to sc, yarn over new color and pull through to complete stitch.
The Pattern!
Body
With yellow (or main color):
- Round 1:
Make a magic ring, 6 sc in ring. (6 sts) - Round 2:
Inc in each st around (2 sc in each) – (12 sts) - Round 3:
[sc in 1, inc] repeat around (18 sts) - Round 4:
[sc in 2, inc] repeat around (24 sts) - Round 5:
[sc in 3, inc] repeat around (30 sts) - Round 6:
[sc in 4, inc] repeat around (36 sts)
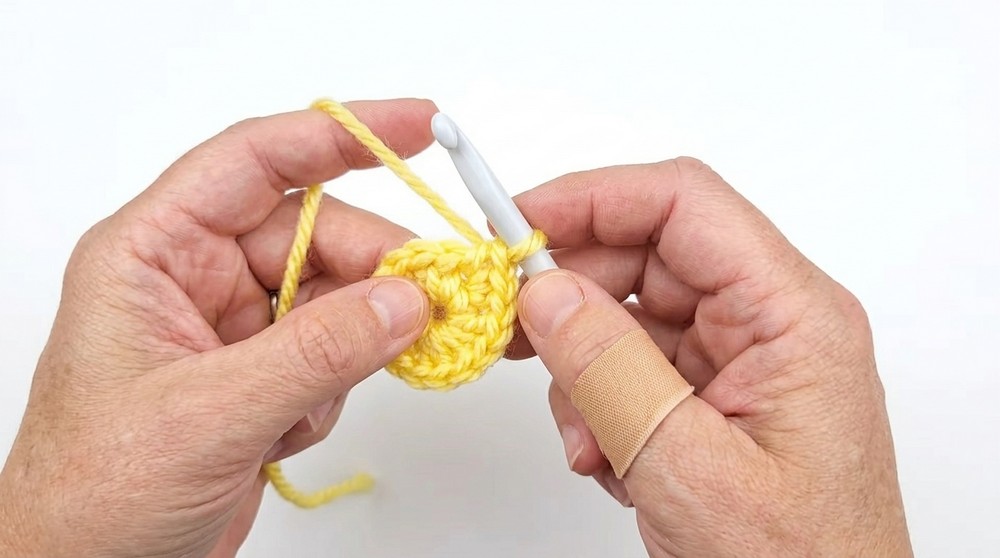
Rounds 7–9 (No Increases):
- sc in each st around (36 sts)
(Make 3 rounds, use stitch marker.)
Switch to black:
- Rounds 10–12:
sc in each st around (36 sts)
(Make 3 rounds.)
Switch to yellow:
- Rounds 13–15:
sc in each st around (36 sts)
Switch to black:
- Rounds 16–18:
sc in each st around (36 sts)
Switch to yellow:
- Rounds 19–21:
sc in each st around (36 sts)
Switch to black:
- Rounds 22–24:
sc in each st around (36 sts)
After this point, you should have a fat, striped bee body.
Explanation of Body Section:
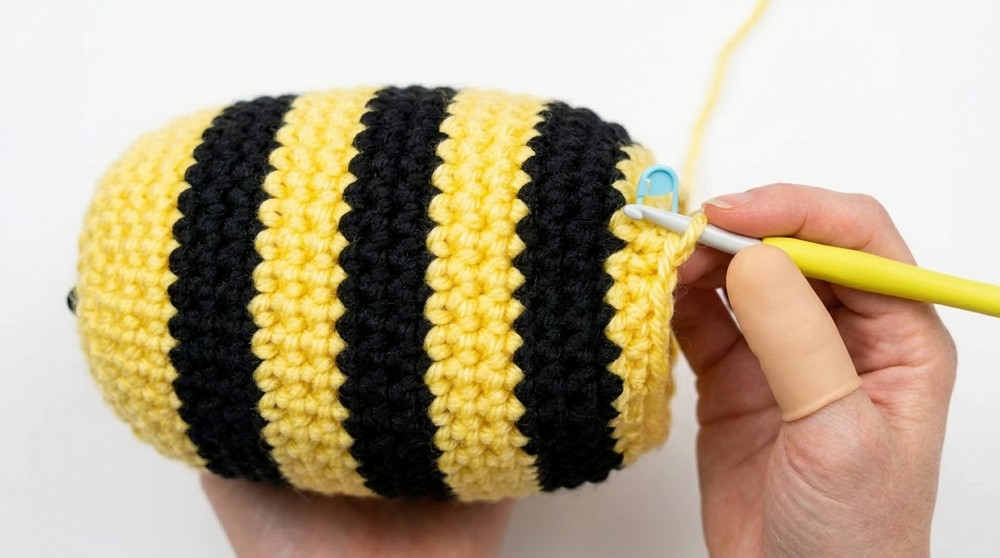
You’re working in single crochet, using increases to make a chubby round body—then switch colors in blocks of three rows to create the bee’s stripes. Use a stitch marker to keep track of rounds, and try to change colors at the start of a new round for cleaner stripes.
Face
- Insert safety eyes (or embroider them) between Rounds 11 and 12, leaving 4–6 stitches between them.
- Embroider mouth with black yarn (simple curve or happy face under the eyes).
- Stitch pink cheeks just below the eyes for a happy look.

Decreasing & Stuffing
Switch to yellow:
- Round 25:
[sc in 4, dec] repeat around (30 sts) - Round 26:
[sc in 3, dec] repeat around (24 sts) - Round 27:
[sc in 2, dec] repeat around (18 sts) - Stuff your bee firmly before the hole gets small.
- Round 28:
[sc in 1, dec] repeat around (12 sts) - Round 29:
dec around (6 sts) - Cut yarn, use yarn needle to thread tail through front loops of the last 6 stitches, pull tightly to close, knot and bury end.
Explanation of Decrease Section:
To close the bee’s body, you reduce stitches in set intervals using invisible decreases for a smooth finish. Add stuffing before it’s too small to reach inside the bee. Use a yarn needle to close up the last hole neatly.
Wings (Make 2)
With ivory/white:
- Round 1:
Make a magic ring, 6 sc in ring. (6 sts) - Round 2:
2 hdc in each st around (12 sts) - Round 3:
(dc in 1, 2 dc in next) repeat around (18 sts) - Fasten off, leave a long tail for sewing.

Explanation of Wing Section:
Wings are made in rounds with half double and double crochets to give a gentle oval. Make two identical wings, fasten off, and leave a long tail for easy sewing to the bee.
Assembly & Finishing
- Attach wings by sewing to the top of bee’s back (over the second black stripe), placing them close together or as you prefer.
- Use long yarn tails to securely sew the wings, making sure they are symmetrical.
- Weave in and hide all yarn tails inside the body.
- Adjust facial features as needed (add or reposition cheeks/mouth).
- Fluff and shape your bee for the best appearance.
Solution to Common Problems
- If your stripes look jagged at the color changes, always switch to new color on the last yarn-over of the previous sc.
- If you find holes at color changes or decreases, use a smaller hook next time.
- If eyes are for a child, always embroider/sew them rather than use safety eyes (choking hazard).
What You Can Make with These Stitches
- Bees in different sizes (try smaller yarn/hook for mini bees)
- Amigurumi ladybugs or other bugs
- Balls or plush toys with similar construction
- Cute striped animals (use other color combos)
- Keychains, mobiles, or ornaments
Conclusion
Congratulations on finishing your chubby, fluffy crochet bumblebee! This project combines basic amigurumi techniques—single crochet rounds, simple increases/decreases, color changes, and basic sewing—for a quick, satisfying result. Personalize your bee’s face, try different color schemes, or adjust the size for fun variations. Great for gifting, decoration, or a playful plush companion!
If you prefer verbal guidance: Work single crochets in a circle, increasing for a sphere, changing colors for stripes, then reduce and stuff. Make two small wings, sew them on top, add a cute face, and you’re done.
Leave a Reply