

Brighten your home with this free crochet teddy bear pattern that provides simple easy steps for a charming and lovable handmade companion.
Looking for a sweet and snuggly project that brings warmth and charm to any space? The Free Crochet Teddy Bear Pattern offers just that—a lovable, handmade companion perfect for gifting, decorating, or keeping close for comfort. Many crocheters enjoy crocheting this teddy bear because it combines nostalgic appeal with a soft, inviting texture that makes every stitch worth it.
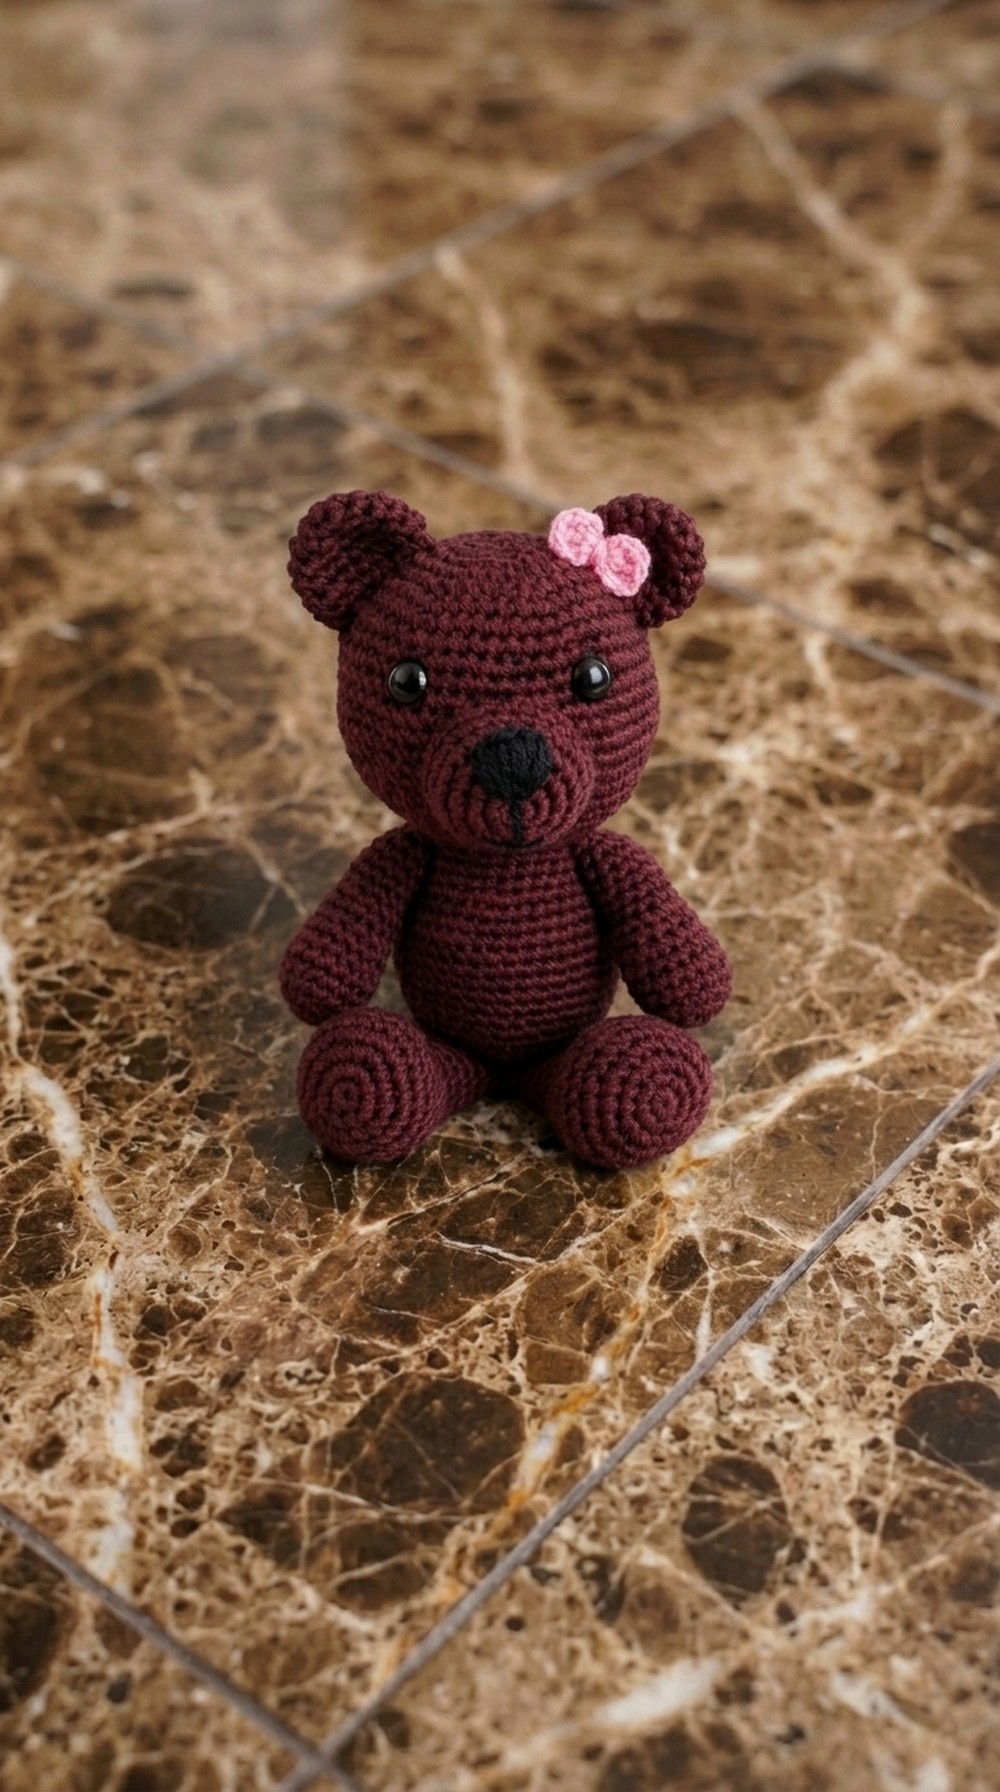
This teddy bear showcases a classic shape with a gently rounded head and a plush, balanced body that feels cozy in your hands. The tight, even stitches create a smooth fabric that holds up well over time, making the bear both durable and cuddly. Carefully shaped limbs and ears complete the design, giving it that timeless teddy bear look everyone adores.
Quick Free Crochet Teddy Bear Pattern Perfect for Beginners

Customization shines with this pattern—you can choose traditional earthy tones like warm browns and creams or go for fun, unexpected colors to match your home or personality. Adding embroidered details such as eyes, nose, and a friendly smile brings life and individuality to each bear, making it truly one of a kind. Suitable for intermediate crocheters, it also welcomes dedicated beginners willing to explore amigurumi techniques and shaping.

While working on this project, you’ll sharpen essential skills like crocheting in the round, increasing and decreasing stitches for shaping, and assembling parts seamlessly. The Free Crochet Teddy Bear Pattern is more than just a cute project—it’s a chance to hone your abilities while creating a heartfelt treasure that’s sure to be loved for years to come.
Adorable Teddy Bear with Easy Free Crochet Pattern
This pattern guides you through the creation of a large, cuddly Teddy Bear. It is a substantial project that requires patience and steady work, but the result is a beautiful, handmade gift or keepsake. You will be using US crochet terminology. This project creates a "big" teddy bear by crocheting body parts separately and then joining them together. This method allows for a detailed, well-structured finish.
This adorable Santa Claus amigurumi is a delightful crochet project perfect for holiday decorations or gifting. The pattern combines basic and slightly advanced techniques to create a charming, festive figure complete with a detailed beard, hat, and classic Santa suit. By following this comprehensive guide, you can confidently craft your own Santa, bringing warmth and cheer to your festive decor.
Skill Level & Terminology
Skill Level: Beginner to Intermediate
Terminology: US crochet terms are used throughout this pattern. Familiarity with basic stitches such as single crochet, increases, decreases, and magic ring (MR) is assumed.
Materials & Tools
- Worsted weight yarn in Red, White, Pink/Skin tone, Black, and Yellow
- Crochet hook size 4.0 mm (G-6) or hook appropriate for your yarn gauge
- Polyester fiberfill for stuffing
- Yarn needle for sewing and weaving in ends
- Safety eyes (approx. 4 mm) or black embroidery thread for eyes
- Stitch markers to track rounds
- Scissors
Gauge
To ensure your Santa turns out the right size and shape, crochet a gauge swatch with your chosen yarn and hook.
- Gauge: Approximately 16 sc and 18 rows = 4 inches (10 cm) in single crochet (sc).
- Adjust hook size as needed to get this gauge or tighter, since tight stitches help prevent stuffing from showing through.
Abbreviations
- ch — chain
- sc — single crochet
- inc — increase (2 sc in one stitch)
- dec / tog — decrease (single crochet two stitches together)
- sl st — slip stitch
- dc — double crochet
- BLO — back loop only
- MR — magic ring/start
Special Stitch Instructions
- Magic Ring (MR): The starting technique for most parts; crochet multiple stitches into an adjustable loop and pull tight to close.
- Puff Stitch Pom-Pom: For the hat’s fluff ball, create a cluster of yarn loops pulled together on a single stitch for a textured, fluffy effect.
Finished Size
Upon completion, your Santa Claus figure will measure approximately 10–12 cm (4–5 inches) tall, perfect for keychains, ornaments, or desktop festive décor.
The Pattern
Arms (Make 2)
-
Magic Ring: 6 sc [01:01].
-
Round 2: 2 sc in each st (12 sts) [01:26].
-
Round 3: 1 sc, 1 inc repeat around (18 sts) [02:12].
-
Rounds 4-6: 18 sc [02:56].
-
Round 7: 4 sc, 1 tog repeat 3 times (15 sts) [03:22].
-
Round 8: 15 sc [04:28].
-
Round 9: 3 sc, 1 tog repeat 3 times (12 sts) [04:48].
-
Rounds 10-16: 12 sc [05:44].
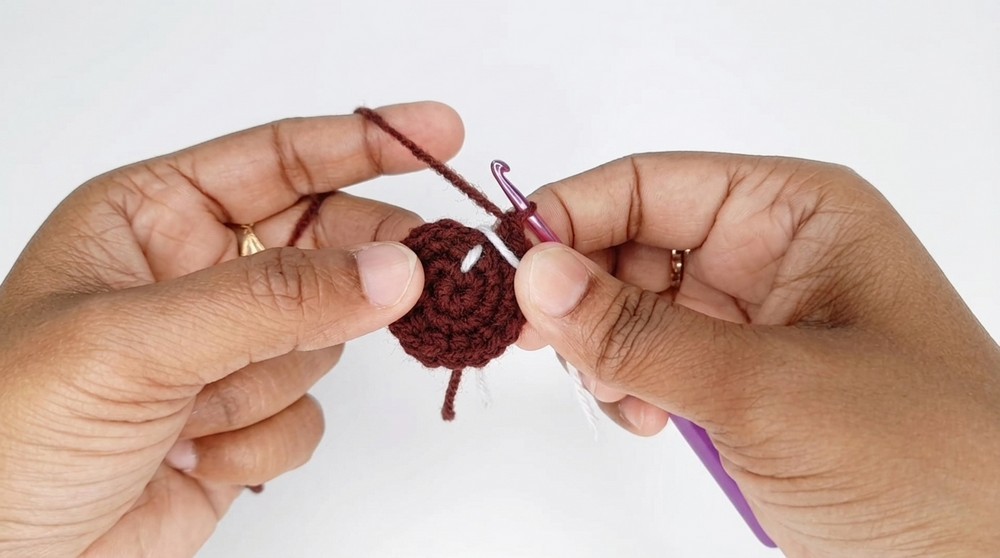
Stuff the arm, flatten the opening, and sew shut with 4 sc across the top.
Legs (Make 2)
-
Magic Ring: 6 sc [07:04].
-
Round 2: 2 sc in each st (12 sts) [07:41].
-
Round 3: 1 sc, 1 inc (18 sts) [08:00].
-
Round 4: 2 sc, 1 inc (24 sts) [08:43].
-
Round 5: 3 sc, 1 inc (30 sts) [09:23].
-
Rounds 6-7: 30 sc [10:09].
-
Round 8: 3 sc, 1 tog (24 sts) [10:23].
-
Round 9: 4 sc, 8 tog, 4 sc (16 sts) [11:19].
-
Rounds 10-16: 16 sc [12:35].
-
Round 17: 2 sc, 1 tog (12 sts) [13:02].
Stuff firmly, flatten, and sew shut with 6 sc across.
Snout
-
Magic Ring: 6 sc [14:52].
-
Round 2: 2 sc in each st (12 sts) [15:19].
-
Round 3: 1 sc, 1 inc (18 sts) [16:03].
-
Round 4: 18 sc [16:58].
-
Round 5: 2 sc, 1 tog (12 sts) [17:26].
Stuff lightly and sew closed with 4 sc across.
Body & Head (Combined)
-
Magic Ring: 6 sc [19:20].
-
Round 2: 12 sc (inc in each st) [19:43].
-
Round 3: 1 sc, 1 inc (18 sts) [20:20].
-
Round 4: 2 sc, 1 inc (24 sts) [20:49].
-
Round 5: 3 sc, 1 inc (30 sts) [21:23].
-
Round 6: 4 sc, 1 inc (36 sts) [21:56].
-
Round 7: 5 sc, 1 inc (42 sts) [22:26].
-
Round 8: 42 sc [23:03].
-
Round 9: 6 sc, 1 inc (48 sts) [23:22].
-
Round 10: 48 sc [24:03].
-
Round 11: 7 sc, 1 inc (54 sts) [24:25].
-
Rounds 12-19: 54 sc [25:07].
-
Round 20: 7 sc, 1 tog (48 sts) [25:31].
-
Round 21: 6 sc, 1 tog (42 sts) [26:53].
-
Round 22: 5 sc, 1 tog (36 sts) [27:35].
-
Round 23: 4 sc, 1 tog (30 sts) [28:17].
-
Round 24: 3 sc, 1 tog (24 sts) [28:58].
-
Round 25: Attach arms—4 sc (arm), 8 sc, 4 sc (arm), 8 sc (24 sts) [30:01].
-
Round 26: 3 sc, 1 inc (30 sts) [32:42].
-
Round 27: 30 sc [33:39].
-
Round 28: 4 sc, 1 inc (36 sts) [33:56].
-
Round 29: 5 sc, 1 inc (42 sts) [34:49].
-
Rounds 30-39: 42 sc [35:29].
-
Round 40: Attach legs—4 sc (leg), 38 sc (42 sts) [38:14].
-
Round 41: 5 sc, 1 tog (36 sts) [39:24].
-
Round 42: 4 sc, 1 tog (30 sts) [40:26].
-
Round 43: 3 sc, 1 tog (24 sts) [41:06].
-
Round 44: 24 sc (joining legs properly) [41:47].
-
Round 45: 2 sc, 1 tog (18 sts) [44:01].
-
Round 46: 1 sc, 1 tog (12 sts) [44:41].
-
Round 47: 6 tog (6 sts) [45:24].
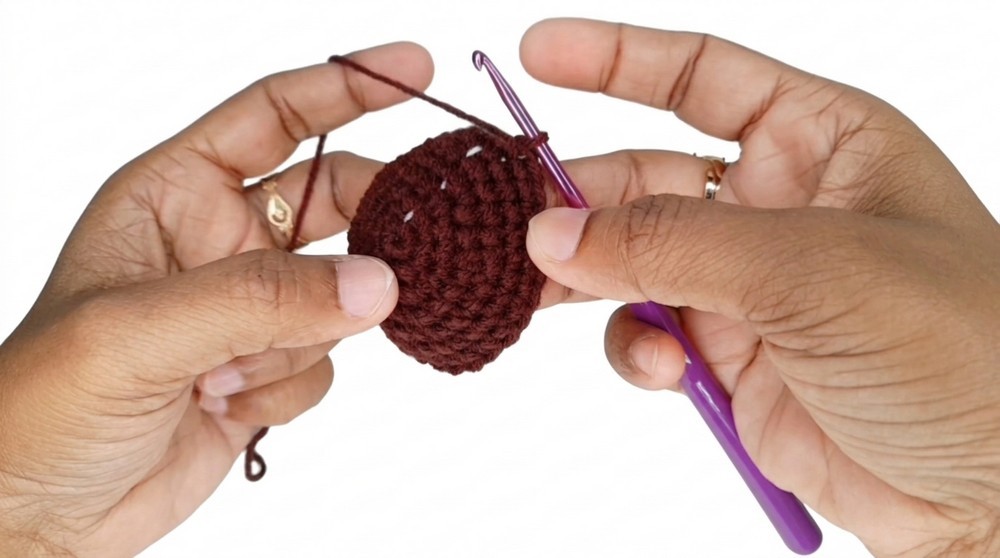
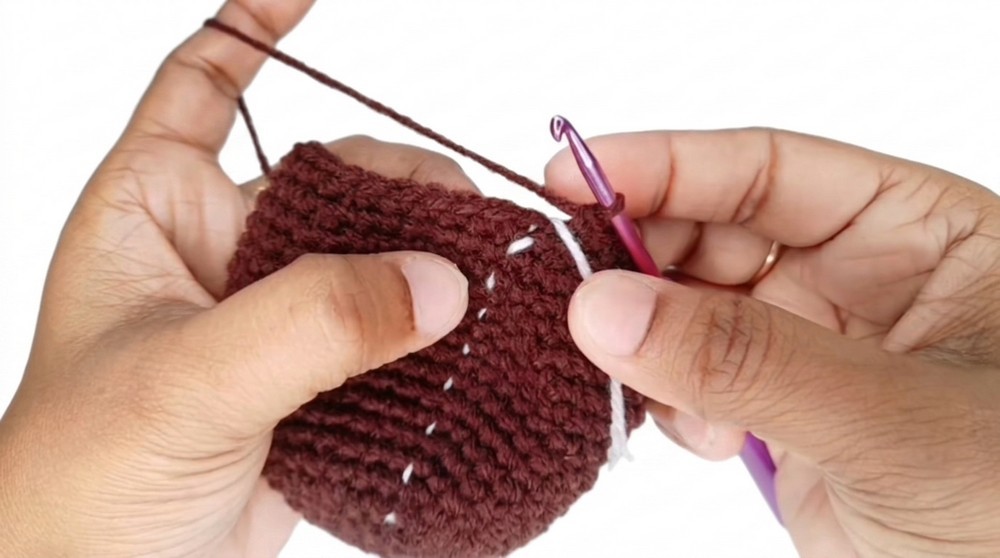
Fasten off and sew the opening closed.
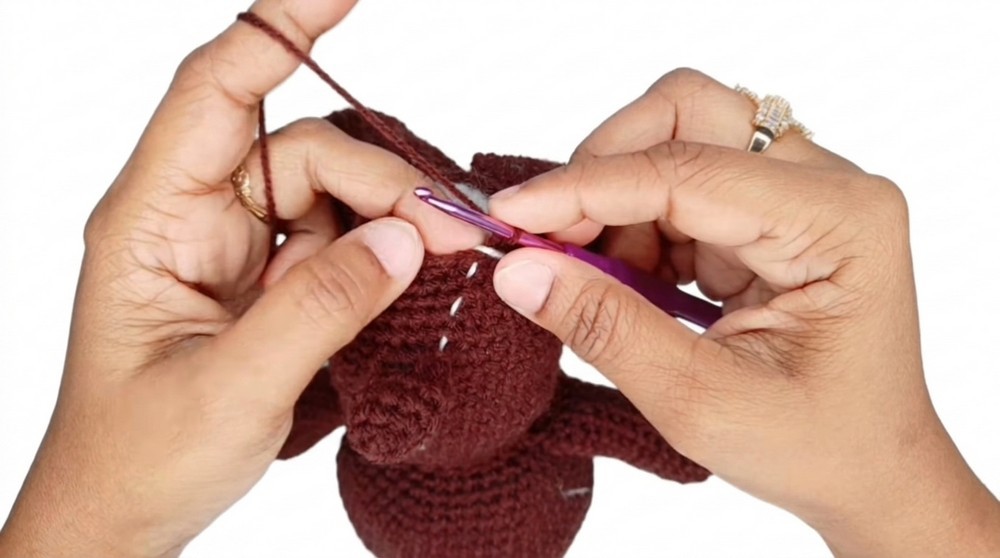
Ears (Make 2)
-
Magic Ring: 6 sc [47:06].
-
Round 2: 2 sc in each st (12 sts) [47:32].
-
Round 3: 1 sc, 1 inc (18 sts) [47:50].
-
Rounds 4-6: 18 sc [48:18].
-
Flatten and sew shut with tog stitches [48:44].
Assembly & Finishing
-
Eyes: Place eyes between Rows 10 and 12 of the head section (if working top-down, adjust to your preference) [36:09].
-
Snout: Sew the snout onto the center of the face [52:39].
-
Nose: Use black yarn to create the nose detail above the snout [53:18].
-
Ears: Attach ears symmetrically to the top of the head [54:44].
-
Details: Add a small decorative bow to one ear [55:34].
Summary
This pattern primarily uses single crochet (sc) for shaping and forming body parts, combined with increases (inc) and decreases (dec/tog) to sculpt. Accent stitches like double crochet (dc) and puff stitch add texture to the beard and hat pom-pom respectively. You will start all major parts with a magic ring (MR) and work in continuous rounds to build up each section.
Leave a Reply