

Create your own adorable crochet mini dinosaur with this easy-to-follow pattern featuring step-by-step instructions for beginners and experts.
Having a cute mini dinosaur at your fingertips is always a delight. This little crochet project works up quickly and is a hit with kids and adults alike. Finished dinosaurs are about palm-sized, making them easy to tuck into a pocket, decorate a shelf, or share as small gifts.
The most eye-catching part is the dinosaur’s chubby shape and oversized head, which give it a sweetheart look. Stubby legs and a small, curvy tail add to the friendly vibe, while a row of soft spikes along the back creates a playful touch. Many makers choose bright colors green, blue, or cheerful pinks to add personality and fun. Each dinosaur can look unique based on yarn color and finishing touches like big safety eyes or gentle stitched smiles.
Cute Free Crochet Dinosaur Pattern
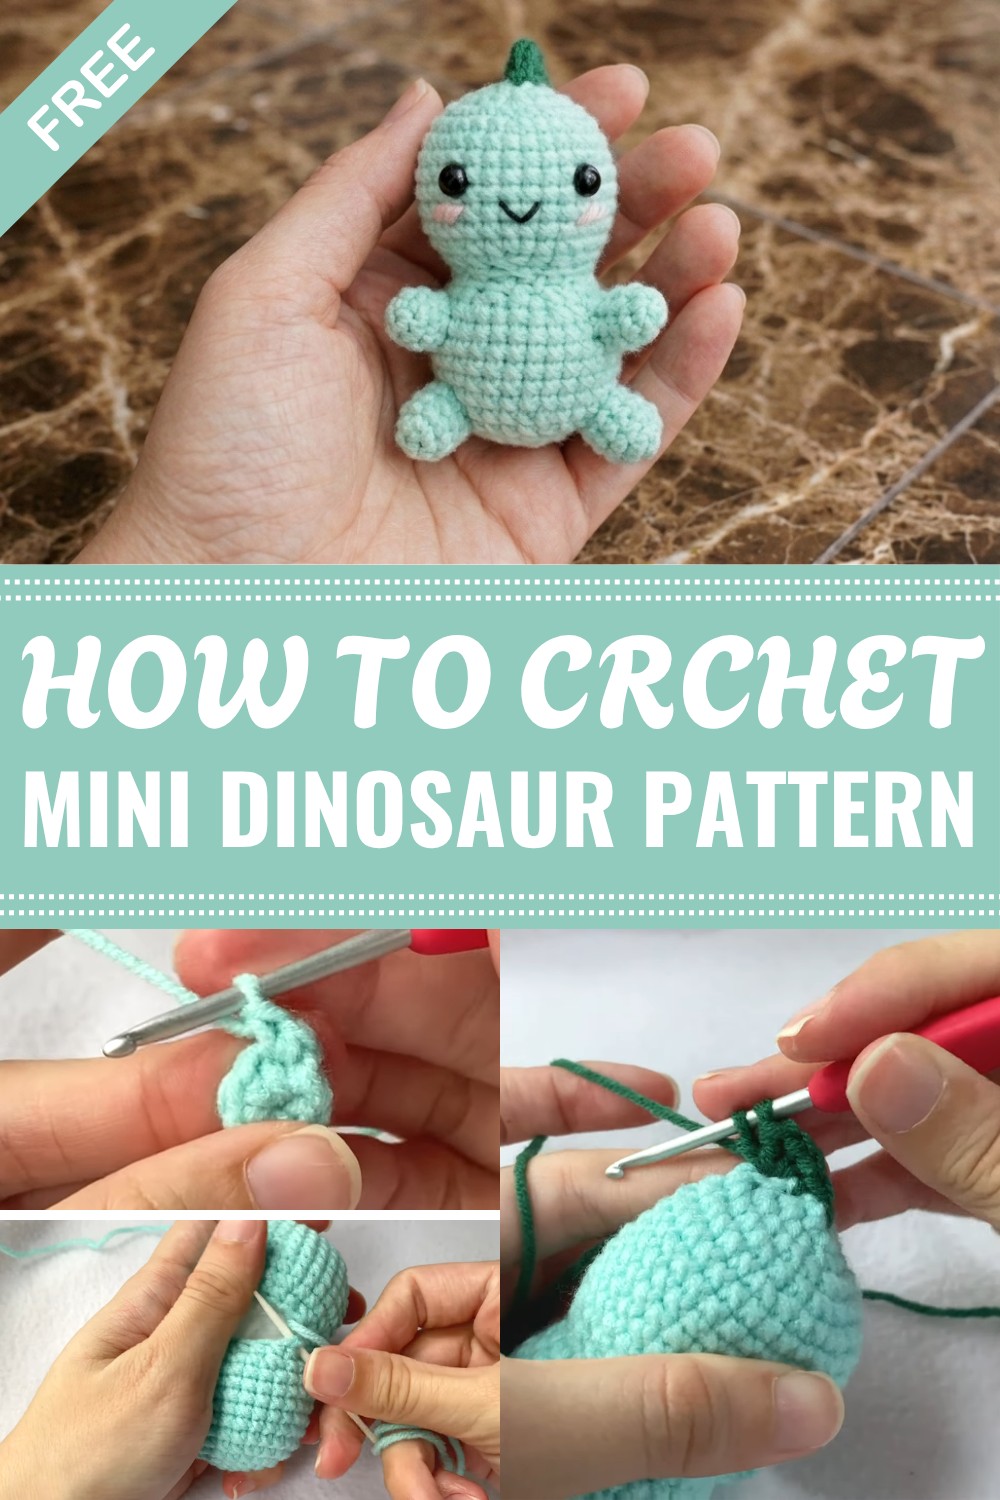
When you hold the finished piece, it feels soft and bouncy thanks to the tight, neat stitches and plush yarn. The texture not only feels nice but stands up well to lots of handling, which is great for something that might end up as a key ring or small toy. Some people even dress theirs up with tiny scarves or hats, giving them extra charm.
These mini dinosaurs fit right in as pocket friends, desk companions, or thoughtful little surprises for friends and family. Handing out a bunch at a party or including one in a care package spreads a bit of happiness. Each one has a friendly, round look and a cheerful presence that’s hard to resist.
With just a small amount of yarn and a little time, these mini dinosaurs quickly become favorites for anyone who likes adorable and simple projects.
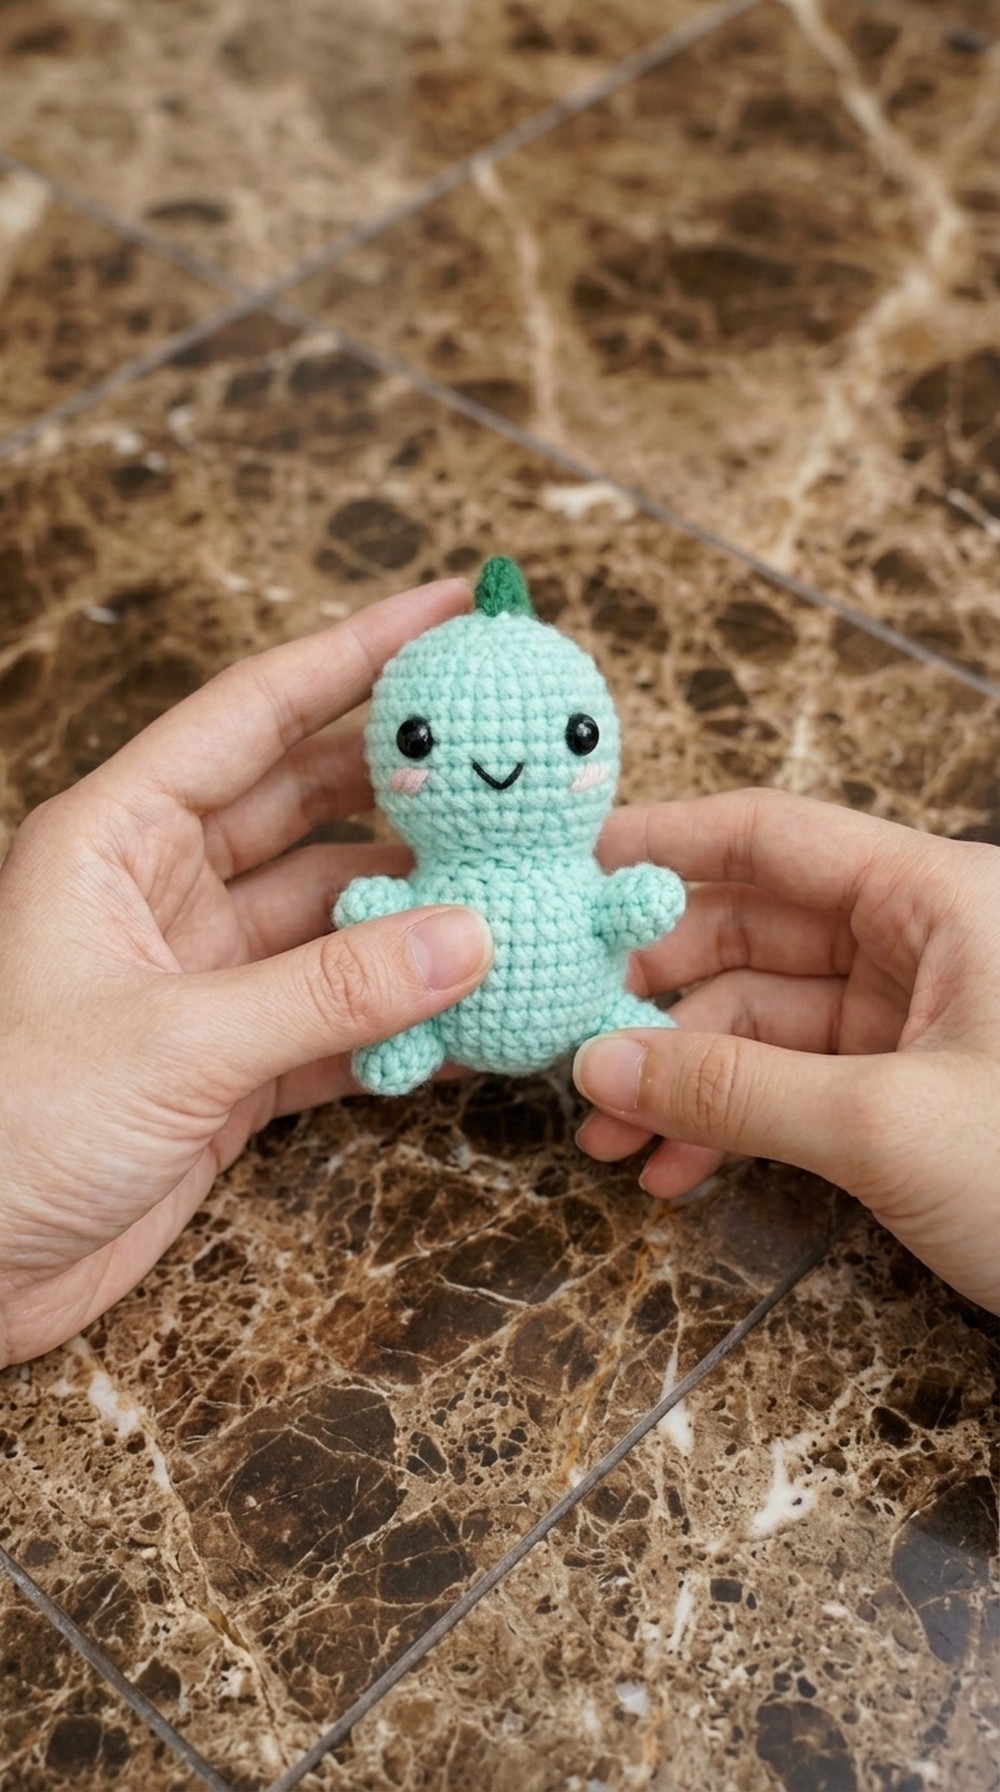
Cute Little Dinosaur Crochet Pattern
Pattern Notes
This easy amigurumi dinosaur uses simple stitches and basic shapes. The body is worked from two halves using the magic ring technique, with simple increases and decreases to shape the parts. Each segment, arms, legs, tail, spines, and face—is created separately and stitched together for a cuddly, happy dinosaur.
Skill Level
Beginner
You’ll use single crochet in the round, slip stitch, magic ring, increase (2 sc in one stitch), decrease (single crochet 2 together), double crochet, as well as basic sewing for assembly and embroidery for details.
Finished Size
About 8–10 cm (3–4 inches) tall when completed, based on yarn and hook size.
Materials
- 4 ply milk cotton yarn:
- Light green (body/head, limbs, and tail)
- Dark green (spines)
- Black (eyes)
- Pink (blush)
- 3.0 mm crochet hook
- Stuffing/cotton fiber
- Yarn needle
- Scissors
Measurements / Sizing
Final dinosaur measures palm size—approximately 8–10 cm tall, 4–5 cm wide.
Gauge
No strict gauge required for amigurumi. Your stitches should be tight so the stuffing doesn’t show through. If the piece appears too loose, use a smaller hook.
Stitch Abbreviations
- mr – Magic ring
- sc – Single crochet
- inc – Increase (2 sc in same stitch)
- dec – Decrease (sc2tog—crochet 2 together)
- sl st – Slip stitch
- ch – Chain
- dc – Double crochet
- st(s) – Stitch(es)
Special Stitches
Magic Ring (mr):
Wrap yarn into a loop. Insert hook, yarn over, pull up a loop, and work crochet stitches into ring. Draw the starting tail to close tightly.
Invisible Decrease (dec):
Insert hook through front loops of next two stitches, yarn over, pull through two loops, yarn over, pull through both loops.
Double Crochet (dc):
Yarn over, insert hook into stitch, yarn over, pull up a loop (3 loops on hook), yarn over, pull through 2 loops, yarn over, pull through remaining 2 loops.
The Pattern
Part 1:
Head & Body (Make 2 identical pieces)
- Rnd 1: mr, 6 sc (6)
- Begin with a magic ring and work six single crochets into the center. Pull tight.
- Rnd 2: sl st, ch 1, 2 sc in each st (12)
- In the second round, work two single crochets into each stitch from previous round. You’ll have twelve stitches.
- Rnd 3: sl st, ch 1, (sc, inc) x6 (18)
- Alternate one single crochet and one increase to the end. You should now have eighteen stitches.
- Rnd 4: sl st, ch 1, (sc, inc, sc) x6 (24)
- This round is made of (single crochet, increase, single crochet), repeated six times for twenty-four stitches.
- Rnd 5: sl st, ch 1, (3 sc, inc) x6 (30)
- Three singles, one increase, repeated for a total of thirty stitches.
- Rnds 6–11: sl st, ch 1, sc in each st (30 per round, 6 rounds)
- For these six rounds, work one single crochet in each stitch, maintaining your stitch count.
- Rnd 12: (3 sc, dec) x6 (24)
- Three singles, followed by a decrease, repeated six times for twenty-four stitches.
- Rnd 13: (sc, dec, sc) x6 (18)
- Single crochet, decrease, single crochet; repeat six times around.
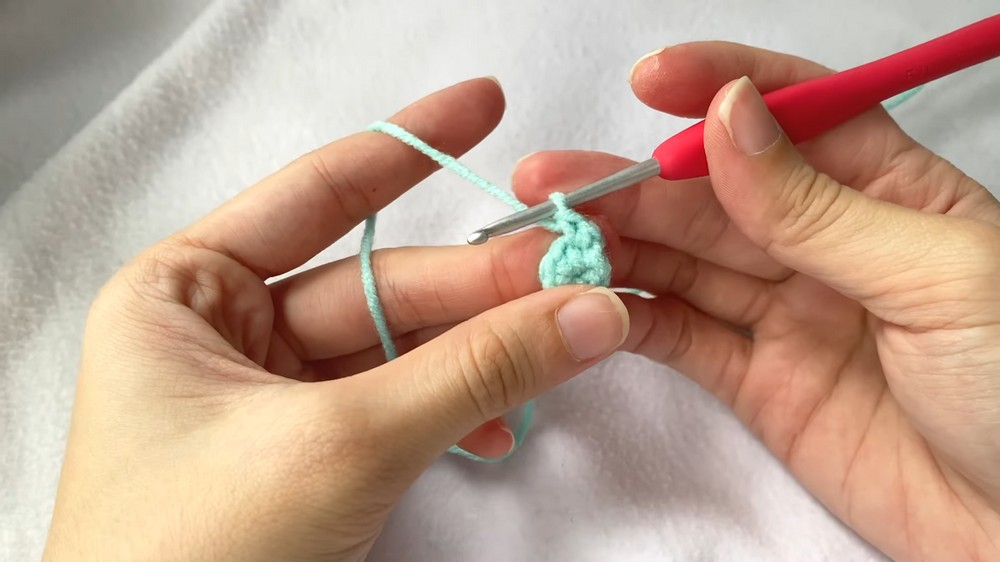
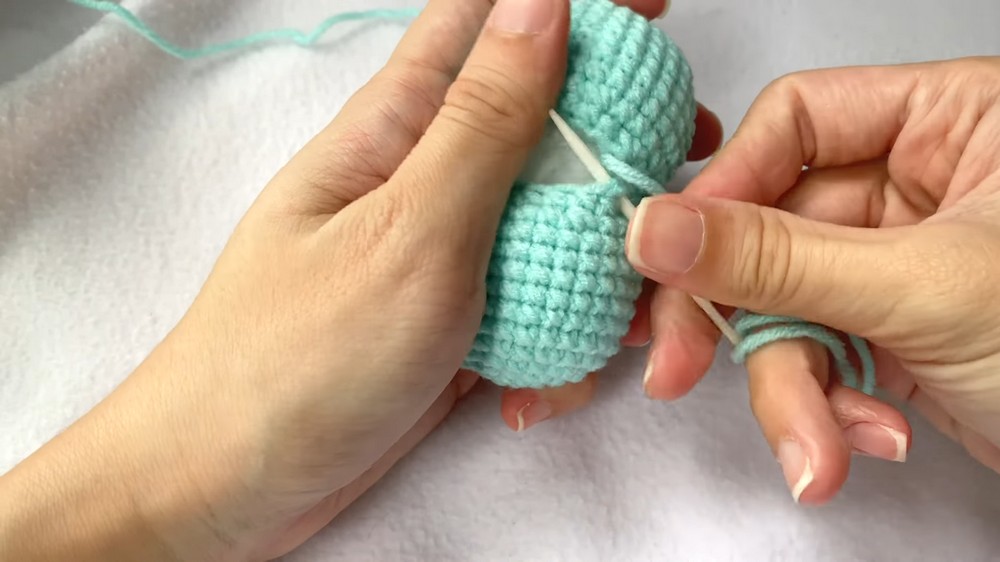
You should now have two half-spherical pieces. These will become the head and body, giving the dinosaur its round and cuddly shape.
Summary:
You’ll crochet two round pieces following a magic ring, increasing for a flat circle, then six straight rounds. Finally, decrease to gently slope the edge. These are your body and head halves.
Part 2:
Arms and Legs (Make 4)
- Rnd 1: mr, 5 sc (5)
- Start with a magic ring and five single crochets.
- Rnd 2: sl st, ch 1, (2 sc, inc) x2, sc (7)
- Two singles, one increase, repeat once, then single crochet; now you have seven stitches.
- Rnds 3–4: sc in each st (7 per round, two rounds)
- Simply single crochet around for two rounds for length.
- Finish: sl st, cut yarn, leaving a tail for sewing.
Repeat to make a total of four pieces (two arms, two legs).
Summary:
Each limb is a tiny cylinder started with a magic ring and increased on the second round. Two rounds of single crochet add the length needed.
Part 3:
Tail
- Rnd 1: mr, 5 sc (5)
- Begin with five single crochets in a magic ring.
- Rnd 2: sl st, ch 1, (2 sc, inc) x2, sc (7)
- As with the limbs, increase to seven stitches.
- Rnd 3: (sc, inc) x3, sc (10)
- Alternate single and increase three times, finish with a single crochet; ten stitches at the end.
- Rnd 4–6: sc in each st (10 per round, three rounds)
- Crochet evenly for three rounds for tail length.
- Finish: sl st, cut yarn, leaving tail for sewing.
Your tail should look like a small, slightly pointy tube, wider than arms or legs.
Summary:
The tail starts much like an arm or leg, but includes an extra increase round and is a little longer. It helps the dinosaur sit nicely.
Part 4:
Assembly & Finishing
- Stuff both body/head pieces with cotton until firm and round.
- Sew the two halves together around the edge with small whipstitches. Add extra stuffing if needed before closing fully.
- Attach arms: Sew each arm to the side of the body, about four rows down from the top.
- Attach legs: Sew the legs to the bottom front of the body, spaced evenly under the arms.
- Attach tail: Sew the tail at the center back, opposite the tummy.
Summary:
Once all your parts are made, fill the head and body with stuffing, then sew the sides together into a ball. Attach the arms, legs, and tail at their reference points so they’re symmetrical.
Spines (with dark green yarn)
- Attach dark green yarn at head center.
- Chain 1, make 1 sc into the starting stitch (hide the tail).
- In the next stitch: work 5 dc (all in the same stitch).
- Next stitch: 1 sc. Next stitch: sl st.
- Repeat: [5 dc in one st, 1 sc in next, sl st in next] all down the middle of the back, ending at the tip of the tail.
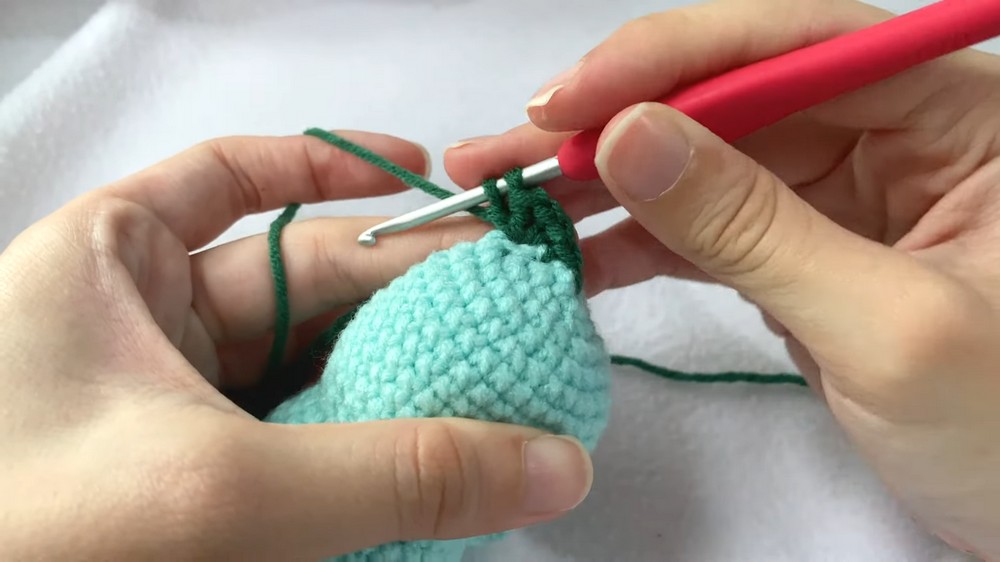
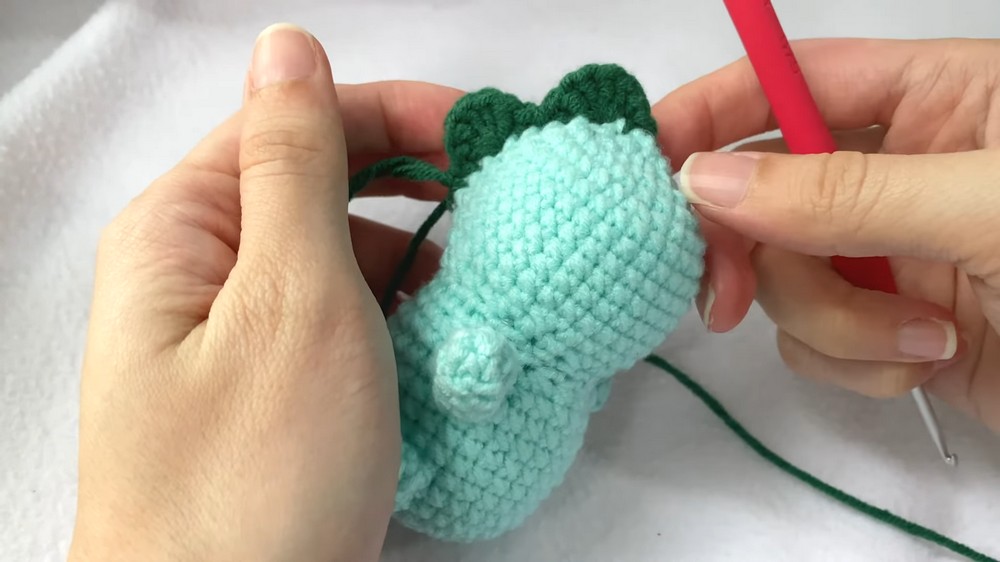
Summary:
The spines are made using clusters of five double crochets in one stitch, separated by a single crochet and slip stitch for each spike. These give the dinosaur its cute, bumpy back.
Face Embroidery
- Use black yarn or embroidery thread.
- Count about eight rows from the top; insert the needle about six stitches left from center for the first eye.
- Make a cross-stitch (X) by going from lower left to upper right, and lower right to upper left, filling the area.
- Move the needle to the right and repeat about ten stitches apart for the second eye.
- For cheeks, with pink yarn, add three diagonal stitches under each eye for blush.
- Pull thread ends inside and trim.
Summary:
Use black yarn to stitch “X” shapes for eyes, and add a touch of pink below each for blush. Adjust their spacing to make your dinosaur friendly and cute.
Finished Size
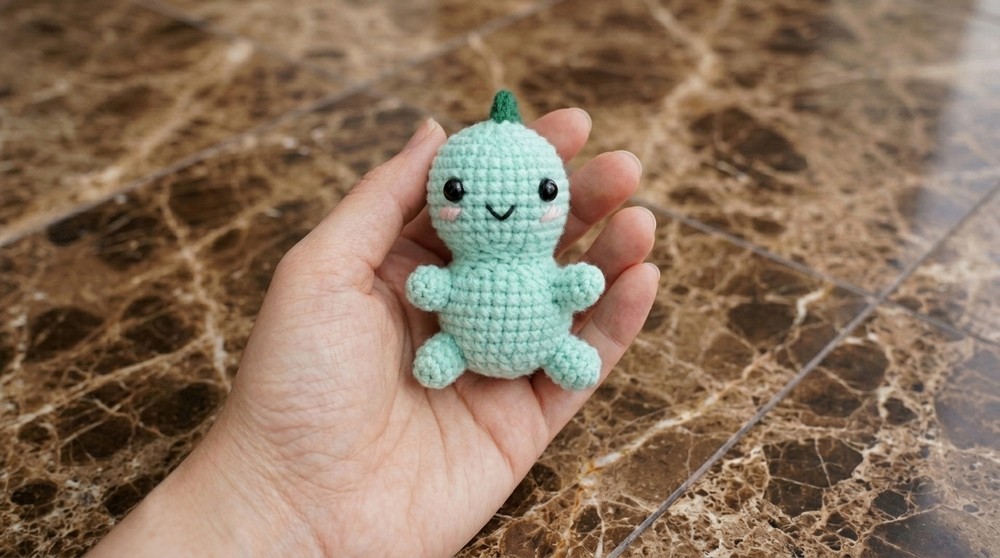
The completed dinosaur will measure around 8–10 cm (3–4 inches) tall and 4–5 cm wide, perfect to fit in the palm of your hand.
Conclusion
Congratulations! You have crocheted a sweet, little dinosaur by creating two half spheres and a handful of simple parts, then assembling them and adding finishing details. This pattern is made with easy stitches and clear steps, so even beginners can enjoy success. Have fun displaying, gifting, or customizing your dinosaur with more colors and creative touches.
Leave a Reply