

Create a fearful free Crochet Poison Apple Pattern for Halloween decorations this handmade gifts adding a unique touch to your projects.
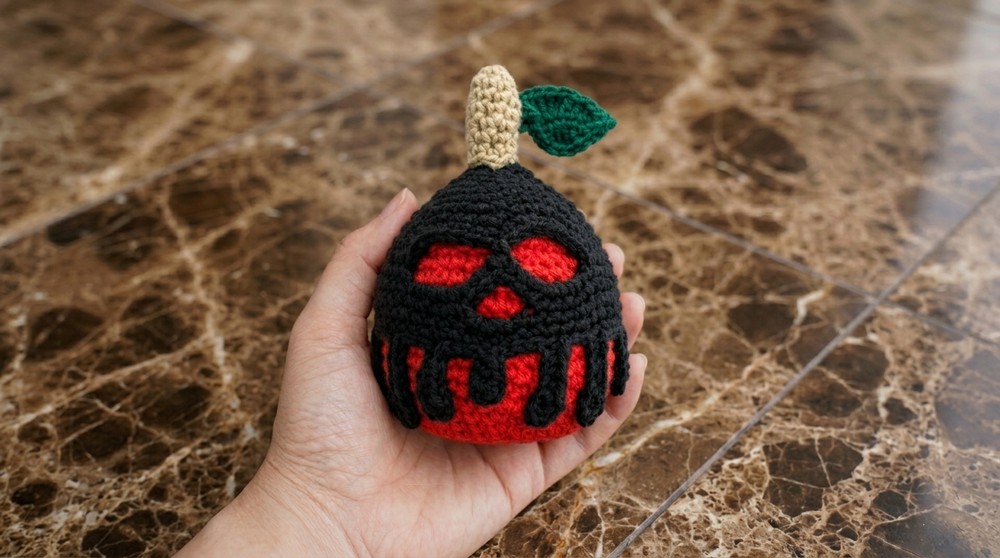
Ready for a spooky and cute project perfect for autumn? Today, I want to share my thoughts on the Poison Apple amigurumi pattern—a fun and eye-catching make that’s great for Halloween decorating! This design is a twist on the classic amigurumi apple, featuring the unmistakable “dripping poison skull” look right over a bright red apple.
What really makes the Poison Apple stand out is its two-layered design. You start with a simple crochet apple base (usually in classic red), and then add a sinister skull overlay in a contrasting color—black, green, even purple if you like mixing things up! The “drip” effect around the apple is a show-stopper. Each poison drop is shaped with different stitch heights, so your amigurumi looks oozy and realistic.
Crochet Poison Apple Pattern for Spooky Fun
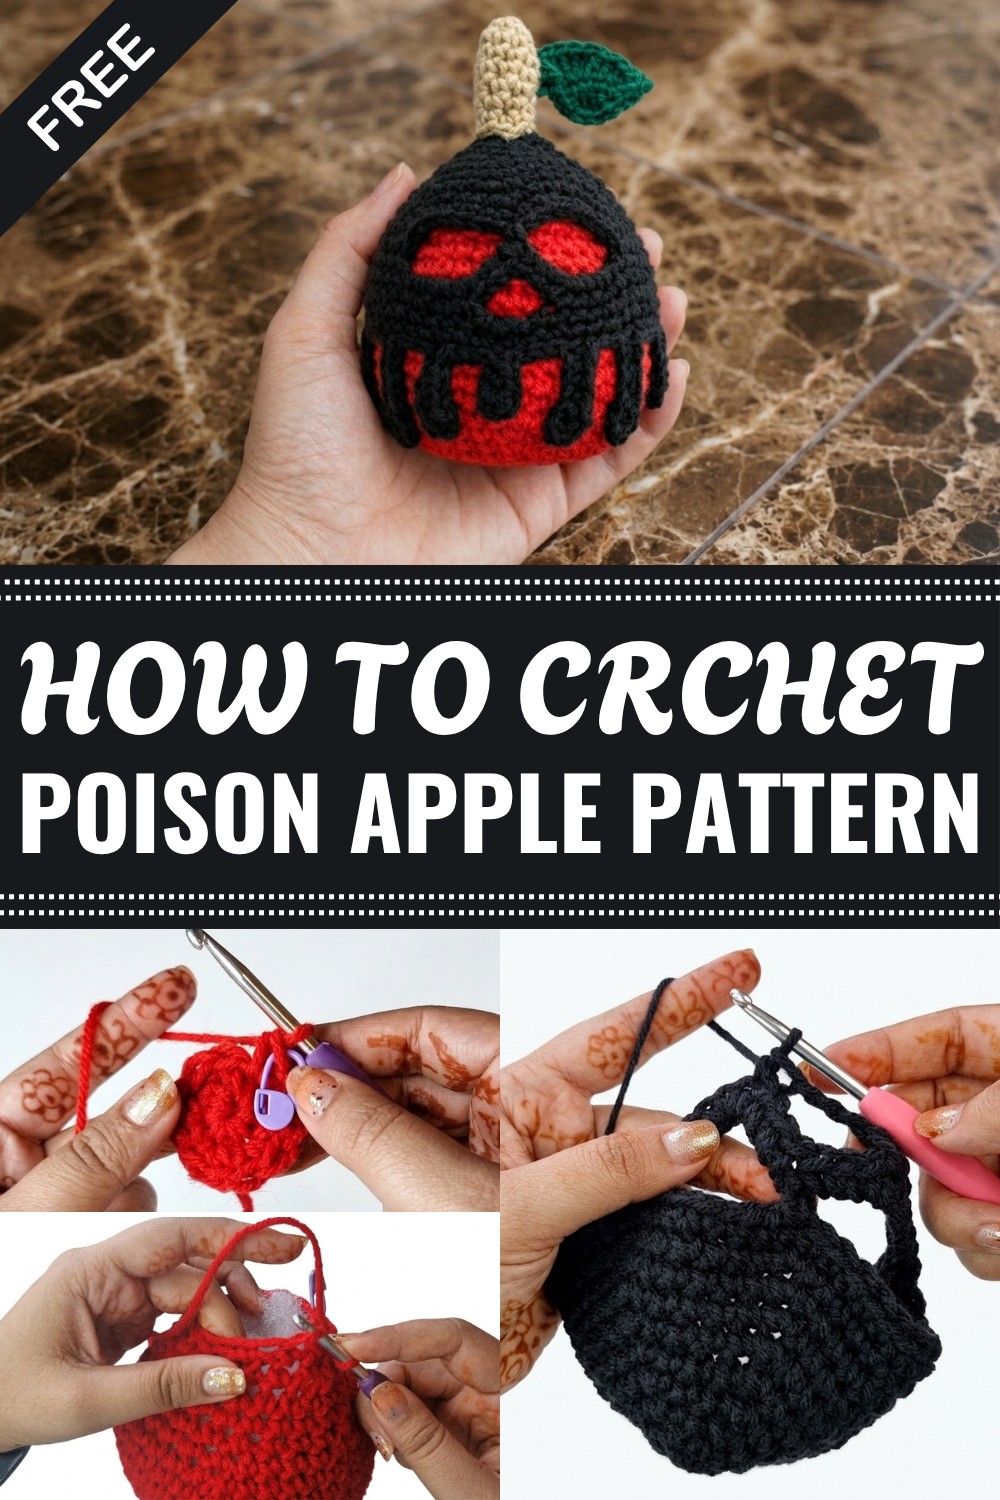
The texture is soft and plush, thanks to medium-weight yarn and toy stuffing. The apple is rounded with just the right amount of firmness, and I love how the poison layer sits perfectly on top, like a spooky mask. Little details like the mini brown stem and green leaf add character and really finish off the piece.
While it looks impressive, this pattern is very beginner-friendly. It’s made mostly with single crochets, and there are plenty of chances to practice increases, decreases, and working in the round. The “drips” pattern is forgiving, too—you can make them short or long for your own custom effect!
This Poison Apple is perfect as a Halloween centerpiece, a unique party favor, or just a fun gift for friends who love fairy tales and mysteries. Plus, it’s sturdy enough to use in pretend play! If you’re searching for a project that’s equal parts cute and creepy, give this pattern a try—you’ll want to make a whole basketful.
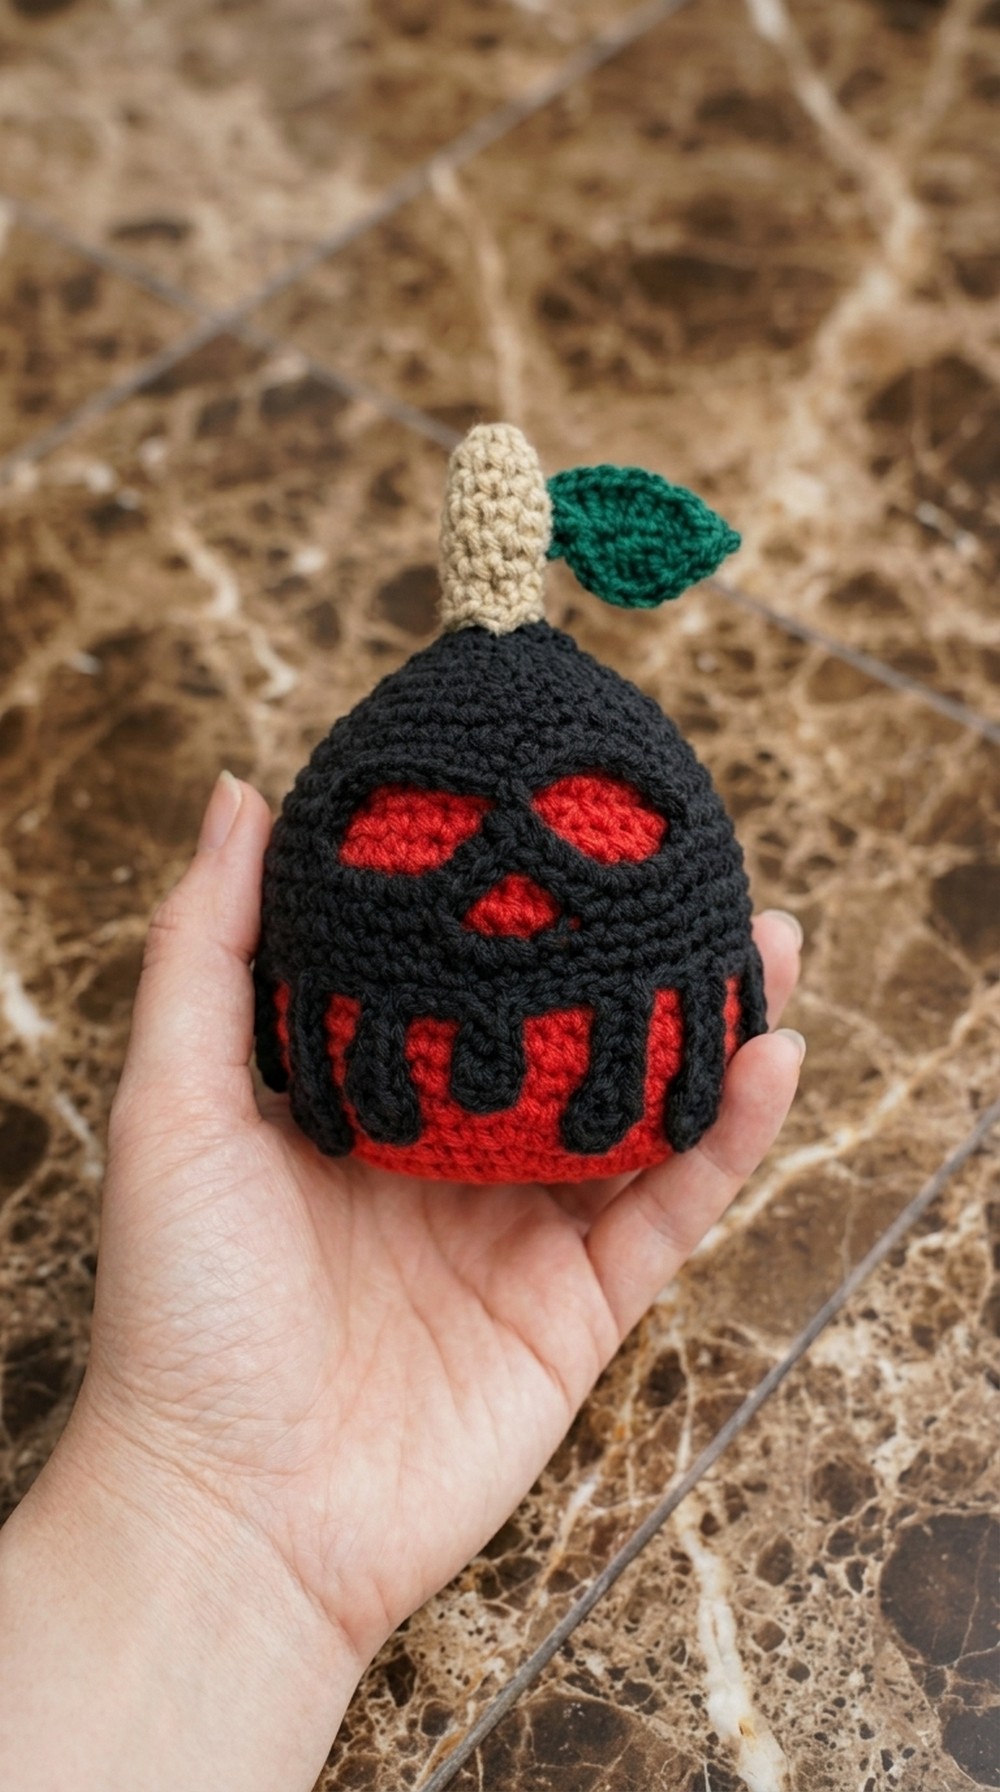
Poison Apple Amigurumi Crochet Pattern
Bring a spooky and playful touch to your Halloween decor with this easy and eye-catching Poison Apple amigurumi! The finished apple makes a wonderful decoration or unique gift and can be customized with different "poison" colors. Follow along for a pattern that’s clear for both skilled crocheters and beginners.
Before You Start
- Know how to make a magic ring, single crochet (sc), half double crochet (hdc), double crochet (dc), and treble/triple crochet (tr).
- Be comfortable working in the round with continuous spirals.
- Prepare different yarn colors for the apple body, poison drip, stalk, and leaf.
- Have stitch markers ready for keeping count in the round.
Pattern Notes
- The apple body and the poison skull use similar amigurumi techniques with basic increases and decreases.
- The poison "drip" is created using chains and various stitches to make pointed, variable-length drips.
- The pattern includes optional assembly techniques (sewing or gluing).
- Finishing with the leaf and stalk adds a realistic touch.
- You can make the pattern larger or smaller by changing yarn/hook size.
How I Made the Crochet Pattern
- Began with the apple body, working continuous rounds with gradual increase and decrease.
- Created the separate poison skull piece with skipped stitches and chains for the eyes and nose, plus customized drips around the edge.
- Made a cylindrical stalk using single crochet.
- Designed a textured leaf with a central seam.
- Carefully assembled each part, aligning poison skull and leaf before final attachment.
Skill Level
Adventurous Beginner to Intermediate:
Requires knowledge of basic amigurumi shaping, working in the round, and basic color changes.
Finished Size
- Height: approx. 3.5" (9 cm) with stalk
- Diameter: about 2.5–3" (6.5–7.5 cm)
- Leaf: about 1.5" (4 cm) long
Materials
- Medium (worsted) weight yarn in red (apple), black/green/purple (poison), brown (stalk), green (leaf)
- 5.0 mm crochet hook
- Yarn needle
- Polyfill stuffing
- Stitch marker
- Scissors
Measurements / Sizing
- The apple is palm-sized but can be made larger/smaller by adjusting yarn/hook.
- Poison skull is sized to fully cover the top and partially drape over the apple.
Gauge
- Gauge is not critical for amigurumi, but stitches should be tight enough to keep stuffing inside.
- Sample gauge: 6 sc x 6 rows = 1" (2.5 cm) square (optional)
Stitch Abbreviations
| Abbr | Meaning |
|---|---|
| mr | Magic ring |
| sc | Single crochet |
| hdc | Half double crochet |
| dc | Double crochet |
| tr | Treble/triple crochet |
| inc | Increase (2 sc in st) |
| dec | Decrease |
| sl st | Slip stitch |
| ch | Chain |
| st | Stitch |
Special Stitches
- Invisible decrease: Work sc decrease in the front loops only for a neater appearance.
- Magic ring: Used to start all round pieces for a closed center.
- Stitch marker: Place in the last stitch of each round as a reference point.
The Pattern
APPLE BODY (Red)
- Start with red yarn. Create a mr and work 6 sc into ring (6).
- Inc in each st around (12).
- (Sc in next st, inc) x6 (18).
- (Sc in next 2 sts, inc) x6 (24).
- (Sc in next 3 sts, inc) x6 (30).
- (Sc in next 4 sts, inc) x6 (36).
- (Sc in next 5 sts, inc) x6 (42).
- Sc in each st around for 9 rounds (42 each round).
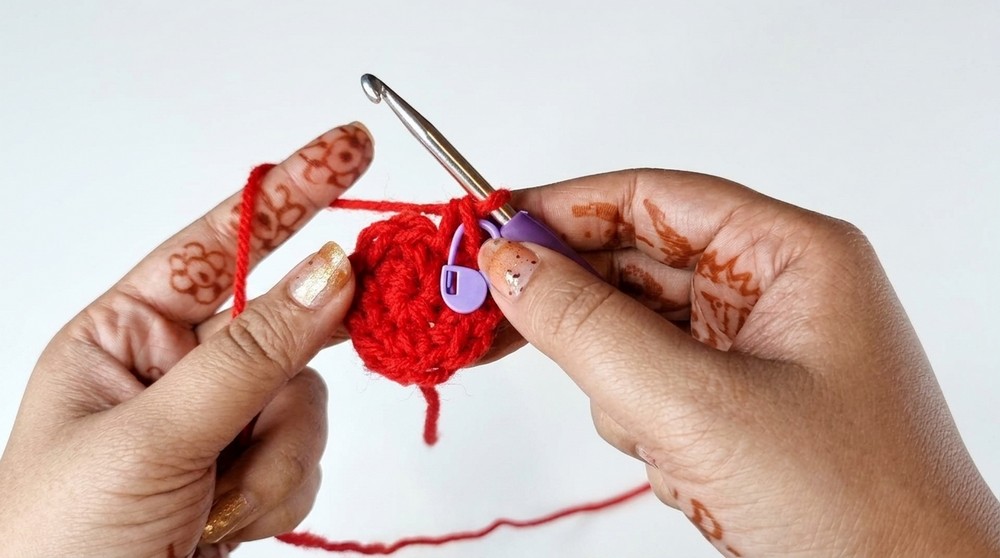
Explanation:
Begin tightly with a magic ring, increasing every round. Straight sides are created with plain single crochet rows. Use a stitch marker to keep rounds even.
SHAPING & DECREASING
- (Sc in next 5 sts, dec) x6 (36).
- (Sc in next 4 sts, dec) x6 (30).
- (Sc in next 3 sts, dec) x6 (24).
- Sc in each st around for 2 rounds (24 each round).
- Stuff the apple firmly at this point.
- (Sc in next 2 sts, dec) x6 (18).
- (Sc in next st, dec) x6 (12).
- Dec x6 (6).
Fasten off, draw tail through last 6 sts, pull tight, weave in end.
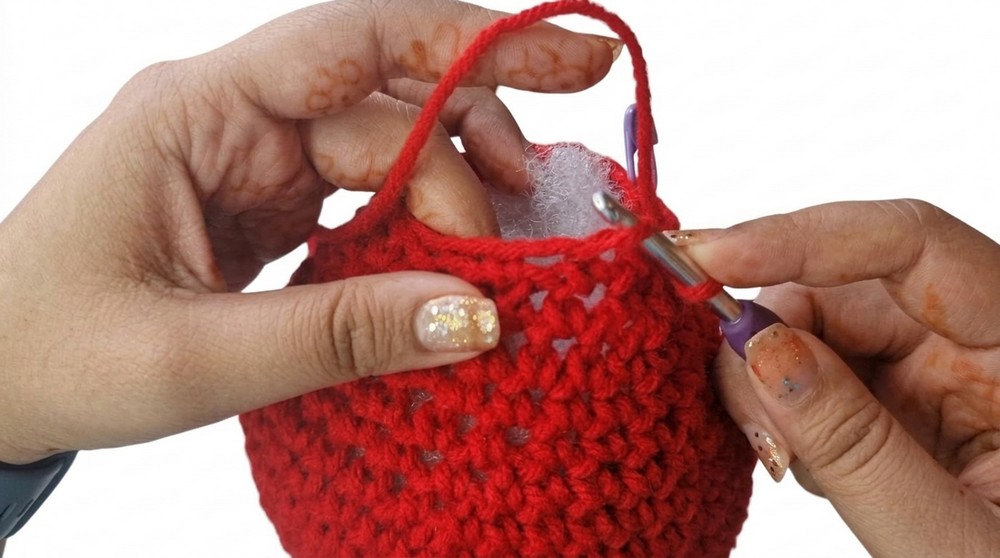
Explanation:
Decrease gradually to shape the bottom. Begin stuffing before the opening gets too small!
POISON SKULL (Black or Contrasting Color)
- Start with contrasting yarn. Make a mr, 6 sc into ring (6).
- Inc around (12).
- (Sc, inc) x6 (18).
- (Sc x2, inc) x6 (24).
- (Sc x3, inc) x6 (30).
- (Sc x4, inc) x6 (36).
- (Sc x5, inc) x6 (42).
- (Sc x6, inc) x6 (48).
- (Sc x7, inc) x6 (54).
- Sc in each st around (54).
SKULL FEATURES
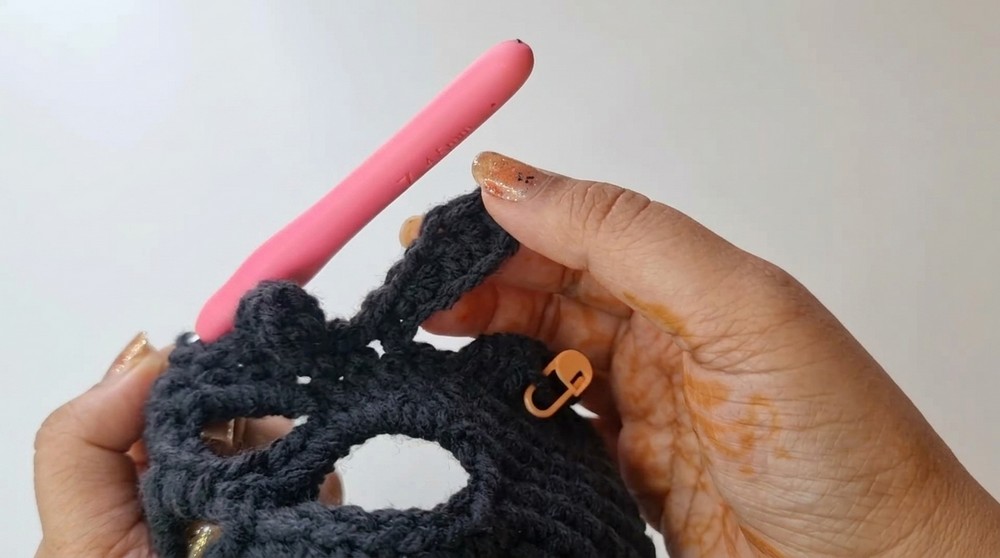
- Ch 8, skip 8 sts, sc in next st (creates eye hole). Repeat for second eye.
- Sc in remaining 36 sts around (should have 2 eye holes and remaining stitches).
In the next round:
- 8 sc into each chain-8 eye hole.
- Sc as usual in other stitches around.
Nose (Triangle)
- After sc around, ch 3, skip 6 sts, sc in next st (forming a triangle nose hole).
- Continue sc around.
For realistic drip:
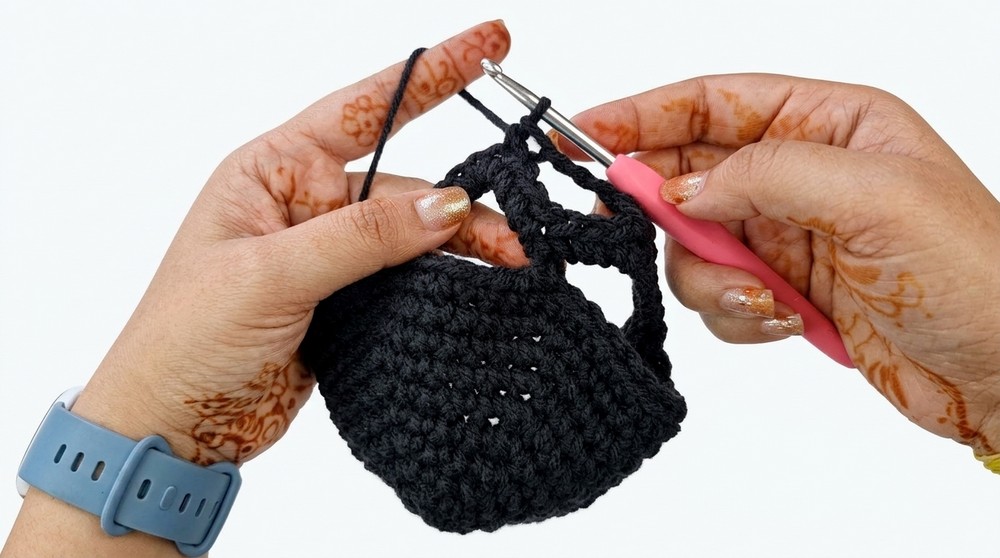
- Create varied-length drips by chaining 8, 6, or 4 at set intervals.
- Into each ch: work 2 dc, 1 dc, 1 hdc, and enough sc to reach the end. Slip stitch into top, then work slip stitches across between drips.
- Alternate the number of starting chains for a natural poison effect.
Explanation:
You’re making a second disc shape for the skull, then add chain spaces for big, drippy eyes and a triangle nose, followed by a round of “drip” edging with variable chain lengths and stitches for creepy poison flow. Don’t be afraid to play with drip placement!
STALK (Brown)
- With brown, mr, 8 sc in ring.
- Sc in each st for 6 rounds (8).
- Add a pinch of stuffing, fasten off leaving long tail for sewing.
Once finished, stitch to the top center of the apple.
LEAF (Green)
- With green, ch 11.
- Skip 2 ch, sc in next ch, hdc in next, dc in next, 2 dc in next, tr in next, 2 tr in next, tr in next, dc in next, hdc in next, sc in last.
- Repeat stitches up the other side of chain (mirror the shape).
- Finish, leave a long tail for sewing.
Sew to the base of the stalk or glue if preferred.
Explanation:
The leaf is formed from a chain, changing stitch heights to make a classic leaf shape. Work up and down the same chain for a full look.
Assembly & Finishing
- Place poison skull over apple, align center holes, and sew in place with matching yarn.
- Attach stalk securely on top, then sew or glue leaf to base of stalk.
- Sew or glue each poison drip to apple for full effect.
- Hide all yarn ends inside the apple.
Solution of Problem
Problem: Drips twist or don’t hang right.
Solution:
Make sure to slip stitch back up to the base between drips; block lightly or adjust sewn placement on apple for best flow.
Things You Can Make With These Stitches
- Halloween apple ornaments
- Keychains or bag charms
- Garland for parties
- Fun, soft "poison" play food
- Spooky classroom or desk decor
For non-pattern readers:
Make a red ball (apple), add stuffing, create a black/purple skull piece with holes for eyes/nose and long chain "drips" around the edge, add a brown tube for the stalk, a green leaf, then sew all together for a spooky apple!
You now have a hauntingly cute Poison Apple—perfect for any Halloween display! Show it off or gift it to a fellow spooky season fan. Happy haunting and happy hooking!
Leave a Reply