

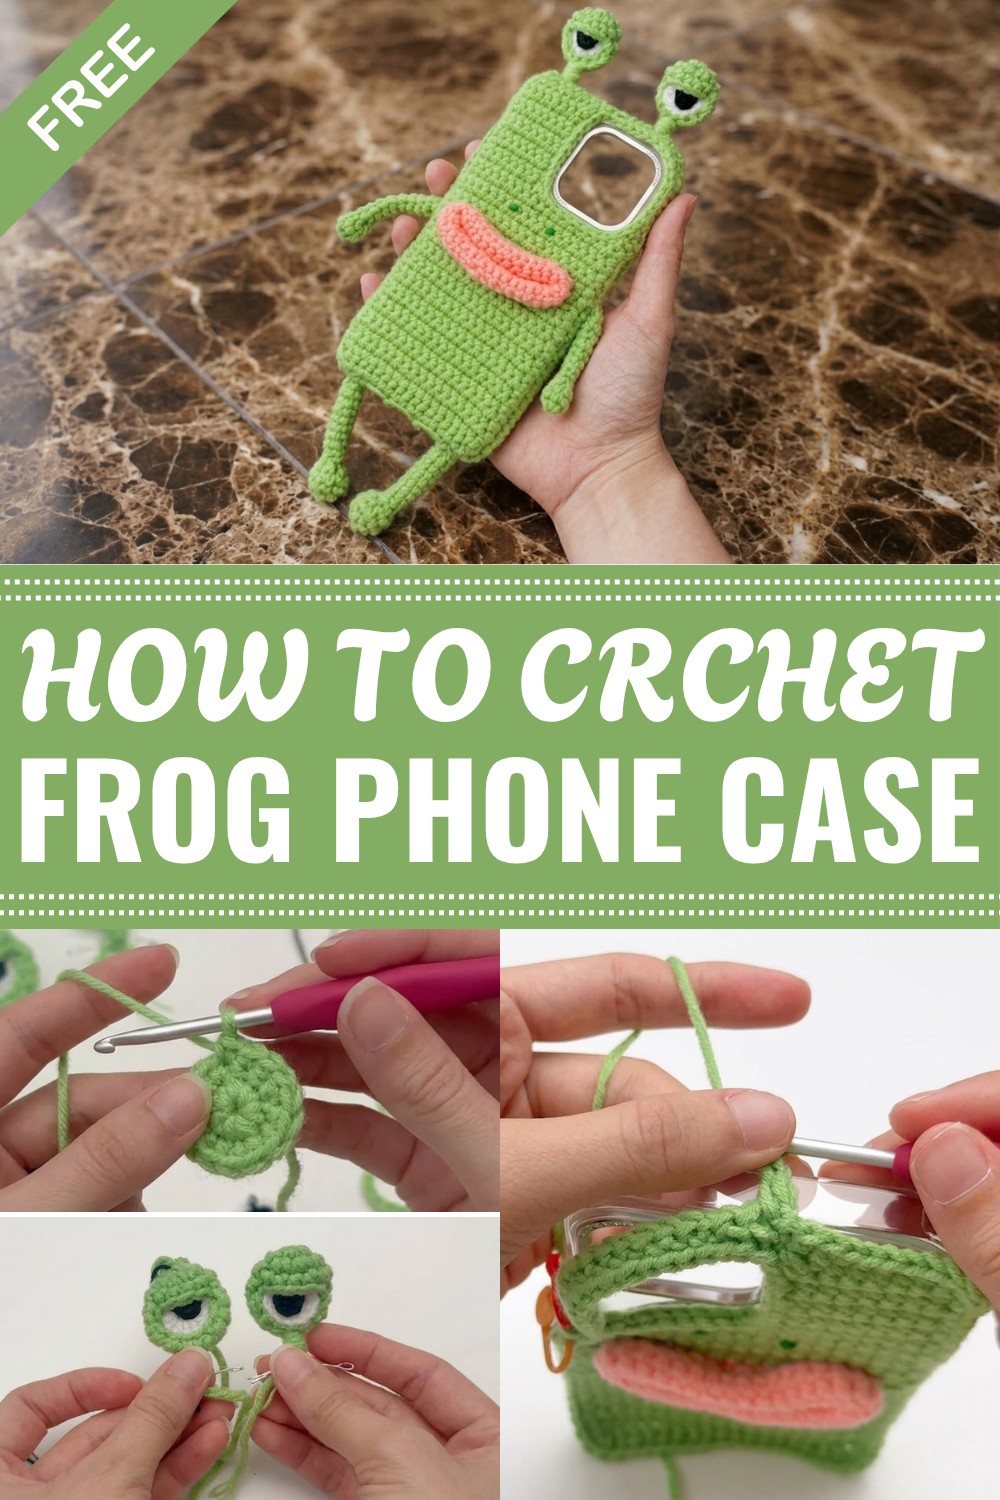
Keep your phone save by following this free Crochet frog phone case pattern featuring a fun design and easy steps for stylish handmade accessory.
It always makes me happy to find simple, cute crochet projects, and the frog phone cover is one of my absolute favorites. There’s just something about the bright green color and those big, friendly eyes that makes this phone case so cheerful. Every time I pull out my phone, someone smiles or asks about it, which makes my day.
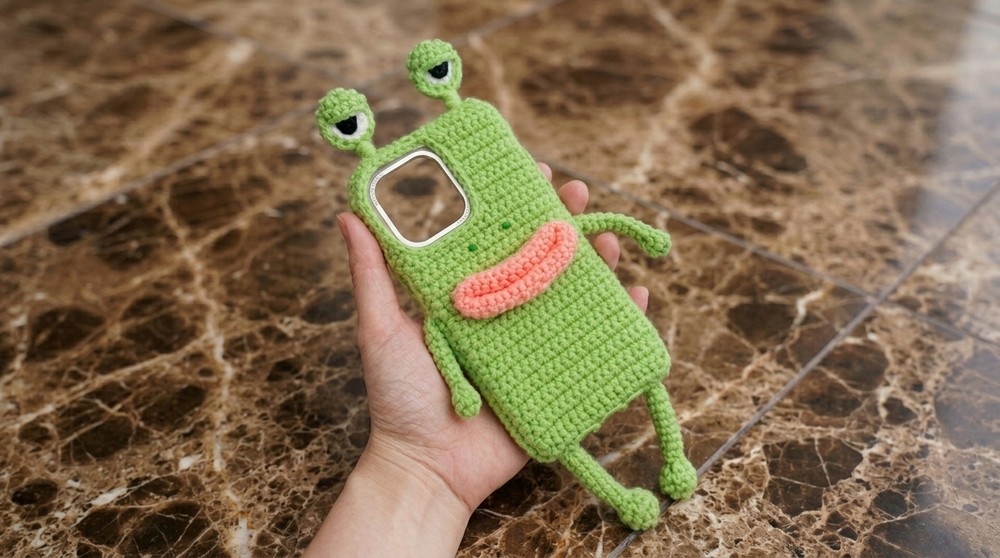
One thing I love is how soft the cover feels in my hand. The crochet stitches give it a slightly bumpy, cozy texture that’s much nicer than a cold plastic case. It fits snugly over my phone, so I don’t worry about scratches or little bumps. Plus, the frog’s round face and little details, like rosy cheeks, a tiny stitched mouth, or even little legs, really bring out its personality. You can keep it simple with just the face, or add extra touches to make yours unique.
Crochet Frog Phone Cover Pattern - Free
This frog phone cover is more than just cute, it’s useful, too. The yarn adds a bit of padding for protection, and the slip-on style makes it easy to take off and wash if it gets dirty. I find it’s especially helpful for spotting my phone in a busy bag, thanks to that bright green color. It’s also a fun way to use up leftover yarn, since you don’t need a lot to finish one.
Overall, this free pattern is a great choice for both beginners and experienced crocheters. The adorable look, soft feel, and practical use really make this frog phone cover stand out. It’s a small project that adds a lot of joy to everyday life.
Quick Process
- Hands & Feet: Crochet a tube with a ball/fist at the end. Insert wire inside before finishing, so the part is bendy.
- Eyes: Make two white circles, put black circles in the middle, with a wire ring inside so eyes pop up and hold shape.
- Eyelids: Small green rounds for above the eye, sew or glue on.
- Body: Two rectangles with rounded corners, shape the mouth area, sew together with stuffing inside.
- Mouth: Add wire for shape, crochet or sew thread/yarn over mouth for a 3D border.
- Assembly: Put all pieces together, secure wire in the body for stability, and sew or glue as needed.
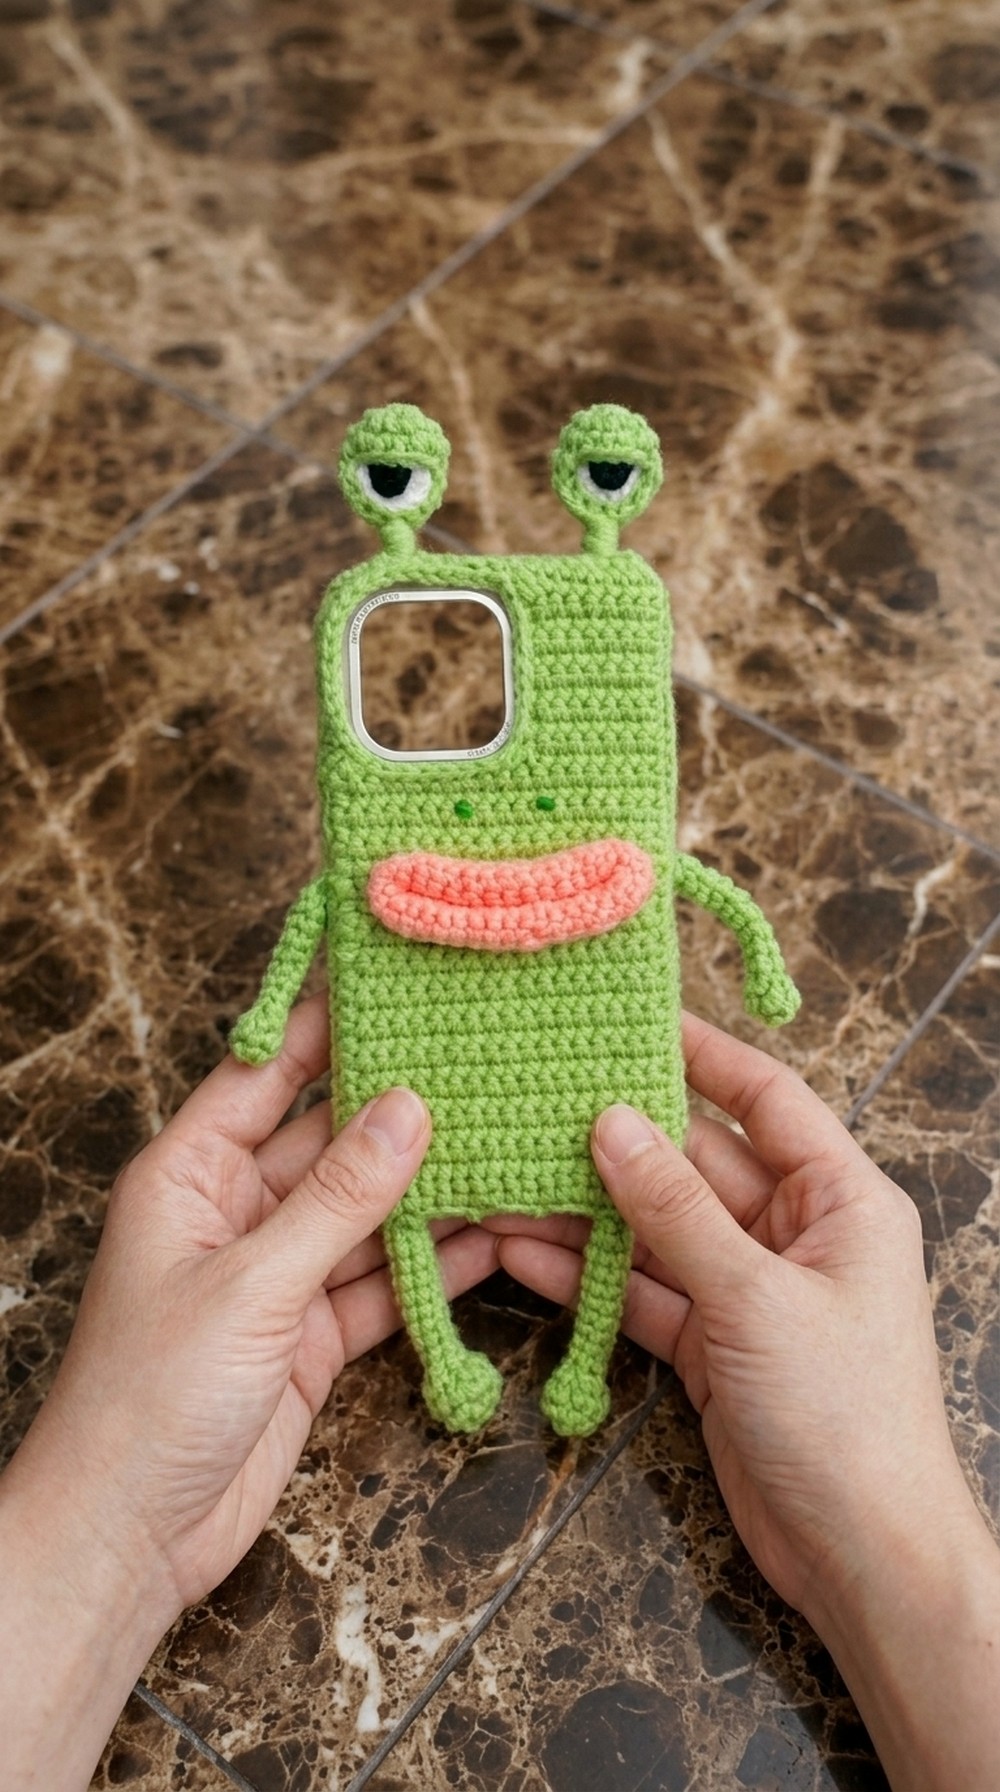
Ugly-Cute Crochet Little Frog Free Pattern
Pattern Notes
This funny frog is made with basic crochet stitches in the round. We use iron wire inside the arms, legs, and eyes so that they can be bent and hold their shape. Each major part is crocheted, then the frog is assembled and the details are added. You can glue or sew pieces for extra strength.
Skill Level
Confident Beginner/Intermediate
(You should be comfortable with single crochet, increasing, decreasing, and crocheting in the round. Using wire is optional but makes your frog very playful!)
Finished Size
Varies based on yarn/hook, about palm-size (approximately 10–12 cm tall).
Materials
- 3.5 mm, 2.5 mm, and 1.0 mm crochet hooks
- 4-ply milk cotton yarn (green for body and limbs, white for eyes, any color for the mouth, and dark green or black thread for nostrils)
- Iron wire (thin, flexible craft wire), cut in sections as noted
- Polyester stuffing (fiberfill)
- Yarn/tapestry needle
- Scissors
- Fabric glue (optional)
Gauge
Gauge is not important for this amigurumi. Use a hook size that gives a firm fabric.
Stitch Abbreviations
- ch – chain
- sc – single crochet
- dec – decrease (sc two together)
- inc – increase (2 sc in same stitch)
- sl st – slip stitch
- hdc – half double crochet
- dc – double crochet
- st(s) – stitch(es)
Special Techniques
- Magic Ring: Wrap the yarn into a ring, insert hook, pull up loop, ch 1 and work stitches into the ring.
- Crocheting around wire: Lay wire inside the part as you crochet, or slide it in later, for pose-ability.
The Pattern
Hands (Make 2, with wire)
- With 3.5mm hook, make a magic ring.
- Rnd 1: Work 4 sc into ring. Pull tight. (4 sts)
- Pick up the first stitch, do a sl st, then a ch 1 to start next round.
- Rnd 2: 4 sc around (no inc/dec). (4 sts)
- Rnd 3: Go back to first st, sl st to finish round.
- Insert a thin wire (~10cm) through the piece so wire will run down the length of the arm.
- Shape the piece into a gentle curve, folding it in half to make a little “fist” at the tip.
- Rnd 4: Decreasing round: Working through front loops only, do 4 dec (each dec = sc2tog). (Back to 4 sts)
- After closing, change to 2.5mm hook for the rest of the arm.
- Continue to crochet 4 sc in each round, going in a continuous spiral, for about 8 more rounds (or until your arm is the length you want).
- Cut yarn, leaving wire in place.
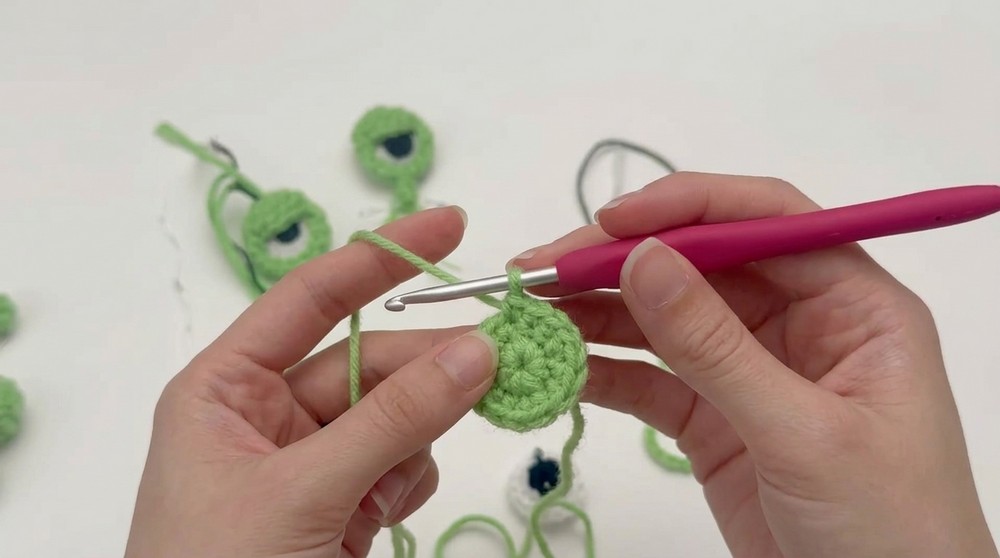
What you just made:
You crocheted a tiny tube for the arm and made a little fist by folding the first part. There’s a wire inside so you can bend and pose the arm. Make a second arm the same way! Do not cut the wire yet—you’ll attach it to the body for strength later.
Feet (Make 2, with wire)
- With 3.5mm hook, make a magic ring.
- Rnd 1: 6 sc in ring. (6 sts)
- Pull ring tight, sl st to first st to close.
- Rnd 2: Increase round: 2 sc in each st around (12 sts).
- Sl st to close round. Insert a piece of wire and fold to double, so both “toes” are shaped.
- Rnd 3: Pick up the first and second round stitches together on the side and pull through (this secures wire in place for toes).
- Crochet 12 sc around for the top of the foot.
- Rnd 4: Decrease round: sc2tog in front loops only, around. (Reduces back down.)
- Before final closure, stuff a little cotton into the foot so it’s nicely shaped.
- Switch to 2.5mm hook. Sc around (6 sc per round) for more rows, until the leg is the length you like (about 8 more rows).
- Cut yarn.
What you just made:
You crocheted a big ball for the end of the foot and a tube for the leg, with wire inside. Make two. The wire helps the legs bend, so your frog can be posed sitting or standing.
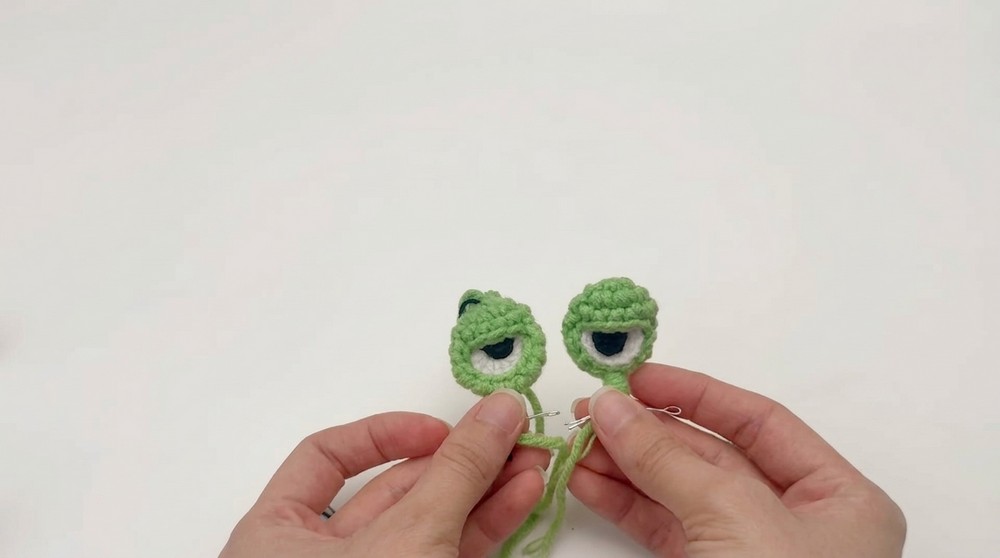
Eyes (Make 2, with wire)
White Eye Base – Make 2 front and 2 back (4 circles in total for both eyes)
- With 3.5mm hook and white, make a magic ring.
- Work 12 half double crochet into the ring. (12 sts)
- Sl st to close the round, tie off.
- Do not stuff; these circles will sandwich the eye parts.
Black Center (Pupil)
- With embroidery floss (6-strand black), use a 1.0mm hook.
- Chain 2.
- In 2nd chain from hook, 11 sc around into the chain, joining in a circle.
- In the corner, do 3 sc in one stitch.
- Then, 9 sc along the side.
- In the next corner, 3 sc in one stitch.
- Join and finish with a round of slip stitches for dimension. Leave a long tail for sewing.
(You will have a black “dot,” slightly oval.)
Eye Assembly
- Sandwich a wire ring between a white front and white back.
- Center black pupil on white, sew in place.
- The wire ring will go through the center so you can attach and pose the eye on the head.
What you just made:
You crocheted bold, round eyes with black pupils, sandwiched over wire, so the eyes stand out and are visible both front and back.
Eyelids (Make 2)
- With 3.5mm hook and green, make a magic ring.
- 6 sc in ring, pull tight.
- Inc in each st around (12)
- 1 round sc in each st (12)
- Fasten off, leaving a long tail.
- Place on top of whites as eyelids and sew or glue in place.
Body (Make 2 flat ovals, for front and back)
- With 3.5mm hook and green, chain 18.
- Turn, work sc back across (18).
- Ch 1, turn, sc back again.
(Continue for a total of 7-8 rows, making a rectangle.) - To round off the corners/make cheeks:
- On a short side, do 3 hdc in last st to curve.
- Repeat on the opposite end.
- Make 2 identical pieces.
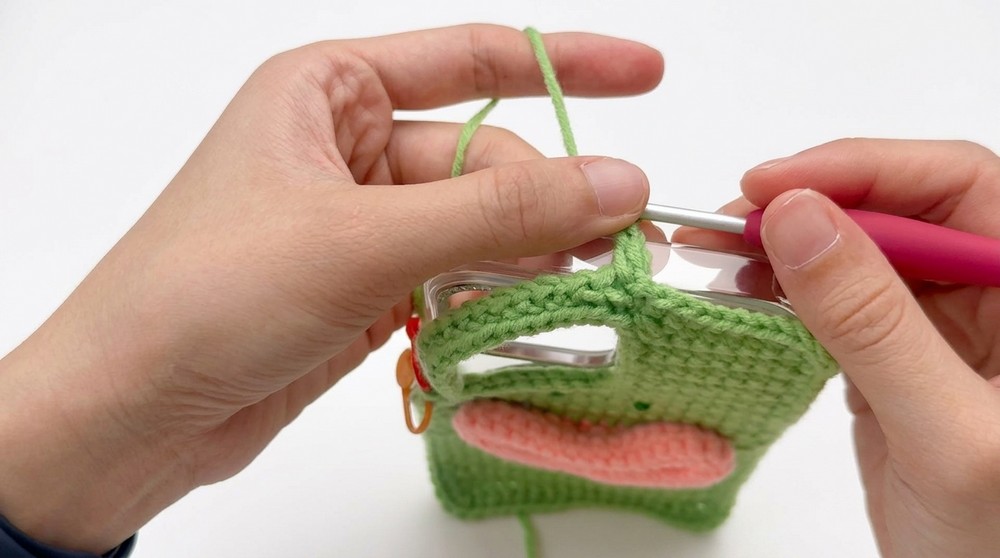
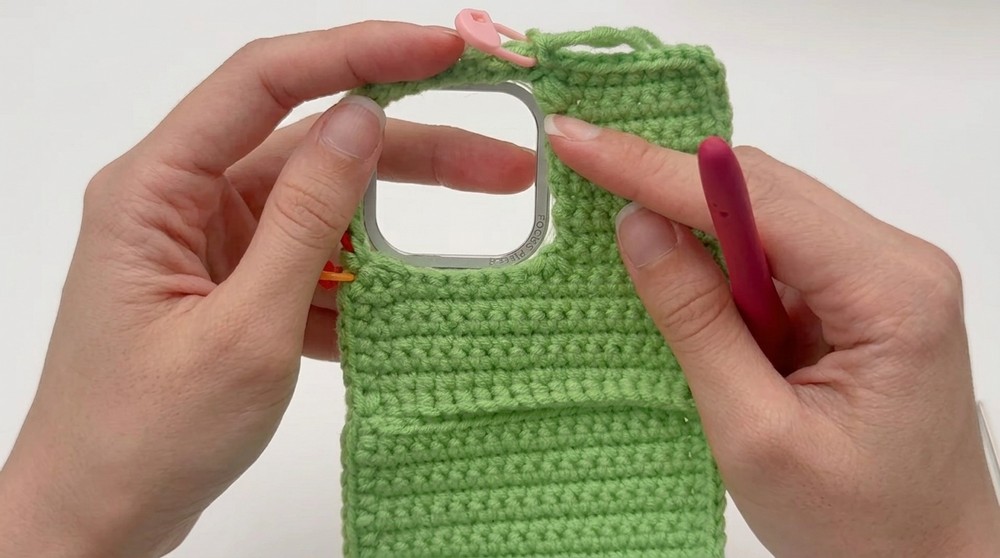
Mouth opening:
- On one piece, from the bottom side, work a row of sc, turning the fabric to make a semicircle for a mouth.
- Edge both pieces with sc.
Mouth Rim/Wire
- Measure wire to go around the mouth opening (about 6.5cm).
- Wrap the wire in tape (for safety).
- Crochet sc around the wire, or sew mouth edges to cover the wire and keep mouth shapable.
Nostrils
- Use dark green or black embroidery thread.
- At the top of the mouth (second row), stitch small French knots or simple embroidered dots for nostrils.
- Make the nostrils about 3–4 stitches apart.
Crochet Camera (optional)
- Follow similar steps as the body, making a small oval or circle, then edge it with long stitches (dc) to create a raised camera cover.
- Attach to the frog’s back or wherever you like.
Assembly
- Lay out the two body pieces, sandwiching the wire ends for the hands and feet inside, then sew the edges together.
- Before completely closing, add fiberfill/light stuffing if desired.
- Position the eyes on top and attach by sewing through both the white and green eyelid pieces and through the head.
- Sew or glue the mouth around the opening, making sure the wire is inside so the mouth is poseable.
- Sew or glue the nostrils on top of the snout.
- Fix the camera cover if making, and sew the hands and feet in symmetrical positions.
- Make any last adjustments, gluing or sewing parts down as needed for extra strength.
- Tuck in all yarn and thread ends.
Tips
- Leave wire ends a little longer inside for more stability; you can always trim them if needed.
- Use fabric glue for extra hold, especially for the eyes and mouth.
- The frog is meant to look a bit silly and unique, so have fun with placements.
Leave a Reply