

Crochet a charming whale amigurumi with this free pattern with river-inspired designs perfect for gifting, or home decor projects.
If you’re searching for a fun and adorable project, a free crochet whale amigurumi pattern is a wonderful choice. I remember the first time I made a crocheted whale, right away, I was hooked by how cute and simple it turned out. It’s amazing how just a few basic stitches can create such a charming little sea creature.
One of the things I love most about these whales is their friendly shape. The smooth, rounded body makes the whale look soft and plump, like it’s ready to swim in your hands. The little fins and small tail add just the right touch of detail without making the pattern too difficult. Sometimes, I add a tiny blush or use safety eyes for an extra sweet expression, and it truly brings the whale to life.
Handmade Crochet Whale Amigurumi Pattern Free
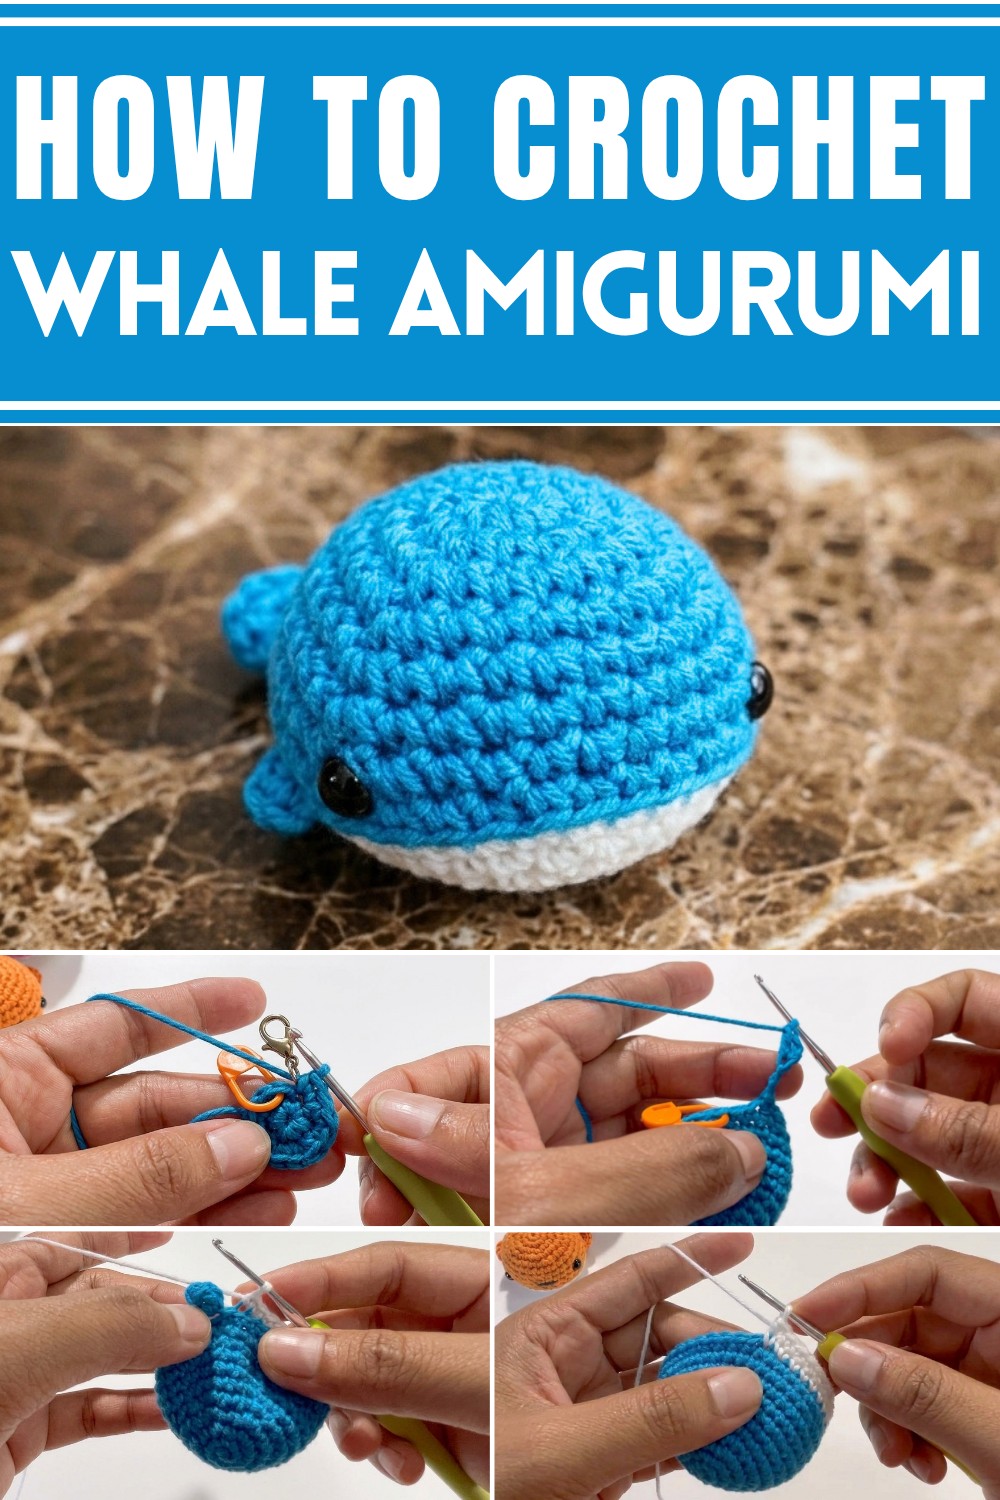
The texture is soft and cozy, especially if you use a plush or cotton yarn. It feels comforting to hold, and the stitches give the whale a nice, neat surface—perfect for little hands. You can customize your whale in lots of ways, like picking your favorite color or adding stripes. Light blue is classic, but I’ve seen pink, purple, and even rainbow whales that look absolutely delightful.
Crochet whale amigurumis are wonderful as gifts for kids, baby showers, or for anyone who loves sea animals. They’re small enough to use as a cute desk pet or add to a keychain, but big enough to snuggle. I also love making a bunch of whales to decorate a nursery or toss in a toy box.
The overall appearance of the finished whale is cheerful and inviting, those round bodies and happy faces never fail to make people smile. If you’re new to amigurumi, a whale is an easy and rewarding project that will quickly become one of your favorites.
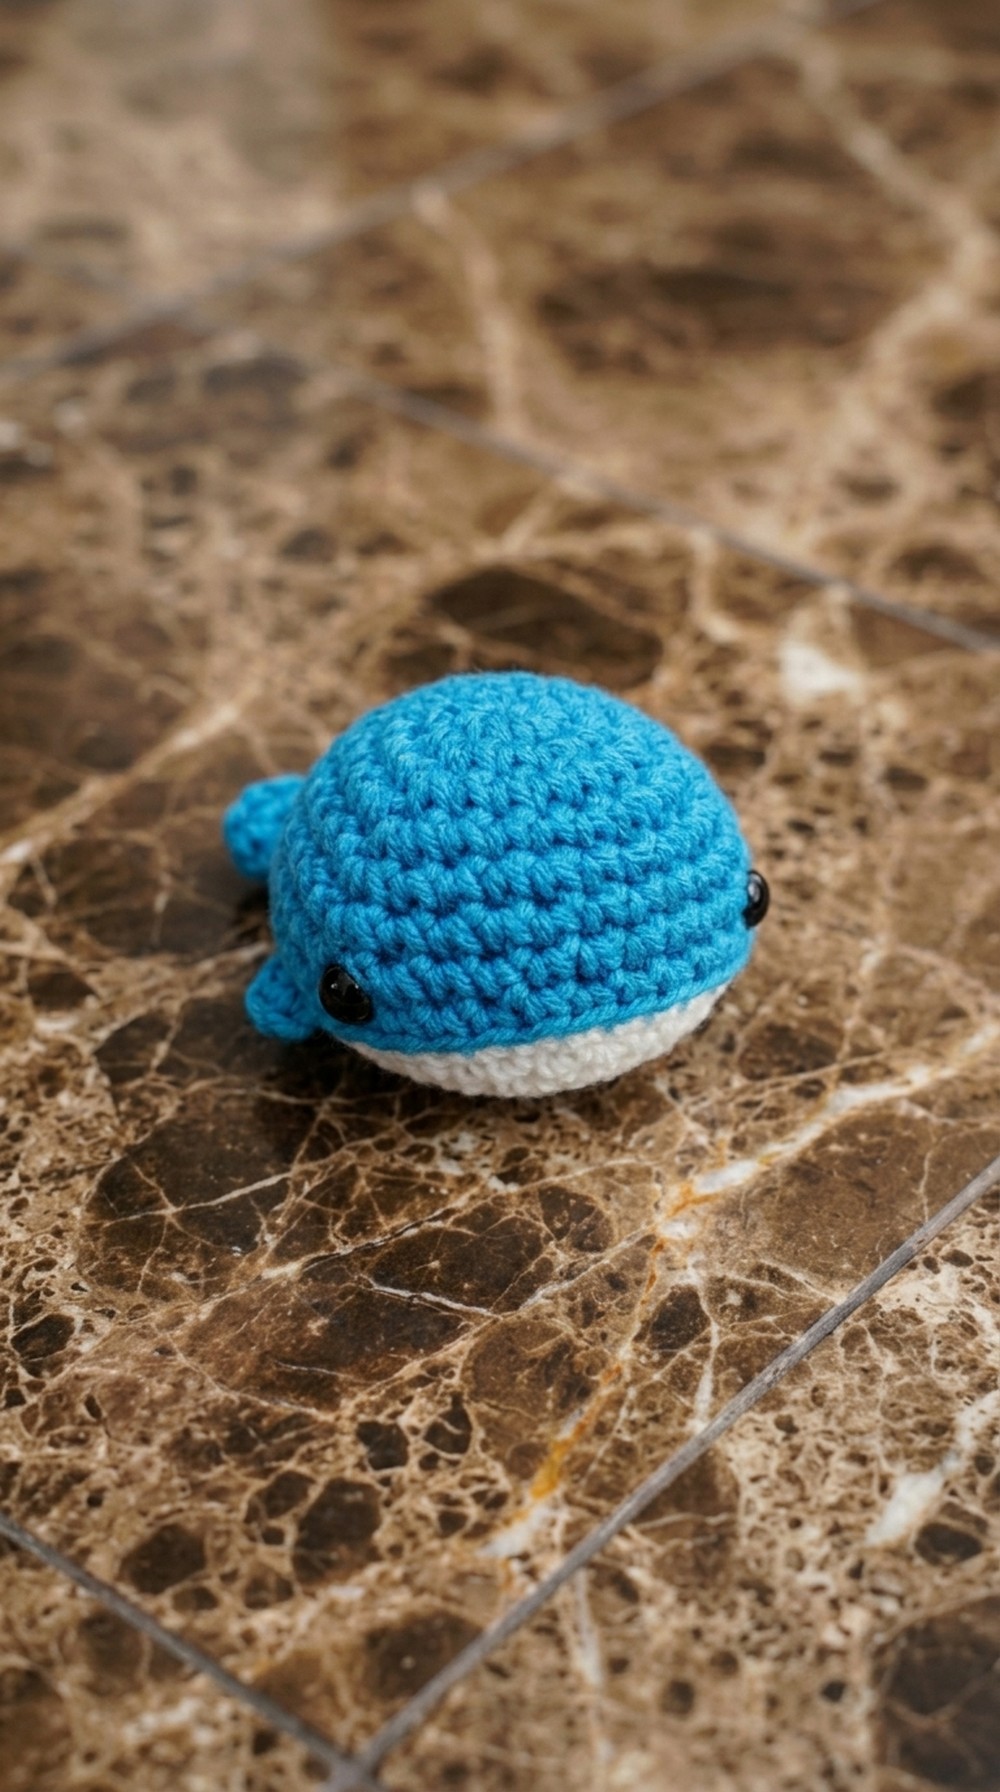
Amigurumi Wheel (Keychain or Toy) Pattern
Pattern Notes
This amigurumi wheel is quick, adorable, and makes a perfect keychain or mini plush. It is crocheted in the round, with increases, decreases, and raised “wings” on the sides. This project is ideal for using up yarn scraps, and can be made in different sizes just by changing the hook size.
Skill Level
Beginner/Advanced Beginner
You should know how to work in the round, increase, and decrease.
Finished Size
- Small wheel (2 mm hook): Approx. 1.5 inches (4 cm) across
- Large wheel (3 mm hook): Approx. 2.25 inches (5.5 cm) across
Materials
- DK/light worsted acrylic or cotton yarn in main color and “wing” color
- Crochet hook (2 mm for small wheel, 3 mm for larger)
- Polyester fiberfill (stuffing)
- 2 safety eyes or black thread/yarn for embroidered/felted eyes
- Yarn needle
- Scissors
- Stitch marker
Measurements / Sizing
Two versions:
- Small wheel (2 mm hook): 1.5" (4 cm) diameter
- Large wheel (3 mm): 2.25" (5.5 cm)
Other sizes possible by changing hook and yarn.
Gauge
Gauge is not critical. Your wheel should be tight enough that stuffing does not show through the stitches.
Stitch Abbreviations
mr – magic ring
sc – single crochet
inc – increase (2 sc in one st)
dec – decrease (sc2tog, using invisible decrease)
sl st – slip stitch
ch – chain
hdc – half double crochet
dc – double crochet
st(s) – stitch(es)
BLO – back loop only
Special Stitches
Invisible decrease: Insert hook into the front loop of each of the next two stitches, yarn over, pull up a loop, yarn over, pull through all loops.
The Pattern!
1. Central Wheel Body
- With main color, make a mr
- 6 sc into the ring. (6)
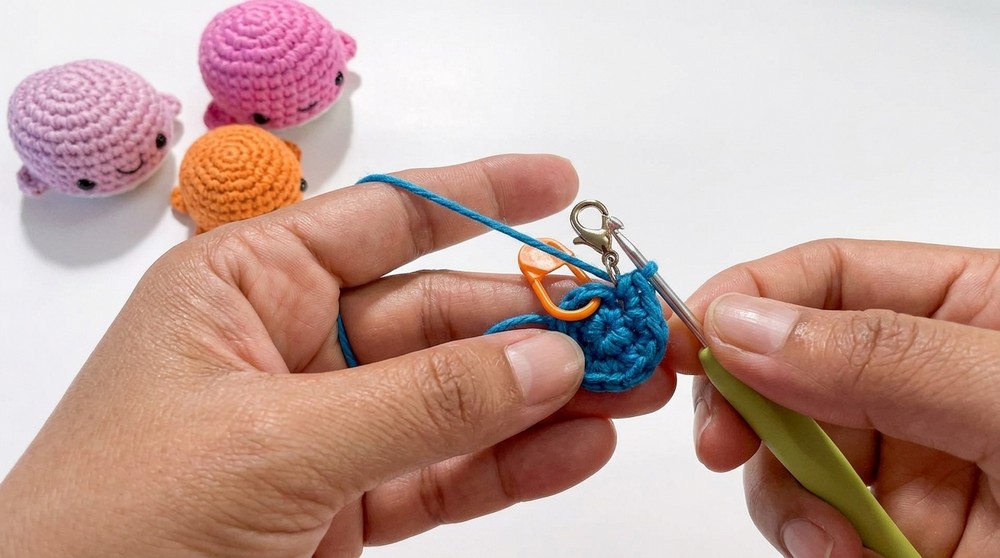
Start your project with a tight magic ring, crocheting six single crochets into it. This forms the very center of your wheel.
2. First Increase
- In each st around, 2 sc (inc) in each (12)
Work two single crochet stitches into every stitch from the last round. You should now have twelve stitches—a circle that’s beginning to form the wheel.
3. Second Increase
- (1 sc, 1 inc) repeat around (18)
Alternate one single crochet with a two-in-one increase. Repeat this all the way around. The wheel will grow outward, keeping its flat round shape.
4. Third Increase
- (1 sc, 1 inc, 1 sc) repeat around (24)
Or, as demonstrated:
(1 sc in first st, 2 sc in next, 1 sc in next...)—continue alternating until you have 24 stitches.
This round sets the larger diameter of your wheel. Work a single crochet, then two in the next, following that up with another single, then repeating.
5. Fourth (Final) Increase
- (3 sc, 1 inc) repeat around (30)
Work three single crochet stitches, then an increase in the next stitch, cycling around the wheel’s edge. After this round, your wheel will have 30 stitches.
6. Straight Sides
- For rounds 6–9, sc in each st around (30 per round, 4 rounds)
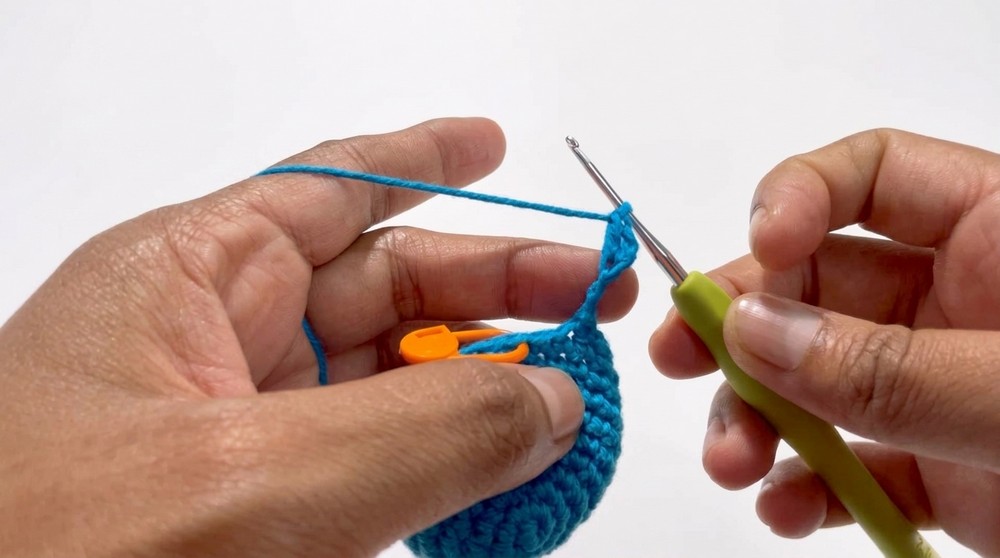
Continue straight for four total rounds with no increases. This forms the edge of the wheel and gives it its thickness.
7. Tread Ridges (Wings)
- At the end of round 10, sc in first 28 sts (total 28 sc)
- In st 29: sl st
- Ch 5, skip first 2 chs, in 3rd ch: dc; in 4th ch: hdc; in 5th ch: sl st
- Repeat for st 30 (second “wing”): In next st, sl st, ch 5, skip 2, dc in next, hdc in next, sl st in last ch
To form the ridges or “wings” that stick out of the wheel, work to stitch 29, slip stitch, chain 5, and use a combination of double, half double, and slip stitches down the chain. Repeat this sequence on the next stitch to make two even protruding shapes.
8. Prepare for Assembly
- Close round with a sl st to first st. Fasten off.
Slip stitch to your starting position and cut the yarn. Pull through to secure. Now you have a donut-shaped wheel with two “wings” sticking out.
9. Eyes and Color Change
- Add safety eyes or embroider eyes, spacing them evenly on round 9 with about five stitches between (count from the middle front for symmetry). Secure backs, hide any tails.
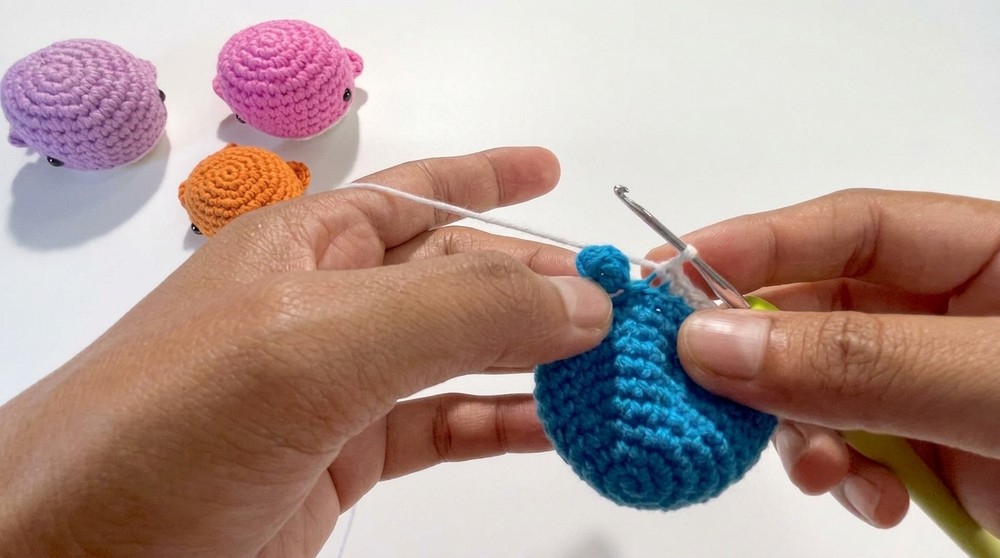
Before closing up the wheel, add eyes. Insert them on the upper side, with even spacing, and fasten, or embroider/felt them if you prefer.
10. Bottom Plate & Assembly
- With contrast/secondary color, join yarn with sl st into BLO of the first st of round 10
- Ch 1, then in same st, sc BLO; continue with sc BLO in each of the next 28 sts (28 total)
- In sl st “ridge” and next st, sc BLO (30 total)
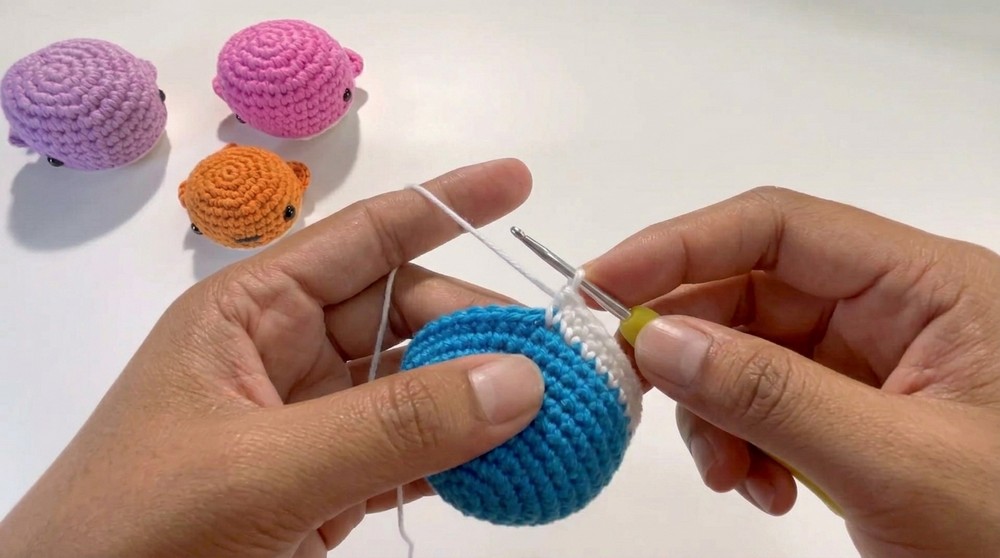
Join a different color to the first stitch after the wings round. Working in the back loops only, crochet 30 single crochets around—this helps the bottom and top curl together, forming the 3D shape you will stuff.
11. Stuffing
- Stuff the wheel firmly with fiberfill, using the yarn tails to stuff the edges if needed.
Add your stuffing now, pushing it into the center and making sure the edges are round and even. Don’t overfill or the stitches may stretch.
12. Begin Decreases
- (3 sc, dec) repeat around (24)
- (2 sc, dec) repeat around (18)
- (1 sc, dec) repeat around (12)
- dec around (6)
Finish off the wheel by decreasing the stitch count, working down in even sections. Start with three single crochets and a decrease, then two, then one, then finally making decreases all the way around. Add more stuffing if needed before the last decrease round.
13. Finish & Close
- Cut yarn, leave a tail. With yarn needle, weave the tail through the front loops of the final 6 sts; pull tight to close. Weave ends inside.
With your last stitches finished, cut the yarn and thread a needle. Pick up the front loops of the final six single crochets and pull to gather the opening shut, securing your stuffing inside. Tuck and hide all loose ends.
14. Finishing Touches (Optional)
- If desired, attach a small chain or loop to the side or top for a keychain, or add extra embroidery (lines, spokes) for detail.
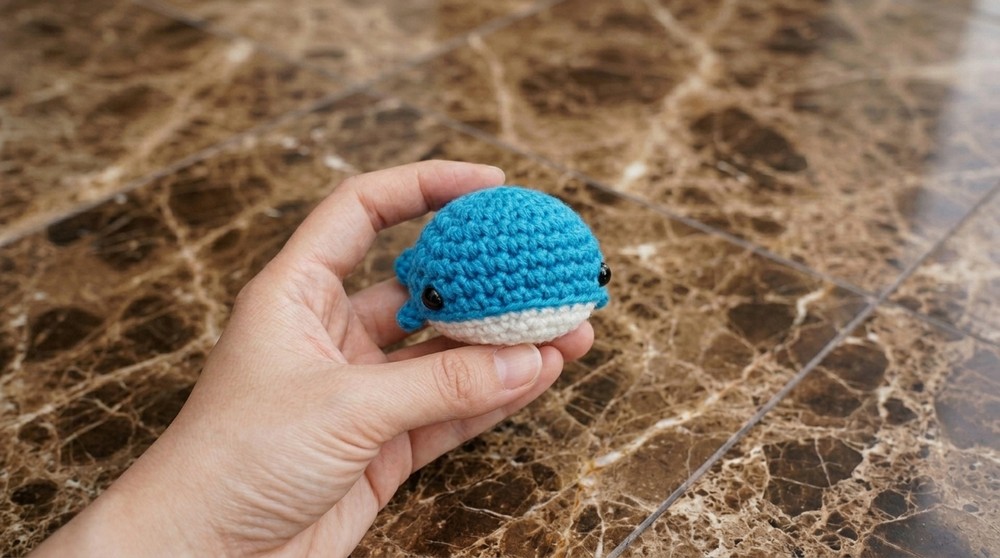
Add a split ring or lobster clasp if you want your wheel to become a keychain. Alternatively, leave it as-is for a toy or desk ornament!
Assembly & Finishing
- Make sure stuffing is secure and all ends are hidden.
- Adjust wings and “tread” if needed.
- Enjoy your new amigurumi wheel!
Your tire or wheel is now complete! Give it a squeeze to ensure stuffing and seams are snug. Attach a loop for use as a keychain or bag charm, or keep as a miniature plush toy.
Leave a Reply