

Free Bag Crochet Pattern with Strong Handles
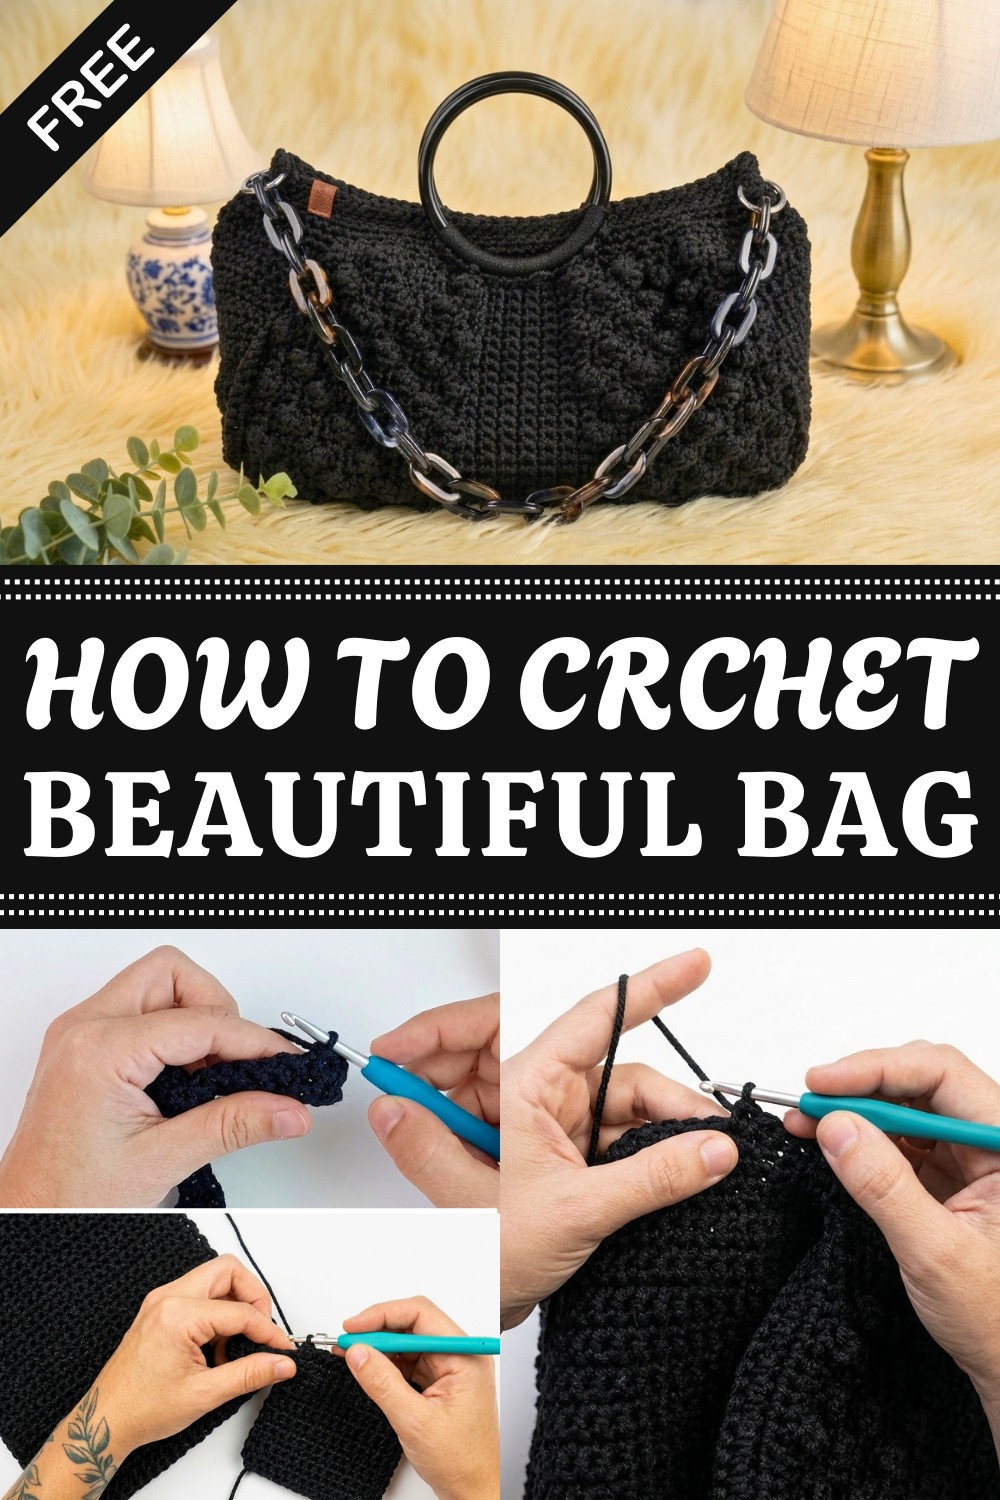
Ideal for beginners and those with some experience, this pattern keeps things simple with basic stitches and clear instructions, yet still offers opportunities to practice important skills like stitch consistency and shaping. More confident crocheters might experiment by customizing the design or adding personal touches that elevate the finished product.
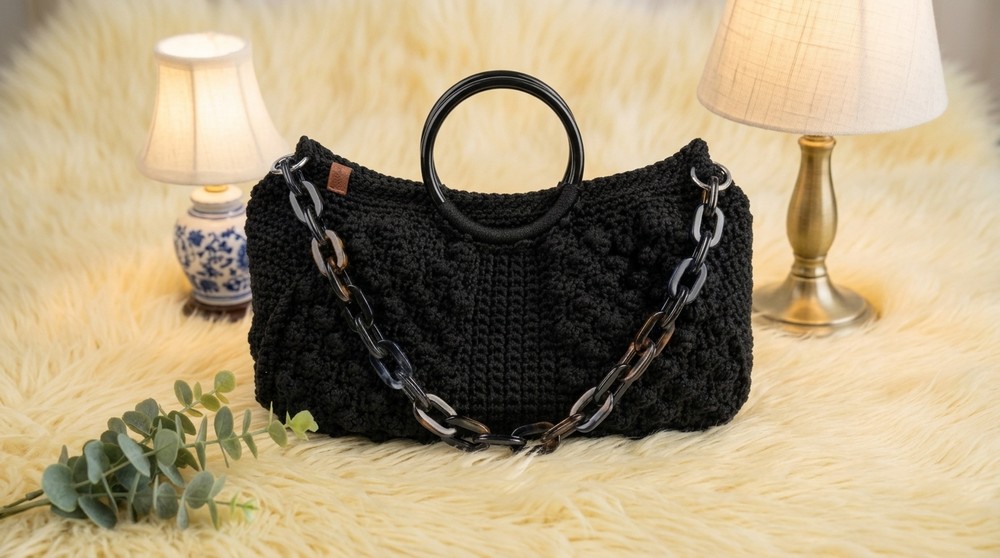
By working up this bag, you’ll finish with a versatile, handmade item that fits seamlessly into your daily routine. It’s a satisfying project that helps build your crochet skills while giving you a stylish and practical bag to carry wherever you go.
Chic Nautical Polyester Yarn Bag Crochet Pattern
Welcome! In this pattern, you will learn how to crochet a beautiful, spacious, and stylish bag using 3mm nautical polyester yarn. This bag features lovely texture details with popcorn stitches combined with single crochet stitches, sturdy sides shaped by decreases, and practical removable straps with a magnetic button closure.
Each step is explained clearly and simply for beginners familiar with basic crochet techniques. Let’s get started!
Materials You Will Need
- 3mm nautical polyester yarn
- Crochet hook size 4.5 mm (for body and base)
- Crochet hook size 3.5 mm or thinner (for seams and finishing)
- Stitch markers (optional)
- Yarn needle or tapestry needle (for sewing parts and weaving in ends)
- Scissors
- Lighter (to secure yarn ends)
- Magnetic button (sewable)
- Hinged rings (to attach straps)
- Hand strap and shoulder strap (or supplies to make them)
Basic Stitches Used
| Abbreviation | Meaning |
|---|---|
| ch | Chain stitch |
| sc | Single crochet |
| hdc | Half double crochet |
| sl st | Slip stitch |
| pop | Popcorn stitch |
| dec | Decrease (sc2tog) |
Special Stitch: Popcorn Stitch (pop)
- Work 4 half double crochet (hdc) stitches into the same stitch.
- Remove hook from yarn loop.
- Insert hook into the first hdc you made and pull the loop through to create a little puff.
- Ch 1 to close the popcorn and secure it.
Step 1: Make the Base Chain
- Make a slip knot.
- Chain 56 stitches.
- Chain 1 more to turn your work.
Step 2: Foundation Row – Single Crochet into Chain Loops
- Skip the first chain stitch (closest to hook).
- Insert hook underneath the small knot underneath the second chain.
- Make single crochet (sc) stitches into each chain's knot along the entire chain.
- Turn your work at the end.
Step 3: Build Base Sides – Single Crochet Rows
- Work rows of single crochet (sc) stitches without chains at the start of the rows.
- Insert hook under the two loops of each stitch in the previous row to get a sturdy fabric.
- Turn work after each row.
Step 4: Popcorn Stitch Rows for Texture
Now we will begin alternating popcorn stitch rows with plain single crochet rows to give the bag its textured look.
- Row 1 (Popcorn row):
- Work 4 hdc stitches into the same stitch to form a popcorn.
- Close the popcorn as explained above.
- Chain 1.
- Then 4 single crochet (sc) stitches.
- Repeat popcorn, 4 sc across the row.
- Row 2 (Plain row):
- Work single crochet (sc) across the row on top of previous sc stitches.
- Where the popcorns are, work 1 sc into the chain space of the popcorn to keep it neat.
- Repeat these two rows, so you create a pattern of popcorn and plain sc rows.
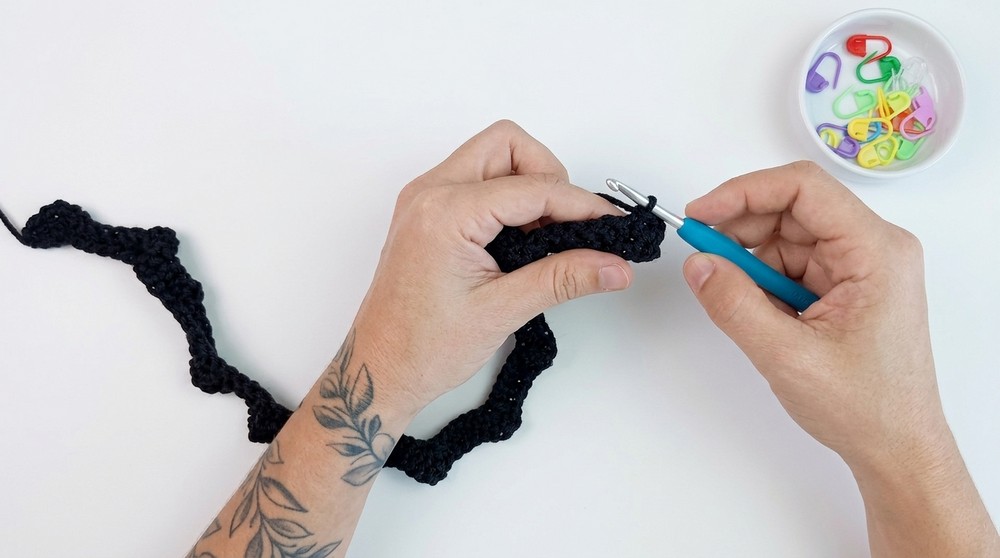
Step 5: Continue Alternating Pattern
- Work 7 popcorn stitches total in your popcorn rows.
- In between, keep plain single crochet rows for structure.
Step 6: Plain Single Crochet Rows for Height
- After finishing the popcorn-and-single crochet sequence, work 10 rows of single crochet (sc) only.
- This builds the bag’s straight sides without additional texture.
Step 7: Shaping the Bag – Side Decreases
To shape the sides, we add decreases as follows:
- Perform single crochet two stitches together (dec) to taper the sides.
- Usually, decrease at the start and near the end of rows to keep the bag volume even.
- A common repeat might look like:
- 1 decrease, 3 single crochets across the row along edges.
- Continue decreasing as needed for your bag shape.
Step 8: Join Side Seams
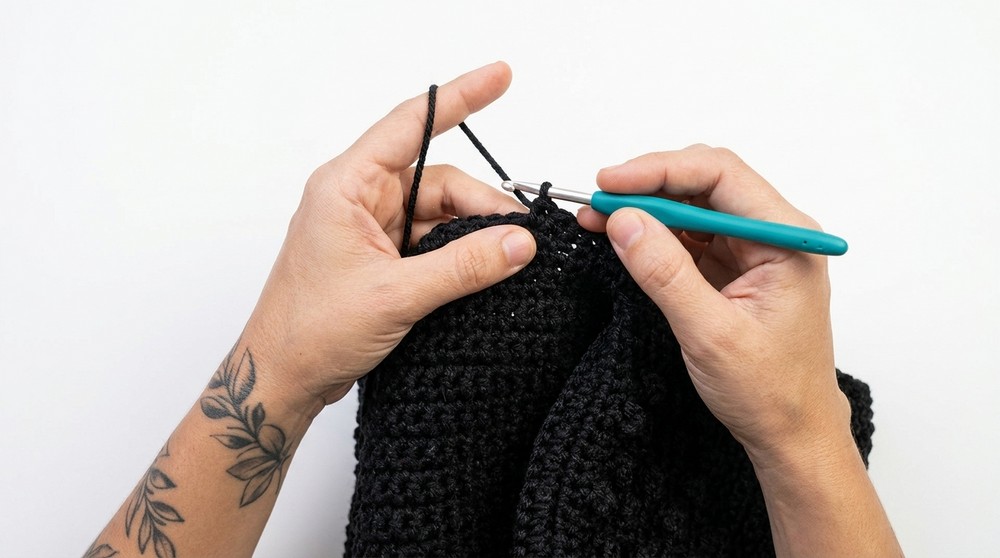
- Using a thinner crochet hook or yarn needle, join the two side edges of your bag.
- Work single crochet (sc) stitches through the loops on each side, joining them stitch for stitch.
- Avoid tightening these stitches too much for flexibility.
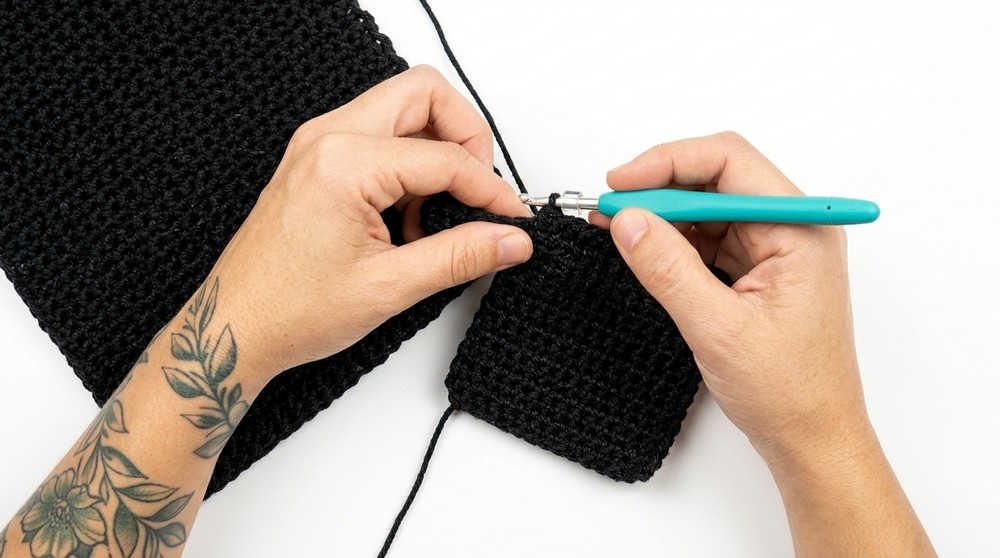
Step 9: Finishing Edges with Slip Stitches
- Work 6 rows of slip stitches (sl st) around the bag opening and edges.
- Insert hook into back loops only for a neat finish.
- Keep the slipper stitches neither too tight nor too loose for uniformity.
Step 10: Weave in and Secure Ends
- Use a yarn needle to thread yarn tails through tight, small stitches in the fabric.
- Pull slightly to secure, then trim excess yarn.
- Use a lighter to gently melt yarn ends to prevent unraveling.
Step 11: Attach Magnetic Button
- Center the magnetic button on the bag flap.
- Using matching thread and needle, securely sew button in place with several tight stitches.
Step 12: Attach Straps
- Pin or place the hand strap and shoulder strap on each side of the bag in alignment with the low stitches for balance.
- Sew straps onto the bag body by stitching through loops from inside for secure attachment.
- Adjust and ensure straps are even and durable for carrying.
Finished Size (Approximate)
- Base width: 9.5 cm (3.7 inches)
- Bag height: Adjustable, demonstrated about 20–23 rows tall
- Straps: Adjustable length per choice
Conclusion
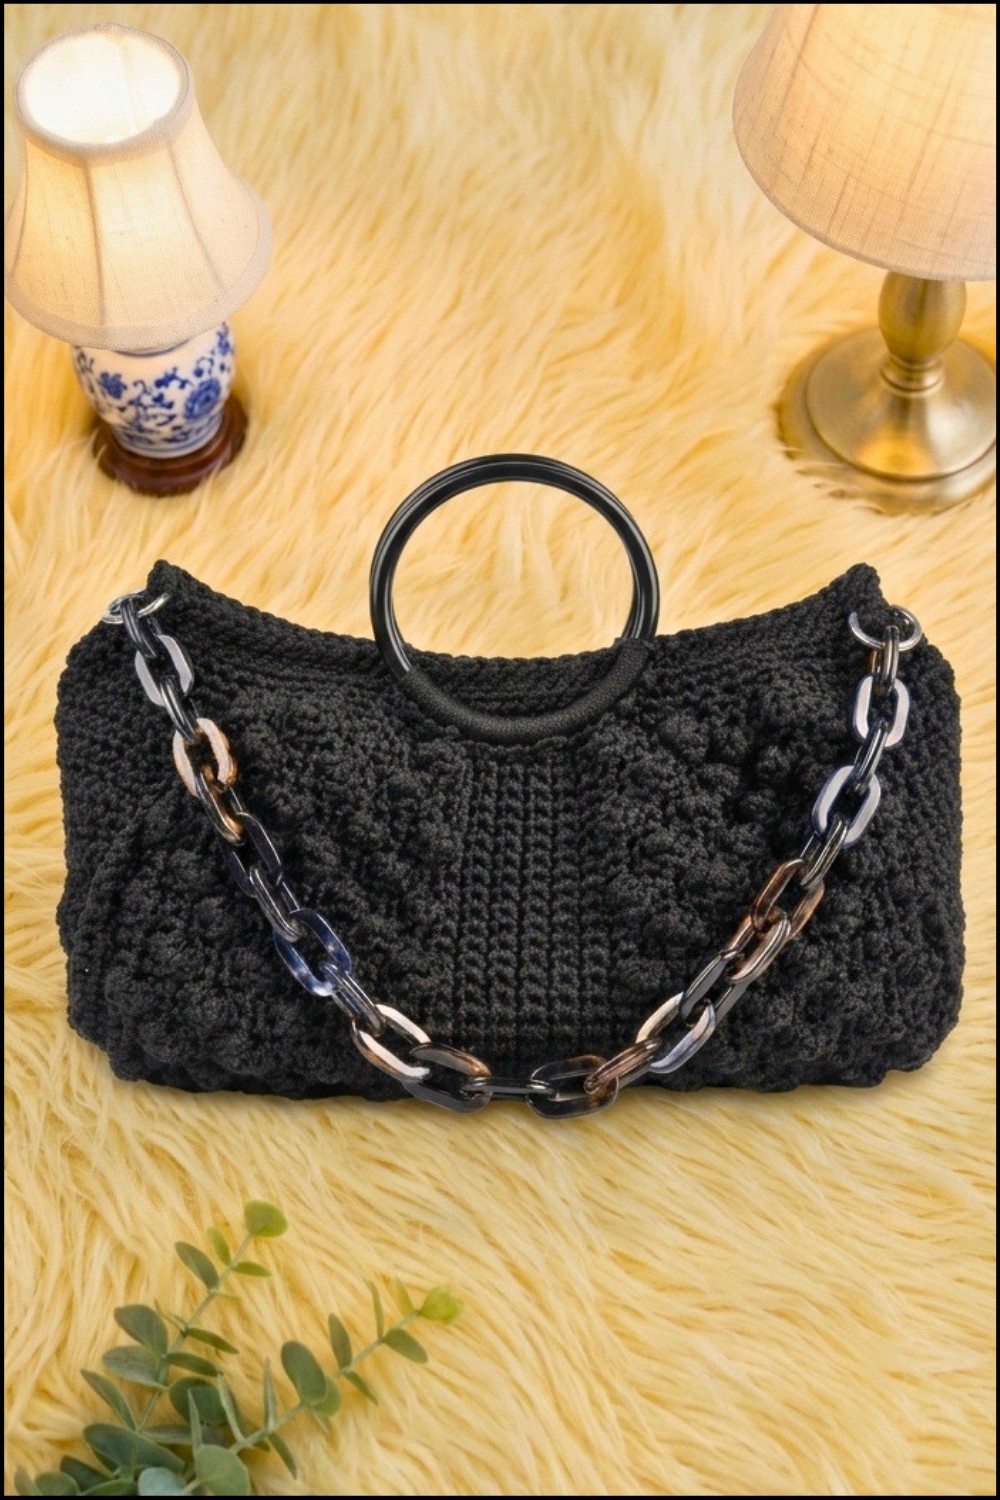
Congratulations on completing your chic nautical polyester yarn bag!
This project brings together basic to intermediate crochet techniques like the popcorn stitch, strategic decreases, and invisible seaming for an elegant, roomy bag that’s perfect for daily use or gifting.
The strong foundation, lovely textured body, and thoughtful finishing details make this bag a true handmade gem. Experiment with color variations or strap styles for your personalized touch.
Leave a Reply